
A do-it-yourself bag from an umbrella is one of the favorite topics of female needlework. Due to the unusual material, it always looks stylish and bright, in practicality not inferior to accessories from textiles. Surely at home there is an old umbrella that can be put into business. Following the example of skilled craftswomen sharing experience, to sew a bag from an umbrella is not difficult.
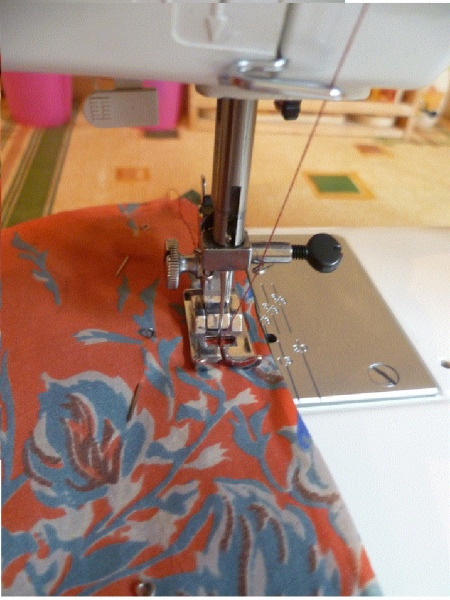
When sewing, you cannot ignore the WTO of the product. Skipping the ironing of the nodal elements will lead to a loss of attractiveness of appearance. It is worth considering that the finished product is much more difficult to iron.
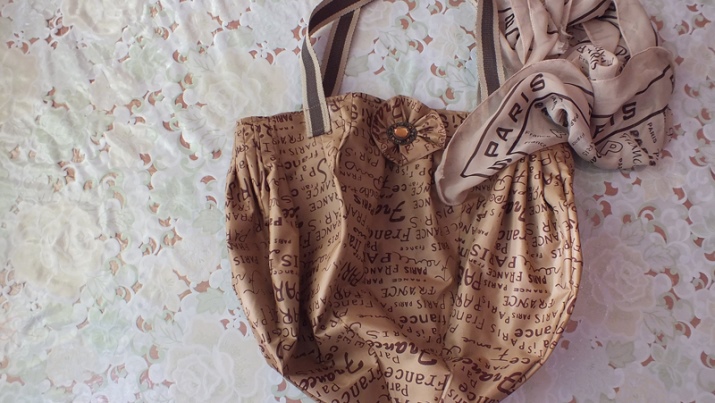
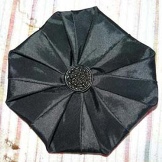
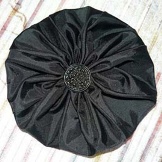
How to sew a bag with pleats from an old umbrella?
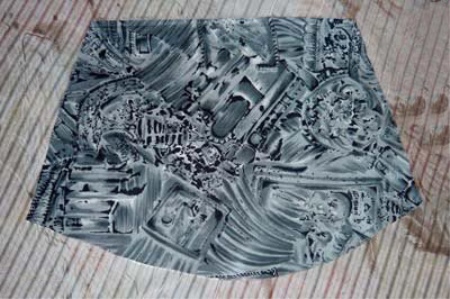
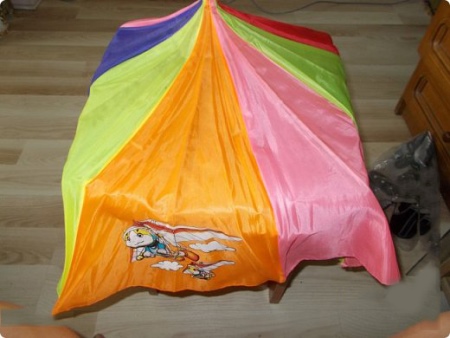
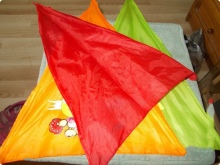
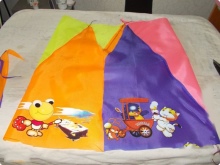
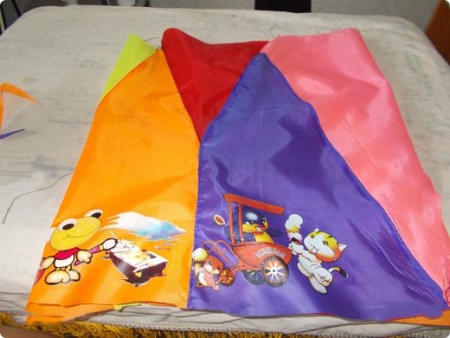
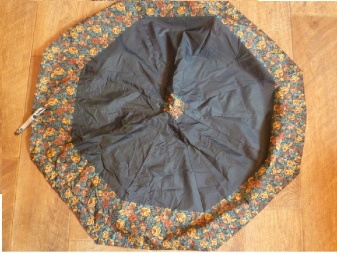
Such a model will not leave indifferent any fashionista. This is a stylish, beautiful and incredibly feminine accessory. Despite the apparent complexity, even a beginner in sewing can make a model. The main thing at the initial stage is not to spoil the workpiece. Textiles must be separated from the frame, delicately washed, ironed and trimmed with an annular seam around the edge of the fabric.
It is advisable to align the slices with a ruler.
In addition to the material, for work you will need:
- strong cord from curtains for handles (chain, ready-made handles, etc.);
- threads
- ruler;
- remnant;
- zipper;
- sewing pins;
- scissors;
- lining (second umbrella or lining fabric);
- sewing machine.
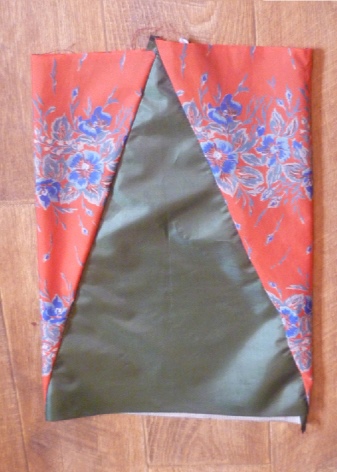
A compass is placed in the middle of the former dome and a circle with a radius of 10-11 cm is drawn. The resulting circle is carefully cut out: this will be the finish of the bag. 7-8 cm are measured from the edge and cut off: after opening the seams of the parts, blanks are obtained for processing the bag (turning).
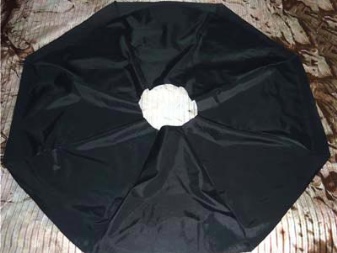
The lining is cut out according to the shape of the bag (when the top is assembled), but with a large extension: the type of pattern is a trapezoid with a semicircular bottom.
Having prepared the necessary details, proceed to the assembly of the product:
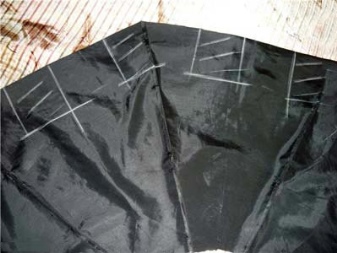
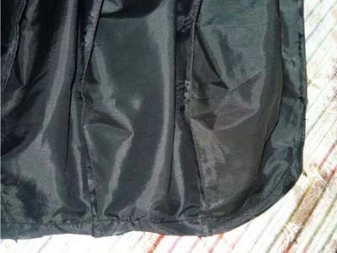
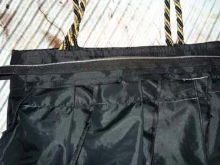
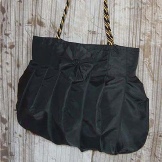
- form folds on each wedge (two on each), laying them at will (oncoming, one-sided, bow);
- Having determined the width of the folds, you need to check the desired width of the bag, for which it is better to chop or sweep the folds (if the width of the product does not suit, at this stage it can be adjusted due to the depth of the folds);

- folds are wrapped around the upper and lower edges, without touching the middle of the model, after which they are ironed;
- the lower section of the product is ground, rounding the side faces;
- excess allowance is cut off on the sides;
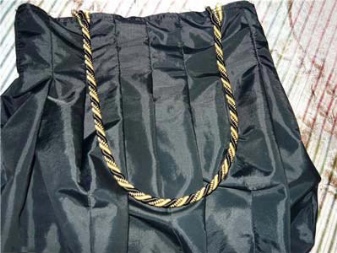
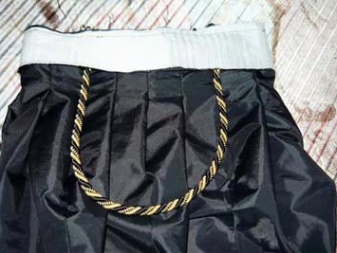
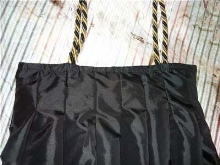
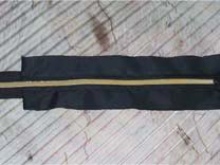
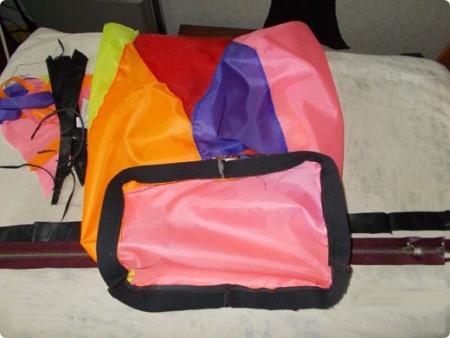
- ready handles from a cord 48 cm long are sewn to the upper edge;
- measuring the desired length of the perimeter of the top, from the strips make a stitching, gluing it with an adhesive strip;
- the grind is pinned to the top of the bag and stitched, then the finishing line is laid;
- two slats are sewn in the center of the zipper, the edges are covered with textile residues;
- the straps are stitched to the edge of the bag;
- if the model includes pockets, they are first stitched to the lining, and then assemble it, not forgetting to give volume on the sides;

- the lining is stitched to the base, then the bag is turned out;

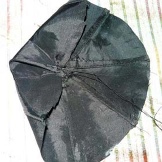
- a decorative element is made from a small circle: with the help of a needle and thread, the wedges are collected in the center, then they cover the assembly site with a buckle or large button;
- it remains to sew the decor, and the bag is ready!
Sewing another interesting model from an old umbrella is described in detail in the following video:
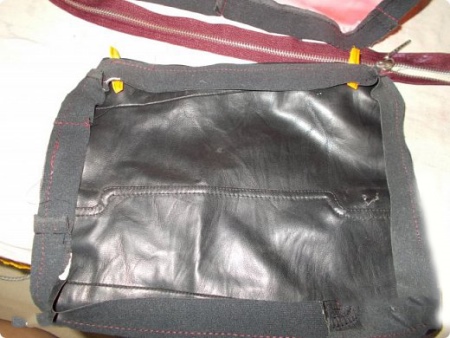
Combined model with leather
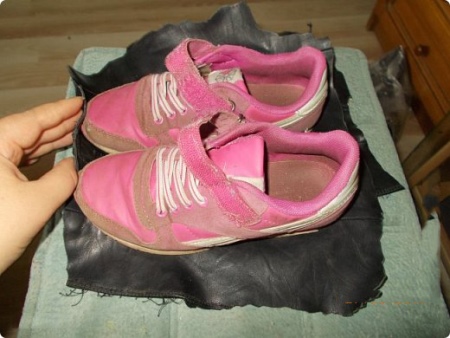
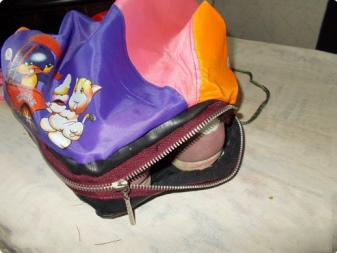
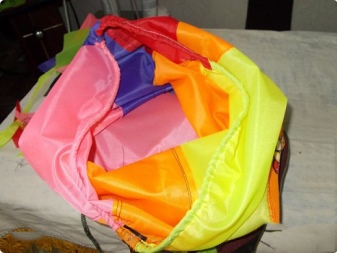
From the old umbrella you can sew a sports model with which it is not a shame to send your child to a sports club or school for a physical education lesson. You will need textile from the umbrella, shoes (for measuring), a flap of leather or leatherette for the bottom, a long zipper and sewing accessories.
The pattern is not needed: all the necessary measurements are carried out during sewing, they depend on the specific size of the shoes.
The manufacturing technology of the bag is quite simple:
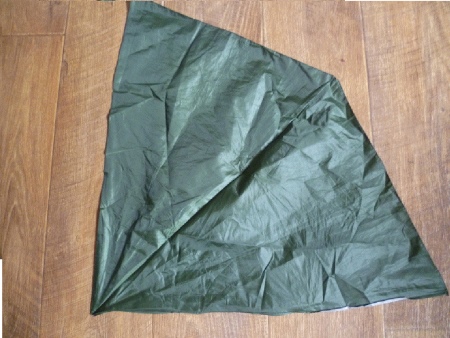
- the fabric is separated from the frame, washed, then unzipped and ironed;
- on the canvas of leather (leatherette) put shoes of the right size, circle and give an allowance of 2-3 cm around the entire perimeter;
- after the stroke, the “bottom” in the shape of a rectangle is trimmed, folding it in half;
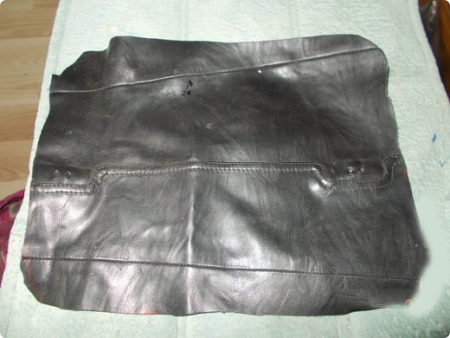
- on the obtained pattern, the bottom is cut out from the base fabric;
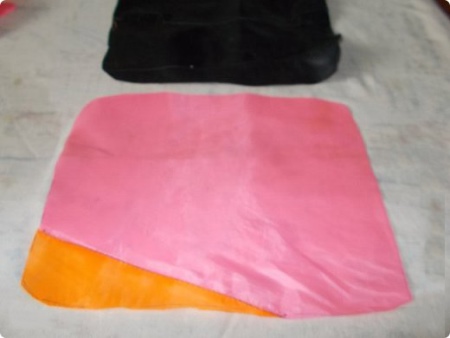
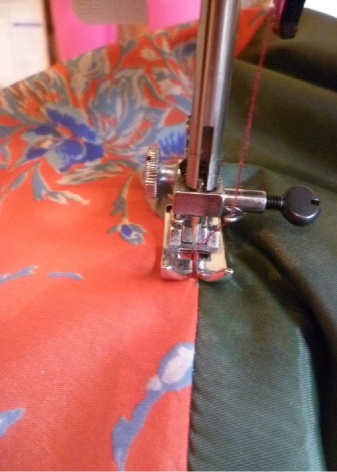
- the wedges are grinded so that the corners look one way through the wedge, then the sewing sections are fixed with finishing lines (the perimeter of the wedges is equal to the perimeter of the bottom);

- the bottom must be flat, if there is not enough fabric along the upper edge, you can insert a small triangle;
- the upper cut is trimmed with scissors;
- having grinded a side slice of the base, a leather strip is stitched to the lower slice, grinded into a ring;
- the bottom from the base fabric is stitched to the workpiece, falling exactly into the seam of the stitching of the strap;
- from the remains of the base fabric (umbrella) make two loops 0.7 cm wide, then pin them to the bottom of the skin and fix the second strap, assembled into a ring;
- lightning is sewn to the free edges of the planks (its length is equal to the perimeter of the bottom);
- from the back side (opposite to the one where the loops), two loops are swept out, after which the upper cut is tucked and stitched with a seam into the hem with a closed edge;

- it remains to put a long cord into the loops and fix its ends.
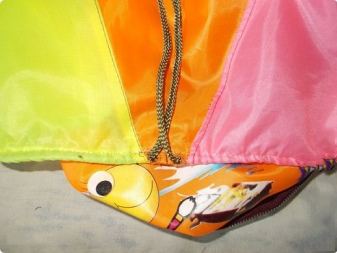

A small nuance: if you do not want to make loops, you can simply tuck the top allowance on the wrong side and sew it up, leaving room for threading the lace on the sides (opposite the bottom loops).
Such an accessory is convenient in that it has a convenient and practical bottom, and is also easily transformed, accommodating the necessary things.
Shopping bag: master class
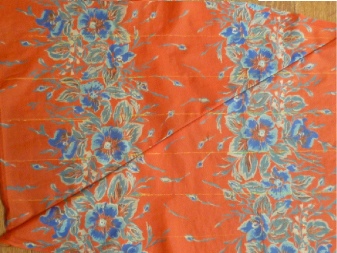
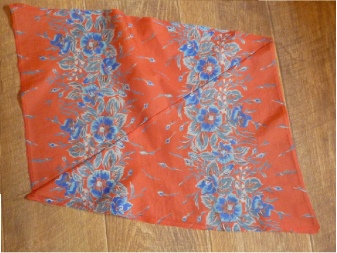
The most difficult and time-consuming is to separate the umbrella textiles from the base, wash it manually and gently spread it into separate fragments without breaking the edges. After that, you need to iron the entire area of the parts.
In order not to melt the textiles, it is better to iron through a thin calico fabric.

If there are two umbrellas, it’s even more interesting: the bag will be spectacular.You don’t need a pattern for work: this is a simple model, so you should not waste time drawing a rectangle. If you want smooth lines, it is better to use a long ruler, measuring the desired length (rectangular pattern).
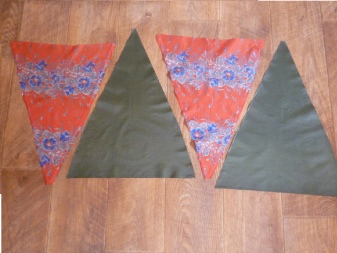
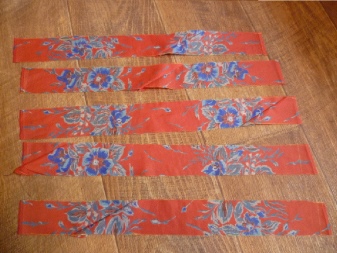
Only 4 wedges will be needed from the base: you need to sew them together so that the corners of the wedges alternate.
At the same time, textiles alternate: so the contrast will be brighter.
Before you connect the workpiece into a ring, you need to lay the finishing lines. In addition to the decorative function, they will add reliability to the bag. Umbrella textiles do not crumble, so the edge can not be processed on the overlock.
Having connected a cloth in a ring, process a bottom. To do this, they double it up and stitch it on a typewriter. If it’s difficult to do it right away, you can simply sew the bottom, connecting the front and back, and then sew in the hem with the closed edge. The upper section is tucked to the desired width and sewn with a seam in the hem.
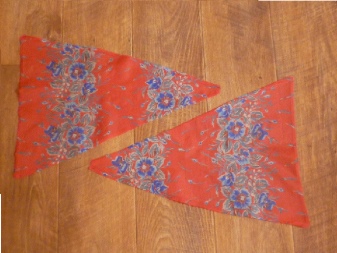
For pens, grind two wedges so that the corners look in different directions (a rectangle is obtained). Then the resulting fabric is cut into strips of the desired width.
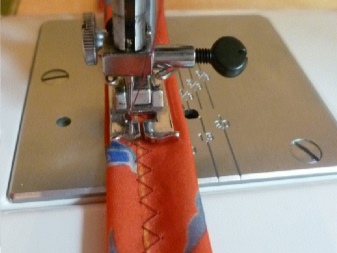
Details can be glued, then stitched in two and overlapped, stitched with decorative stitching. Closing the ends of the handles (hiding inside), they are stitched to the base. A simple bag, which a beginner can handle as well, is ready!
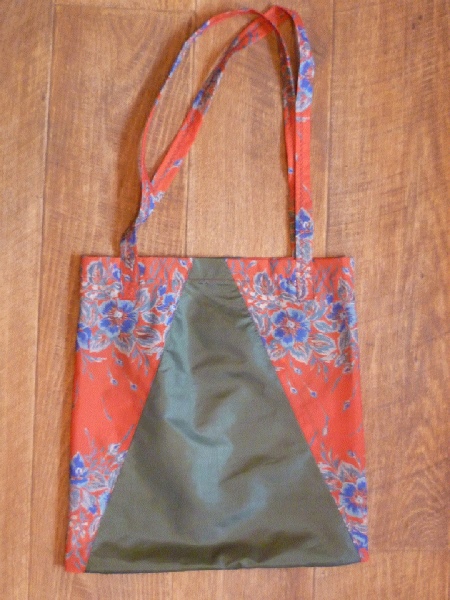
Bags made from textile umbrellas are very comfortable and practical to wear. They are not capricious in leaving, as they do not deform during washing, dry quickly, do not fade and do not change the color intensity. This is a godsend for any woman.


