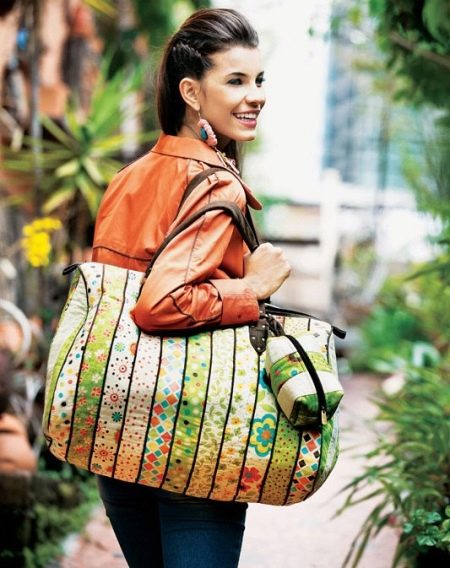
Do-it-yourself Patchwork bag is a great way to show your personality. Thanks to a huge selection of material and ease of tailoring, any girl who has a sewing machine in her arsenal can make such an accessory.
The Patchwork technique is not just patchwork colorfulness. Today it is a real art. Correctly selected patterns + bright contrast of the flaps are the basis for the success of the accessory.
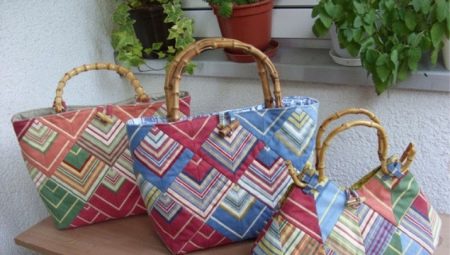
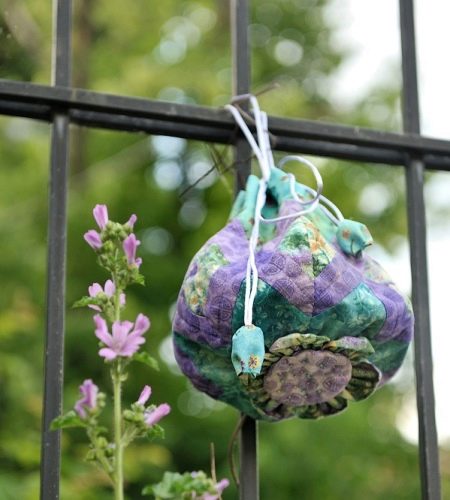
Japanese-style bags
Japanese-style models are unique. They transform the style and can unrecognizably change any shape of the bag. At the heart of each product is the assembly of the base from fragments of a special shape and size. These are not just small squares or multi-colored stripes: often a model consists of wedges in the form of petals, including 8 or more fragments.
The advantage of many patterns is the presence of not only the details of the cut, but also the methodology for performing work in the patchwork technique. This is convenient and simplifies the job. The key points proposed in the form of schematic drawings clearly demonstrate the features of tailoring.
Making a bag in the Japanese style is easy, although it will require perseverance and accuracy: each piece must be even with perfect matching seams. These workshops will demonstrate how to build a stylish accessory and show how easy and fun it is.
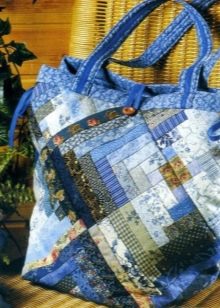
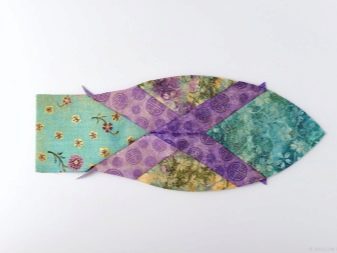
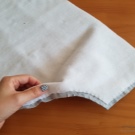
As a basis, you need to take a cotton fabric of five different, combining colors. This technique requires a ruler and a curly pattern: a smooth edge is not always enough. So it will be much easier to lay an impeccable line.
In addition to flaps for the top, you will need a sealant (synthetic winterizer), a lining, a thick cord made of viscose, a thin cord for loops, threads.
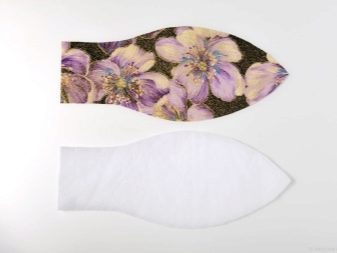
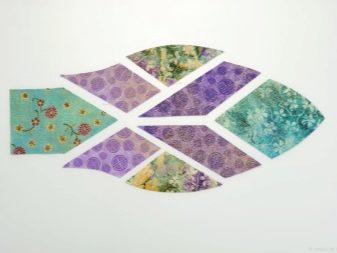
At the very beginning, two identical petal-shaped patterns are cut out. One of them is cut into fragments in accordance with the conceived design.
For convenience, you can number each fragment, indicating the front side and the color of the flap.
The following sewing steps:
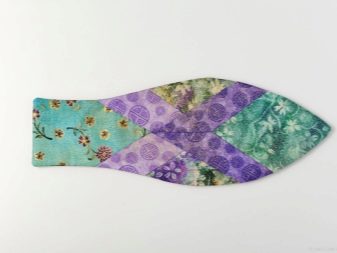
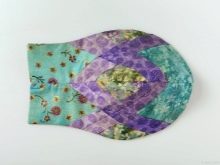
- Total needed collect 6 blank data from multi-colored rags and cut 6 whole parts of the lining and insulation.
- Having fixed the blanks and the amplifier with each other, they are assembled into a single part, combining the lateral borders of each fragment.
- The details of the lining are connected, not forgetting to leave a small indentation un sewn (for subsequent inversion), then fold with the base obtained with the front sides inward and stitch the cut on a typewriter. When connecting the wedges, the width of the lining seam should be 2-3 mm larger than the base.
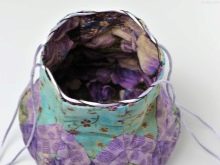
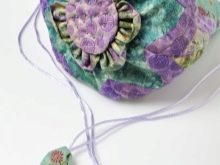
- After you need to turn the bag out, decorate the bottom with a decorative flower, which is especially true if the connection of all the elements below did not work out neat and accurate.
- A “handle” made of a thick cord must be fixed using the original loops on the upper edge of the bag. It remains to stretch the cord through them and close the ends with flower buds.
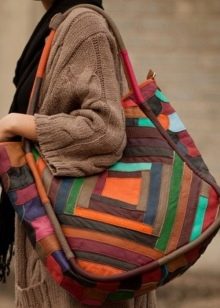
Original travel model: master class
A roomy travel bag is relevant out of time. Leather is considered the ideal material for a bag, but the textile model is more mobile and easier to care for.
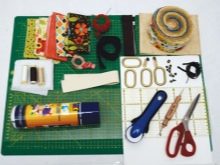
For sewing an accessory it is better to use a new fabric (small cuts of different colors will do). In addition to the base, you need lining fabric, synthetic winterizer, textiles for bag handles, leatherette strips and sewing accessories.
So what is next:
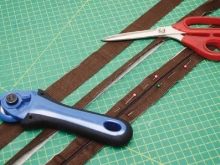
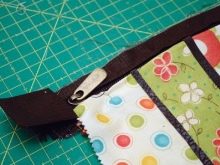
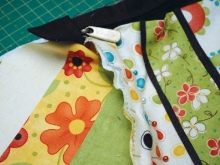
- Multi-colored strips are sewn together, forming two solid canvases of the desired size in the form of a rectangle. Also come with sidewall parts. Leather strips are applied to the seams of the flap joints and stitched with decorative stitching.
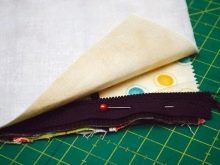
- After two large and two medium canvases are ready, details of the top of the bag are cut out of them. In addition to the base, you need to cut the lining and the seal according to the templates. To fix the synthetic winterizer with the base fabric, you can use special glue in the form of a spray. In order for the product to keep its shape well, finished canvases are usually duplicated with an adhesive pad.
- The zipper is stitched to the details of the base, then the sidewalls are sewn. After that, you need to prepare and sew the handles to the front side of the base, without touching the zipper. Having collected the lining, it is connected to the base along the upper edge, then turned on the face. Fashion accessory is ready!

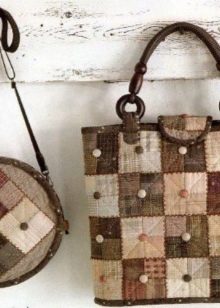
Square patchwork
Using this technique, you can sew a neat and, if necessary, roomy model with elements of a bag-bag.
To create a rectangular accessory you need:
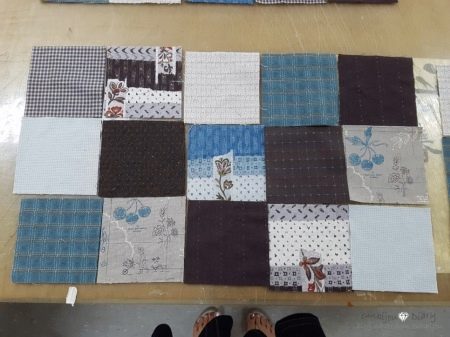
- multi-colored rags in the form of small squares;
- strip of textile;
- synthetic winterizer;
- seal for the bottom;
- decorative braid;
- oblique edging and sewing supplies.
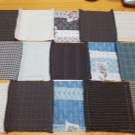
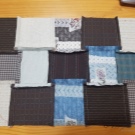
The squares of the facade are interconnected (10 pieces in 2 rows in front and the same back). A strip of fabric is sewn to the lower cut. The seams are ironed, then the canvases are connected to the seal by grinding.
To make the product look more presentable, before connecting the base and the sealant, it is better to glue the fabric with doubler. So the shape of the bag will become tougher.
The sides of the bag are ground to form a ring. If the design provides for decorative braid, it is sharpened until the base and lining are joined.
A contrasting edging is attached to the upper cut (stepping back from the edge of the upper cut of the front side, s cm). Then collect and sew pens. The lining is cut out in height more (for the lock-curtain). The upper edge is stitched with a seam in the hem, leaving an allowance for threading the lace. Then the lining is connected to the top of the base, the lace is threaded and the ends are fixed with decorative stops.
After measuring the perimeter of the ring, cut out the bottom, connect it to the amplifier and the lining, and then sew it into the bottom of the bag using a slanting trim.It remains to decorate the model with a ribbon or other decor.


How to sew a simple model, see the next video.