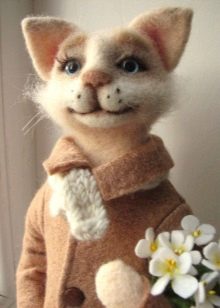
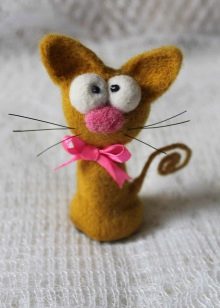
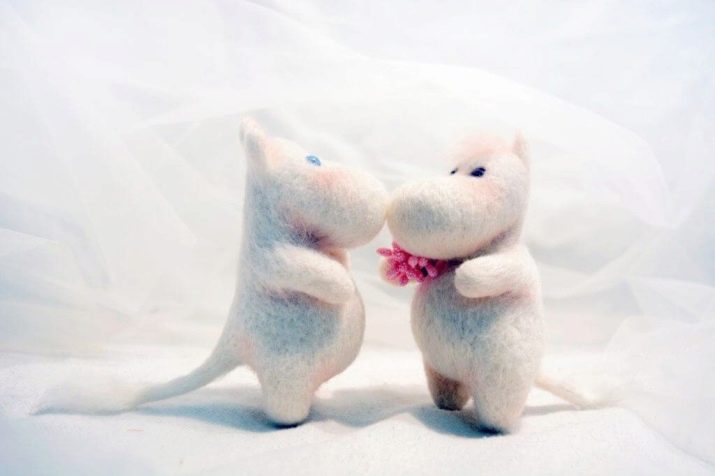
Just look at this beauty! No, these are not living things! These are products from felt. It's hard to imagine, but you can make such realistic toys with your own hands using the dry felting technique, which is also called felting or felting. In addition to felting, there is a technique for wet felting.

But before you get started, you need to familiarize yourself with the necessary materials and tools. We will talk more about each technique and materials in this article.
How the technique appeared
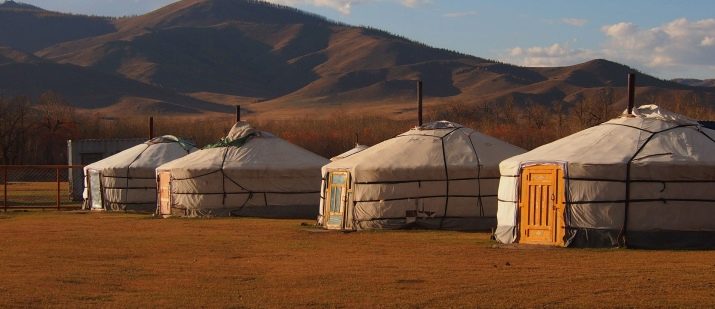
The history of the occurrence of felting goes back to past centuries. This technique began to emerge among the nomads. Mostly camel wool was used to make clothes, shoes, carpets, yurts. Such things are durable, they are not afraid of any weather conditions. It’s cool in summer and warm in winter.
Not without reason, even today, products from wool among nomadic peoples remain relevant. For example, yurts are used in Mongolia, because they are quite easy to carry.
The felting technique was also popular among the Russian people. Wool made clothes, insoles, hats and, of course, felt boots (it is known that their name came from this technique). To make this shoe used steam.
Closer to our time in the XIX – XX centuries, felting began to develop on an industrial scale.
Only pet hair is suitable for felting, as its fibers have the ability to adhere tightly to each other.
Kinds
As mentioned earlier, there are two main felting techniques: dry and wet. Despite the fact that both techniques are called felting, there is little in common between them, the set of necessary tools is strikingly different. We will consider each technique in more detail separately.
Dry felting
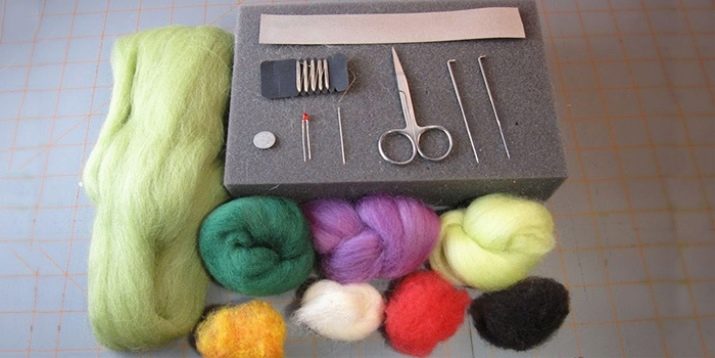
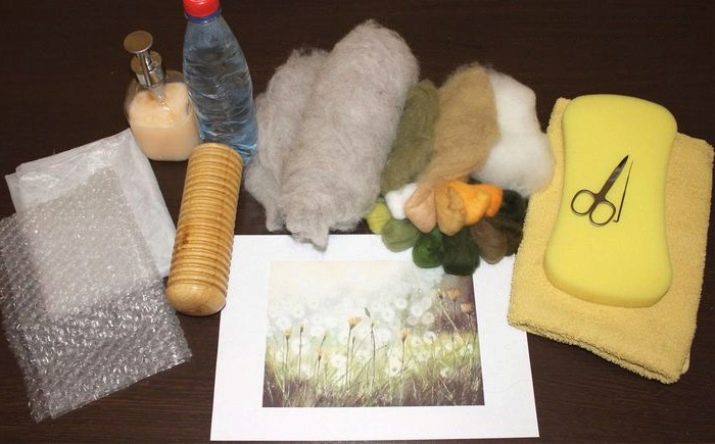
This technique is simpler than wet.But for this type of felting, knowledge and dexterity are required. Well, of course, many materials will be required, they can be ordered on the Internet or bought at almost any needlework store. To facilitate the task for a beginner, there are for sale special sets for felting from wool, consider them later.
Instruments
We will analyze the basic tools that will be needed to create a toy.
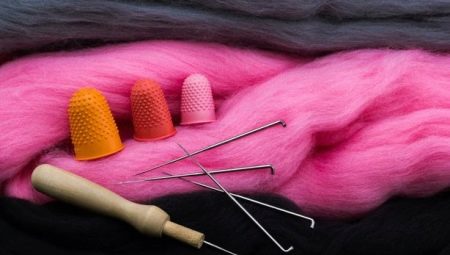
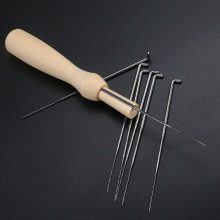
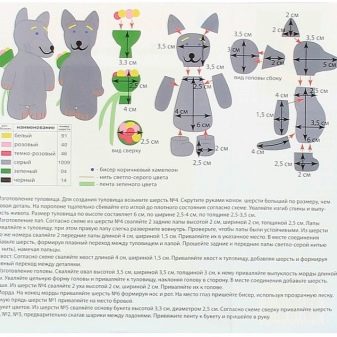
- Needles. This is the main tool. Felting needles are definitely different from sewing. They have special notches so that the wool mesh with each other. Needles for felting differ in shape (triangular, star-shaped, conical, tristar, diamond-shaped, cylindrical) and by numbers (main ones - No. 36, 38 and 40, the higher the number, the finer the needle). For convenience, use needles with marking, as well as special holders.
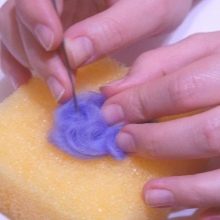
- An equally important tool for felting is the sponge base, on which, in fact, the work is done. It serves to protect fingers from punctures, as this element can serve as a regular dishwashing sponge, as well as a special base. A brush can also be used for this purpose.
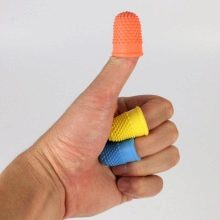
- There are also various accessories for felting, for example thimbles, they are especially useful for beginners. There is also a comb for wool to fluff the product or to separate the felt from the total mass.
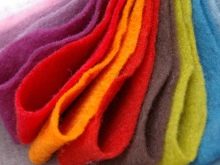
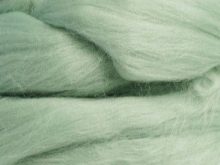
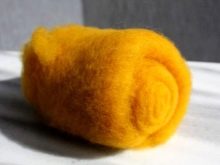
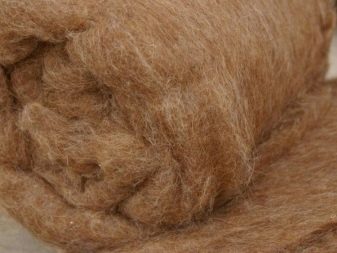
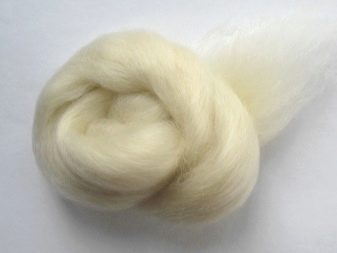
Wool
The most important material in felting, of course, is wool. There are many types of felt. Let's analyze the main ones:
- carding - felting wool, which is great for beginners, as it falls well;
- merino - expensive and high-quality wool, which is used to apply the top layer to the product;
- corridale - thick and easy to use felt;
- cashmere - a very famous type of wool, used mainly for decoration;
- perfect for the basics wool sliver.
Beads, beads, lace, ribbons and special noses and eyes are used as decor to make the toy look more realistic.
Wet Flicking
There is little similar between this technique and the previous one, only the material is common, that is, wool. But this type of felting also deserves attention.
The main types of felt that are used for wet felting are Blueface Leicester, Wenslideil and camel hair.
It is important to know that it is necessary to choose the right color of the coat so that when exposed to water or a soap solution, it does not spoil the depth of tone, and also so that the different colors do not mix with each other.
This technique is noteworthy in that it uses mostly improvised items. Here are the main ones.
- If the needle is the main tool in dry felting, then in the wet method it is water. It is with the help of water that the wool subsequently falls off and takes shape. In order to evenly distribute the liquid, you need a spray bottle (spray gun), also for this purpose a watering can with a fine nozzle or an empty perfume bottle is suitable.
- Just as in dry felting, a base is required - in this technique there should be a corrugated base so that the wool does not slip, any rubber mat (simple or specialized) will do for this, and you can also use a bubble wrap for packaging.
- Soap is also needed to soften water and protect your hands.
- In order to prevent the wool from tangling during felting, a mesh or any thin fabric is required.
- To facilitate the work with your hands, you will need a rolling pin (thanks to the rolling pin, you can apply a lot of force to stall).
- You will need a towel or paper towel to remove excess water.
- If you want to protect your hands, then arm yourself with plastic or rubber gloves.
- Sometimes experienced fellers use a washing machine for work, in this case, various forms for felting are additionally used. Often, instead of specialized forms, improvised items are used, for example, nylon tights.
Felting molds are used without the participation of a washing machine; in order not to waste money, you can also use baking dishes.
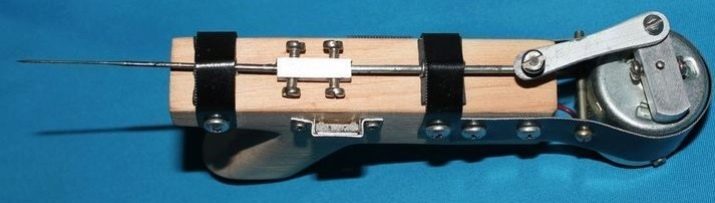
One cannot fail to mention a wonderful device - a filing machine. Thanks to her, work is much faster. For dry felting, sandpaper is used as a nozzle, and for wet - cellophane packaging film. There are also machines in which instead of a nozzle there are many felting needles (for faster dry felting manually, like a device you can use several needles at once).
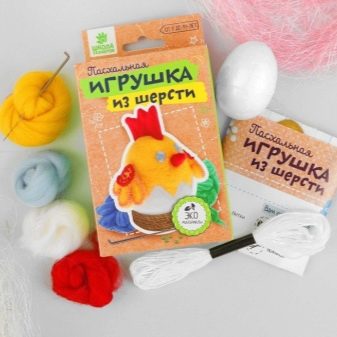
Creator's Kit
Now we will consider sets for felting from wool which are in handicraft shops or in online stores.
Kits for making toys are often sold according to the scheme, which includes: instructions for felting this craft, several types of wool of different colors, 3 needles of different sizes (it is better to purchase several more needles separately, since they tend to break), a spongy base. On sale, you can often see creative sets for children.
Probably more popular. wet filter kit, using this technique, make flat parts, which are then sewn together, or already the whole product. But there are also sets for creating pictures from felt. We will tell you more about them.
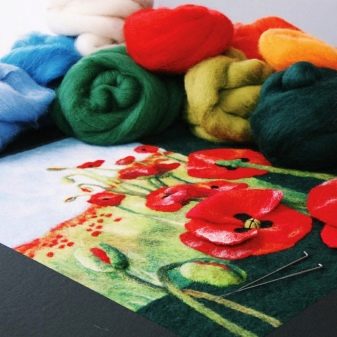
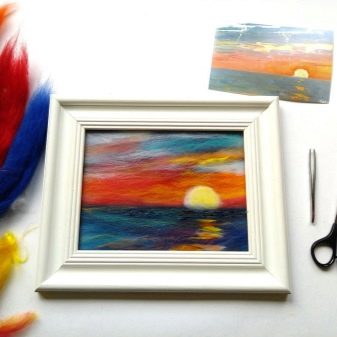
The set for creating a picture of wool includes: natural wool of the necessary colors, the basis for the picture, tweezers, a stencil and instructions with diagrams and a step-by-step description of the work. To create a craft, you will need additional items that were mentioned earlier, for example, a soap solution and a spray bottle.
Such sets are suitable for children's creativity (of course, strictly under the supervision of adults) and for adults. Most often they are acquired by beginners to facilitate the work.
An overview of materials and tools for beginners, see the next video.


