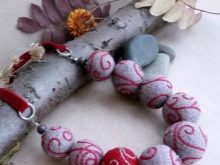
Dry felting as a type of needlework is becoming increasingly popular. The result of it most often is very cute felt toys or woolen elements of clothing decor. In this technique, you can also make beautiful original jewelry, such as brooches or beads. And the methods of work are so simple that you can do this type of creativity even with children. It is only necessary to observe some precautions so as not to get injured on sharp instruments.
What is felting?
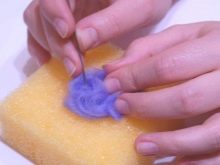
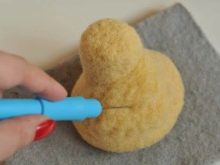
When people talk about felting, boots immediately come to mind and we begin to recall how they are rolled using water. So, the dry technique, called felting or foiling, is fundamentally different. The material for work is common - fibers of pure wool, in both cases receive felt products. Only wet felting process immediately large-scale surfaces, and felting allows you to produce small forms with small details. The principle of felting is the tangling of wool fibers with special needles through numerous punctures of the material.
Tools and fixtures
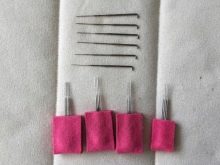
Needles
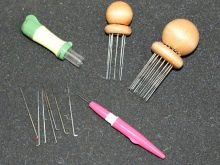
The main tool for work is a needle, but a special one. With ordinary sewing, it’s only in kind that is sharp. And to complete one product, you may need a whole set. Needles differ in several ways:
- by thickness;
- by sectional shape;
- in the direction of the teeth.
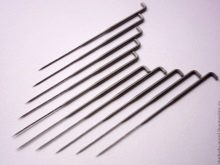
Depending on the thickness, the needles are numbered. The smaller the number, the thicker the tool. The roughest needles (No. 28, 30, 32) carry out the initial stalling of the material. For the final processing of products, thin needles are used (No. 38, 40). At different stages of the process, tools with different cross sections are used. Most often required:
- triangular;
- "Star";
- Crowns.
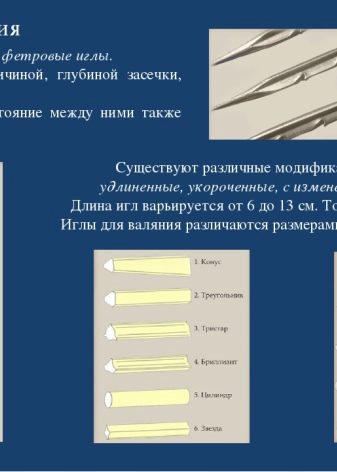
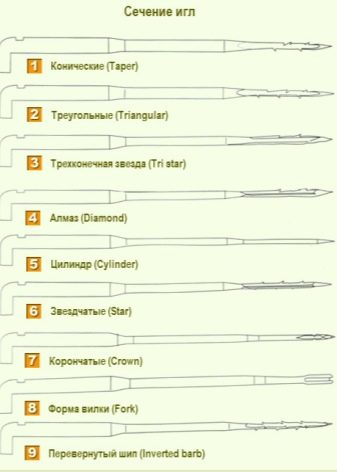
Almost all of the main work can be done with needles with a triangular section, gradually replacing thick ones with thinner ones. But they leave noticeable holes that are smoothed out by star-shaped needles or crowns. The most important element of the named tool is the teeth, they provide tangling of the wool fibers. Usually roll with needles with a direct direction of the teeth. But when you need to create a fluffy surface, take the “reverse” needles, which hook and pull the fibers out.
Felting is a labor-intensive process, therefore it is very important to choose a tool to work comfortably and as quickly as possible, especially if a large-sized product is manufactured. Creative people are always striving to improve technology, as a result, a fairly wide range of devices is offered on the market.
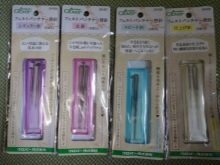
There are needles with convenient handles, but since different ones are required in the process, a holder with removable needles will be a more practical and cheaper option. There are devices in which several needles are fixed at once (for example, Clover or Gamma).

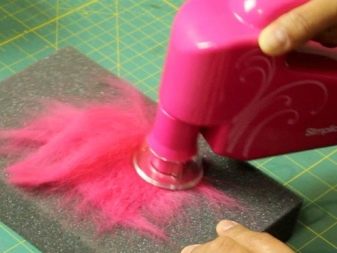
Felting machine
To perform one felted product, it is necessary to produce countless punctures of the material. Especially keen needlewomen can greatly facilitate the work of a special felting machine. However, there is no wide choice on the market today.
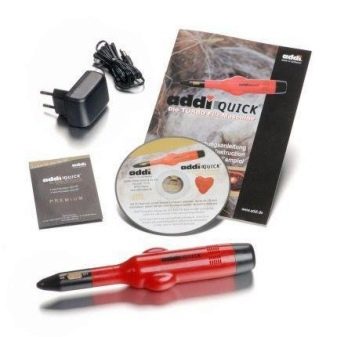
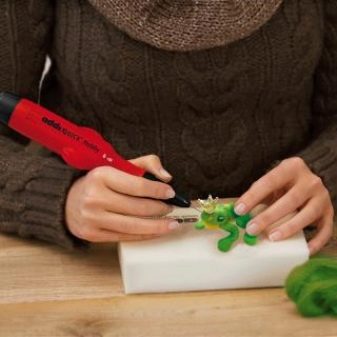
Most often, online stores offer a German Addi Quick machine. 1 needle is fixed in it, punctures are made to a depth of 2-3 cm. The machine weighs about 600 grams. For comparison: the weight of any tool for repair work exceeds the specified no less than 2 times. Of the shortcomings of the master, they emit quite a strong vibration during operation, as well as the fact that the attached needles are often not of very good quality. But according to their model, you can cut and use any commonly used needles.
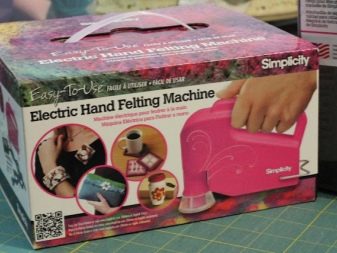
You can order a Simplisity machine. It is 6-needle, has a protective screen. For safety, it is provided for turning off when lifting the machine from the work surface. You can often see homemade options, for example, from a children's sewing machine. Also, some manage to fix the needles in technical tools, for example, in a jigsaw. But such experiments are still unsafe.
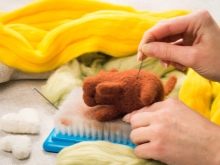
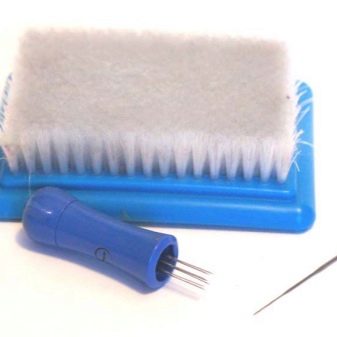
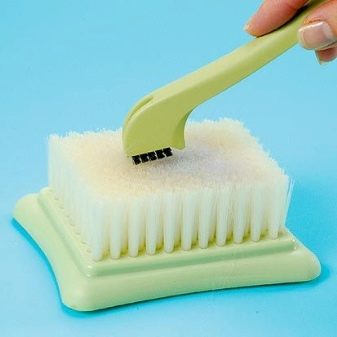
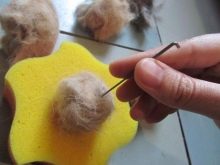
Base brush
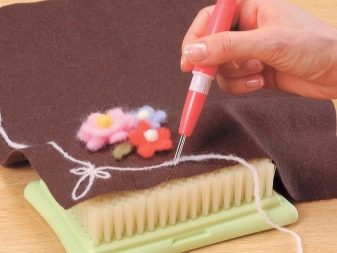
Since the needle makes deep punctures during the process of filtration, it is possible to wallow through the entire part, holding the material in your hands or on your knees, it is categorically not recommended. This is best done on a special stiff brush with a heavy base.
If you don’t get one for some reason, you can use polystyrene or foam rubber with a thickness of at least 3 cm. But the substrate of such materials is unlikely to last for a long time, and pieces of it can fall into the manufactured product, which will not improve the result.
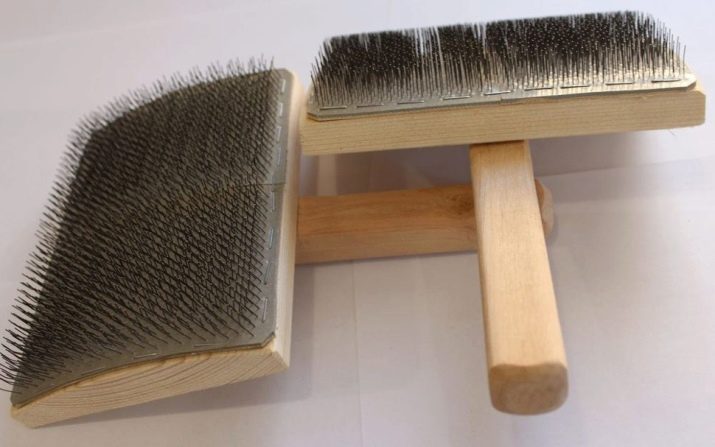
Comb “slicker”
At the final stage of work, if you need to create a fluffy surface, you need a comb. The needlewomen call her a slicker. You can use a stiff brush to comb animals.
Material
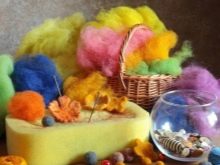
Felting work is created exclusively from wool, but it can be different.
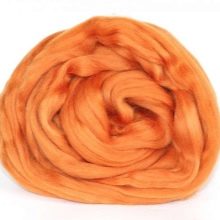
- Combed tape - This is not spun wool, the fibers of which are laid in one direction. They can be of different colors and thicknesses. The tape with the thinnest fibers is used for final finishing or for felting small parts.
- Cardos - wool with slightly tangled fibers laid in different directions. It is convenient in work, especially for large products.
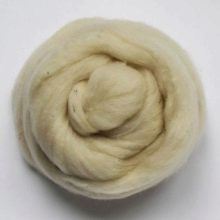
- Sliver - coarse unpainted wool, which is used for the internal basis of large parts. Products dumped entirely from high-quality colored material are quite expensive, and the use of a sinker reduces their cost.

Sometimes the basis is made of sintepon, the final result does not worsen.But when a fluffy product is planned and with the help of a return needle the fibers are pulled out from the inside, you need to make the top layer rather thick so that the base material does not appear from the outside.
Accessories and decor
In the manufacture of toys will need additional details. There are always eyes and noses for toy animals on sale. But you can make these elements yourself, for example, from polymer clay. Or embroider with woolen threads. For tendrils usually use fishing line. If you decide to make an original brooch or beads, then you will also need to buy accessories in a specialized store.
To make the product more expressive, the final touches are applied with ordinary paints, most often acrylic. But beginners are advised to use pastel pencils. They are crushed and the resulting powder is distributed over the woolen surface with a soft brush.
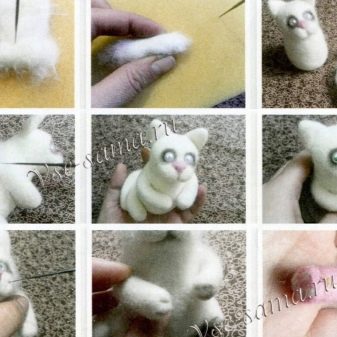
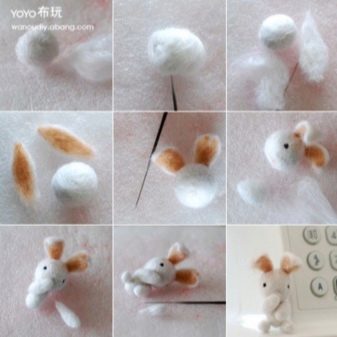
Step-by-step process
A step-by-step description of the process of felting a small toy as follows.
- When doing work, it is better to have a sample in front of your eyes, for example, a drawing, preferably from several angles. The ideal option is a volumetric model.
- It is necessary to prepare tools and materials in advance. Needles, especially for beginners, are best taken with a margin, as they can break, and it will not be very pleasant to interrupt work and immediately run to the store. Decor elements should also be purchased in advance.
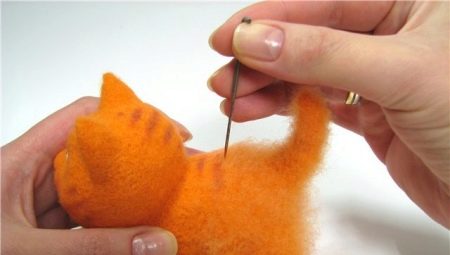
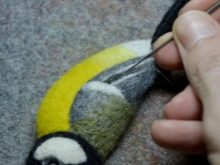
- First, the largest parts are performed, usually the body and head. Strands of wool are plucked from the tape and laid in thin layers on the base. Each layer in a direction at right angles to the previous one. The volume of the prepared material should exceed the size of the future part by about 3-4 times.
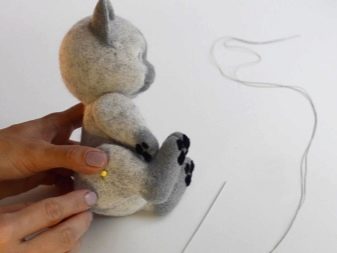
- Then they begin to process the workpiece with needles. While the part is soft, they shape it with your fingers. The workpiece is constantly rotated, evenly making punctures from all sides.
- On the head of the toy, eye cavities and other parts of the face or muzzle form when the animal is felted.
- When you need to make parts of the same size (for example, paws), they immediately prepare layouts of an equal amount of wool and roll one or the other alternately. If you completely dump the part, then lay out the locks for another, then they will turn out different sizes.
- So that parts of the toy can be connected, the attachment points must be left a little loose. Details are applied to each other and carefully treated with a needle. For a better connection, you can add thin strands of wool.
- When all the parts are fastened, the surface is worked out by thin triangular and "star" needles. Small strands of wool for "grinding" can also be used.
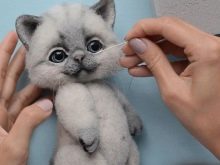
- The manufacture of the toy is completed by adding small elements (eyes, nose, mustache, jewelry, etc.), then its surface is tinted.
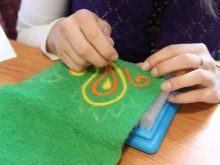
If you need to perform long thin parts, a frame is used for their stability. Most often it is made of wire. Sometimes wool fibers are simply wound onto such a base, lubricated with PVA glue. The dry felting technique is also suitable for decorating knitwear. In this case, on the basis of the pattern, it is simply laid out with wool and processed with a needle.
Some details can be dumped separately (only not to the final density), and then “nail” them to knitwear. For the best result, it is recommended to roll the drawing with water and soap using the technique of wet felting so that it does not further deform when washing. But you still need to wash such products in a delicate mode in warm water.


Tips & Tricks
To make the work comfortable and safe, and the result pleased you, It is worth listening to the advice of experienced craftsmen.
- It is impossible to work without a substrate, and it is better to protect working fingers with thimbles.
- You should try to pierce the started part to the middle so that it is compacted inside. Otherwise, it may result in a product with a dense surface, but very loose inside. Then it quickly deforms.
- The material should be pierced strictly in the vertical direction, otherwise the needle may break. It is necessary to process evenly the entire surface.
- The finished product must be hard to the touch so that when pressed no deformation occurs.
Each master has his secrets. But skill comes in the process. And if, listening to their recommendations, put imagination into creativity, then you can create your own woolen masterpieces.
See the following video for the basics of felting.


