Currently, many designers offer a lot of different ideas for inspiration on the design of simple objects. Some people like to decorate different household items step by step. This article writes about how to make a beautiful decoupage of a cutting board for beginners.
Preparation
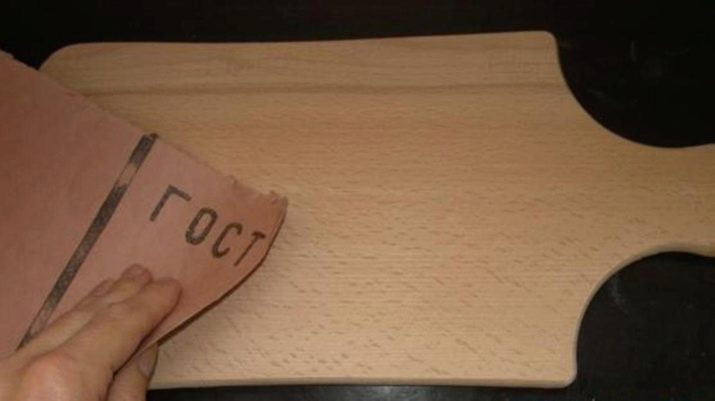
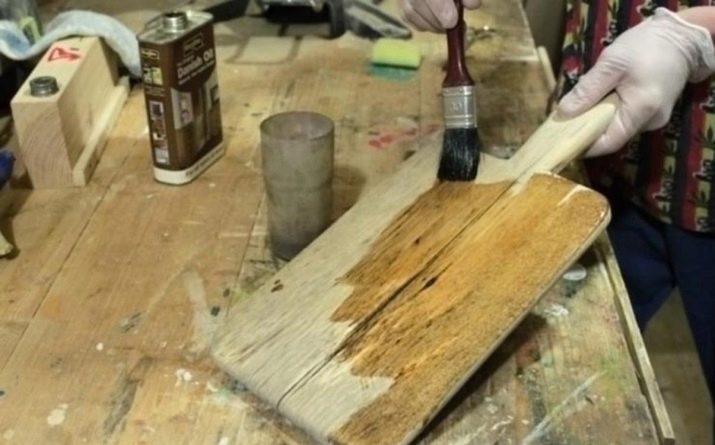
Before implementing a decorating project, a kitchen cutting board should be prepared. The surface of the board should be as smooth as possibletherefore her pre-sanded with sandpaper.
It is also necessary to remove all fine dust and dirt from the subject, if it is not new. Later it is treated with a special primer, which should even get into the recesses between the wood fibers.
Materials and Tools
Before you start design, you need to prepare some things. Their list is presented below.
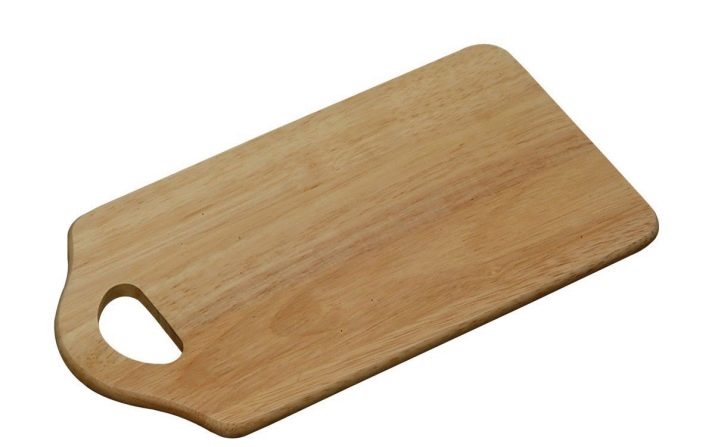
- Board.
- Scissors - they cut out the drawing, so it is better to use the manicure option.
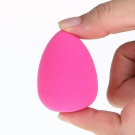
- Sponge or sponge - such material is convenient to apply paint to the subject.
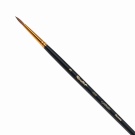
- Thin brush - this tool is more convenient to apply glue mass.
- Sandpaper. It is intended to make the surface of the subject smooth, to remove all roughness.
- Acrylic-based clearcoat. It performs a protective function - does not allow the image to be erased on the board.
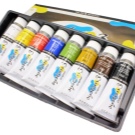
- Art acrylic paints. Such materials can last a long time on the product in its original form.
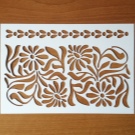
- Stencil. With it, you can make a picture on the subject. Sometimes a napkin with the image you like is used.

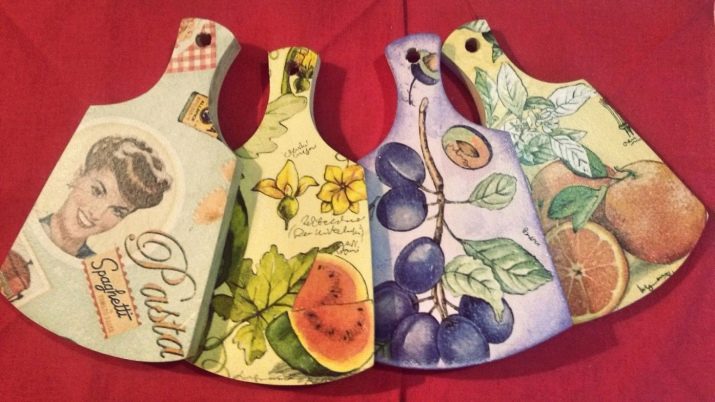
Interesting options
Today, there are a huge number of instructions for master classes on how to decorate a cutting board for a kitchen with your own hands:
- decoration with napkins;
- decoupage with a printed picture;
- decorating products in vintage style;
- design in the style of shabby chic;
- decoupage in provence style;
- decoration with eggshell;
- a board decorated with a veil.
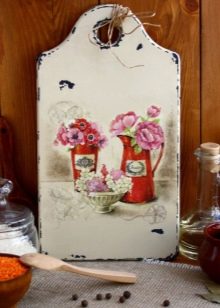
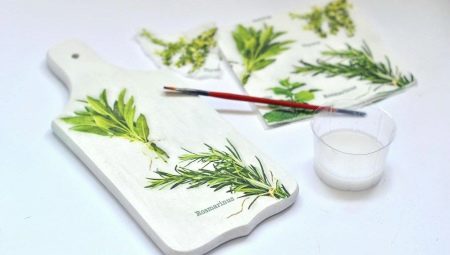
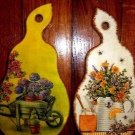
Napkin decoration
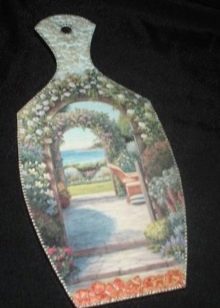
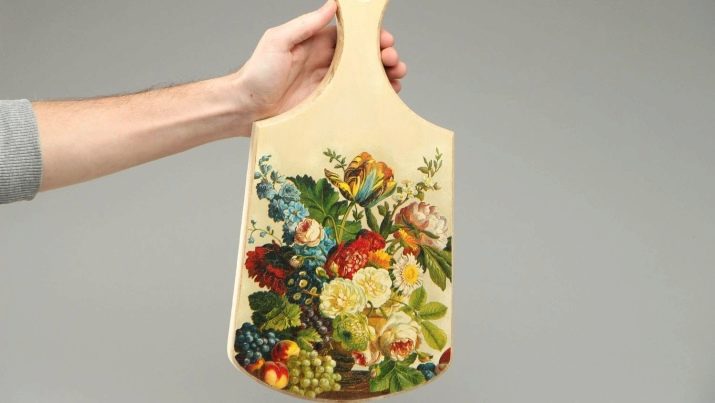
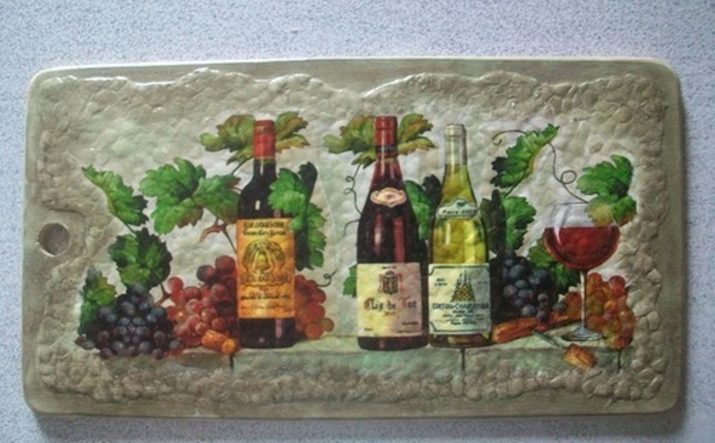
First of all, it is necessary to choose a napkin with a suitable pattern (stencils with apples, pears, grapes are most often used). It should be as thin as possible so that the image can be transferred to the board. It is cut with scissors.
The place on the board where the drawing will be located, need to be well primed. To do this, first with a pencil on the product, a stencil of the picture is performed. Then the inside of the resulting contour must be filled with a primer.
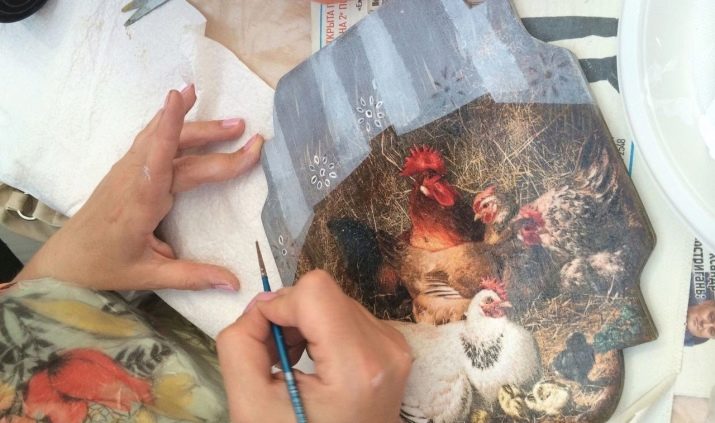
It is necessary to wait until the primer dries, after which it is necessary to separate the two lower layers of the napkin without a pattern and prepare only the top layer. At the same time, a primer should be applied to the product with a brush.
When the soil dries a little, it is recommended to take the top of the napkin and gently stick it to the board, while on the product pre-applied composition of PVA glue and a small amount of water.
After the picture is glued, it is recommended to fix the result with a special varnish. You can apply it using foam rubber or a sponge.
You will learn more about how to make decoupage of a cutting board using napkins from the following video.
Printed decoupage
First of all, you need to firing the cutting board in a circular direction with a gas soldering iron. The middle should remain untouched, because it is on this part that the image will be applied.
After firing with an iron brush, you need to clean out all the resulting cinder. Then the product is thoroughly wiped with a damp cloth. Its middle is covered with a special artistic primer. Its layer should have a slightly transparent shade.
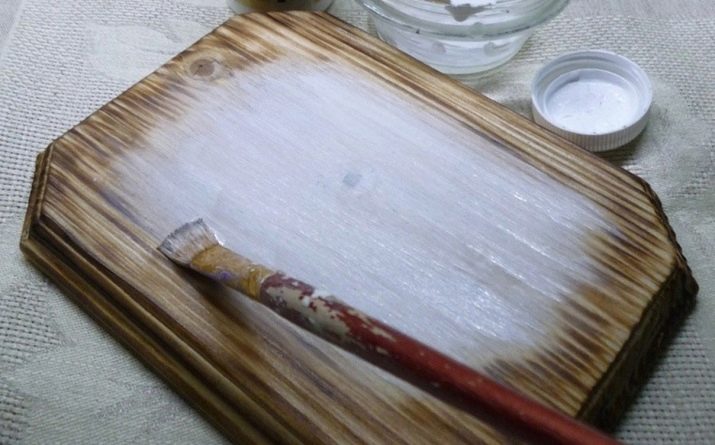
At the same time, a small amount of white acrylic paint with water should be diluted. The resulting composition covers the part that was burned. This technique will fill in the recesses.
The paint should dry out a little - only after that it is necessary to add a little more white in the middle. Then you can start applying the selected image.
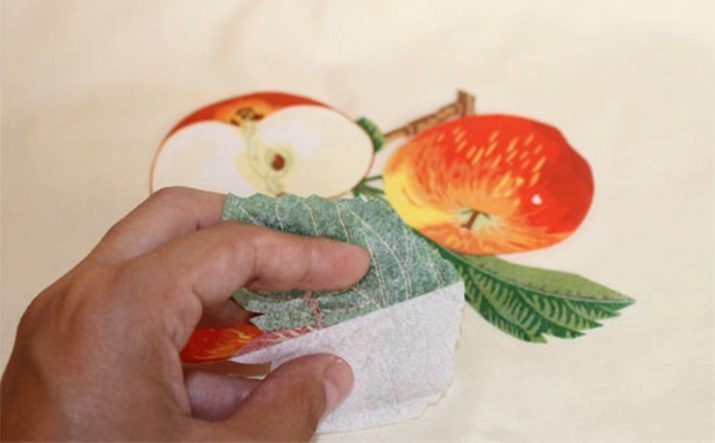
To do this, the board is covered with a thin layer of acrylic varnish. Then the image is taken (you need to cut out the picture with a slight indentation), and colorless varnish is applied to it. Without waiting for it to dry, the picture adheres to the middle of the product.
The glued pattern is smoothly smoothed with your fingers. A file and a napkin are superimposed on top of it. In a circular motion, the excess amount of acrylic varnish is removed.
The board must be left to dry for several hours. After that, the paper is moistened with a wet cloth. She should gradually roll up.
The picture itself should remain on the product. From above it can be coated with a matte varnish in 3-4 layers. In the end, the finished item is once again well dried.
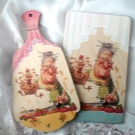
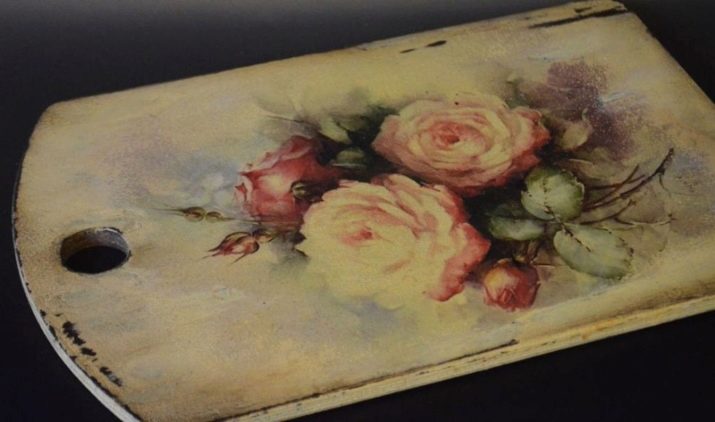
Dressing items in vintage style
The board needs to be sanded with sandpaper. The dust formed during this can be removed with a damp cloth. The product should be smooth to the touch.
One side of the board should be primed.
Such a procedure should be carried out in two layers with intermediate drying (you can also dry with a hairdryer).
Pre-done a solution of a small amount of water and PVA glue.
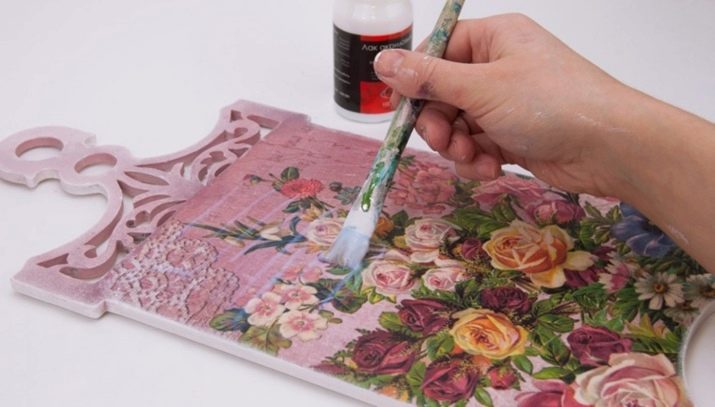
The resulting mixture should be applied to the board, on top, glue the drawing in a vintage style. In the process, the image is slightly smoothed with your fingers so that no bubbles form. All this is covered with a protective varnish and sent to dry.
Shabby Chic
First of all, the cutting board must be primed, and then coated with paint.After drying, paraffin should be applied to it in those places where there should be scuffs. Instead, you can use craquelure.
Later, the board is again covered with decorative paint. When it dries, the surface is lightly treated with sandpaper to cause scuffing.
After the background is finished, you need to start applying the image itself. To do this, select a napkin with a suitable pattern, after which it must be glued to the middle of the product on the adhesive solution and smoothed with your hands.
All this is dried for several hours. Once again, the finished board should be coated with a special protective varnish, after which it should be dried for several hours.
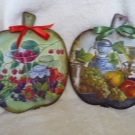
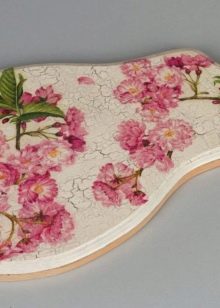
Provence Decoupage
The board is sanded with sandpaper. Acrylic primer is applied to it, after which you need to let it dry. The subject is varnished. At the same time, you need to choose a suitable image in the Provencal style.
If the pattern is on a napkin, it can be slightly torn off to create the effect of uneven edges.
The top layer is separated from the other two and glued to the board using a solution with PVA glue and water.
Another layer of varnish is applied to the item. Parts that do not have a picture are decorated with various colors using a sponge or sponge. - this technique will allow you to select a picture. All this is again covered with a protective layer and sent to dry.
Egg shell decoration
First of all, you need to prepare the shell. It is cleaned of protein, yolk and film, washed thoroughly and sent to dry. Later, one of the edges of the plank is greased with a glue solution. The shell is glued to this place. This is done in a chaotic manner.
You should also do the rest of the subject. At the same time, you need to choose a napkin with a beautiful suitable pattern or just print a new image.
The middle of the plank should be slightly greased with PVA glue diluted with water. The picture is carefully glued to this place. From above, it is once again smeared with a mixture.
Acrylic-based paints can be used to paint eggshells to make the product look more interesting and bright. Then all this is covered with a colorless protective varnish and dried.
Veiled board
Most often, only imitation of a veil is depicted on cutting boards. To do this, you can first draw it on paper and cut it out - such an element can be used as a stencil. The edging can be drawn with an outline.
However, in a separate container you need to mix white acrylic paint and water. The mixture should have a light transparent tone. The resulting composition must cover the part of the board where the veil should be. You need to do it quick jerky movements with a wide brush, one layer is enough.
Use a cotton swab and a damp cloth to remove all excess paint. Then you need to draw thin lines from the folds of the future veil up.
This line is made on a ruler. In the process, you need to shade it a bit, otherwise too clear borders can ruin the picture.
When drawing lines the paint should be thicker with rich white. To fill the folds of the drawn veil, you need to re-apply the paint, making the shade more saturated and pronounced. If you add a little light gray coating along the length of the lines, then you can get additional volume.
The contour must be the edge of the veil. You can execute it with a solid line or in the form of points of different sizes located along the entire length of the edge. As a result, everything is fixed with a protective, colorless application.


