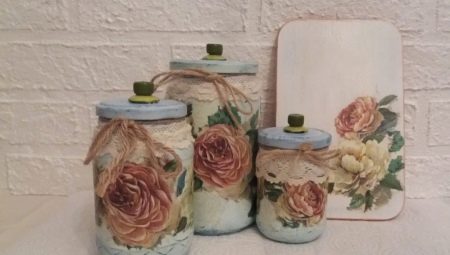
Currently, decoupage is gaining more and more popularity. Using this art, you can transform almost any item. Today we’ll talk about how to decorate glass jars in this way with your own hands.


Preparation of materials
A glass jar with a lid is first thoroughly washed with warm water. All old pictures and labels are removed from it. If glue remains on the container, it must also be completely removed.
You also need to prepare PVA glue in advance, with which decorations are glued. But it’s not worth pouring too much into the tank, since such a mixture dries quickly. Do not forget to cook and a brush, which will be applied glue.
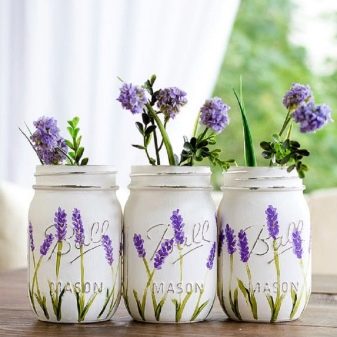
Interesting ideas
Today, many designers offer master classes on the design of such products. Glass jars can be decorated with various elements. Decoupage is often done with simple napkins. In this case, first you need to carefully separate the two lower layers, which are without a pattern.
Then you need to make a mixture of water with PVA glue in the same proportions. After that, the upper layer of a napkin with a pattern is gently smeared with the resulting mass over the entire surface.
Napkins smeared with glue are glued to the jar. After everything dries up, you should cover the cans with pearl paint over the entire surface of the product.
In this case, it is recommended to choose an acrylic based coating.
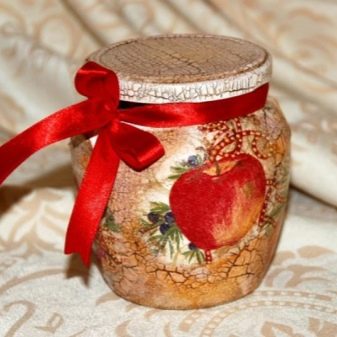
You can decorate a glass jar in the old style. Moreover, you should separately arrange the cover. This can be done using various elements:
- magnetic or slate paint;
- wrapping paper;
- tissue;
- color composition based on acrylic.
First you need to prepare a special craquelure varnish. It is he who allows you to create the effect of antiquity. Craquelure is carefully applied to the surface of the can. Then, on top, everything is covered with decorative paint, which should crack due to varnish.
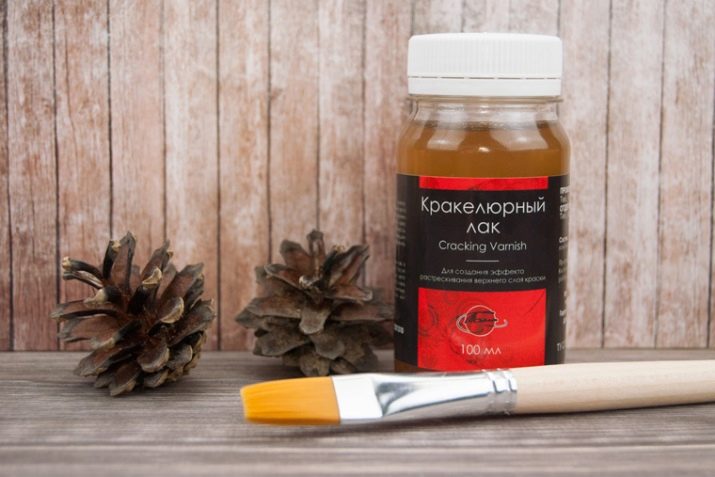
In this case, a whole network of small cracks will be formed, arranged in a chaotic order. Paint should choose a bright saturated color to make the subject more original.
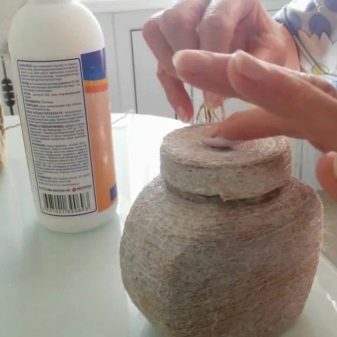
You can decorate a glass jar with eggshell. To do this, you must first carefully prepare the container. Rinse it well and remove all labels from it, if any.
Then it is worth taking a cotton pad and moisten it well with alcohol. They treat the surface of a glass jar. Do this in order to degrease it.
After that, the jar is completely covered with white acrylic paint. It must be applied evenly with the help of a sponge. This should be done in several layers. But remember that each new layer can be applied only after the solidification of the old.
After the last coat of paint dries, you need to take sandpaper. She sanded the surface of the product. Indeed, on the sanded products, the decor will look more neat and beautiful, although this procedure is not considered mandatory.
Do not forget to prepare the eggshell in advance. Its inside should be thoroughly washed with protein and yolk.. Then it is well dried, after which it is cleaned of the remaining film and broken into small pieces.
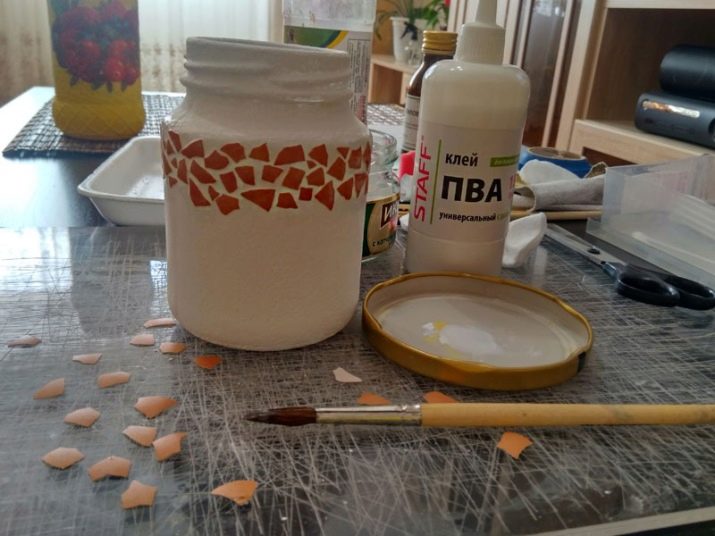
At the same time, it is necessary to pour a small amount of PVA glue into a separate container and prepare a small brush. The mixture is applied to a small portion of a glass jar.
Using a brush, gently drag the shell onto a jar greased with PVA glue. In this way, the entire capacity is filled out. After that, it is again treated with a glue mixture.
At the end, the jar is dried. You can do this even with a hairdryer. To make the product look more interesting, you can separately arrange the neck. For this, the remains of the egg shell are crumbled again to make it as small as possible.
Then glue is applied to the neck. Top it is sprinkled with a small shell. Elements that could not adhere are removed with a brush. In the end, it is again treated with a glue mass and dried with a hairdryer.
The jar can also be coated with acrylic paint on top of the shell. But it should be applied in several thick layers. Moreover, between the layers it is necessary to carry out thorough drying.
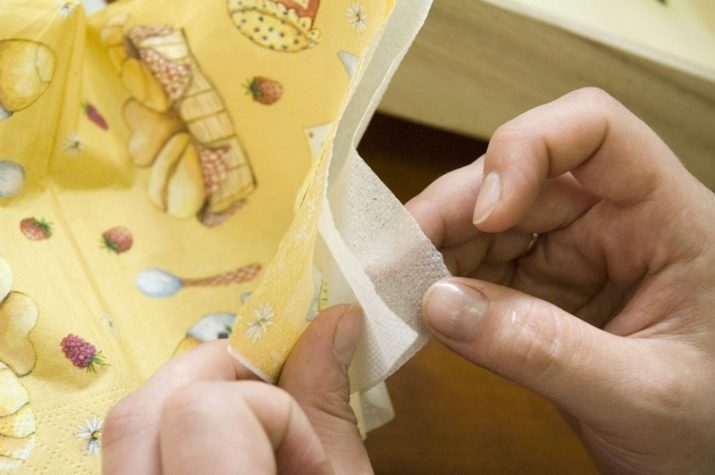
It is also possible to apply a drawing to the surface of the container using a paper towel and PVA glue. But in the end, all this is recommended to be covered with an additional layer of varnish, which will fix the image.
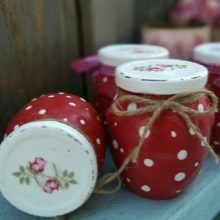
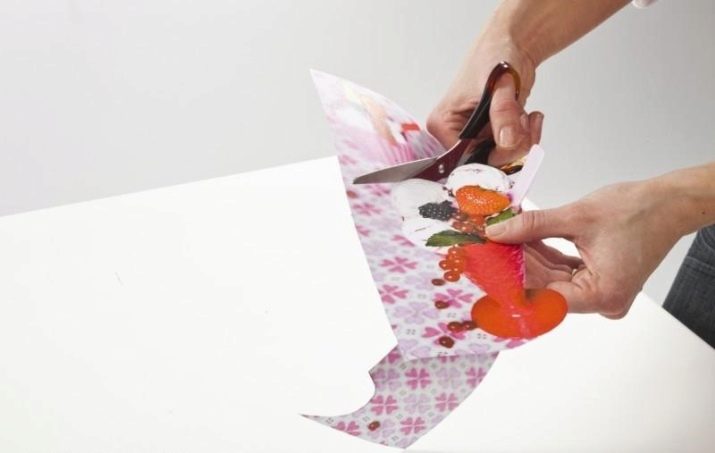
You can decorate the glass jar with small printed images. To do this, the containers are well washed and all labels are removed from them.
After that, the adhesive mixture is prepared in advance and the pictures you like are printed.
You can also select and cut images from unwanted newspapers or glossy magazines.
Such decoupage, decorated in black and white, will look spectacular. First, the jar is completely covered with black paint. Wait for it to dry.
On the entire surface of the glass jar lightly held with sandpaper in order to create a slight effect of antiquity. At the same time, you need to take pictures and cut off all unnecessary parts from them.
Images are put on a file. A solution of PVA glue and water is applied to them with a brush. In total, it is recommended to apply at least three layers of such a mixture. After this, the fragment is placed in a container with warm water for several minutes.
Then you need to apply a little glue in the middle of the can. A fragment of the picture is pulled out of the container with water and carefully glued to the place greased with the mixture. The top layer of the image is removed.
Now, first, the picture is additionally varnished, and then the entire glass jar.The product is dried with a hairdryer, after which it is again covered with a protective solution.
Glass jars can be decorated with photographs. This idea allows not only to decorate the container in an original way, but also to create an unusual frame for a photo. To do this, select the appropriate image.
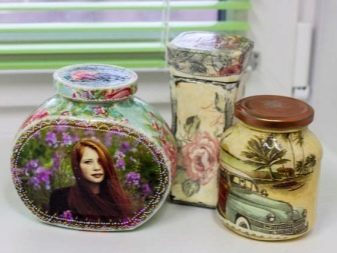
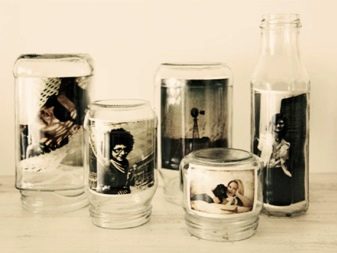
Old black and white photographs look beautiful. If the photo does not fit snugly on the surface of the can, then parts of it can be slightly greased with transparent varnish and only then put the image there.
To make the idea look more interesting, you can separately decorate the neck and lid. Multi-colored corrugated paper, beads, colored fabric will help to do this.
Tanks decorated with fabric or rope look interesting. The jar is lubricated with PVA glue.
After that, a thin decorative rope begins to be wound on it sequentially. This can not be done on the entire surface of the product.

All excess adhesive mass is removed with a brush. To make the jar look more beautiful and original, the rope on top is decorated with a small bow, beads, beads or lace. The neck can be left unadorned, or it can also be decorated.
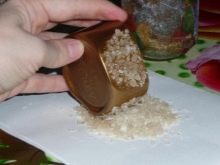
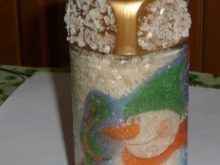
You can make a jar even with sea salt. In this case, you need to pour it into a separate container and add food coloring there. At the same time, coat the product with PVA glue.
The container is completely sprinkled with salt with a dye. There should not be free space on it. After 3-4 hours, everything will dry out and the product will be ready.
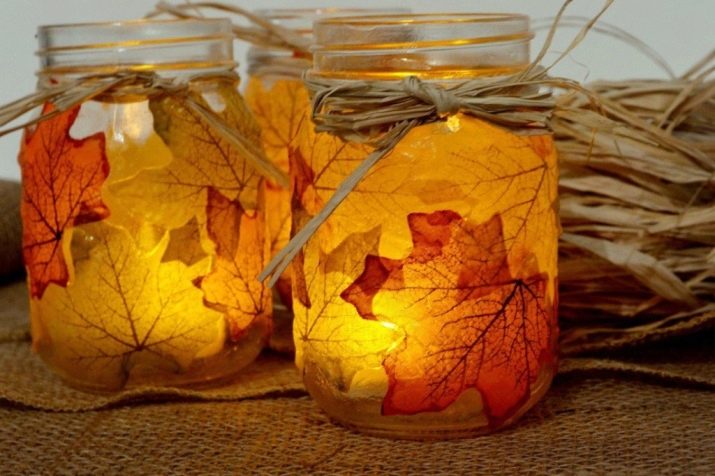
Glass jars decorated with dried or artificial maple leaves in bright shades (red, orange, yellow) will look beautiful. Moreover, they must be glued to the inside of the tank.
On the neck of such a can, you can tie a small bow made of a thin rope rope. Often, containers decorated in this way act as original candlesticks.
Recommendations
Remember that for the design of glass jars it is best to use acrylic building paint. After all, it is practically not inferior in terms of properties and qualities to a special art coating on an acrylic basis, although its cost will be significantly lower.
If you used white acrylic construction paint, then to dilute it, you can use only color. In this case, only 1-2 drops of such a colored composition will be sufficient.
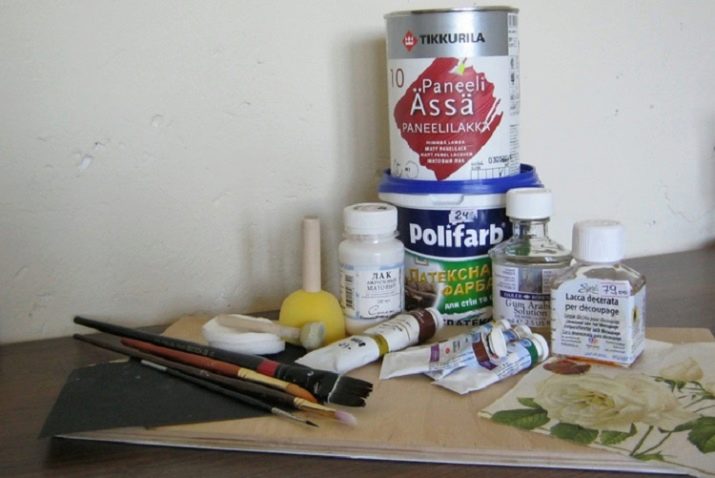
Do not forget that when decorating glass containers you can use a hairdryer. It will help dry the acrylic coating in just five minutes. Otherwise, you have to wait a long time for the layer to dry itself.
Using
Decorated cans can be used for various purposes. Often they are decorated to make them comfortable organizer for pens and pencils, a cutlery stand in the kitchen or a flower vase.
If you decorated the containers with beautiful photos, then they can be used as frames and put on a shelf. Also, many decorated glass jars subsequently act as interesting candlesticks.
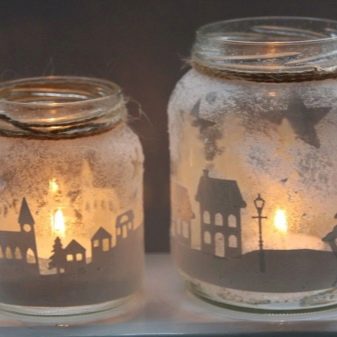
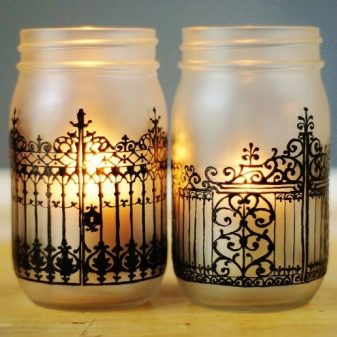
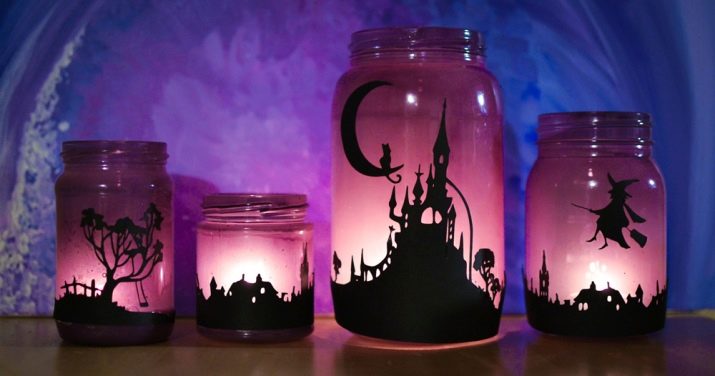
Fixtures made from such cans look spectacular and beautiful. But in this case, the product should be decorated inside the item.
These night lights can decorate any room in the house.
Decorating glass jars using decoupage technique is presented in the following video:


