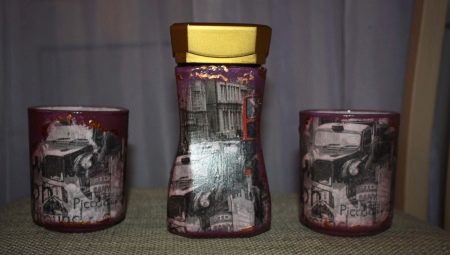
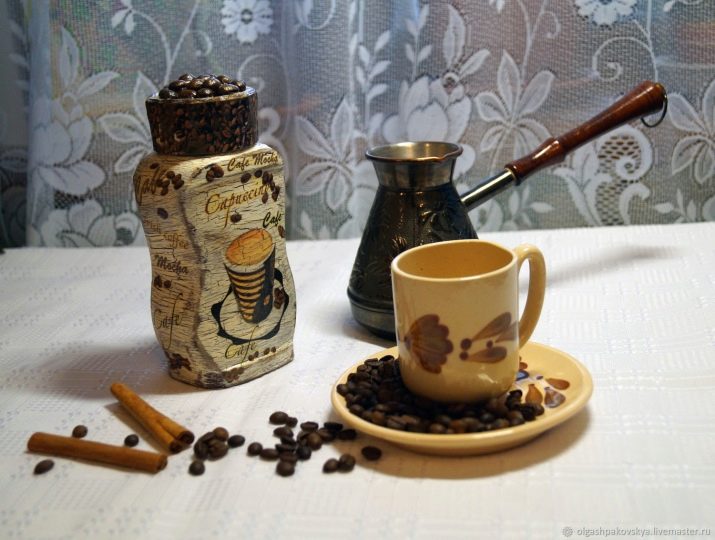
Drinking a cup of coffee in the morning is more than just enjoying a delicious, invigorating drink. For many people, such an event is almost a sacred act. It is recommended to design it at a decent level, with all the necessary surroundings. Must attend: a beautiful teapot, a roomy Turk, exclusive dishes and, of course, a spectacular jar where ground coffee is stored. Make it beautiful, original colors and textures is quite possible with your own hands.
Decoupage preparation
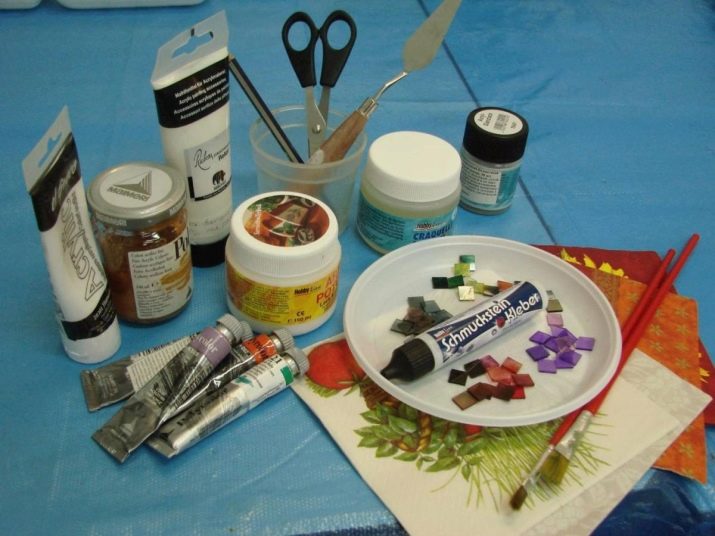
A master class on creating an original coffee product is simple. You will need any glass container that is easy to find. You can also make decoupage coffee cans. Although glass jars are usually more affordable, it is therefore best to use them for work. You will also need acrylic paint, it is non-toxic, optimally suited for this kind of operation. Paint can be taken in several colors, for example, brown, white and yellow. You will also need:
- brushes (wide and thin);
- wipes with your favorite images;
- scissors;
- knife, blades;
- cotton swabs;
- acetone or paint thinner (to remove old glue);
- coffee beans;
- glue supercement "Second";
- glue gun;
- rope;
- figures carved from plywood (heart, coat of arms of your favorite city, ideas may be different);
- a cotton cloth.
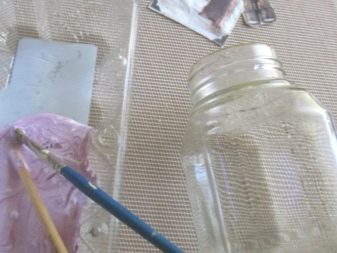
Begin the process by removing the label. This can be done simply: put the jar in a pot of boiling water, “boil” it there for about 10 minutes. After that, the label can be easily scraped off with a knife, blade, and the remaining glue can be removed with a rag soaked in acetone or solvent. After the operation is completed, a jar is recommended wipe and dry.
After preparatory manipulations, white paint is prepared, brown is added to it, this will be more in harmony with the coffee theme.
After painting, the treated item dries up for 10-12 hours.
Tank decoration
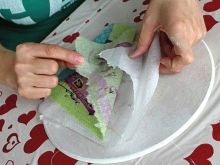
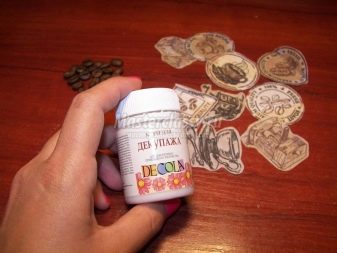
During this time, you can solve the issue with illustrations for decoupage. Napkins with certain elements and motives are selected, they are neatly cut. Layers are separated from the elements, only the first of them remains, on which the image is applied.
Previously, by hand it is recommended to draw a plan diagram on a piece of paper, from which it will be clear where and what elements will be located exactly.
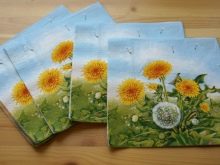

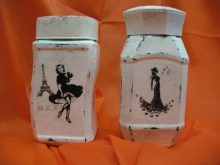
Napkins are created both independently, on a printer (black and white and color), and using special templates, they can be found in specialized stores. In the first case, you can create the desired plot, depending on your imagination, but in accordance with the interior and stylistic direction of the kitchen. The choice of various applications in online stores can be found very large, there are images of very good quality, there is the opportunity to pick up something even for the most sophisticated taste.
You can create napkins for cutting on special, especially favorite topics. Also, collages are often made in the spirit of paintings by the French painter Henri Matisse, where there are various bright color schemes. The following topics are especially popular:
- children’s;
- Provence style
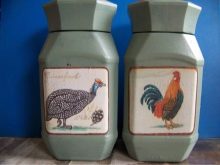
- zoological;
- vegetable;
- sea;
- flower;
- feline.
Using a thin brush and glue, cut elements are fixed on the surface of the glass container. Important, so that the adhesive lay evenly and there was no deformation or swelling of the paper image. After the operation is complete, you should definitely wait 5-6 hours until everything dries.
It should be noted that during the application of paint, bulges, “bubbles” may form where air will be. Therefore, apply glue gently and evenly.
And after applying the application, it will need to be carefully align so that the image is not deformed.
In this operation, some skill is important, which gradually comes with experience. The image may tear when wet, therefore you must act as carefully as possible and not rush.
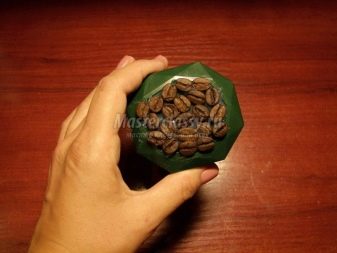
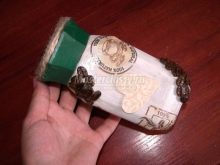
During the drying of the processed cans, you can think about the decor of the lid. It will need to be washed, dried and degreased. After that, using glue gun, coffee beans are applied to the surface.
This operation is simple, only the glue must be warmed up to the desired condition. The edges after processing remain intact.
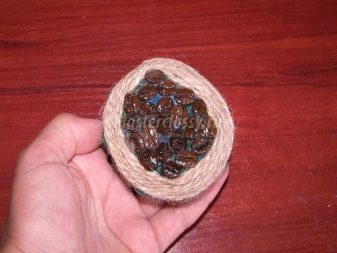
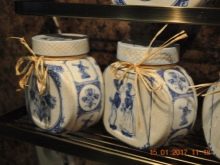
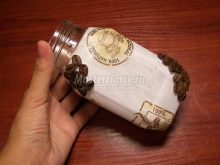
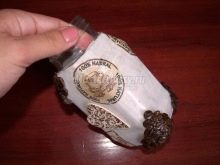
After the surface dries, coffee beans are also fixed on the jar, using the same glue gun. After completion of all operations, the treated planes are varnished, preferably glossy. After the product dries up (it’s best to wait a day by putting a jar on the street or balcony), the glue gun and twine are taken again, decoration is made around the surface of the cover of the attached grains.
Using glue Supercement “Second”, a fragment of plywood “heart” (or other subjects) is attached. A similar element can be made original, funny, then it will attract more attention. A new handmade jar can become an organic complement to the interior, it will become an integral decorative element of any table in the kitchen.
An excellent vase is obtained from a coffee can. All details can be found in the video below.


