Decoupage is a technique that allows you to decorate objects by applying a finished picture to them. The history of this design method is rooted far back in the 17th century, when it became widespread and rapidly gained further popularity. But if decoupage was originally used to give the furniture and decor visual luxury and high cost, now it is used to decorate any items from toys and jewelry boxes to large interior items.
The word decoupage comes from the French découper, which literally means cut.
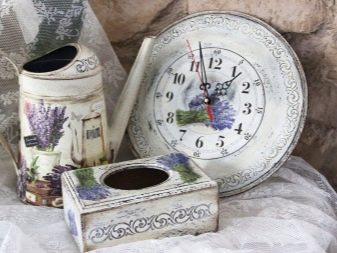
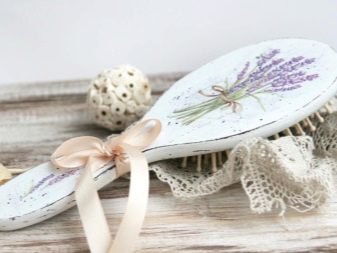
With the help of decoupage, old and seemingly obsolete objects acquire amazing beauty, bloom with bright colors and forever retain a piece of the master’s soul, pleasing the eye for many more years.
Take your time to get rid of things that are bored you, dilapidated or no longer fit into the interior. There is a way to breathe new life into them and give a peculiar charm.
Decoupage for beginners
If you are just starting to get acquainted with decoupage and comprehend this art, do not immediately take on complex techniques and buy expensive materials. Starting to hone your skills, it is recommended that you first try something light, such as decoupage on cardboard.
This technique does not require large material costs, as the necessary materials can be easily found in any home, and the process is simple and does not take much time.. Everyone can cope with this, and the result will pleasantly surprise and delight with its beauty and originality.
Carton decoupage workshop
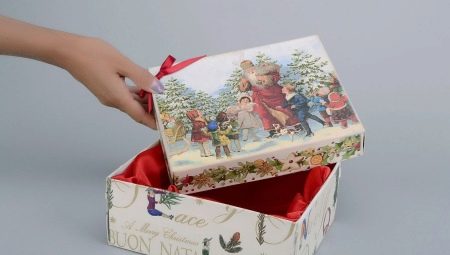
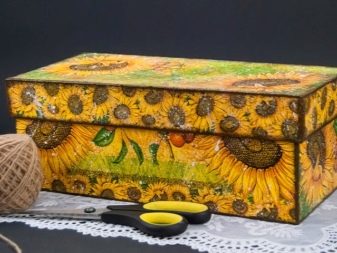
Creative people know that an original thing can be made from any, at first glance, ordinary or already unnecessary item. So, for example, an old cardboard box, which in vain takes up space and collects dust, can turn into a beautiful box. We offer step-by-step instructions on how to do this.
You will need:
- cardboard box;
- paper napkins;
- PVA glue;
- scissors;
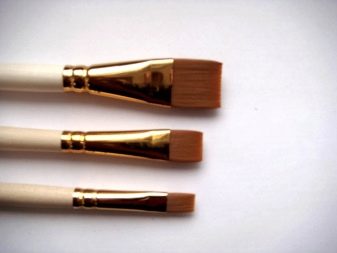
- brush;
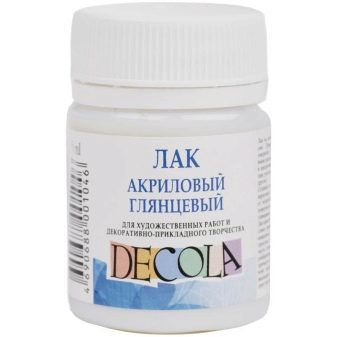
- acrylic lacquer.
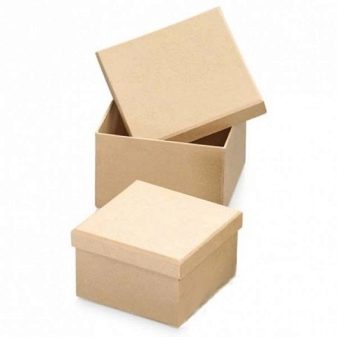
First of all, you need to prepare the basis for your future box. An old shoebox or gift box will do.
It is not recommended to use colored cardboard, since on it at the end the drawing may be poorly visible. It is also undesirable to use gloss due to the fact that glue will not adhere well to it.
Once you have selected a suitable box, clean it from dust and dirt and repair tears or other damage.
Decoupage is somewhat similar to application, therefore, we will apply the drawing in a similar way. As a subject of application, ordinary paper napkins with a beautiful pattern are best suited. There are other options, such as a decoupage card, but for your trial creation it is better to use a more affordable option.
Select several napkins with the same or different patterns and cut out the necessary sections.
Take your time, act slowly and carefully so that you do not inadvertently damage the surface or pattern. If your child is engaged in decoupage, do not leave him unattended while he is using scissors.
If you do not want the picture to have distinct contours, you can not cut the napkins, but tear them with your hands. Due to the torn edges, the napkin will lie more smoothly on the surface and merge with the background.
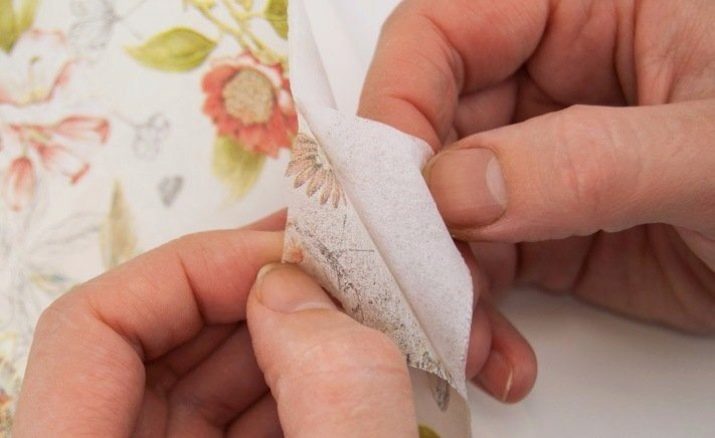
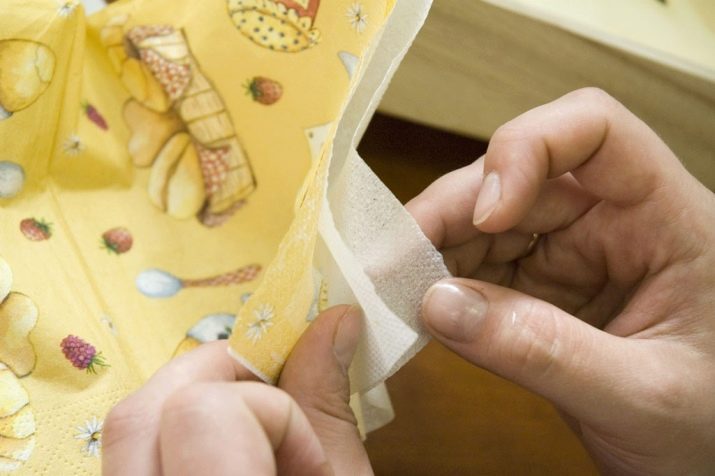
When you have decided on the future picture that you want to make from napkins, you can proceed to the next step. This type of paper is already quite thin, although it consists of 3 layers, but decoupage only needs the top - color. Carefully separate it from the bottom two. If you can’t do this due to rough edges, remove the layer before you cut out the picture..
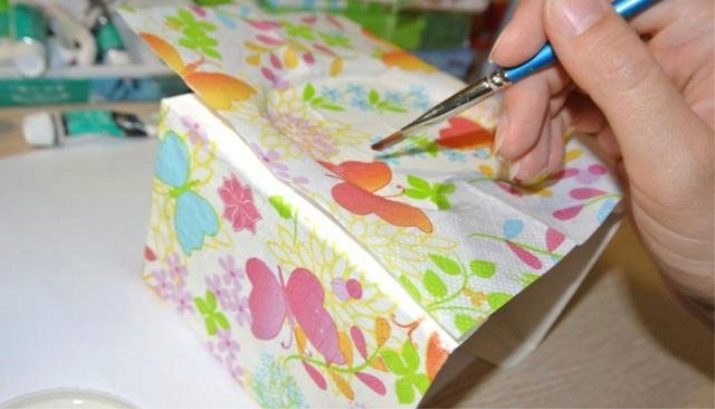
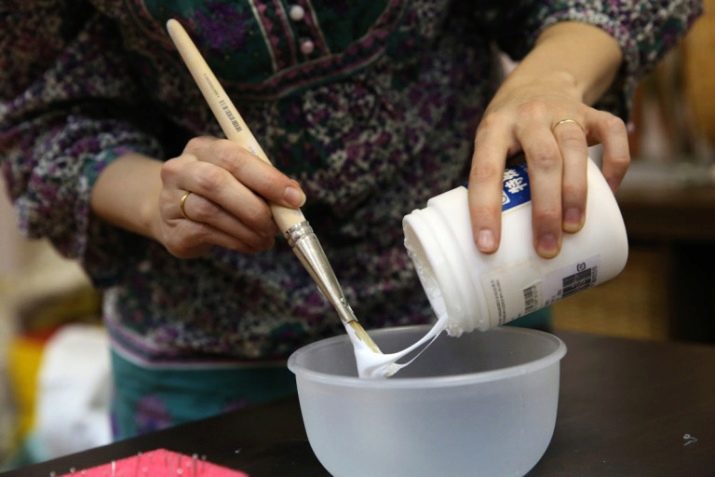
Next, proceed directly to the decoupage. First of all, it is worth noting that this decoration technique differs from the usual application in that the glue is applied not on the surface to be coated, and not even on the wrong side of the element to be glued, but on top of it.
It goes like this: First, attach a piece of tissue to the place of the box where you want to place it. And already on top of it you apply glue with a brush. Do not rush, because the napkin, due to its structure, can tear and stretch, which will lead to the fact that the picture simply deteriorates.
Gently brush with a brush from the center to the edges, and repeat this operation until the paper is firmly against the cardboard.
Repeat this step until you have completely covered the box.
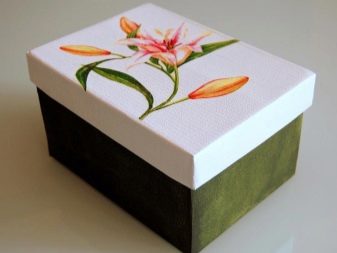
The cover can be of a different color, have a different pattern, is only partially covered or not covered at all. Do not limit your imagination, create such a decor as you like.
After the work is completed, you need to wait until the box has completely dried and cover everything on top with acrylic varnish.
This will help your creation last longer and not wear out over time.
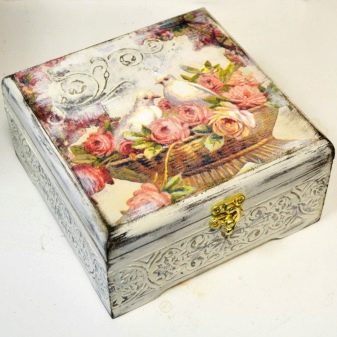
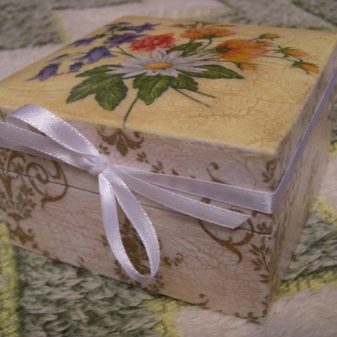
Finished item of decor can further decorate stickers, artificial precious stones, decorative ribbons or dry flowers, cover with patterns or drawings.
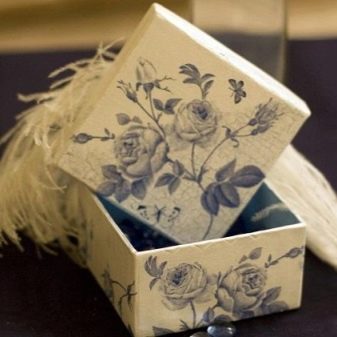
The dusty old box has become an elegant box that is suitable for storing valuables and decorating the interior. A gift wrapped in such a box will be even more valuable for the person to whom you give it.
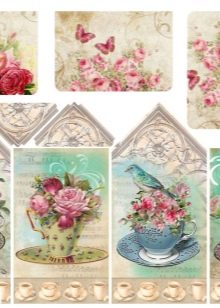
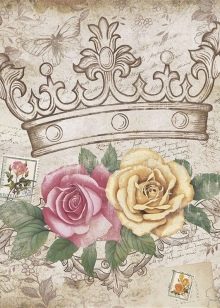
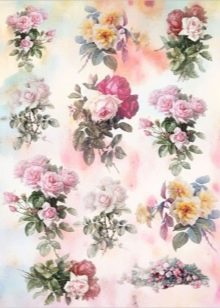
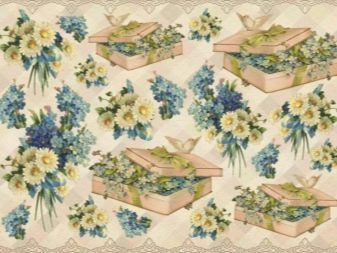
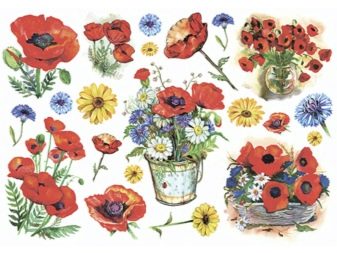
Decoupage cards
After you figure out the basics, you can try other methods of decoupage. Among them are decoupage cards. These are drawings made on special paper.It is thin enough to lie on any surface without problems, and at the same time strong, which does not allow it to tear in the process of creativity. These cards can be purchased either in the store for creativity, or ordered on the Internet. Their cost, of course, exceeds ordinary paper napkins, but the quality, originality and sophistication of the drawings will not leave anyone indifferent.
The only drawback of this paper is that it is denser than napkins and makes it difficult to make fuzzy contours.
The method of working with decoupage cards is not much different from how the napkins were glued, but there are some features.
Some masters advise pre-immersing the card in water for a minute or two, believing that it will stick more securely this way.
When dealing with decoupage cards, you should use appropriate glue which is also sold in creative stores or dilute PVA in a ratio of 1: 1, unless a special one is found.
Glue is applied not only on top of the paper, but also previously on the surface itself. Cover the surface with a thin layer, apply a decoupage card, and then cover on top with another layer of glue.
Do not be afraid to pour it too much, because after complete drying it will no longer be noticeable. On the contrary, if there is more glue than required, it will be easier for you to place or move the card, without fear of tearing or stretching it. Make sure that the paper does not wrinkle and that the glue does not come in bubbles.
The process is quite painstaking, requiring extreme concentration, however, not as complicated as it might initially seem.
The main thing is not to be afraid to experiment and give free rein to your imagination, and then you will get a worthwhile decoration for your home.

Other decoupage methods
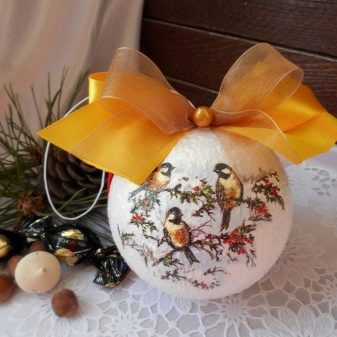
If it happened that there was no glue at hand or if you were too lazy to mess with it, there is a way in which you will not need it.
This method is good for flat surfaces, however, requires preliminary preparations.
You will need:
- thick cardboard carved in the shape of a circle;
- white acrylic paint;
- brushes;
- paper napkins;
- iron;
- acrylic lacquer.
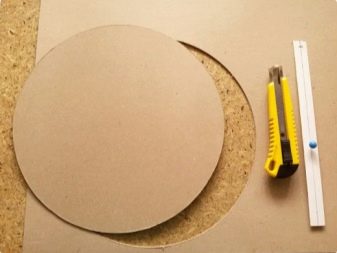
First you need to prepare the cardboard. You can buy blanks in the store for creativity or cut circles yourself. They should be coated with white paint in two layers. This is done in order to smooth out all the bumps and give the future product a more neat appearance. On a white background, the picture looks much better than on a light brown or dirty gray.
After the first coat of paint has dried, it is necessary to cover the cardboard a second time, and at this point, closely monitor the drying of the paint. At that moment when she stops leaving fingerprints when touched, but remains a little sticky, the moment comes for the next stage.
The selected napkin needs to be removed from the extra layers, leaving only the one on which the drawing is located. Then you need to use an iron and iron the napkin to get rid of wrinkles or wrinkled areas.
Choose a low temperature to avoid spoiling the paper. And do not forget to turn off the steam so that the napkin is not wet.
When the drawing is ready, it needs to be placed on cardboard and covered on top with an ordinary white napkin. Iron again at a low temperature, this time not afraid to use steam.
At the end, the napkin fits snugly on the cardboard without any glue, without bubbles and irregularities.
The edges of the napkin that extend beyond the cardboard circle can either be carefully trimmed or glued to the wrong side.
The finished product is covered with acrylic varnish for fixing.
See how to turn a regular mailbox into a beautiful box in the next video.


