Mechanical sewing machines were replaced by electric ones. They have been working successfully for decades, allowing to increase labor productivity. The speed of their work is several times higher than that of purely mechanical sewing devices.
What it is?
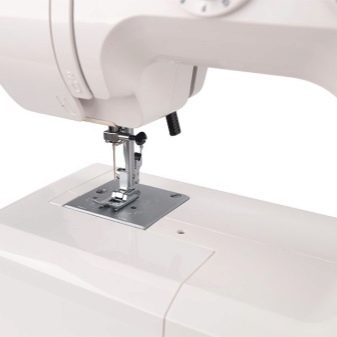
Everyone is accustomed to call an electric sewing machine an electromechanical machine, but here only the engine that drives its mechanism is electric. Therefore, further we will call it electromechanical. It differs from electronic in the absence of "advanced" functions. The device only performs the main work - so that the needle and shuttle parts move back and forth, passing the thread through the layers of fabric. The fabric itself is advanced with the help of additional rollers, which make it possible not to sew one stitch to another, tangling and twisting the threads in the same place, but to line these stitches in a row, forming a regular and even seam. Labor productivity on a typewriter compared to fully manual sewing can increase from dozens of times for beginners to hundreds - for experienced seamstresses.
At the heart of the work of an electromechanical sewing machine is the replacement of the efforts of a seamstress spent on the rotation of the drive wheel, kinetic energy received from the electric motor. The drive shaft, which was previously turned by hand, using belts or gears, is connected to the motor shaft. The power supply to the engine is most often started through the foot pedal. It is possible to switch the engine of any of the legs by pressing the pedal. In this way, both hands at the seamstress are busy aligning the fabric while laying the seam, and so that it comes out even.
The electronic model has, for example, programmable modes to automate and speed up the embroidery process. And there are dozens of varieties of different seams available, allowing the seamstress to approach the most inaccessible places of a newly stitched or repaired product.
And one more difference. For example, with a broken needle or a loose sewing foot, an ordinary machine will try to continue working, not paying attention to breakage. In electronic mode, several sensors are responsible for a number of malfunctions, which simply block further actions of the user until the problem is resolved.
An electronic machine can stop for a break, "noticing", for example, overheating of the engine or drive mechanism.
History
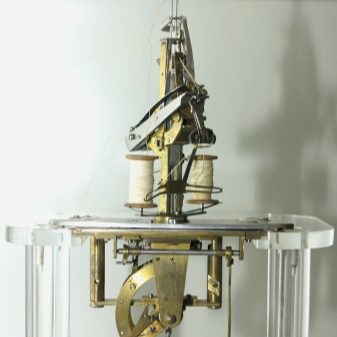
With its appearance, the sewing machine goes as far back as the 18th century. Then they just copied the handmade stitch. In 1814, the Austrian tailor Joseph Madersperger presented to the public a needle with an eye not at the base, but at the pointed end. Then Fisher, Gibbon, Walter Hunt, Elias Howe and a number of other masters began to develop a machine that allows sewing with such a needle. In 1830, Barthelemy Timonier patented the first installation, which at times accelerated sewing with the help of a needle with a hole near the tip, and the first sewing workshop opened by him had great demand.
In 1845, Elias Howe in America created a mechanism for sewing using a shuttle. The speed at that time was impressive - 300 needle cycles per minute. In this case, the needle made frictions horizontally, and not vertically, as in modern machines. Accordingly, the stitched strips of matter went vertically. Deviation of the seam from the straight line led to a stop of the mechanism, and certain skill was required from the sewing workers.
In 1850, in the Wilson typewriter, and in 1851 in the Singer and Gibbs apparatuses, the vertical needle stroke was adopted as a standard. Layers of fabric moved horizontally, driven by gears. Later, the gear was replaced by a plate with teeth. Further improvement was aimed at increasing the throughput of sewing machines.
Singer sewing machines appeared in Russia at the beginning of the 20th century, and their production under this brand was mastered in Podolsk near Moscow. With the coming to power of the Bolsheviks and after the Civil War, the newly minted Soviet leadership renamed the Zinger plant into PMZ named after Kirov ”, and since 1923 the first Soviet sewing machines were produced under the brand name“ Gosshveimashina ”and“ PMZ ”.

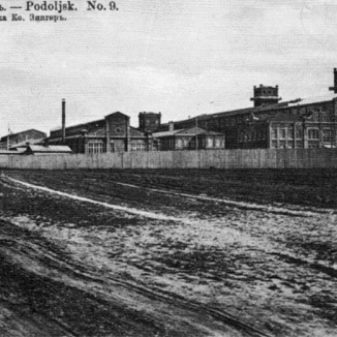
However, German developments continued to be used for more than a decade. Next came the brands "Podolsk" and "Seagull" based on this design. Experienced amateur craftsmen used independently mounted AC motors instead of a handle with a drive wheel.
Today, all these products are the property of antique collectors. They were replaced by modern compact electromechanical and electronic sewing machines, which simplify sewing and give the user a new level of comfort and several times faster operation.
A sewing machine allows you to turn the work of a seamstress from a hobby into a source of constant income.
Kinds
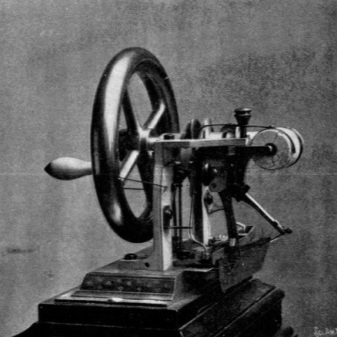
A manual sewing machine is already a familiar unit in which the drive is rotated either by hand (using an additional gear wheel equipped with an ordinary “twist” like the one that is now put on a manual “dynamo” to charge the batteries), or by means of a foot reducer, rotation which is carried out with both legs. In the latter case, the foot pedal is connected to the levers that rotate the shaft; the whole installation is located on a special sewing desk or table, and a belt is wound from a large wheel, wound up on the drive wheel of the machine.
An electromechanical sewing machine differs from a manual one only in that the manual rotator is replaced by an electric motor operating from a standard alternating voltage of 220 volts. For switching the electric drive, a foot pedal is provided, pressed only by one of the legs, and not both.

Experienced users converted Soviet cars using, for example, a telegraph key from the Morse code as a switch. Today, the "ignition pedal" comes complete with such a machine - nothing needs to be redone. Switching modes is carried out using one or more buttons (toggle switches, switches or mini-levers).
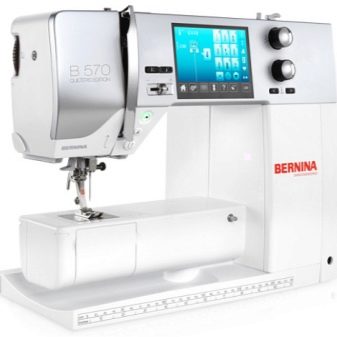
Electronic sewing machines can contain both their own control board, in which their own firmware is “embedded”, and can be controlled using a PC or laptop. In both cases, the cars have their own display, a number of buttons and switches. In the first case, the machine is able to cope on its own, having its own “firmware”, which is “smart” enough to be able to use even the most “pretentious” mode. In the second case, a computerized sewing machine will not work on its own - it needs a third-party program from an external device.
Connection is via a USB-microUSB cable (as with a smartphone or tablet). You can also adjust the speed.
Manufacturers
Today, top manufacturers starting with the most well-deserved are located as follows:
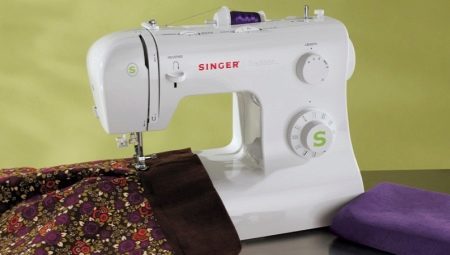
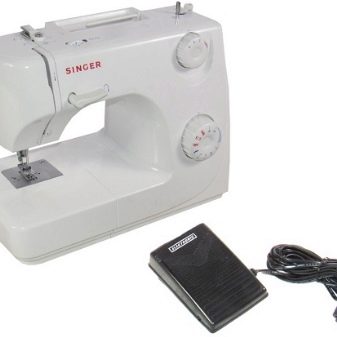
- Singer,
- Janome,
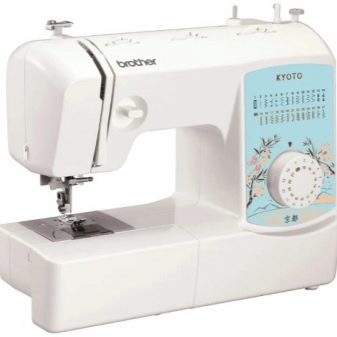
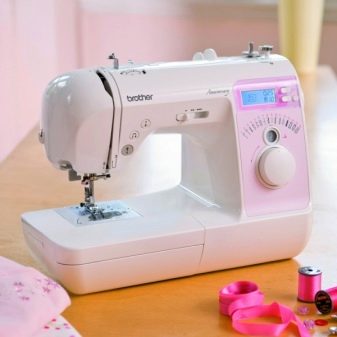
- Brother
- New home,
- Babylock,
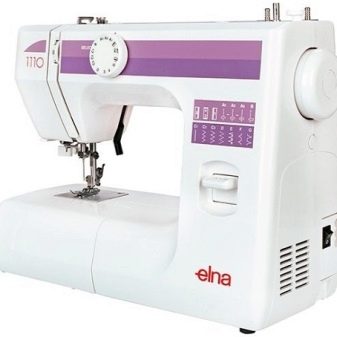
- Elna
- Pfaff
- Husqvarna,
- Bernina,
- Juki.
As the life of several generations of users has shown, the oldest of the brands is still considered the leader.
How to choose?
The final choice depends on the nature of the work - repair of clothes and accessories, perhaps simple sewing or ambitious plans and sewing truly beautiful things from scratch, maybe creating an author's fashion for things, creativity, originality. In the first case, an electromechanical machine is suitable for you - it has only the most common and simplest stitching modes. In the second and third - electronic, with the ability to sew dozens of different seams in performance up to the art of automatic embroidery.
How to use?
The rules for preparing and tuning the machine may vary. They depend on the type and model. Consider the general scheme of work.
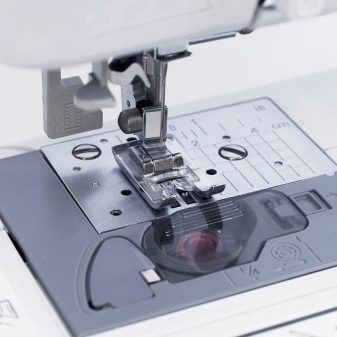
- Insert the needle into the sewing mechanism. The flat cut of the needle is reversed.
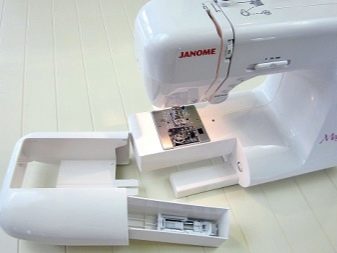
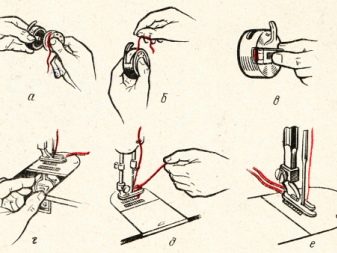
- Wind the thread on a bobbin to the limit using a special winder on the machine itself. Pull 10-15 cm of thread from the bobbin. Install and lock the bobbin at the bottom of the mechanism.
- Install a spool of thread on the pin intended for it, unwind half a meter of thread and pass it through all the holes and hooks specified in the instructions. Do not break this sequence. Pass the thread into the needle.
- Move both threads to the side.raising the foot itself.
- Connect the pedal to the typewriter. Plug the entire system into a power outlet.
Modern sewing machines can use the supplied power adapter. To check the quality of the machine, insert test strips of fabric, select the desired seam mode and try stitching (stitching) them.
Experiment with several types of seams. If the seams are even, you can adjust the desired mode and proceed with full sewing.
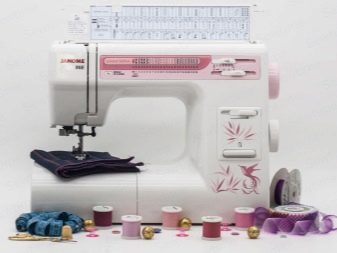
In the next video you will find an overview of the electromechanical sewing machine Janome MX55.


