Nowadays, hand-made things are very popular. With a rich imagination, you can make anything, decorate a living room, mirrors or personal items. The discussion below will go about rims decorated with products from foamiran. What is the peculiarity of the material, what are the decor options, how to create - this will be discussed in this article.
Features
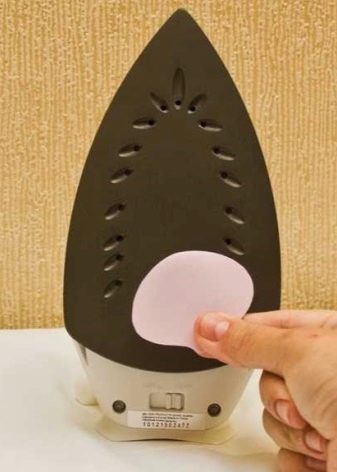
Foamiran hails from faraway Iran. The material has become popular due to its properties. Its plasticity and lightness make it possible to produce unique things. Crafts quickly take any form by heating. It is enough to put the product on a hot iron, curling iron or bring it closer to the flame of a candle. The material has a memory, so the shape of the product when heated will remain forever.
Synthetic foamiran is absolutely safe and odorless. When you open the package, you can smell a subtle smell. It quickly erodes. Even children can work with material.
Foamiran does not absorb moisture, fat, soot, does not fade in sunlight. Product care is very simple. Wipe the surface with a soft sponge dipped in water with detergent.
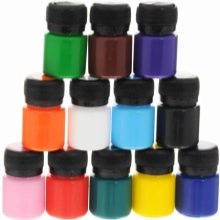
Since the material lends itself to any kind of processing, many crafts and decor elements are created from it. Crafts are painted with acrylic, watercolors, gouache and colored crayons.
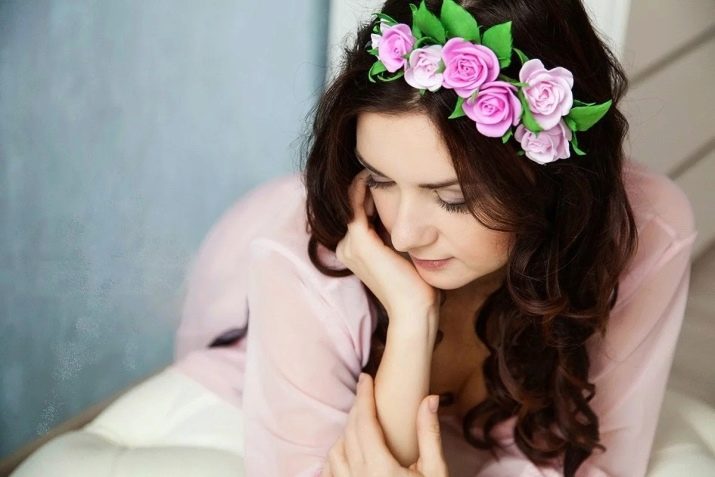
Unusual beauty is distinguished by foamiran rims for girls. Hair hoops decorated with flowers or figures will immediately attract attention.
For children, there are many options for finishing the rims.
It all depends on the taste and preferences of the child. Handmade options are worth exploring separately.

Decor Options
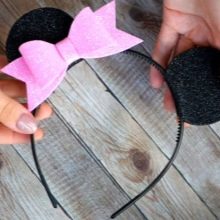
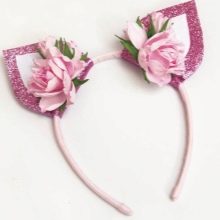
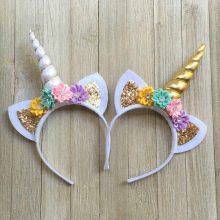
For girls, there are a lot of decor options from foamiran. The most popular are children's headbands with ears. They are dressed for various holidays or matinees. Such decor will create a mood not only for the child, but also for the adult.
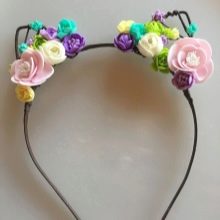
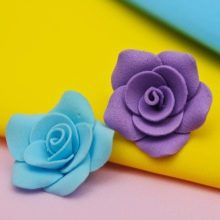
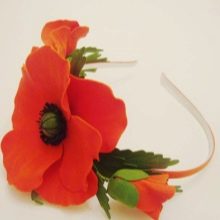
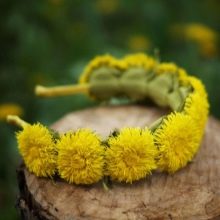
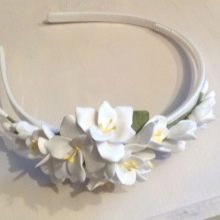
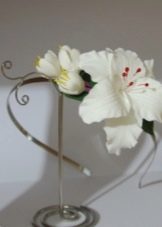
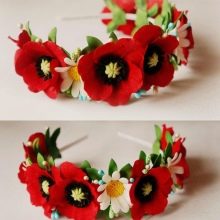
Headbands with flowers are no less popular. You can create completely different flowers: dandelions, poppies, roses, lilies or orchids.
Everyone loves spring, so it’s not out of place to please your child with a spring rim on March 8. Bright shades of foamiran are used for decoration.
Additionally, the headband is decorated with a bow, beads, butterflies or other decorative elements.

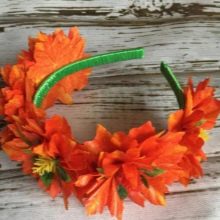
The autumn rim of foamiran is able to make you smile in the grayest days. Products can be in the form of yellow maple leaves, mountain ash, small acorns or fungi.

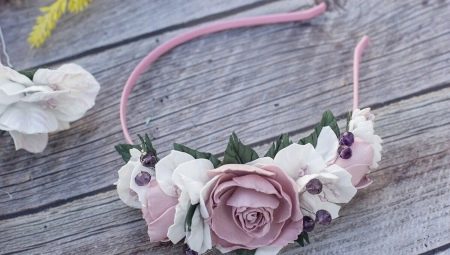
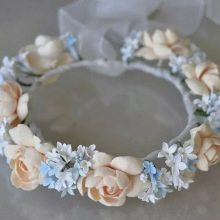
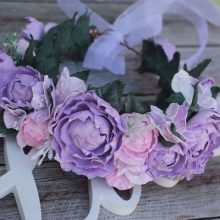
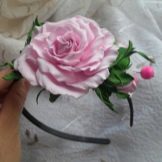
A wedding band is created using pastel shades. Decoration should not be evident. A rim with roses, peonies or daisies will perfectly complement the image of not only a little girl, but also a young person.
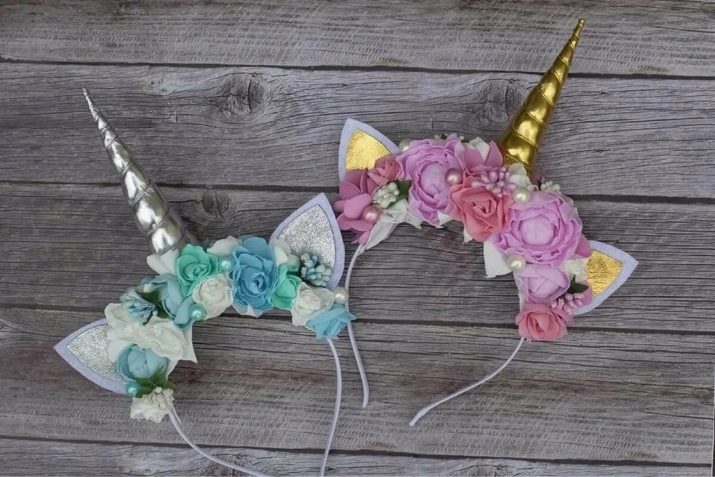
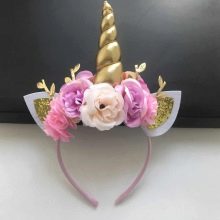
Figures of small animals also look cute on the rims. A great option would be a small mouse, which seemed to lurk on the rim. Unicorn from foamiran will look original. Unusual decor will lighten the mood and draw the child into the game. The rim can be both with a voluminous craft, and with a unicorn horn. The composition is complemented by ears and flowers.
Options for headbands are also suitable for decoration of hairpins.
Tools and materials
To create crafts you will need:
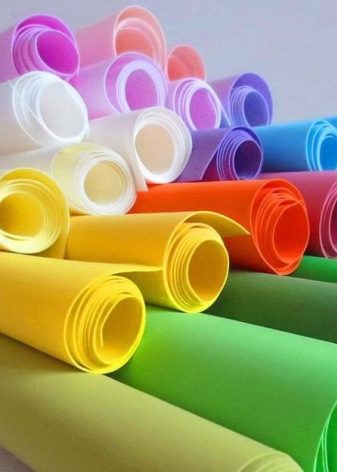
- multi-colored sheets of ordinary and glitter foamiran;
- scissors;
- hot glue gun or Moment glue;
- filler;
- bezel;
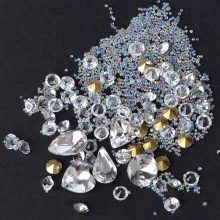
- beads, rhinestones, beads;
- cardboard;
- pencil, felt-tip pen;
- wire;
- paints;
- iron;
- foil;
- threads
- auxiliary tools.


Manufacturing technique
Unicorn hoop
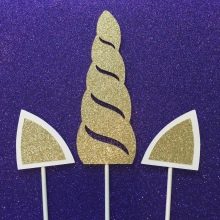
The first workshop will show you how to make a unicorn hoop with your own hands. The rim will have a horn and ears. Work begins by creating a template. The ears and horns of a unicorn are cut out of cardboard. The scheme can be drawn independently or taken from the Internet. A step-by-step instruction consists of a series of steps.
- The horn template is transferred to the foamiran leaf.
- The part is cut out.
- Roll up the finished blank and glue it.
- It is necessary to wait until the glue dries, and then fill the workpiece with filler. The bottom is glued together. Additionally, you can wrap the finished horn with a golden ribbon. But since the material is glittery, the finished result may be too clumsy.
- To create the ears you will need a regular white foamiran. The template is copied twice.
- The middle of the eye is cut out of glitter material.
- White parts and the middle are glued to the rim.
- It is necessary to observe symmetry.
- A horn is glued to the central part of the rim.
- Now proceed to the decor of the rim.
- 4 circles of any color are cut out of the usual foamiran.
- The blanks are folded, heated and fixed with glue.
- Once again, the part is folded - a petal is obtained. All petals are glued to a small piece.
- For the core of the flower take a bead, rhinestone or beads. It is necessary to make three flowers.
- Leaflets are cut from green material.
- All parts are attached to the rim by gluing. The unicorn bezel is ready.
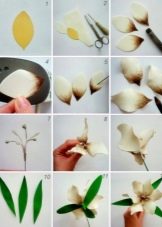
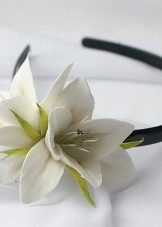
Lily
Instructions for creating a lily for the rim is suitable for beginner needlewomen.
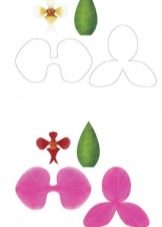
- Cut out petal patterns. The average length is 6 cm. In total, 6 petals are needed.
- The blanks are tinted on both sides with acrylic paints. Use pink and lilac colors.
- The formation of the petals occurs by heating. To create veins, a toothpick is taken and carried along the petal.
- The edges of the parts are heated to obtain a wavy shape.
- To give the flower naturalness, a brown marker is put a dot at the bottom of each petal.
- Pestle and stamens are made using thin wire and small rhombic pieces of black color. Pieces are fixed with glue to the wire.
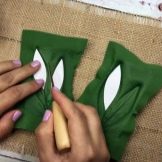
- Cut leaves from green material.
- Shape, heating the workpiece.
- Petals are glued around the pestle and stamens. First you need to fix the first row in the amount of three parts with glue.
- The second row is glued staggered.
- The leaves are fixed in any order from the bottom of the flower.
Now the finished flower can be fixed on the rim with glue.
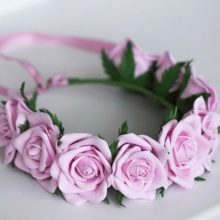
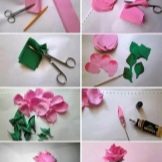
rose flower
- A template for petals is cut out of cardboard. Templates must be the same size.
- Five large and five small blanks are cut using templates.
- The workpieces are heated and slightly delayed. This will give the details a wavy shape.
- A ball is made of foil. One small petal is wrapped around it, form a cone, fixed with glue.
- The bud is created by molding from small petals. Large glued on top, pre-heating and giving a wavy look.
- 6 leaves are cut from green foamiran, heated and glued to the bud.
The rose is placed on the rim. Additionally, you can wrap the hoop with colored tape.

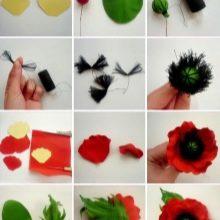
Poppy
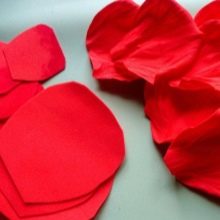
- Cut petal pattern.
- Cut a circle from green foamiran.
- They take a bead and thread a wire through it and twist it. In this way, the stem is formed.
- The green circle is heated, wrapped around beads, the edges are connected on the stem.
- Fixation of the part is carried out by black thread. It is important that the intersection point is in the middle.
- From red sheet cut out patterns for the petals.
- Petals are folded accordion, twisted and straightened.
- Details are glued in two rows, fixing at the base.
- Cut leaves and make cuts along the entire edge of each part. Billets twist and straighten. It turns out carved, wavy leaves.
- The leaves are glued on the back of the flower. The wire is removed with scissors.
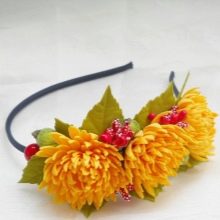
Yellow fantasy flowers
- Cut white rectangles 4x3 cm in size. 6 details are needed per flower.
- For the hoop you need 3 flowers.
- Cut 2x3 cm rectangles for the petals.
- Cut squares for sepals: 3.5x3.5 cm for flower and 3x3 cm for bud.
- Petals are carved in the shape of a heart.
- Squares are folded in half, a drop is cut out. It turns out a circle of four petals.
- Take a white strip measuring 1.5x4.5 cm and create a fringe effect.
- The petals for the bud are tinted on both sides with yellow paint.
- Petals for flowers are also tinted on both sides with orange paint.
- The edges of the sepals are covered with brown paint.
- Cut 2x3 cm rectangles from yellow foamiran.
- Cut leaves from a green piece, they can be made a little oblong.
- The leaves are heated and shaped.
- They are tinted with olive-colored paint.
- All workpieces are processed by heating. After heating, the petals are folded accordion, rubbed with your fingers, straighten and make a vein.
- The sepals are heated, the ends are tightened.
- The fringe is folded and rubbed.
- Form droplets of foil, put them on the wire. This will be the base of the bud.
- They glue the base with small petals, cover the foil and glue the parts with an overlap.
- A loop is made on the wire. A fringe is glued to the wire, and three petals in a circle to it.
- The second row of petals is glued between the first row.
- Gathering buds and flowers, glue sepals.
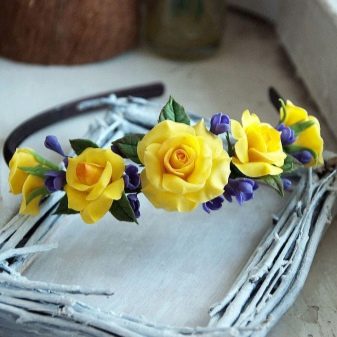
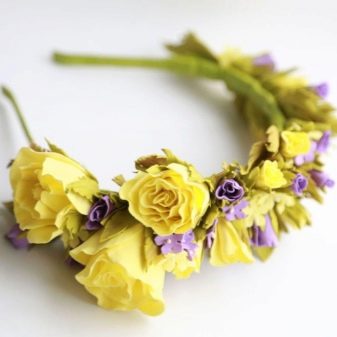
Products are ready. It is necessary to fix them on the rim. First, the leaves are glued, then the buds and flowers are attached in any order. You can alternate products with additional elements: beads, rhinestones, beads.
When creating products from ordinary rims, you can alternate glitter and ordinary foamiran. Such crafts look bright and original. But it is worth considering that when using some colors, the finished product will look unrealistic.
Foamiran rims are suitable not only for small children. The above options with flowers will appeal to young girls and gentle people. Hair decoration is used for holidays and photo shoots.
Step-by-step instructions can create a unique decor that will last a long time.

See how to make a rim from foamiran in the next video.


