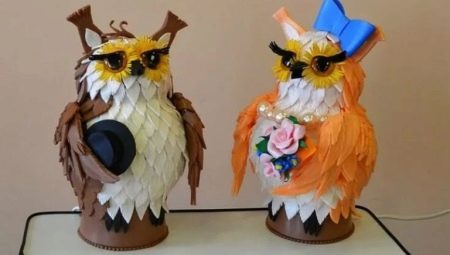
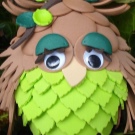
Foamiran is a fairly affordable and popular material for needlework. It is pleasant to hold it in hands, it is soft as plasticine, and crafts made from it hold their shape perfectly and have bright, saturated colors. In addition, children really like it, because you can sculpt from it, like from plasticine. Together with them you can create many interesting products, for example, it can be a very cute learned owl, a master class on the creation of which we will consider today.
Features
Foamiran, as material has become popular recently, however, has already managed to win the hearts of many needlewomen. However, he has many advantages, as well as disadvantages. From it, for example, like from ordinary plasticine, it is difficult to make small parts.
Owl from foamiran - a craft quite complex and costly. But the result pays for itself completely. After hard work, you will get a great craft for a school exhibition or just decorating your home interior. Such a small polar owl will decorate both the table of a young schoolboy and the empty shelf in the kitchen.
Tools and materials
For the manufacture of crafts, in addition to foamiran, you will need some more materials. It’s easy to get things from this list.
- Foam ball. These are sold in needlework stores and are quite inexpensive.
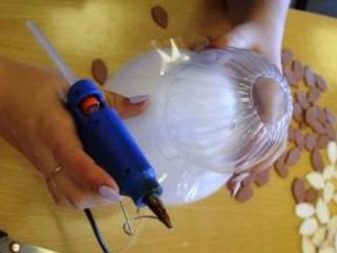
- Glue gun and rod for him.
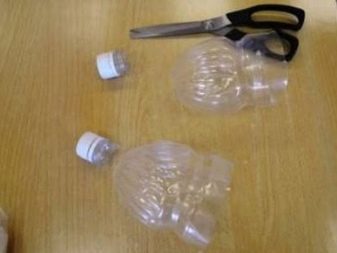
- Two empty plastic bottles with a semicircular top. You can immediately cut off the lower halves of the bottles.
If you wish, you can make a quite useful piece of furniture from an ordinary craft - a table lamp. In this case, it is necessary to replace the foam ball with a lamp with a round cap.
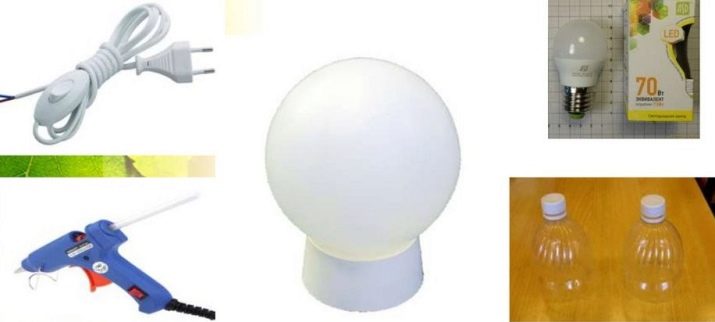
It’s easy to find one in the nearest chandelier or electric goods store.You will also need a cord with a plug to connect the lamp to the mains.
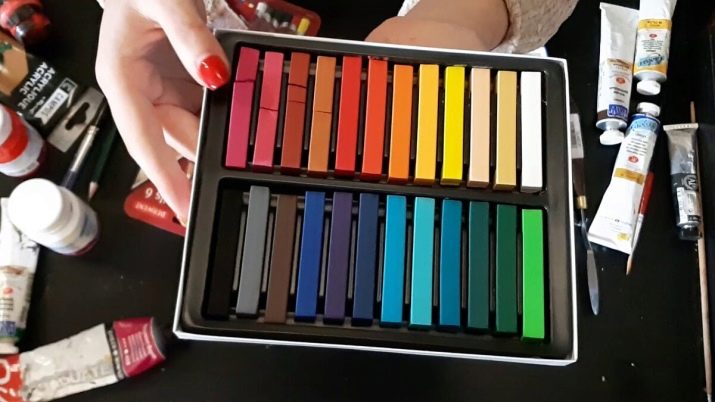
If you do not have enough foamiran, you can always use white or other light colors and tint them with oil pastels or other paints. It is desirable that they are waterproof. You will also need a spray of varnish.
Manufacturing technique
So, here we come to the most important thing, how can we make such an article with our own hands? We will analyze the whole process step by step.
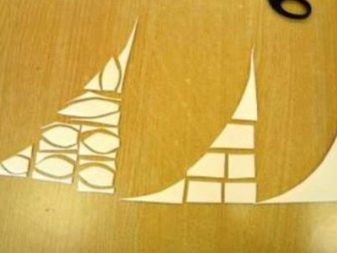
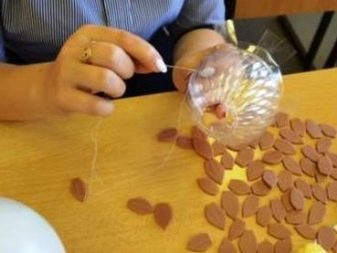
First you need to make feathers for the future owl. To do this, take the sheets of foamiran and cut them into small pieces. For feathers on the body, they should be 4x2.5 cm, on the head - 3x2.5 cm, and for wings you need rectangles 7x2.5 cm. It is definitely impossible to say how many they will be needed, but you can always do it while collecting the craft itself. When you cut the rectangles, cut off their corners so that you get the shape of a sheet. Depending on whether you want the feathers to be rounded or with sharp ends, give them the appropriate shape.
Do not try to make absolutely all feathers the same, as if by pattern. This will give the finished product a special, unique look.
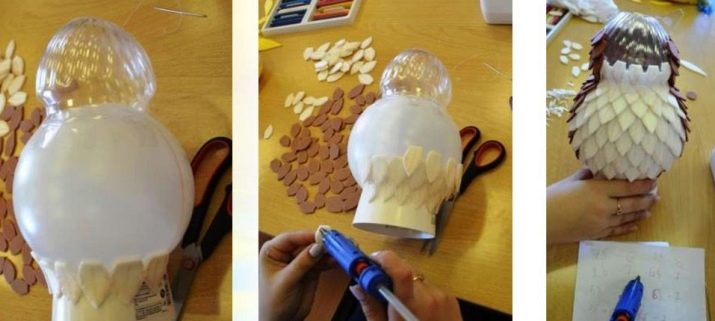
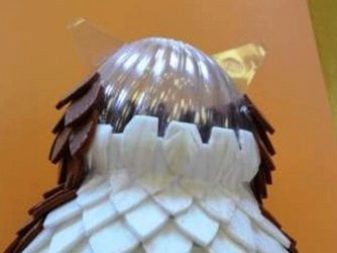
- Making the owl itself should start with the head. From the two bottles of 1.5 liters, cut off the upper parts. Cut them along and sew with threads or glue them with hot glue so that the head of the owl is extended in breadth without a tubercle on the crown.
Depending on the size of your lamp or ball, you can use bottles of larger or smaller volumes.
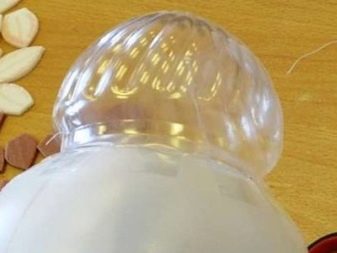
- Now glue the future head to the workpiece. Carefully make sure that she is standing level and the owl is not tilted forward or backward. For convenience of gluing at the cutting stage, leave 2-3 cm of plastic from the bottom, and then cut it into an impromptu fence, which is glued to the ball.
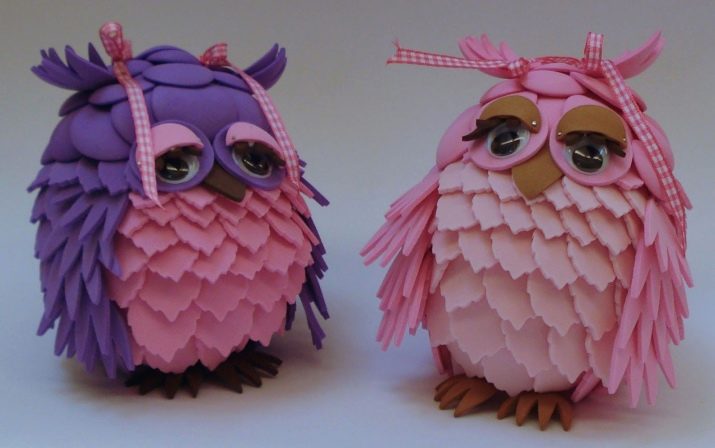
You can make your owl two or one color. If you have chosen the first option, then pre-apply the borders of the color zones on the workpiece. This will simplify your task in the future.
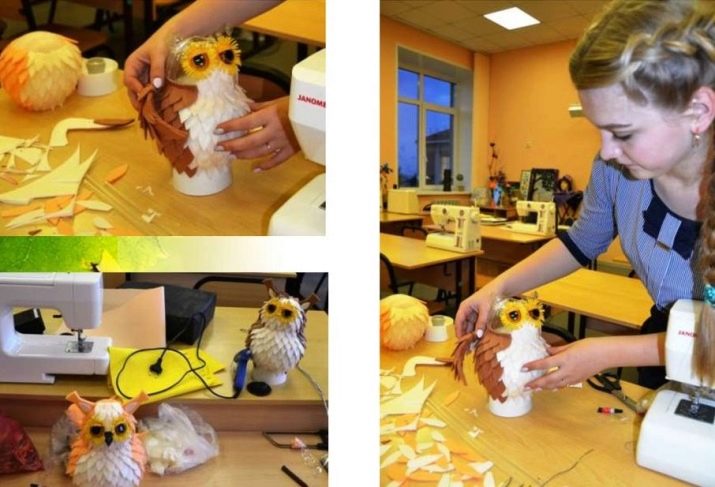
- Start sticking feathers in rows in a checkerboard pattern - from the bottom and make a full circle. In order for the foamiran pieces to fit snugly to the base, after the end of the circle, lightly heat them with an ordinary hairdryer at the base and press by hand. Repeat this operation after each lap.
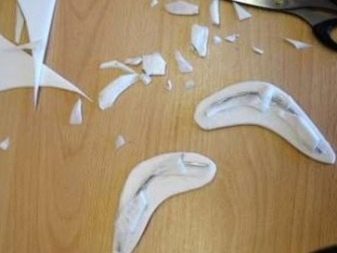
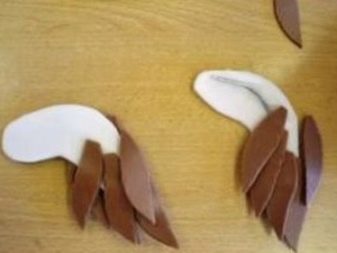
- After the main part has already been pasted over with feathers, it is time to tackle the wings. For them, you need to make a base in the form of a banana, on which the feathers will be glued.
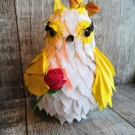
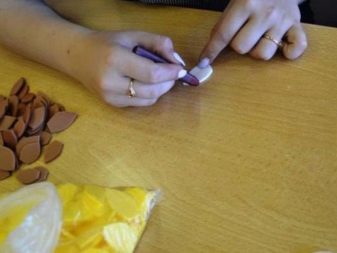
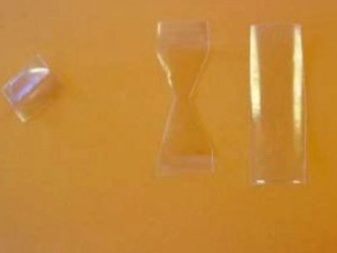
- For owl ears, cut two pieces of foamiran 8x3 cm in size and give them an hourglass shape, leaving about 1-1.5 cm of material in the middle. Bend the resulting figure slightly across so that it is more stable, and glue it to the crown of the owl, covering the place of attachment with feathers.
That's all. It remains only to stick our owl eyes, which you can buy everything in the same store for needlework.
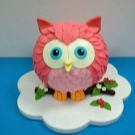
Such an owl will be a great gift for any occasion for both a child and an adult. And, no less important, it will help to familiarize your baby with needlework and develop its fine motor skills.
Master class on making an owl from foamiran in the video below.


