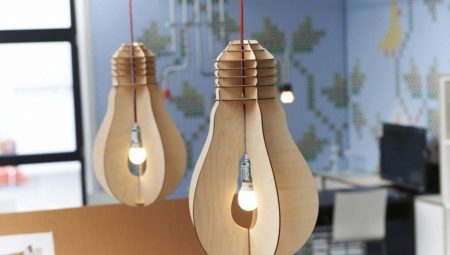
In each house you can find a considerable number of different lighting devices. Often in the rooms they install small lamps. These light sources can be made even with your own hands. Today we’ll talk about how to make a plywood lamp.
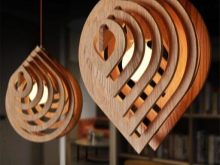
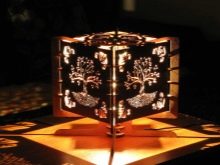
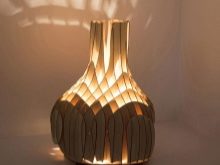
Features
Items made from a wooden base can suitable for almost any type of interiorIn addition, they will be a great addition to any home. Products made from such a material have an unusual structure and a beautiful appearance.
The most simple and economical option for making such items with your own hands is plywood. It is easy enough to work with her, even for beginners.
Lamps made of such a material can be made by almost any person, and you can take the old light source as a basis if you do not want to work independently with a new electrical circuit.
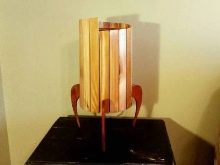
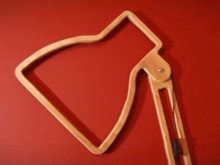
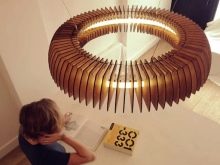
Tools and materials
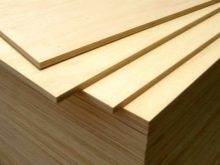
To make such a lamp with your own hands, you will need the following materials:
- plywood sheets;
- wire and switch in the block;
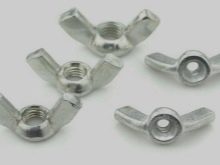
- dowels and nuts (it is better to use furniture and wing nuts);
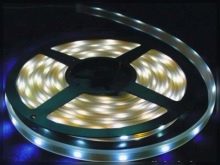
- LED self-adhesive tape or other elements that will act as a light source for the future lamp;
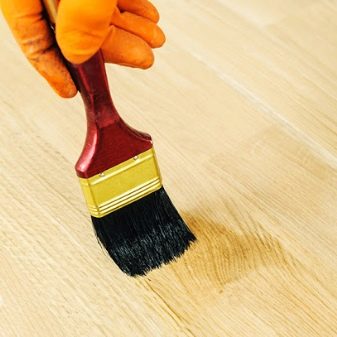
- special protective varnish (they should cover wooden surfaces to make them more durable and high-quality).
In addition to the above materials, you will also need the following tools.
- chisel;
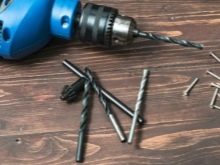
- drill and drill;
- manual jigsaw;
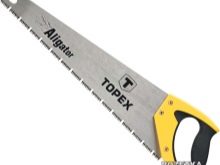
- hacksaw;
- milling cutter;
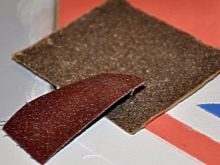
- drawing instrument, sandpaper;
Interesting ideas
With your own hands you can make a variety of plywood fixtures. In addition, there are a large number of different drawingsThat will help even a beginner to do this.
Easily and independently draw a diagram of the future product and follow it.
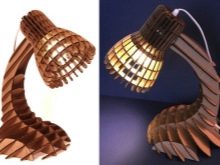
Table lamp
To make such a light source, first you need to prepare a place for work (workbench or table). It must be clean. After that, lay out all the necessary materials and tools.
- You can immediately pick up the E14 base, the E14 LED lamp (it is better to take a spherical lamp), a switch and a plug. The hole for the base should be 28 millimeters. For the outer ring, it should be equal to 43 millimeters.
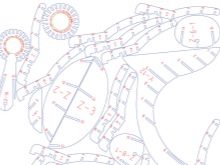
- It is better to choose a plywood with a thickness of not more than three millimeters. The wooden base must be carefully sanded. However, you need to prepare a drawing for the future product.
- After that, the drawing begins to transfer to plywood. It is mounted on a wooden base, this can be done using the buttons. Check again the overall dimensions, layout, correctly place all the parts of the lamp on a sheet of plywood.
- Then you can start cutting out certain parts of the table lamp. First you need to do the internal details of the source. The contours of the lamp do at the end.
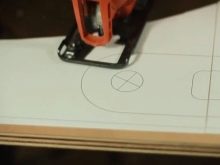
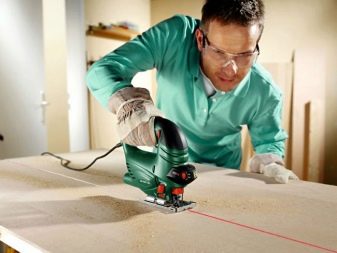
- Take a manual jigsaw, it will need to be kept at an angle of 90 degrees. Sawing is carried out strictly according to the layout of the drawing. The tool should move smoothly, without jerking. Otherwise, you may spoil the wooden base.
- If you are a little in the process of work left the line of the drawing, then just return to this markup with a jigsaw. Such errors can then be removed with a file.
- Assembly of finished elements is carried out only according to the instructions (from the first part to the second, in order). After you assemble the entire structure, check it again, special attention should be paid to parts that have holes for an electric cartridge.
- The procedure for bonding parts is best done with PVA glue. You can also use special wood glue. So that the elements can connect well, they can be additionally pulled together with a tight elastic band, so the adhesive mass can grasp quite well. The finished lamp is varnished for wood.
Wall Light
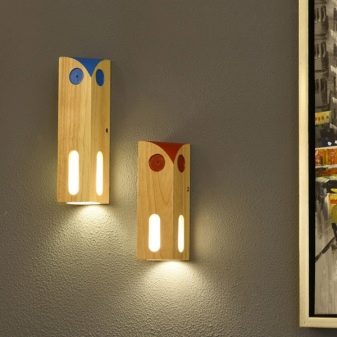
To make a wall-mounted light source from such a material, you must first to form wooden blanks. They should be flat and have a rectangular shape. In total, you will need two such parts. Also in advance prepare a small block that will act as a corner. All received blanks should be preliminarily treat with fungicidal composition and water-repellent. Then they are left to dry.
When all parts are completely dry, immediately cover them with protective impregnation and resistant paint. Two blanks hold together each other in the shape of the letter "G". Do it better with self-tapping screws.
Between these parts pour a little glue mixture and stick in this place a corner for giving rigidity. In the upper part with a drill, you need to drill a small hole for the wire, after which the base is held.
The resulting lamp can be attached to the wall covering using self-tapping screws or a bracket.
Chandelier
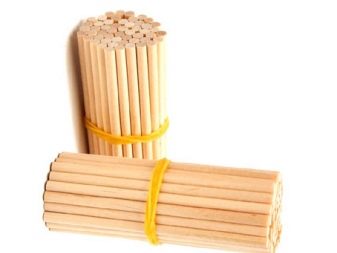
For the manufacture of a ceiling lamp, you can prepare straight sticks of large thickness. But at the same time, the diameter should be enough to stretch cord. Every stick you need drill in the central part.
All blanks carefully coated with protective impregnation and sent for dryingIt may take one day. Insert into holes made LED strip. The contacts of each such light element are connected to the cable and must be isolated. The finished chandelier is attached to the ceiling with a hook or staples.
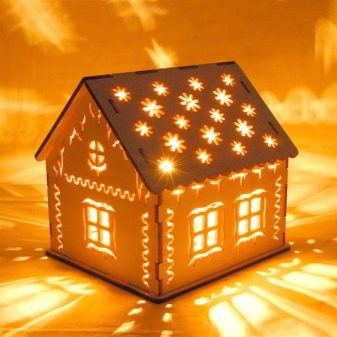
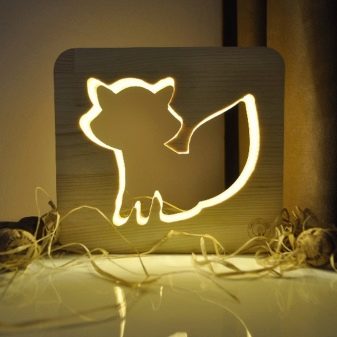
From plywood, you can make beautiful night lights for a children's room. Often made lamps in the form of small houses, small animals (in the form of a whale, cat, owl, hare, dog). From the plywood you can cut the moon, the sun, and the cloud, it’s beautiful to decorate. It all depends on the imagination.
For the manufacture of children's night lights, you can prepare several small flat blanks of plywood in the form of squares or rectangles of the same size. In each such detail, drawings in the form of animals or in the form of a floral ornament are cut out. Through the holes made, light will enter the room.
Some wooden bedside lamps are carved in the form of various volumetric compositions. But at the same time, it will be necessary to make several holes from different sides so that light penetrates into the room through them.
Recommendations
If you are going to make a wooden lamp yourself, then you should pay attention to some recommendations of specialists. Remember that working with plywood is better. Wear safety glasses or a mask. Indeed, when sawing parts, sharp sawdust can fly off into the eyes.
Also, do not forget that when the lamp has several bulbs at once, there will be more wires in the end, but the switching circuit will work on the same principle.
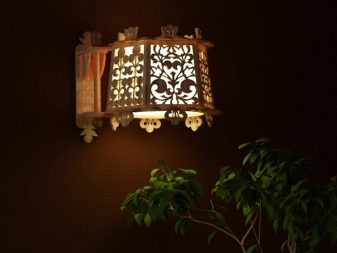
If you did Wall Light, then it should be placed at a height from flooring from 1.2 m to 1.6 m. In the hallways, the installation of home-made sconces should be carried out at a height of about two meters.
So that wooden lamps do not lose their beautiful appearance and do not deform over time, it is recommended to periodically clean them with a dry soft cloth. It is also worth processing the product with a substance that consists of vegetable oil and lemon juice. Mix these components in proportions of 1: 2.
If the lamp has dirt that cannot be removed with a dry cloth, you can wipe it off ammonia. Light sources made of such material should not be placed in rooms with high levels of humidity or with too high temperature conditions.
If the accumulated dust is not timely removed from wooden products, various small parasites can appear on it. They will spoil the appearance of the wood, in addition, such a lamp will have to be thrown away.


These wooden products It is not recommended to place near heat sources (batteries or fireplace). The distance to such structures should be at least one meter. Otherwise, structures may become deformed.
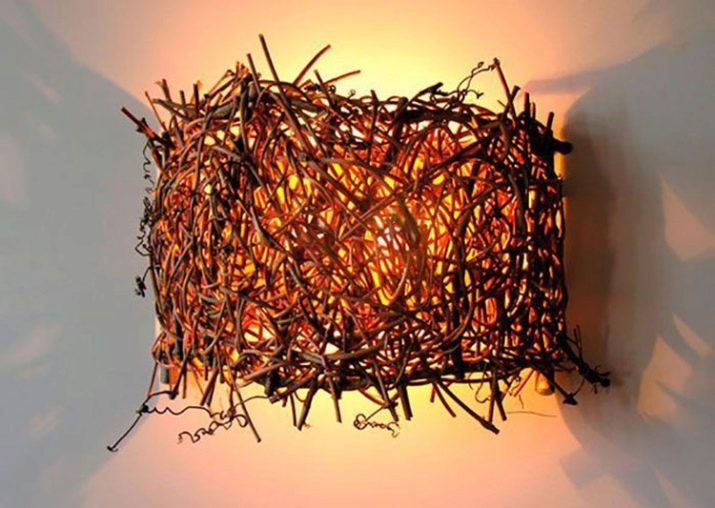
If you want to make the design of the product more original, in its manufacture you can also use branches of a natural tree. Often they are glued over the entire surface area of the lampshade. But such light sources will not be suitable for every interior. Branches are pre-cut into pieces, which should be slightly different from each other in length and shape. They are treated with a protective varnish, sharp processes are removed. On each branch it is better to walk well with sandpaper.
Do not use too thick elements, they can ruin the overall design of the finished device.
Beautiful examples
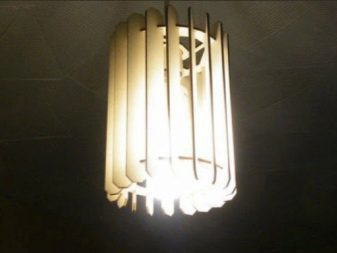
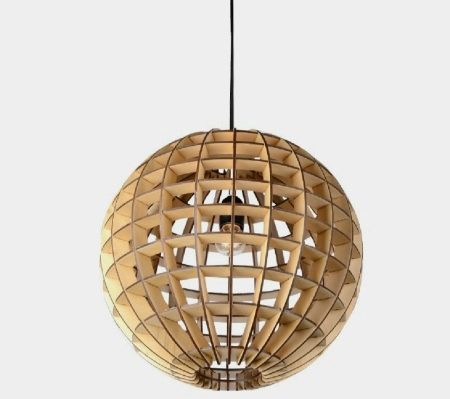
It will look beautiful in the interior of the room plywood chandelier in the form of a large ball. It can be done by alternating vertical and horizontal thin strips of wood. Thus, a cage structure will be obtained, and the light inside will illuminate the space well enough.
Another original option might be wooden lamp in the form of a small houseinside which one bulb will be placed. He will be able to fit in the children's room. If you want to make such a lamp more beautiful and interesting, you can make several of these houses at once.
Then you can take the metal wire. It should be wrapped with cloth, paper or other decorative material. The wire is folded into a spiral. At each level, several thick threads are fixed.Each of them is firmly attached to one wooden house. A hook is attached to the metal spiral from above. It will act as a mount.
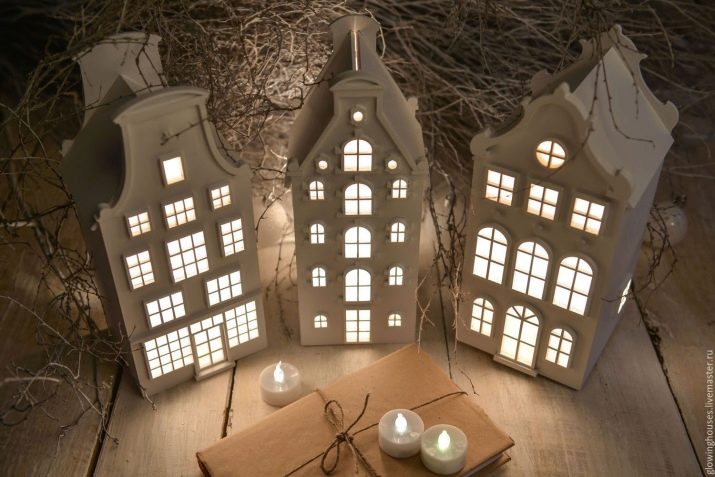
Such a lamp can be placed on the ceiling, stairs, hang over a desk or over a child’s bed.
See how to make a plywood night light in the next video.
