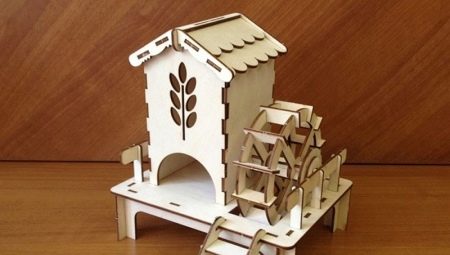
For many, tea drinking is considered a special tradition that delivers not only taste, but also aesthetic pleasure. In order for the tea ceremony to be held at the highest level, it is recommended to replace the usual box with tea bags with such a beautiful accessory as a tea house. It can be either purchased ready-made or made independently from plywood, while the second option is more popular because it allows you to translate any design ideas into reality.
What is required?
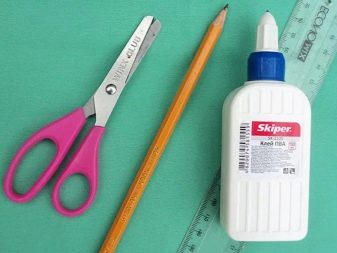
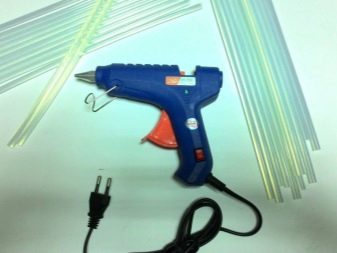
The process of making a tea house is fascinating and simple. Therefore, everyone can please relatives with such an exclusive gift. In order to make it yourself, you will need to prepare a kit consisting of the following materials and tools:
- rulers;
- scissors;
- glue gun;
- a simple pencil;
- twine;
- tassels;
- multi-colored acrylic paint;
- a piece of fabric;
- stationery knife;
- PVA glue;
- varnish.
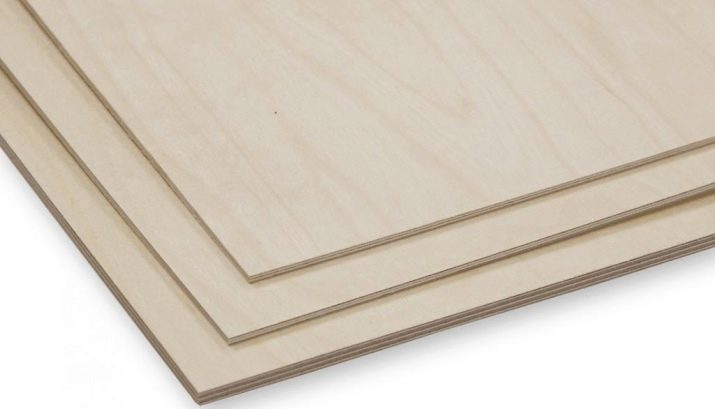
As for the main material from which the house will be assembled, it is best to choose plywood with a thickness of 6 to 10 mm. If in the household there are scraps of plywood sheets from 4 to 12 mm thick, then they are also suitable for crafts.
How to make?
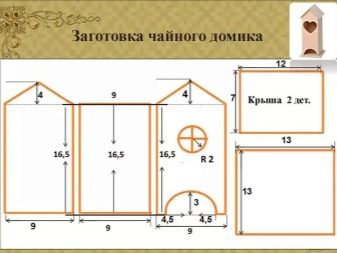
Before starting to make a tea house from plywood, it is necessary to make drawings according to which plywood details will be cut out later and the workpiece will be assembled.
Experts do not recommend drawing all the schemes on plywood sheets at once, as blots and inaccuracies along the lines are possible. It is best to make your own template from thick paper.

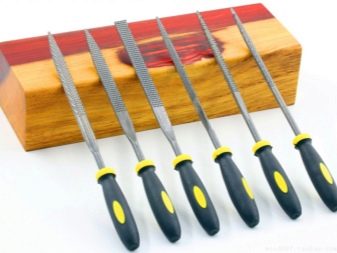
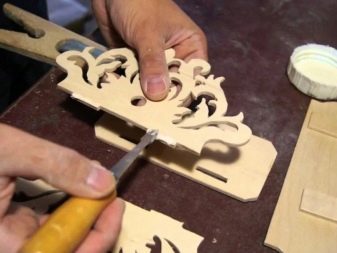
When everything is in order with the dimensions, it can be transferred to plywood, then sawed along the contour of the part. To cut more complex lines as a cutter, you need to use a circular saw or an electric jigsaw. It is undesirable to bring the tool close to the contour of the parts, it is necessary to leave a few millimeters, which will then be removed with a file.
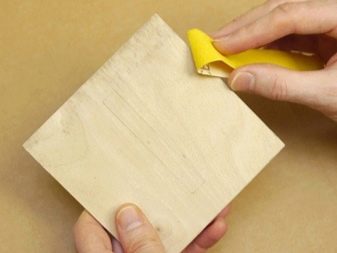
All the details of the future tea house should be carefully filed, then the corners should be finished with a file. It is important to ensure that the ends of the parts are strictly perpendicular to their plane. Then you need to grind the inner and outer surfaces using sandpaper. At first, this should be done with medium-grained sandpaper, then fine-grained.
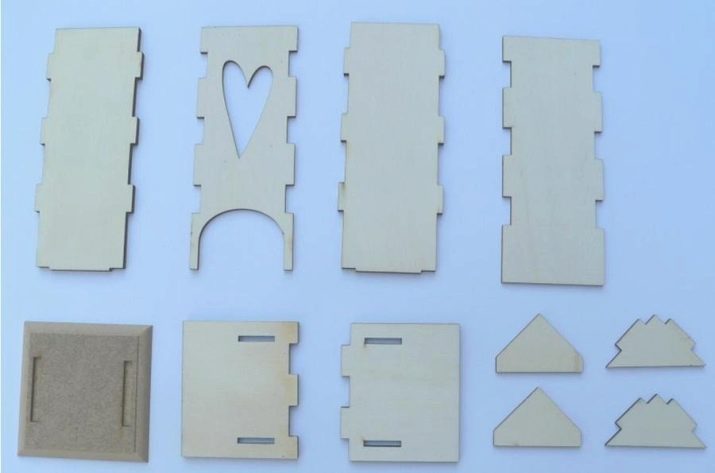
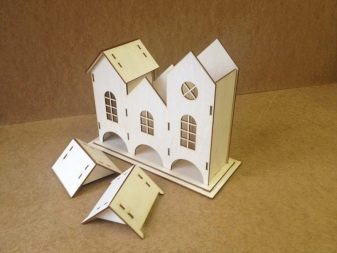
The next step is the assembly of finished parts. To do this, select the scheme drawn up earlier with the drawings. You can assemble a tea house from plywood on polyvinyl acetate glue. It is applied to the ends of the parts that need to be interconnected. The glued parts should be pressed firmly and fixed with hair elastic or masking tape. In this case, it is worth paying special attention to the roof assembly - it is carried out depending on where you plan to lay the tea bags: usually either the base or the roof is left without adhesive fastening.
To avoid accidental displacement of parts, it is recommended to use detachable stud-groove fixings.
After finishing work with the glue, all of its excess must be carefully removed with a rag or ordinary cloth. If this is not done, then there will remain streaks that require additional grinding.
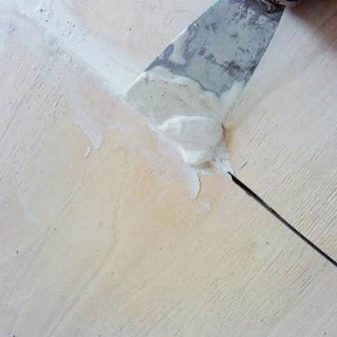
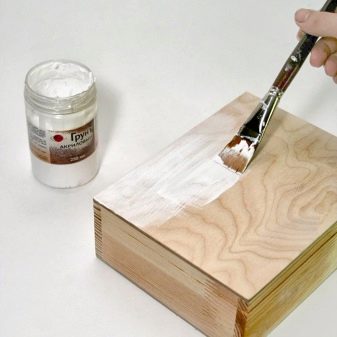
Then you can begin to putty, it will hide all visible seams and bumps at the joints of parts. For puttying, it is necessary to use a steel narrow spatula, since rubber can leave errors in the depressions. As soon as the putty dries well, the corners of the house are sanded again and painting with acrylic paint begins (it is advisable to prime the surface with PVA glue diluted in water before painting). Often when applying water-soluble paints to plywood, a problem arises - its material "leads". To avoid this, it is necessary to paint a fully assembled structure with an installed base and a fitted roof.
When painting a tea house, you can apply several original artistic techniques.
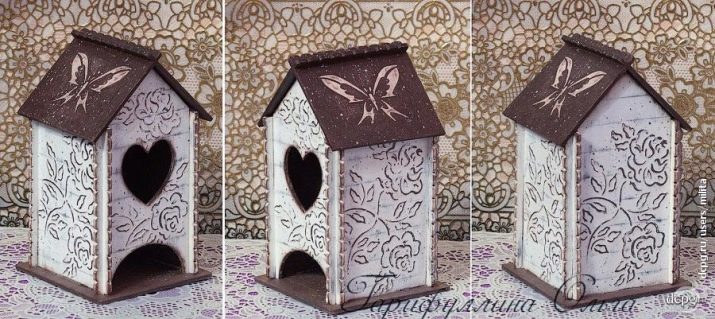
- Create a simple relief pattern. To do this, it is enough to fix a special template on the roof surface or walls, then apply several layers of putty, and after it has dried, paint everything using a stencil.
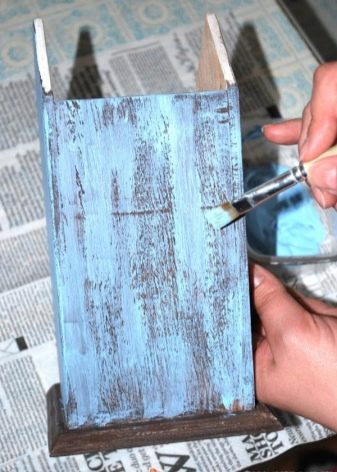
- Create the effect of the "old tree". Using a semi-dry brush, thin strips are applied. The color of the paint should be contrasted with the background.
Tea houses covered with varnish look no less interesting. To make an accessory for tea drinking in an original way, it is necessary to apply varnish on its surface with two or three layers, using a soft brush. It is desirable to varnish the structure in a horizontal position, separately on each wall, in order to avoid the appearance of sagging. It is important to ensure that there is no excess varnish on the sides of the house - if this happens, they can be easily removed by grinding.
At the end of varnishing, the slots of the removable roof (base) and the studs may not be compatible with each other, since they have become a little thicker.
In order for the decorative product to look neatly assembled, it is not recommended to grind the spikes. This problem is easily eliminated by expanding the grooves with a file.
If a paper drawing is pasted onto the varnished surface, then it will have to be varnished at least 5 times, with intermediate sanding every two layers. The result will be a perfectly flat surface, and the pattern will not stand out in relief.
How to decorate?
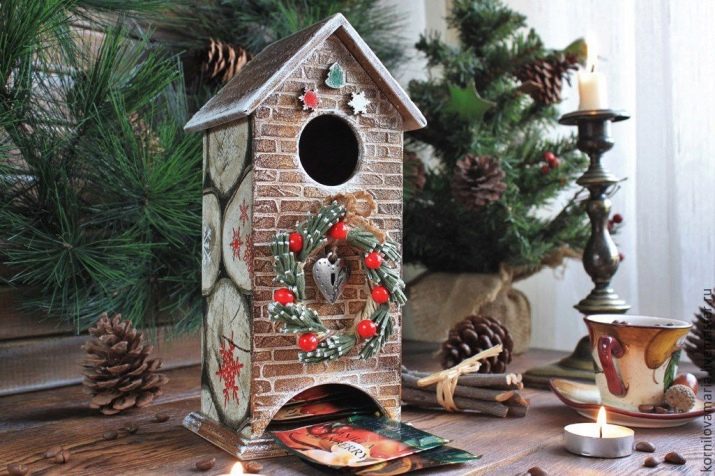
After the tea house is assembled, it remains to complete its decoration, with the help of which this accessory will become the main piece of furniture. For decor, you can apply the maximum imagination and materials. As decorations, napkins with a pattern, flowers, cinnamon tubes, beads, star anise stars or dried fruits can serve. If the tea house is preparing for the New Year's table, then sparkles and cotton wool are perfect.
Tea houses decorated with decoupage look interesting, blanks for which can be purchased at the needlework store. In addition to the basic blanks, you will need to additionally purchase glitter, paints, varnish, PVA glue and decoupage cards. The decoration process itself is as follows:
- first, all parts of the house are primed in a light tone;
- then the edges of the napkin are manually broken off, creating the basis of the picture;
- the drawing is placed on the walls of the house, glue is always applied from above (it will penetrate through the napkins and securely fix the drawing on the surface of the plywood);
- then all overhead parts and the roof of the structure are covered with contrast paint, when it dries, the surface must be covered with acrylic varnish;
- then the contours of the tea house are decorated with glitter, and the finished product is filled with tea bags.
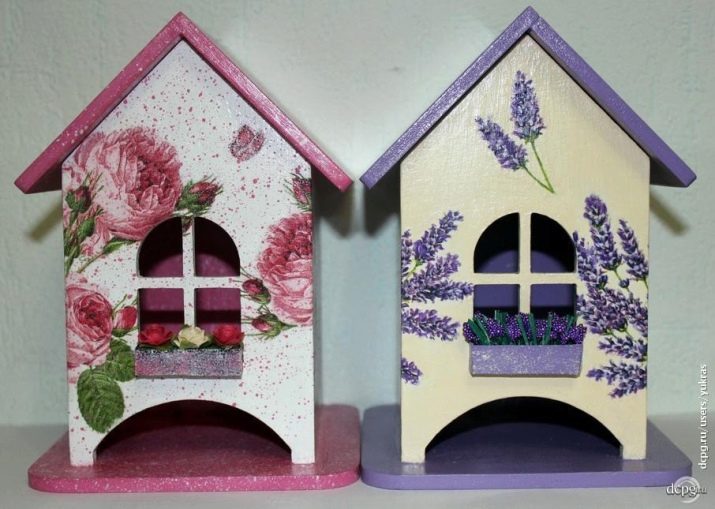
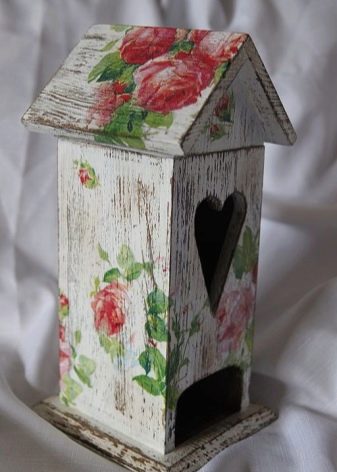
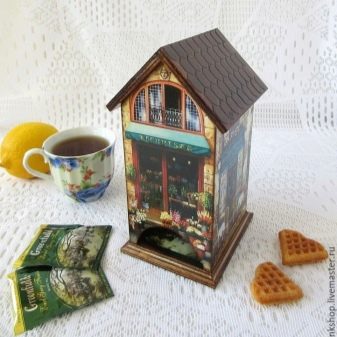
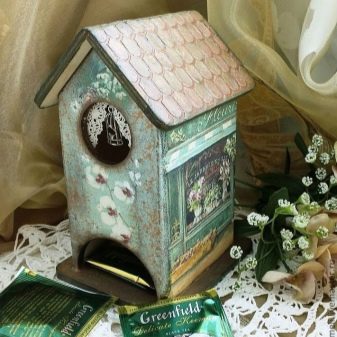
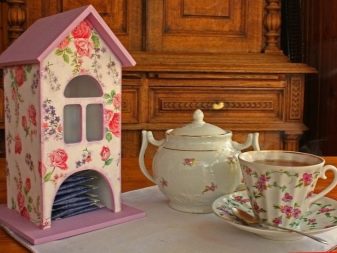
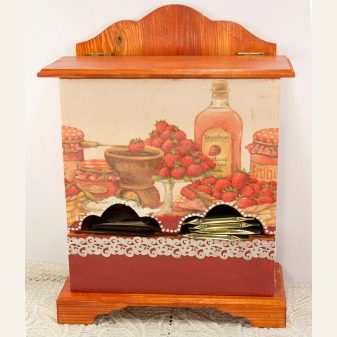
Today, there are many ideas for decoupage of a tea house, not only tea themes, but also retro, floral motifs are especially popular. A decorative product designed in this way fits perfectly into any room design and gives the tea ceremony a special atmosphere of coziness.
Beautiful examples
Thanks to the beautiful tea houses, you can not only decorate the kitchen in an original way, but also pleasantly surprise your guests. Many housewives prefer to do this accessory with their own hands, since it has a simple assembly technology, has a miniature size and gives a lot of positive emotions to the author during the manufacturing process. The most common material for such crafts is sheet plywood. From it you can create very interesting tea houses, embodying various design ideas in reality.
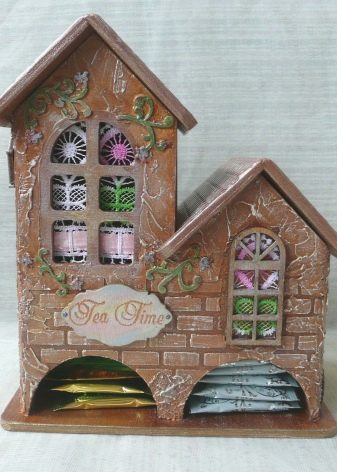
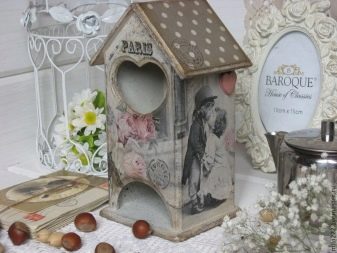
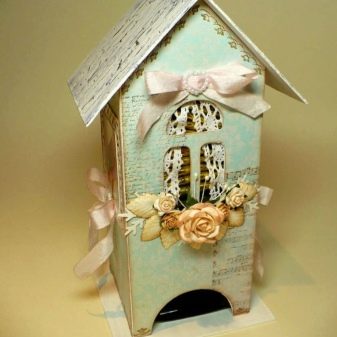
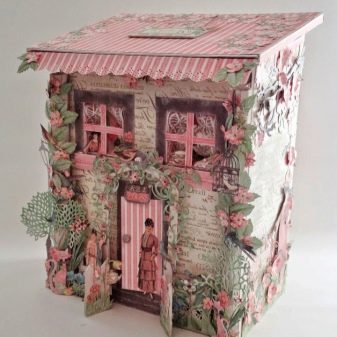
- House in vintage style. For its design, a special type of needlework is used, which is called scrapbooking. Dressing in this case is carried out with lace, ribbons and rhinestones, which are fixed to the surfaces of the house with glue. Such a house looks especially chic with white lace and pink beads.
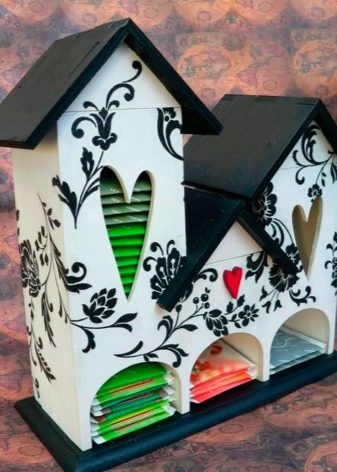
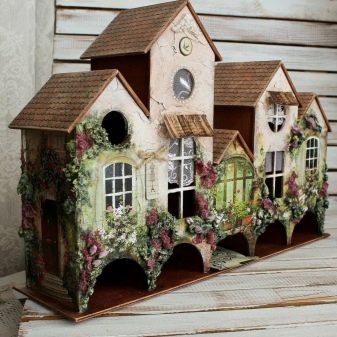
- Multisection tea house. This option is perfect for a large family, whose members prefer to drink tea of various types. The product can be decorated in several colors, and on each section attach metal labels with the appearance of tea. In addition, it will not hurt to make miniature handles in sections, so that it is easier to push them out.
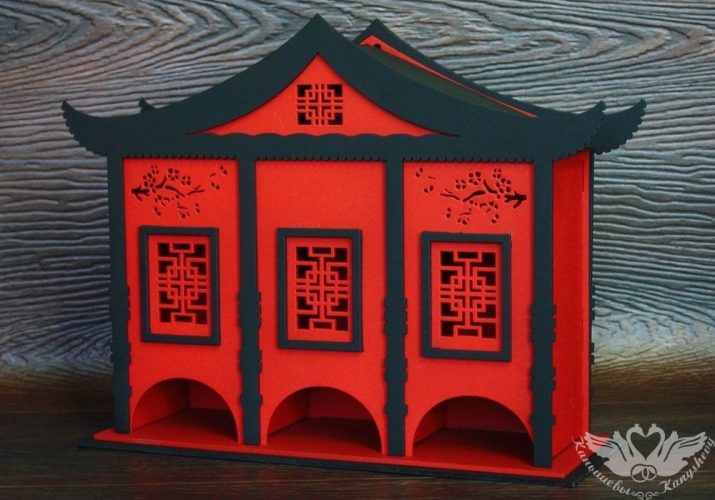
- No less interesting will be the craft in the oriental style. To do this, you need to decorate the walls of the house under a tree, and make the roof of artificial bamboo. Such a product will be decorated with a beautiful display of decorative multi-colored pebbles.
A master class on assembling and decorating a tea house from plywood in the video below.


