Aircraft modeling is a favorite hobby of many adults and children. Its significant advantage is its simplicity, because even a novice modeler can cope with the construction of a plywood plane.
What is required?
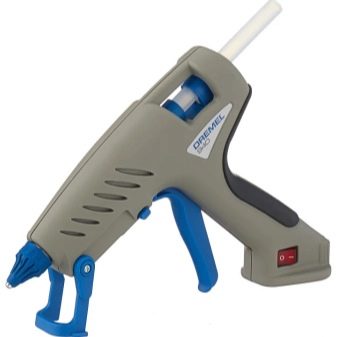
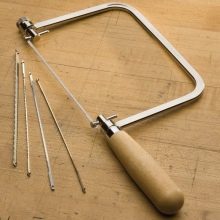
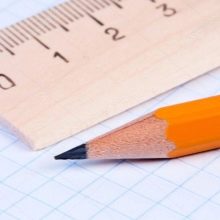
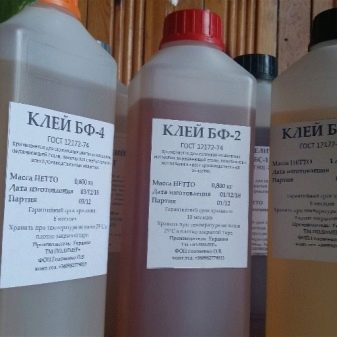
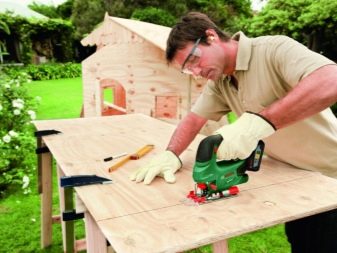
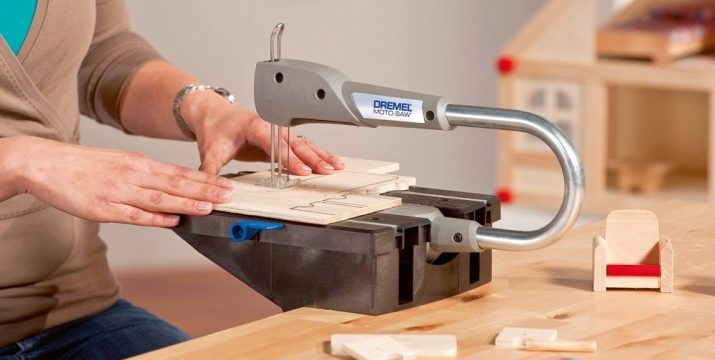
Before you start designing an aircraft from plywood, you need to prepare the source materials and a number of tools. The main work, as a rule, is carried out with a manual jigsaw on a tree, and the burrs are removed using a piece of sandpaper and a square file. It is most convenient to make markings using an ordinary pencil and ruler, and it is better to glue wooden parts together with either PVA glue or glue substance.designed specifically for this material. Some craftsmen use a regular glue gun. The aircraft will be made from model plywood, ideally BS-1 aviation plywood, the sheets of which are created from peeled birch veneer. Some experts recommend purchasing sheets with a thickness of 3 millimeters, or 7 millimeters (three-layer or seven-layer). Other aircraft models, on the contrary, are inclined to the thinnest, single-layer options. It is better for a novice modeler to try several options.

It is necessary to clarify that special aviation plywood BS is impregnated with alcohol-soluble bakelite adhesive. This material is durable, light weight and good flexibility, but its price is much higher than that of other varieties. In the event that a three-layer aviation plywood is purchased, it is important to remember that phenolic adhesives are often used for its manufacture, which makes it impossible to store the finished airplane in a bedroom or children's room.If the thickness of the selected sheet is between 1 and 3 millimeters, the aircraft will be able to fly.
Otherwise, the figure can only perform a decorative function.

If the thickness of the sheet is not so important, then you can take a different grade of FC, safe for storage at home, or FSF, not so environmentally friendly, but completely moisture-free. It is more rational to choose either the first or second grade of wood and try to choose a surface with the most attractive appearance. When purchasing plywood, you need to check that the thickness of the sheet is uniform over the entire surface. It is important that there are no defects, cracks or delamination.
Experts adhere to the point of view that the drier the plywood, the easier and more efficient its processing. If raw sheets are bought, then they will need to be kept for about a month in a room with low humidity, where a constant temperature is maintained.
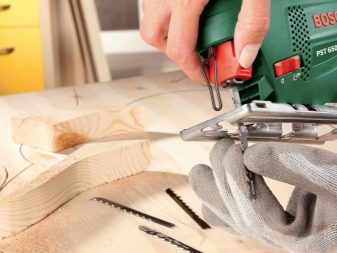
We immediately note that work with a jigsaw can only be carried out if there is a working, securely fixed handle. Before starting the process, it is worth checking the reliability of the fastening of the stand for cutting to the desktop, as well as the file in the device frame. When cutting parts, keep your left hand away from the cutting tool, do not bend low, avoiding sudden movements. Appearing sawdust will be properly swept away with a special device. During the operation period of the jigsaw, it is important, if necessary, to change the blade.
Blueprints
Some modellers prefer to come up with aircraft designs, relying only on their own imagination, without first creating drawings and templates. The only thing they need is to take into account the specific wingspan of the plywood device. As a rule, the average value is called the length equal to 30 centimeters. If the scope lengthens, then the size of the aircraft increases. A more correct solution, of course, is to draw invented or copied somewhere drawings on paper, or immediately on sheets of plywood. Design begins with the marking of the hull, wings and stabilizer.
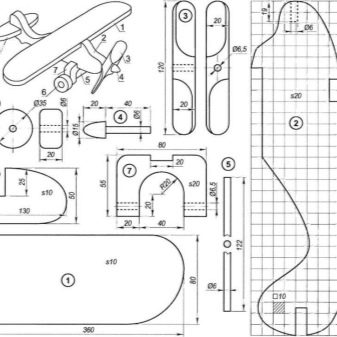
It is convenient to fix the finished drawing, printed on paper, on plywood with pins, and then make a series of punctures along the contour of the model using a thin awl. Then the resulting holes are connected with a pencil, after which the finished part can already be cut. For example, it can be a model of the legendary Pe-2 military aircraft of the war. Instructions for its manufacture can be found in the annex to the second issue of the journal "Young Technician" for 1980. A working drawing can be done independently, focusing on the photograph. The aircraft body is drawn on a grid of 32 by 32 millimeters, and the end rib of the wing is drawn on a grid of 10 by 10 millimeters. The structure is formed of plywood with a thickness of 1.5 to 4 millimeters.
How to do it yourself?
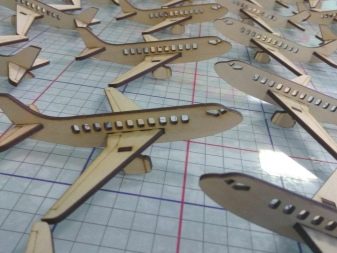
Having prepared the raw materials for the manufacture of an aircraft model from plywood, it is necessary to print a suitable drawing on the desired scale. For a novice modeler, it would be more correct to use carbon paper and transfer the image to a wood sheet. The cutting of parts is carried out in such a way that on each part of the plywood there is either one large or several small elements. Parts are sawn with a jigsaw taking into account an allowance of 0.5 to 1 millimeter. In principle, a laser can also be used for this purpose. At those points where it is necessary to cut through the plywood sheet, you must first work with a drill, drill the starting grooves, and then, having placed the jigsaw blade inside, cut it.
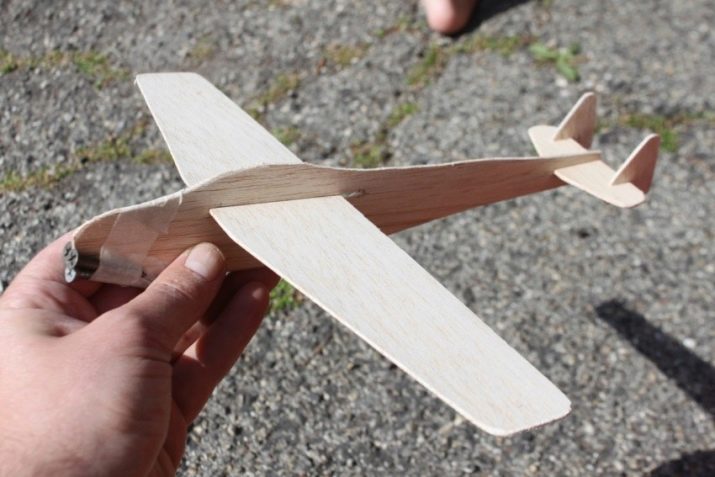
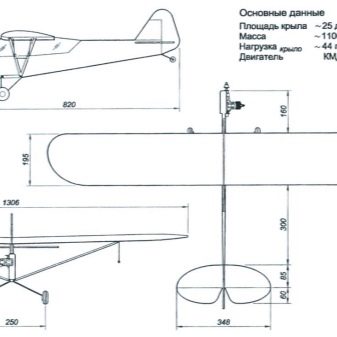
As a rule, the creation of blanks begins with the fuselage, the length of which is provided approximately 10 millimeters more than the length of the wings. You can experiment with the body of the aircraft, giving it any desired shape. On the fuselage, spike joints for the wings are immediately made. The wings themselves are customary to make 30 centimeters long and with a width of 8 to 10 centimeters. If two pairs of wings are made, then the lower ones should be somewhere 10 millimeters shorter than the upper ones. Do not forget about the racks, which are elements of support, and the stabilizer.
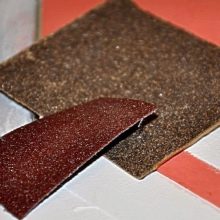
The edges of the cut out elements are necessarily processed by sandpaper. Suitable for this sponge 60 and 180 grit. When grinding, it is necessary to follow the sectional shape. To get rid of sharp corners, you can additionally remove a small chamfer. Components are connected in accordance with the scheme, connecting the protrusions and openings. As a rule, first, in the tail of the aircraft, a stabilizer is fixed, after which the upper wings are installed.
Turning the model over, you need to fix the racks, and then the lower wings.
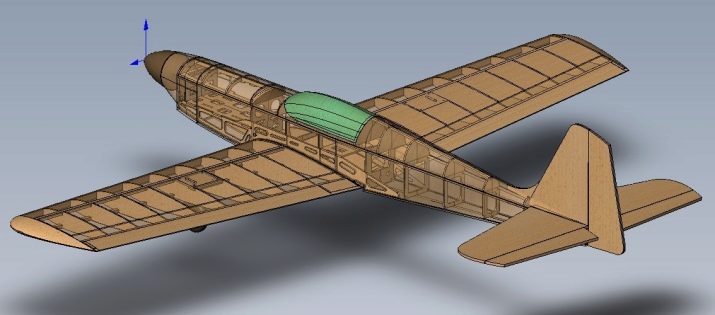
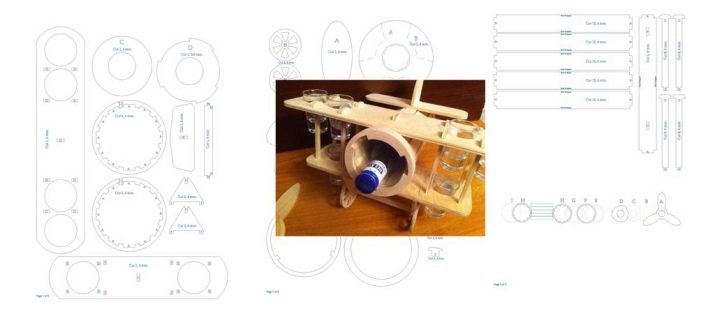
For reliable fixation, plywood pieces are lubricated with glue and clamped with clamps to prevent their displacement. In addition, you can grease all the joints of an already assembled structure and leave it to dry. If this is laid down in the instructions, then the engine is mounted inside the housing. Upon completion of the assembly of the hull, the cockpit is covered with a special cap made of plastic or any other transparent material. The chassis is assembled from aluminum rulers or spring wire, as well as a pair of wheels from children's toys.
A more or less serious design will not do without the elevator. When assembling this part, it is important to remember the need to strengthen the jumper using a thin aluminum strip or carbon tubes. In the first case, the amplifier can be put on glue, and in the second, additional use of adhesive tape will be required. It will be possible to level the elevator using the struts, the role of which are played by thin spokes. The hood can be built from ceiling tiles carved in the shape of a rectangle with sides of 7 and 30 centimeters. The resulting fragment is applied to the nose of the aircraft, wrapped and glued with tape.

As a finish, modelers are invited to carefully sand the entire structure, remove the remaining glue and treat the surface with a primer. Then you need to paint (2-3 times) the body in some basic shade. Using bright colors, it is recommended to decorate the surface of the aircraft with abstract lines, or copy a picture of a real-life model. Accuracy and evenness of the lines can be achieved if you use paper tape.
The finished aircraft for fixing the coating is covered with a matte varnish.
Beautiful examples
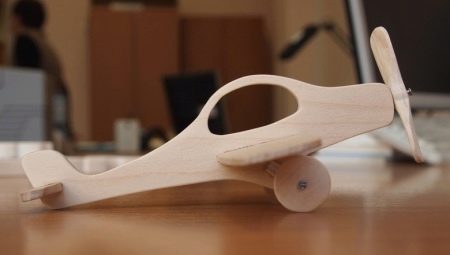
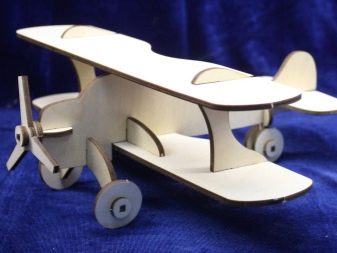
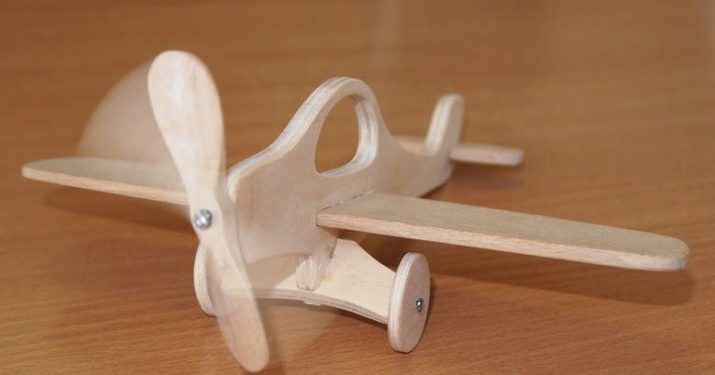
The simplest model of a plywood airplane can be made even without any drawings. However, the result is a great toy that attracts precisely with its natural look. A special “highlight” of the design is the absence of sharp corners, as well as a rotating propeller and rolling wheels.
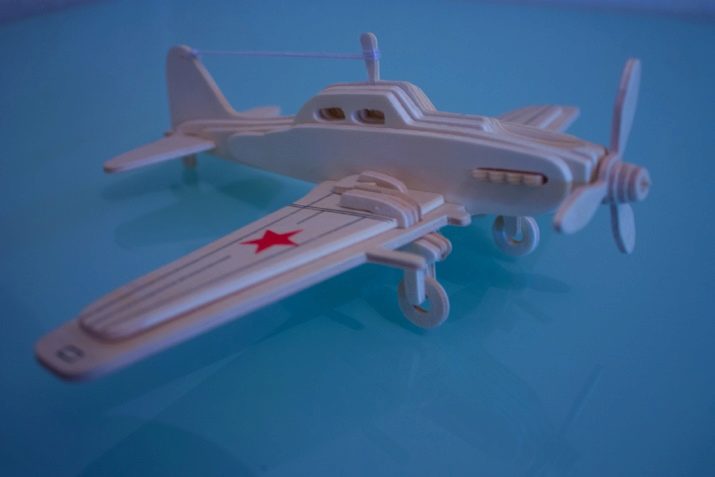
The IL 2 attack aircraft assembled from plywood looks very impressive. A large number of small parts, including cut-through windows, make the "picture" complete. The plane is not painted and only covered with colorless varnish, but on the wings, however, a drawing of a real model is copied.
Another plywood plane, fully painted with bright colors, and on its surface there is even a cockpit. Despite the fact that the design of the model is the simplest, this craft looks quite impressive.
See how to make a plane out of plywood in the next video.


