In the field of needlework, a wide variety of materials is used. In skillful hands, even the most ordinary thing can become a piece of art. The manufacture of crafts from jute (twine) gained great popularity. Products are surprisingly beautiful and practical.
Features
A tight and rigid rope is used to create crafts recently. This direction is considered an innovation, while many craftswomen have already joined it. It is a reliable, flexible and practical material for products of different sizes. As a rule, a rope is chosen for weaving rugs and caskets. Jute caskets are significantly different from the standard versions of wood, plastic or ceramic.
Adhering to a simple and understandable technique, you can create original home decorations that will be a wonderful addition to the Provence or country style. Such crafts will also be in harmony with the interior in retro style. Special twine tools are not needed, and materials are affordable. These factors played an important role in the development of the popularity of this type of needlework.
For many of us, a tough and coarse rope is associated with an item for tying goods and performing other household tasks. However, attractive things come out of it that will delight the eye every day. Crafts from jute can be a wonderful gift. You can also hide another present in a box of twine. If you want to find a secluded place for jewelry, cosmetics and other small items, a homemade box will be very welcome. In the manufacture of crafts from jute, you can give free rein to imagination and translate into reality any creative ideas.
And due to the use of additional decor, any product can be made more elegant and colorful.
Design options
Before proceeding with the manufacture of the casket, you need to decide on its design. Here are the most interesting options.
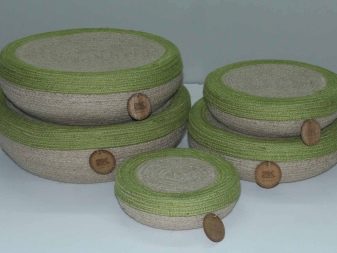
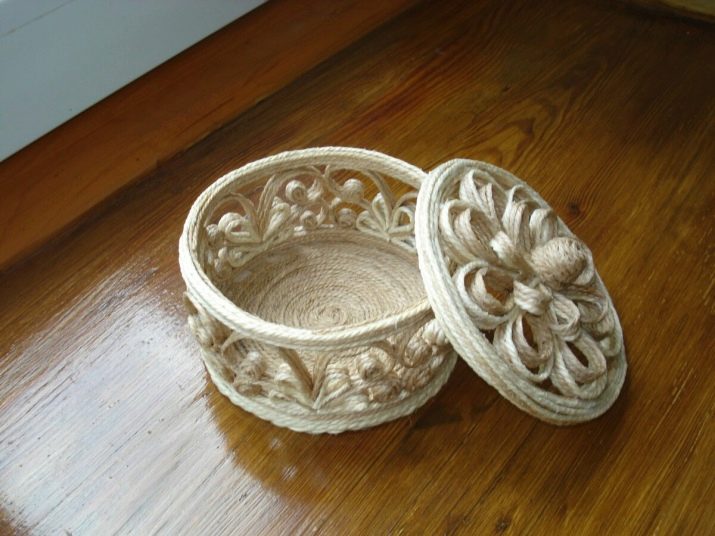
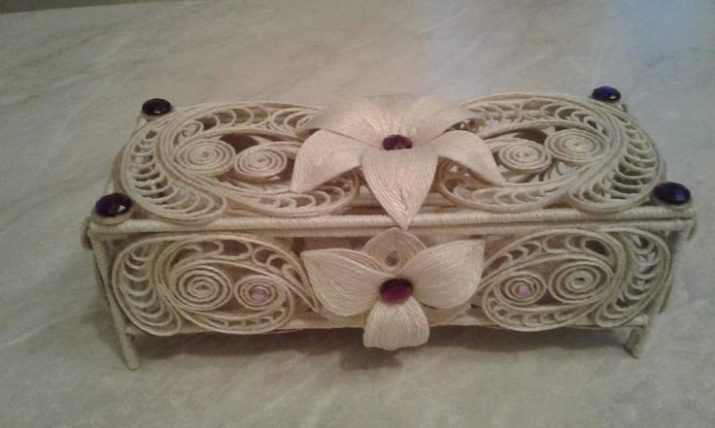
- If you are just starting out with a new kind of creativity, choose simple options. These are boxes of rectangular, round or square shape. Avoid weaving complex volumetric elements in favor of a minimalistic design. As soon as you confidently make such crafts, you can proceed to the next level of products.
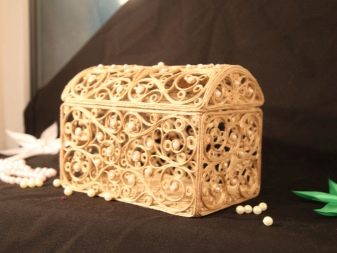
- In the manufacture of crafts to decorate the room in retro style, pay attention to the nostalgia style. A light openwork and round casket will fit perfectly into the interior.
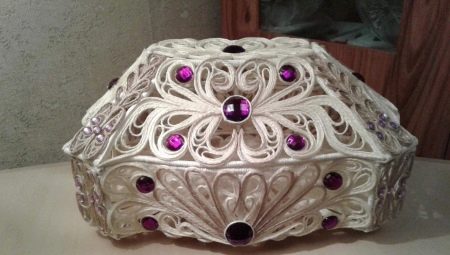
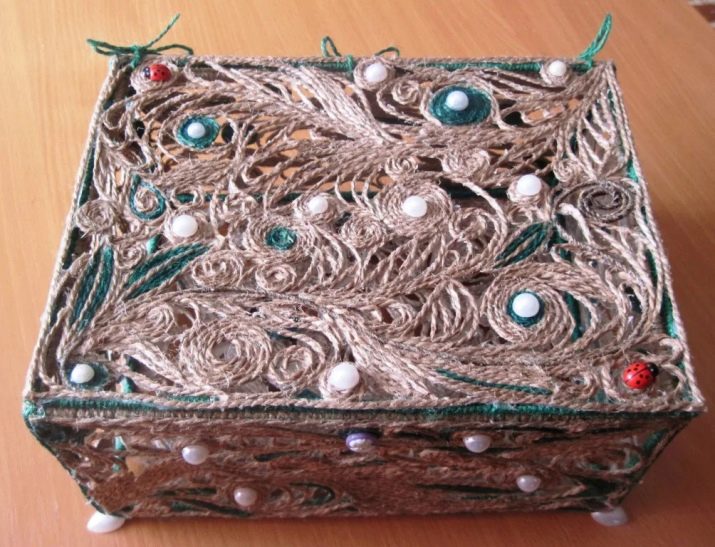
- Patterns with flowers and floral elements - the best choice for Provence style. One of the main characteristics of this trend is a floral motive. A heart-shaped product is also great. You can decorate products with beads, lace or ribbons.
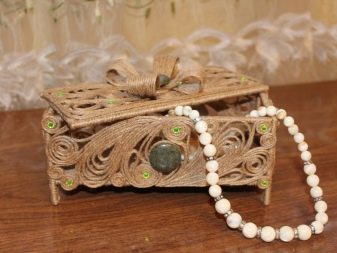
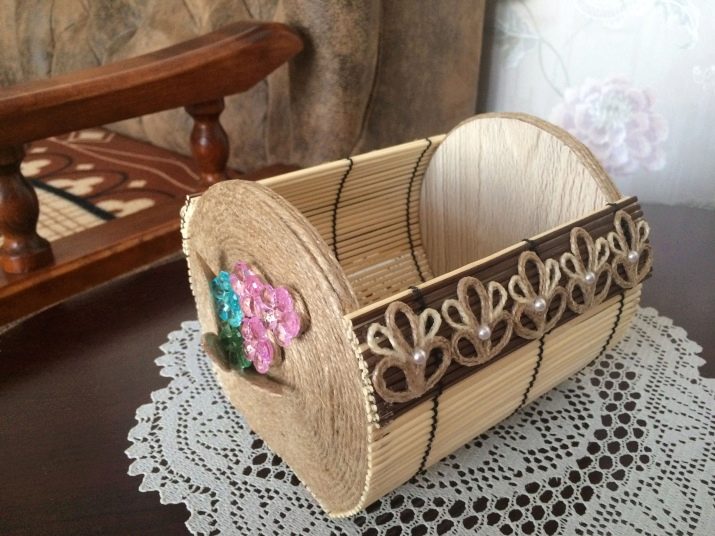
- For direction country choose caskets with other decorative elements made of wood and even metal.
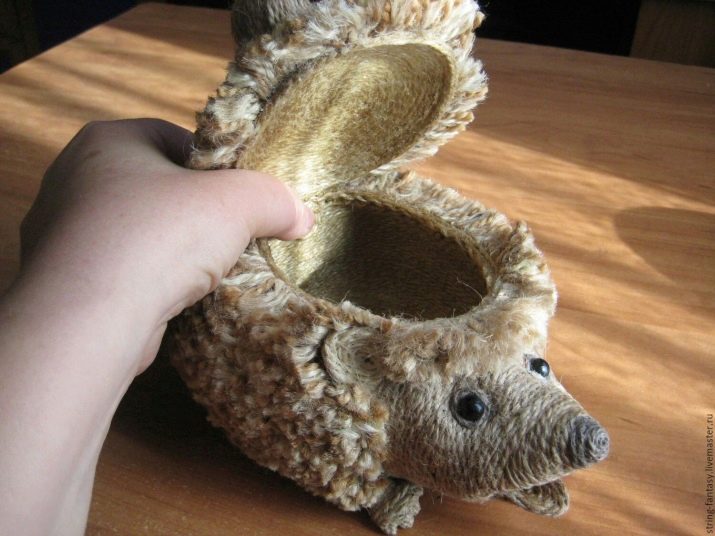
- If you want to decorate a children's room with a handmade product using flexible jute, you can give the box any shape (bunny, kitten, butterfly and other options).
Tools and materials
In the manufacture of crafts, you may need the following.
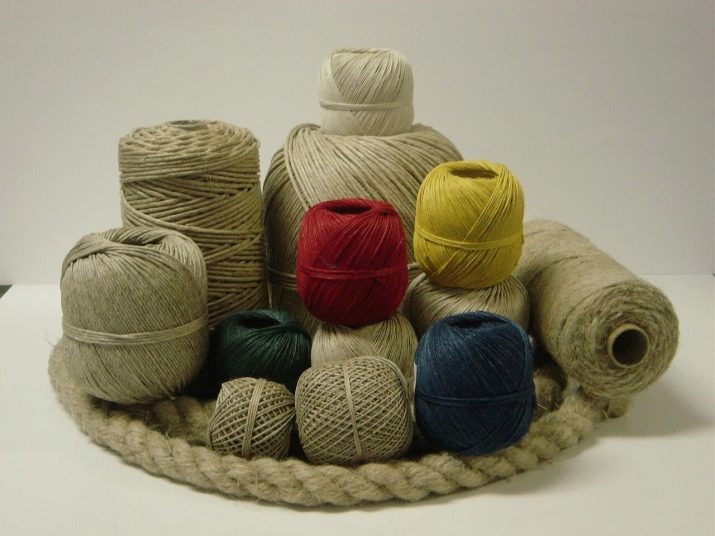
- Jute (twine).
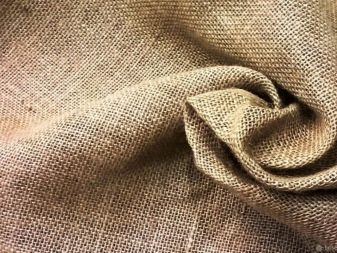
- Coarse burlap material.
- Sharp scissors.
- Threads and needles.
- Sewing centimeter and ruler.
- Various patterns and stencils made of cardboard.
- Frame future crafts.
- Decorative elements: lace, beads, rhinestones and much more.
- Adhesive composition.
Note: It is better for beginners to prepare sketches of finished products for visual familiarization. The list of necessary tools and materials will differ depending on the selected workshop.
How to make?
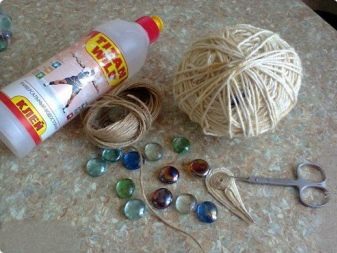
This master class for beginners will help to make an original do-it-yourself craft. Follow the instructions exactly during the manufacturing process. For work, prepare the following.
- Jute of two different colors (light and dark).
- Clay "Titan".
- Ruler or meter.
- Scissors.
- Round base (you can use a conventional pan).


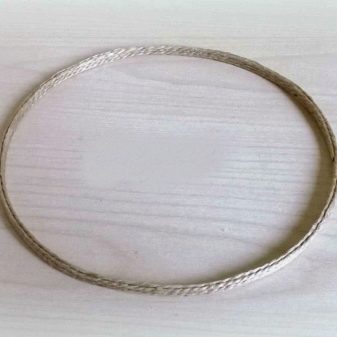
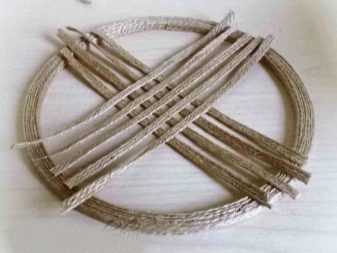
A step-by-step scheme will be like this. The first step is to make a circle of threads, for this the selected form is wrapped 3 times with jute and coated with glue. Once the composition has dried, the first element can be removed. Here is what should happen. We make two such elements.
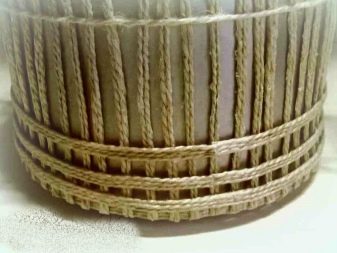
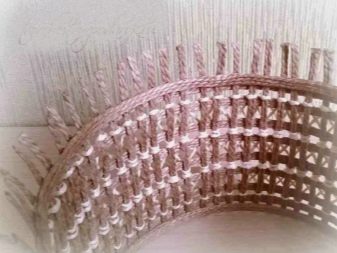
We put one of the circles on the form (pan) and begins to glue two jute threads (stitches) to it, placing them vertically, at the same distance between them (from 0.5 to 0.7 centimeters). If the gap is too large, the craft may look messy. So that the paired threads do not interfere during operation, you need to fix them with a thread from above.
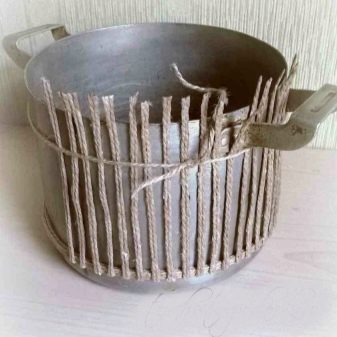
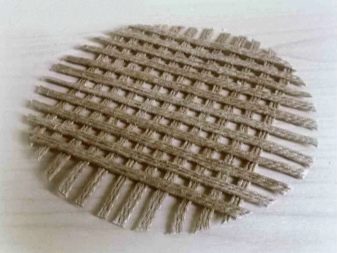
On top of the product, at the base, glues a strip of three-thread tape, focusing on the attached photo. Having risen a little higher, we place one more such element. Repeat this step again. As a result, we got 3 rows at the same distance from each other.

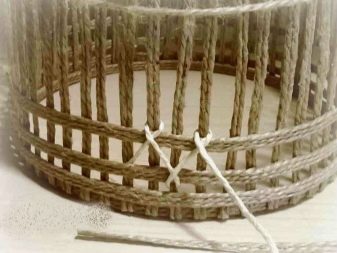
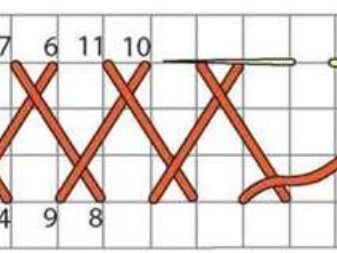
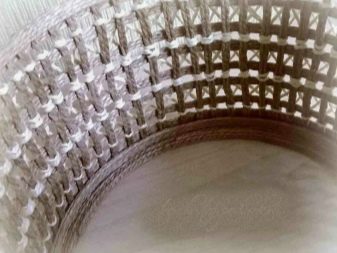
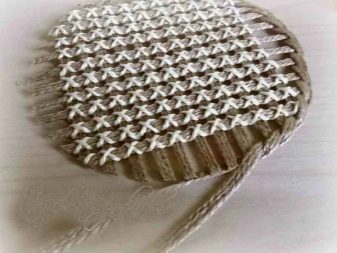
Once the glue with which you fix the threads has dried, remove the base. Now we need a light thread. With its help, weave a seam called "goat". To make the pattern look neat, hide the end of the thread inside and fix it with glue. If you are not familiar with the goat pattern, focus on the picture and the diagram attached below.
We make out the bottom row. We draw up another row on top to make it look like in the photo. This is how the completed row will look. Glue two more rows of three horizontal threads. In this case, you need to use the form again. According to the scheme described above, make 3 more rows of light twine using the goat pattern. This is the basis for the future casket.

To fix the structure, on the outside you need to glue another strip of jute, and from the inside we attach the circle, which we did at the beginning. For a neat appearance, cut the racks in the inner circle. It is worth noting that the circle of threads on the outside should be slightly lower than the inside, as in the picture. Now glue another element of the threads from the outside. He will be already on the same level with the inner circle.
Now we decorate the upper edge, glue a tape of three jutes to it on top of the product. Top view of the finished edge. Now we need to make a cover. We make a circle of three threads, given the diameter of the box. After the inside of the elements, you need to glue a few more tapes, filling out 3 or 4 rows. To check the dimensions of the cover, place the product on it.
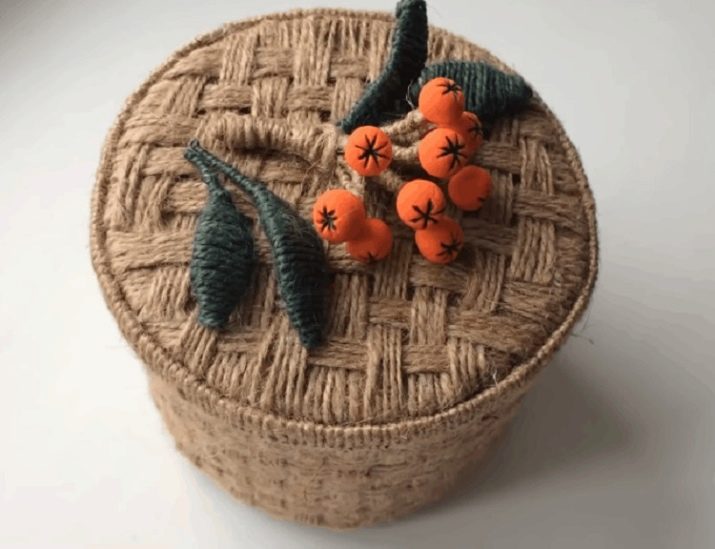
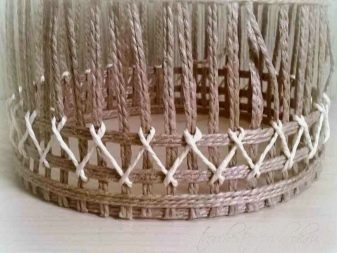
Next, from ribbons (ribbons made of threads), you need to draw a grid, as shown in the picture. Using elements of the same length, fill the entire lid. Next, the resulting mesh must be trimmed in a circle, giving the desired shape. Connect the two parts and get the base for the cover, which will look like this. Now you need to draw the grid using white jute. Choose a cross pattern.
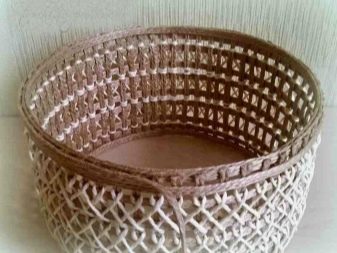
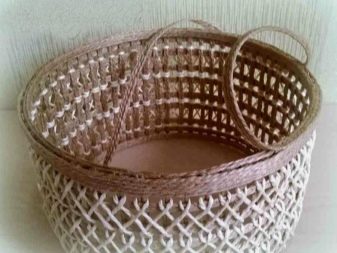
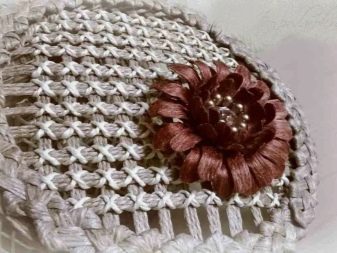
Using two ribbons, braid the edges of the finished mesh on both sides, as shown in the picture. We paste the resulting part into a circle made specifically for the cover. Now you need to combine the two details of the craft - you will get a nice handmade product. The bottom joint of the box with the base must be covered with a wide tape of twine. To keep the lid better, you can add a border to it. The original craft is ready.
It can be decorated with various decor, for example, artificial flowers.
Watch the masterclass on making jute boxes in the video.


