Jute (jute twine) is a fine twine from which, with the necessary skills, you can create real works of art. Most often, special napkins for hot are weaved from jute.
What are they?
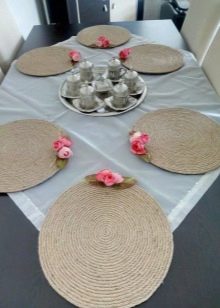
The variety of jute napkins is as great as a person’s imagination. There are various round, square and other forms of napkins.
Depending on the size, they are divided into hot napkins, under plates and under glasses. And there are simply beautiful serving napkins on the table.
Materials and Tools
A huge advantage of such napkins is that the materials for their manufacture are easily found in the nearest stationery store. So, we need:
- twine, twine, rope, macrame thread or other thick thread;
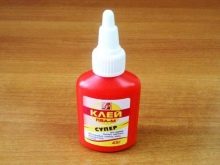
- glue "Moment" or any glue that becomes transparent when dried;
- PVA glue for additional processing;
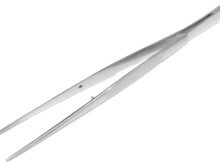
- tweezers;
- scissors;
- acrylic paints or varnish.

Also, stencils will be needed at the initial stages of work. You can download them from the Internet and print or draw with your own hands. All these devices are suitable for the manufacture of glued napkins. But if you decide to create a napkin from twine using crochet weaving, then you will come in handy:
- twine, jute;
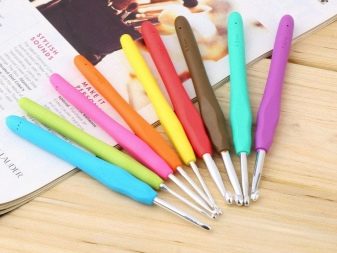
- hook No. 3,5 or the like;
- just in case sewing pins for fastening.
Manufacturing methods
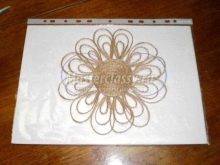
If you decide to create a jute napkin with your own hands by gluing, then start by creating stencils. You need to draw a stencil-base on a sheet of A4 paper, and then place it in a transparent file (a regular file for documents).
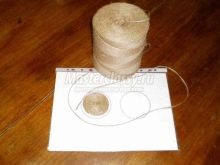
At this workshop we will perform the simplest scheme for creating a napkin, which begins with the twisting of the “snail” on the stencil.
Weaving begins with a small ringlet, around which larger circles gradually twist. After the circle has become the size that you need, the jute is cut obliquely from the main coil. Then we glue the resulting circle onto the file, and the tip of the jute is glued to the resulting circle.
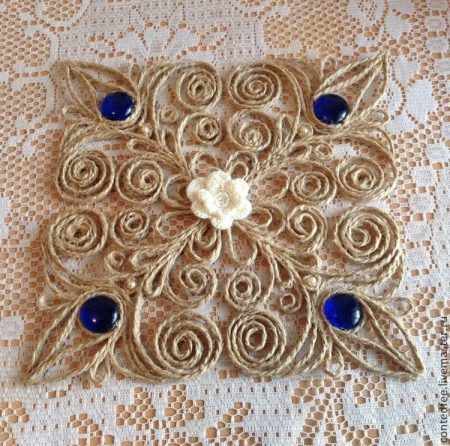
Next, we glue the whole pattern of the stencil with twine. At this stage, it is important that the hands remain clean of glue, so it makes sense to stock up on wet wipes. It is convenient to glue the pattern with your fingers or, if you do not want to get your hands dirty with glue, then use tweezers, which also need to be wiped from excess glue. When the pattern has already acquired convex contours, proceed to fixing. In this we will be helped by small jute circles made like the first main ones, but of a smaller size. They serve to fasten the elements of the napkin.
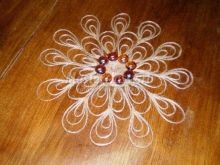
After making the napkin, grease the resulting craft with a solution of PVA glue in a 1: 1 ratio. Once the product is completely dry, carefully separate it from the file, glue both sides together so that a double-sided napkin is obtained, and then decorate to your taste. This can be done with acrylic paints, rhinestones or other things. Act as your fantasy tells you.
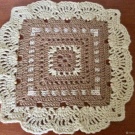
For knitting napkins you will need a pattern. Fortunately, on the Internet you can find any to your taste. If knitting is not your hobby, then you can knit a napkin using weaving without a hook.
In this case, remember that the appearance of the material will also determine how the finished product looks.
Here, scissors, sewing pins and, in fact, the material itself for crafts (twine, jute and so on) will come in handy. You need a substrate on which you will weave. To do this, you can use a pillow, a soft toy and any item where you can fix the twine with pins.
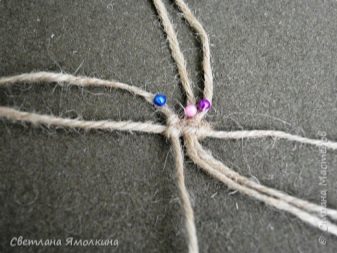
- We measure 3 threads, 3 meters long. Cut off, on two we find the middle and fix.
- Using the third, create a flat double knot.
- After creating the node, we fix an additional thread in the middle - it will come in handy for future nodes.
- Using an additional thread, we create a double rep node.
- Weave another extra on the main.
- Continuing the shave: the next 2 threads, then repeat the knot and weave the additional one again. As a result, 4 additional threads should be added.
- After this, 2 ends of the warp thread are interconnected by a double rep knot. It should be a kind of "sun" of 18 threads.
- We separate 3 threads, where the first one will always be the main one, and from the second and third subsequent weave the brida a little at an angle.
- Weave two strands of brida into the weaving of the previous one. We use the same nodes.
- Then again we take an additional thread and fix in the middle. This is the basis for the next round of brid.
- We get the following algorithm: the main thread (double rep node with three additional threads) plus 2 threads with double rep nodes. Then again 3 threads. And only on the last lap we add only 2 threads, not 3. We fix the end of the main thread with a rep knot. Next - repeat in a circle.
- We get 54 threads. Divide by 3 and weave 2 double flat knots. Then in a circle.
- The last 2 threads are intertwined with a chain of 4 loop nodes.
- Again we take 3 threads and weave 2 double flat knots. Repeat in a circle.
- We take 2 threads and knit 6 loop knots in a circle.
- Next row: on three threads we knit a flat double knot.
- Fasten the additional thread again and weave double rep knots.
- Next, take the threads of 2 meters and repeat the process.
See how to make a jute napkin in the next video.
Beautiful examples
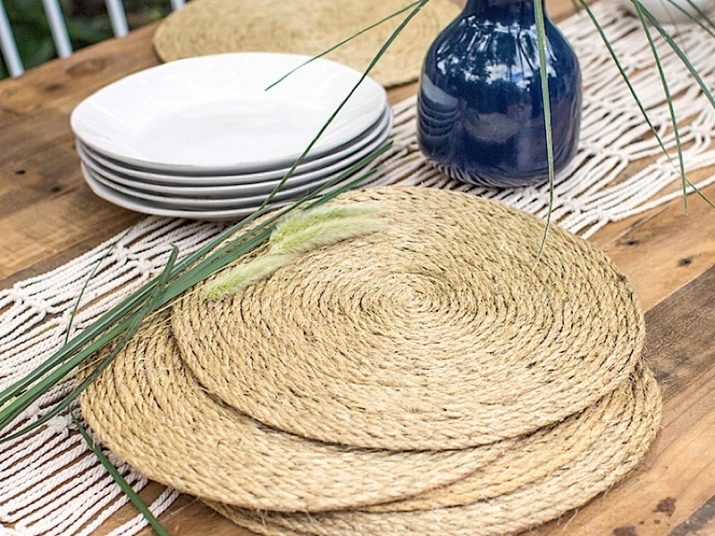
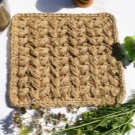
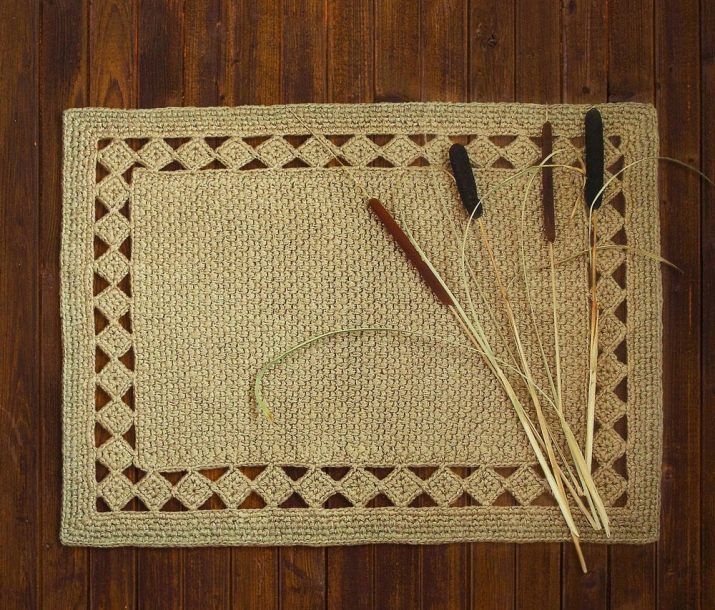
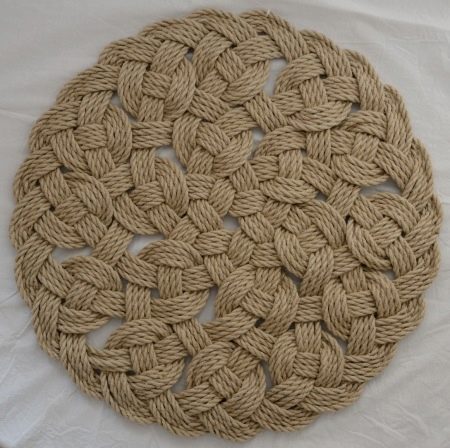
- Hot wicker napkin.
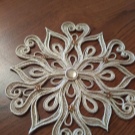
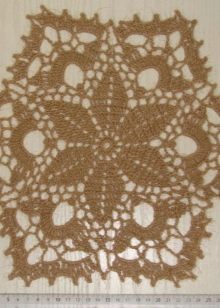
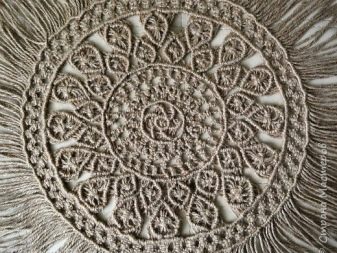
- A complicated version of weaving.
- Glued napkin with rhinestones.