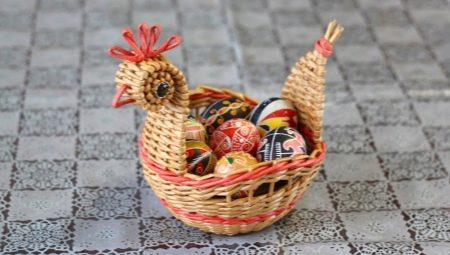
Even novice craftsmen will not be difficult to make chicken from newspaper tubes. The craft will not only be a beautiful souvenir, but also a great gift for the Easter holiday. The most important thing is to stock up on all the necessary tools and materials, and also follow the instructions from the master class.
What is required?
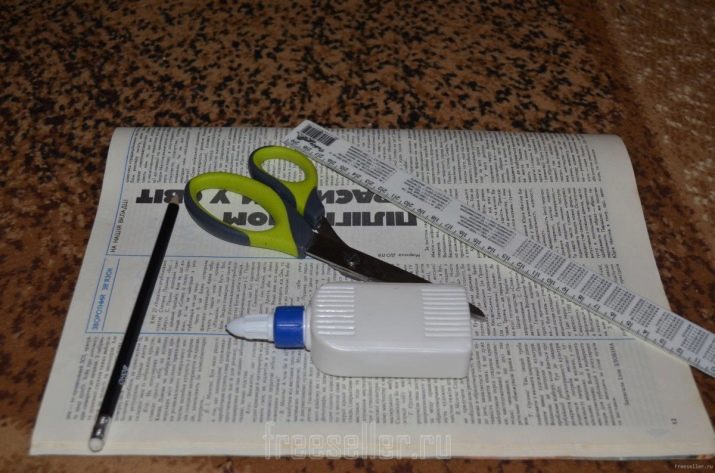
Before you start the process of weaving chicken, you should prepare the necessary materials, as well as tools. Of the materials required:
- newsprint;
- PVA glue;
- acrylic lacquer;
- thin wire;
- fishing line;
- water-based stain.
From the tools you need to prepare scissors, knitting needles, a glass salad bowl and medical gloves, if necessary.
Manufacturing technology
It’s not difficult to guess that the process of weaving a souvenir It begins with the twisting of newspaper tubes. If you do not want to spend extra money, then you can use old newspapers. The product will turn out more accurate if you use blank newsprint. If desired, you can buy one in almost any printing house.
It is better to cut A3 paper into 4 equal strips. The width of one of them will turn out about 7-7.5 cm. It is best to twist with your hands on a flat and smooth surface, for example, on a table. You need to try to twist so that the tubes are dense and even. A slight narrowing in diameter is obtained only at the ends.
It is necessary to glue the tubes using PVA glue (although in the same way you can use glue stick, but of very good quality). You need to work with PVA very carefully, trying not to stain the outside of the tube. Otherwise, it will be difficult to apply paint to these places.
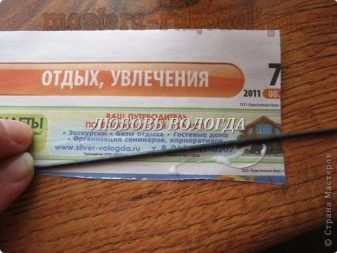
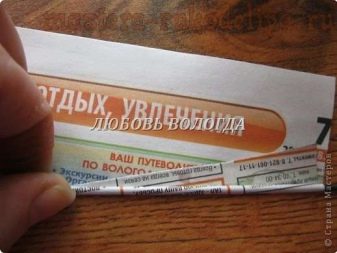
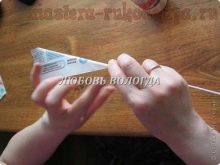
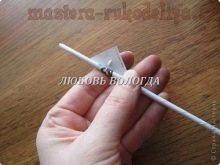
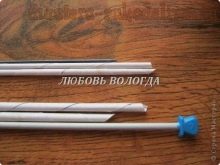
Staining of the tubes should be done with a stain. When all the tubes are painted and dried, you can proceed to the most interesting - the weaving process.
Weaving a chicken is not very difficult, but the work is painstaking, therefore it is carried out in several stages.
- You need to take 4 pairs of tubes and braid them with a simple rope. The working tube should gradually grow. If the tube is very thick, then you need to make a dent on it and only then put on the next one. It is important to try to make sure that the connections are hidden under the working tube.
- With the help of a thick knitting needle, the racks must be moved apart. Braid each of them with a rope. Weave the bottom to the optimum size.
- Next, you need to take a glass salad bowl, put it on a woven bottom and weave several rows with the "rope" technique. Further, the technique does not change, but weaving is already carried out from three tubes.
- If you pay attention to the gaps between the racks, then they are big enough. To reduce them, you need to add additional racks in each gap.
- Further you need to weave a string of three tubes, placing them at the beginning of the row behind the racks.
- Add a row to the end. When one stand remains, you need to take the closest working tube and weave in front of two for a third.
- Then you need to take the second from you and also weave. Similarly, the third.
- The last tube should be refilled to the rack and bring it down. At this stage, leave her in that condition.
- There should be two working tubes. They need to weave a rope of two.
- When the row is finished, you need to try to make the most imperceptible transition to the next. So, when the last non-braided rack remains, you need to take the nearest working tube, then the second. In the second row, exactly the same actions should be done.
- At this point you need to add one work tube and weave a rope of three.
- Before this, you need to pull out the form a little and weave a row, pulling it together. This is necessary to give a more rounded shape. To do this, the racks need to be slightly directed towards the inside.
- Finishing the row, nothing needs to be changed, since then the tubes will need to be filled. The farthest from yourself should be tucked under the first (with which the series began). And the second after it should be tucked under two tubes at the beginning of the row. The tube located closer than the rest does not need to be recharged anywhere.
- Everything must be glued and carefully refilled. Remove the tail from the wrong side. Then you need to tuck the tail from the first of the three ropes. Care must be taken so as not to disturb the drawing.
- The tips should be pulled out. If everything is done correctly, then on the front side they will be clearly visible. It is better to press all the ends with your fingers and glue them well so that the structure remains reliable.
- The next step will require wire. From it, it is necessary to weave the breast and head. From 9 racks 4 pieces should be cut, through one. The result is 5 racks. Insert the wire into the extreme and middle. Calico weaving is carried out by one working tube.
- Further weaving should go on narrowing. When the distance becomes small, it is necessary to weave the three tubes, which are located in the middle, together. Then weaving goes in three racks. If the racks run out, you need to increase them. After several rows of racks you need to trim. Weave a thin head and neck. Everything needs to be well smeared with glue and twisted.
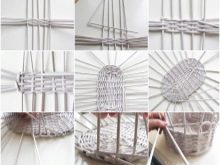
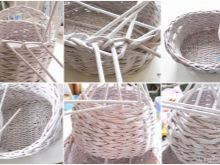
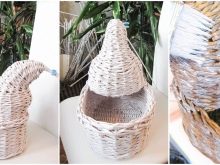
Easter chicken is almost ready. It remains to make only a pen.
It needs to be made on three racks, cut off the wire for the entire length of the handle, inserted into the racks. It is necessary to put a newspaper tube on the wire. Now it remains only to paint the chicken in the desired color or leave it in this form, since the tubes were originally painted with stain.
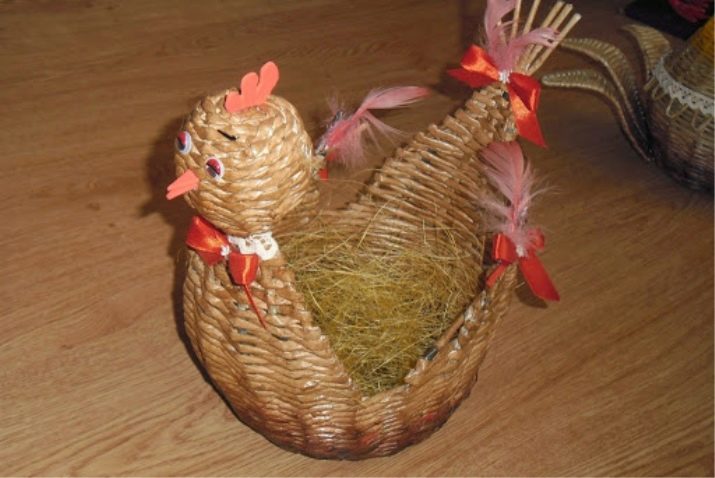
Beautiful examples
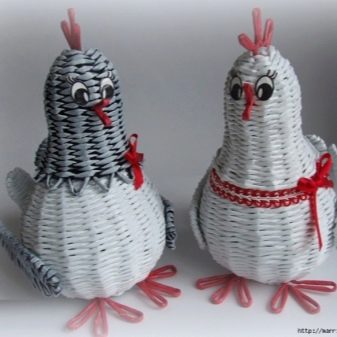
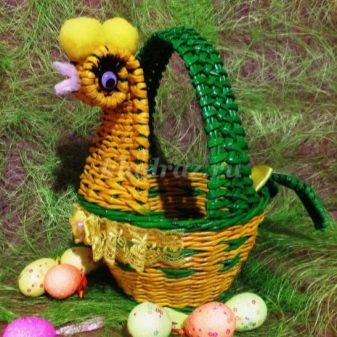
Easter chickens from newspaper tubes can be of any complexity.It all depends on the skills of the master. The most attractive compositions are:
- a black hen with a red decor - bright and original;
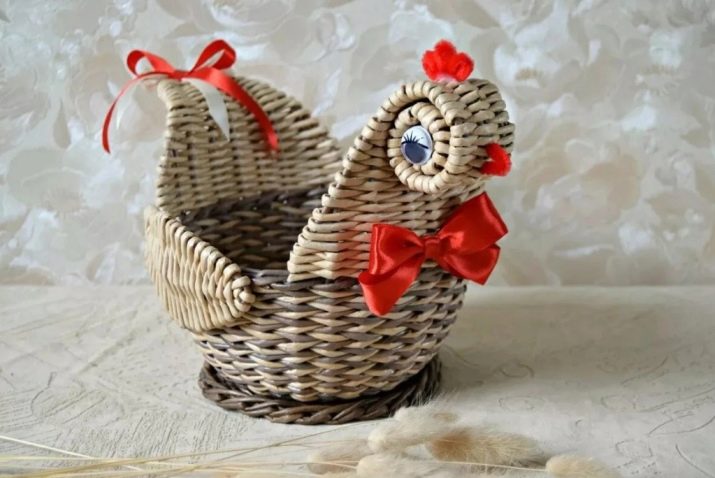
- classic brown hen with scallop;
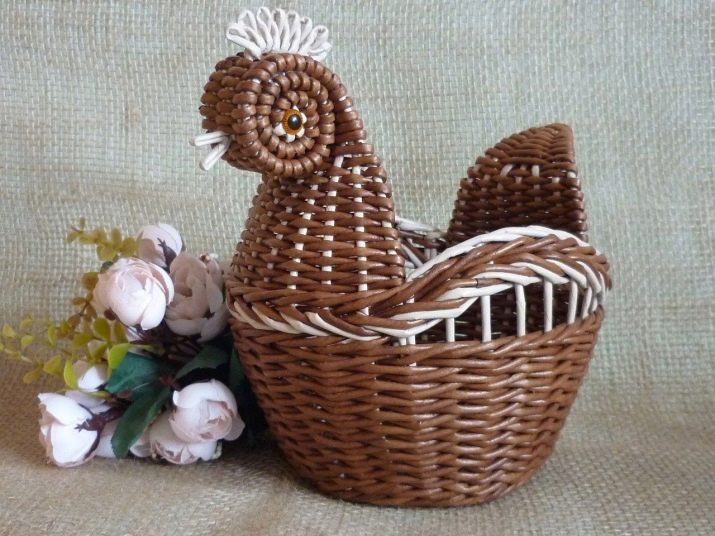
- bright easter cockerel.
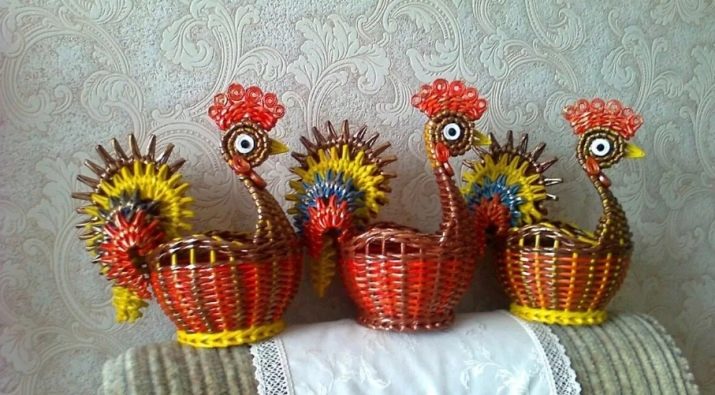
You can make almost any composition. You should start with simple figures, gradually improving your skills.
See how to make chicken from newspaper tubes.
