Weaving from newspaper tubes is one of the types of applied art in which craftswomen create unique products from paper that have virtually no external differences from the usual rattan wicker. In our article, we will give a workshop on weaving boxes from paper straws.
What is required?
In order to create a box for storing various little things from paper tubes You will need the following set of materials and work tools:
- paper - it can be old newspapers and magazines, store brochures and even copybooks;
- wooden skewer or knitting needle - it is important that its thickness is approximately 1.5-2 mm;
- glue for paper - it is best to take PVA or glue stick, in any case, the composition should be neutral in color;
- thin brush;
- a simple pencil;
- ruler;
- point scissors or clerical knife.

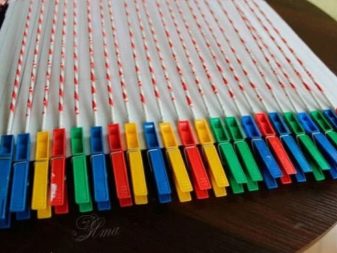
For to make a whole box, you also need to prepare the base, that is, the frame that you plan to braid. In addition, we will use clothespins, paper clips or elastic bands to fix paper straws, as well as tweezers - you will grab small elements with them in case you cannot hook them with your hands.
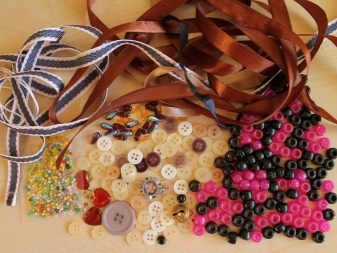
To decorate the finished design, you will need paints, varnish, beads, rhinestones, as well as ribbons, lace and fabric.
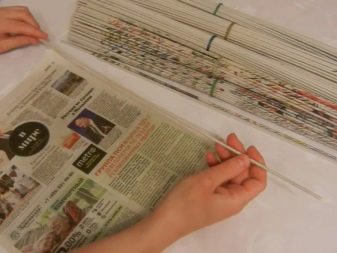
How to make tubules?
The creation of any box should begin with the manufacture of newspaper tubes. This is a simple matter, but it requires perseverance, scrupulousness and takes a lot of time. The work includes the following steps.
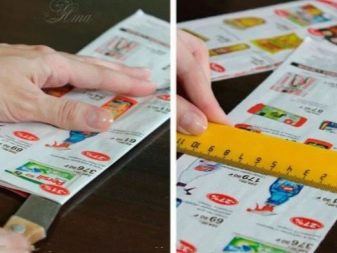
- The page of the old newspaper must be drawn into long strips horizontally so that their width is 9-10 cm. After that, with the help of scissors or an office knife, the paper is cut along the drawn lines.
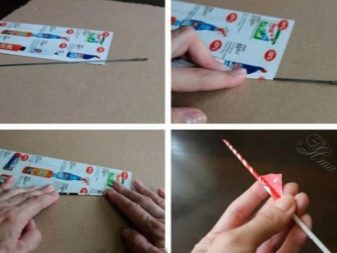
- On the edge of the resulting paper strip, put a skewer or a wooden knitting needle, while the angle of inclination can be different - it largely depends on which straw will end up. The larger the angle, the longer, but at the same time, the finished design will be thinner. And vice versa, the smaller the angle, the shorter, but stiffer the workpiece will be.
- To create woven items with your own hands, you will need both long and short tubes. The longest straws are usually used for weaving the walls of the box, and for the formation of the bottom and side racks - more dense.
- Newsprint is wound tightly onto a knitting needle. The beginning of the tube does not need to be glued - for maximum fixation it will be quite enough to apply a little glue at the very end of the twisting.
- At the end of the work, the needle is carefully removed from the straw.
We draw attention to the fact that the thickness of the workpiece in the upper and lower parts should be slightly different - on the one hand, it will be thin and dense, on the other, it will be wider and hollow. This is necessary so that you can subsequently easily increase the length of your tubes. All that is needed for this is simply to drip a little glue into the thickened side and fix the next workpiece in it with a thin edge.
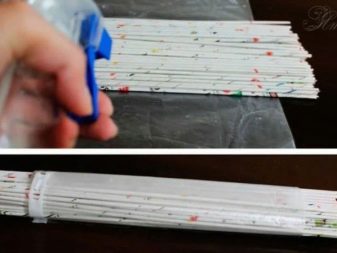
To make the tubes more flexible, you can sprinkle them with water from the spray gun before work.
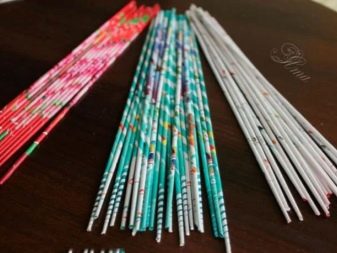
After you have prepared the required number of blanks, you can begin to create the box itself.
Weaving Methods
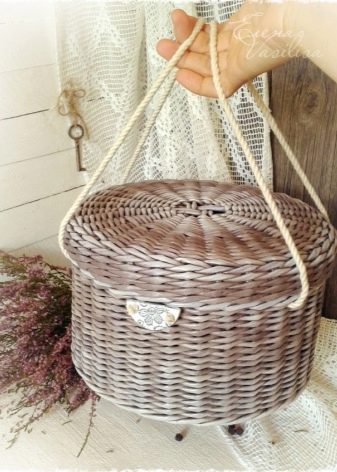
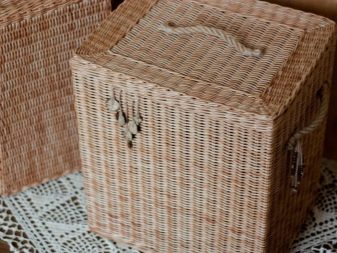
There are several basic shapes of a newspaper tube box: it can be square and round, rectangular and oval. Heart-shaped models are very popular, but their creation requires certain skills and mastery in this technique.
The bottom is best done also in the weaving technique. But if you do not have the necessary experience, then the bottom can always be made of paper. In this case, a double cardboard is suitable, its inner part must be covered with cloth or glued with paper of a suitable color.
If you plan to make the bottom wicker, then step by step all the work will look like this:
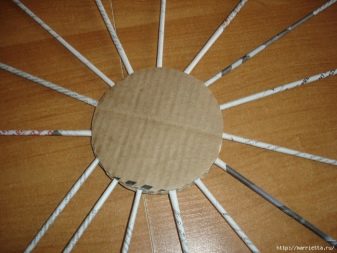
- for starters, a circle of the required diameter is cut out of thick cardboard;
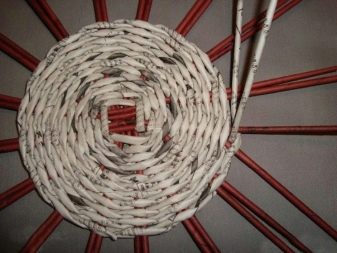
- at the edges at an equal distance from each other, 16 tubes-rays are glued so that they evenly diverge in different directions;
- 8 tubes should be laid out in pairs so that they intersect in the center in the shape of a snowflake;
- put a new blank in the central part of your box - it is necessary to wrap pairs of beams around it in a circle, increasing the length as necessary;
- after 6-7 circles are woven, the rays should be carefully separated from each other so that 16 pieces are obtained.
Then, just as at the very beginning of weaving, put another straw down and continue weaving in a circle using the “rope” method. To do this, the first ray is wrapped in newspaper tubes at the same time both above and below. Braiding the second ray, the position of the newspaper straw should be changed - the one that was below should braid the second ray from above and, accordingly, vice versa. According to this algorithm, all work should be done further along the bottom.
When the diameter of the bottom corresponds exactly to the planned size, the working straws must be fixed with glue and fastened with clothespins. After waiting for complete drying, the working tubes are removed and cut.
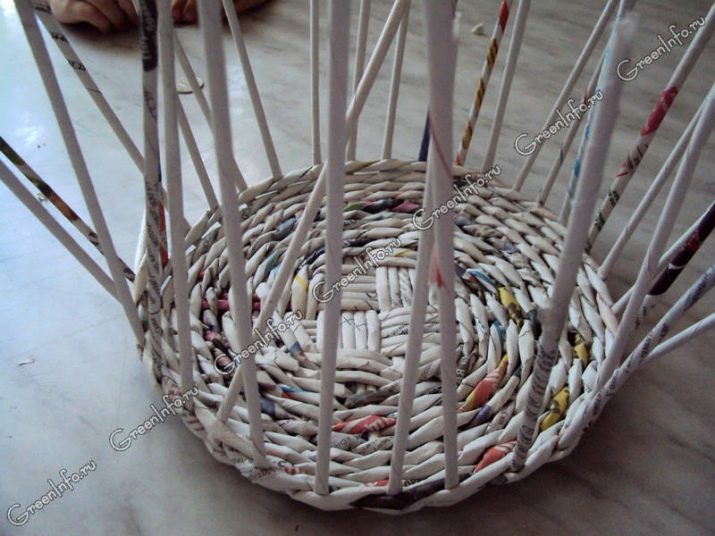
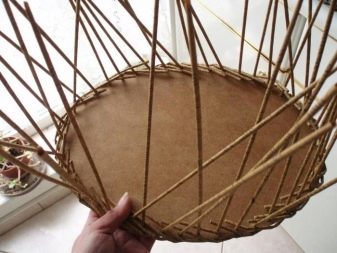
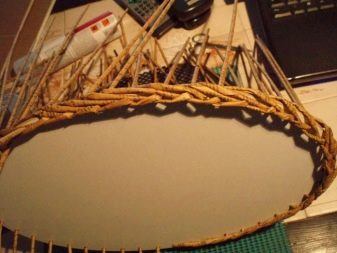
To continue weaving and make walls, the beams should be raised up. If their length is not enough - it needs to be increased. The result should be the so-called racks - they must be bent so that all 16 ray-stoichki were directed vertically upward.
To make the box smooth, it is advisable to put some solid form on the finished bottom - it can be a plastic bucket, an old cardboard box, a salad bowl or a vase.
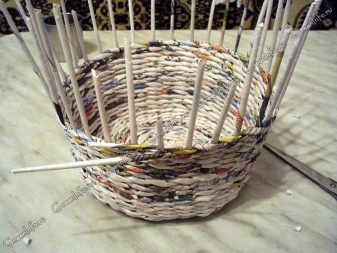
Between the walls of the mold and the handles, a new working straw is laid, the same actions are repeated with the second stoichka, weaving another tube. After that, weaving with a “rope” is continued up to the very top of the box. If you plan to make a product with a pattern, then multi-colored, pre-painted tubes must be woven in accordance with the developed color scheme. At the end of weaving, all the tubes should be carefully glued, and cut off unnecessary ends.

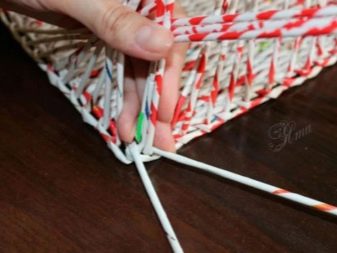
To finish weaving, the remaining risers carefully close. To do this, the first ray starts after the second, after that the second is circled by the third, and so they act until the very end. If all the steps are performed correctly, then after bending all the rays, a hole will form - it is necessary to carefully wrap the tips of the little sticks, fix with glue from the inside and carefully cut as close as possible to the weave.
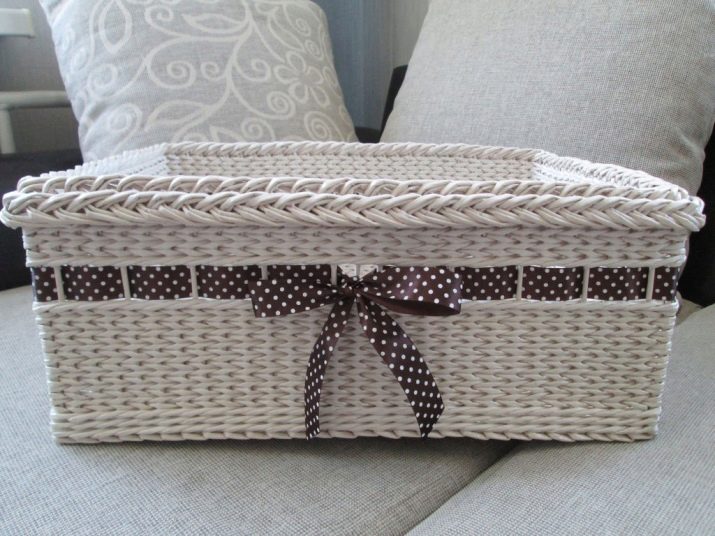
According to the same scheme, you can also weave the lid, not forgetting to take into account that its diameter should be about a centimeter larger than the diameter of the box itself.
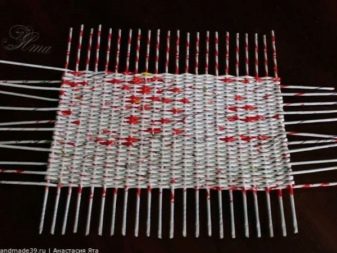
If you weave a box of square or rectangular shape, then you need 11 long tubes to form the bottom. They are laid out horizontally, removing from each other at a distance of 2-2.5 cm, on the left you need to leave a little space for the sides. Weaving begins immediately with two billets in the "pigtail" way in the direction of up and then down. Thus, they are weaved until the rectangle has taken the desired size. The walls of the box are performed in the same manner as in the manufacture of a round shape.
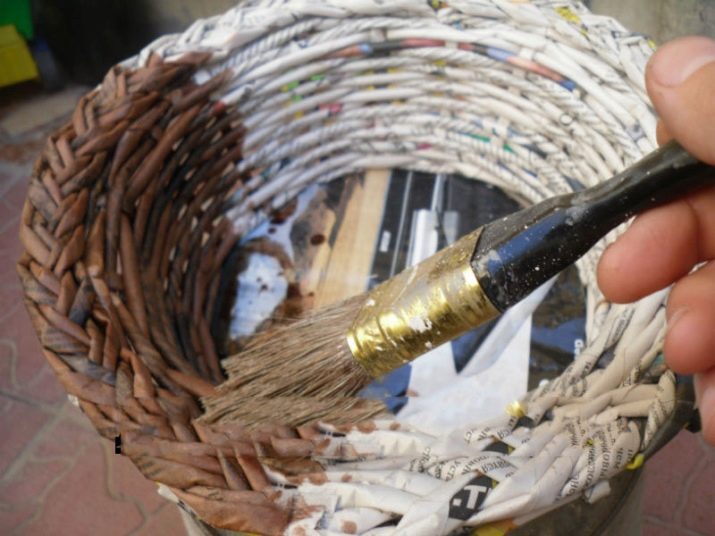
If you are not happy with the color of the newspaper, you can paint the finished box. To do this, use one of the following compositions:
- acrylic primer - it is mixed with color, this method of painting makes the straws more elastic and dense;
- water mixed with color - in this case, it is necessary to add a little acrylic varnish to the solution;
- fabric paint - it is bred in hot water and be sure to add a little vinegar and ordinary salt, if you do not do this - your casket will get your hands dirty;
- any food coloring diluted in strict accordance with the instructions;
- water-based stain - in order to achieve the most uniform coloring in this way, add a little primer to the stain;
- any water-based paints.
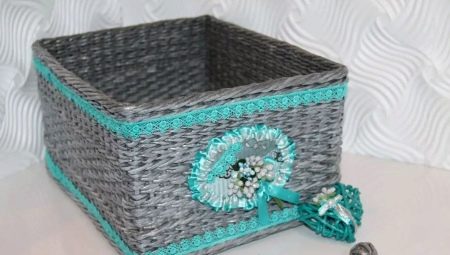
Beautiful examples
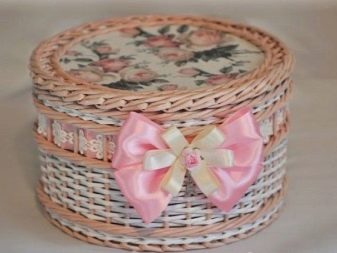
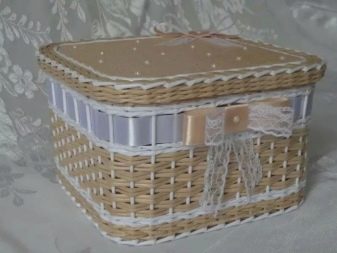
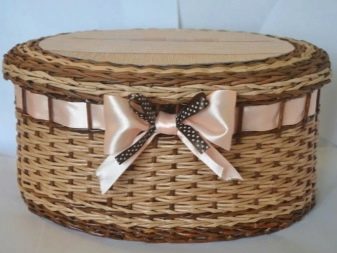
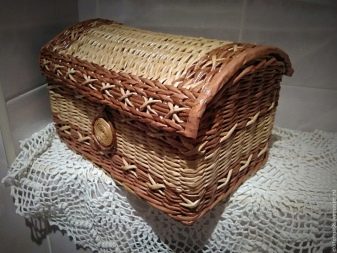
You can always decorate boxes and cute caskets with a lid according to your tastes and preferences.
- If you wish, you can glue beads, lace and rhinestones; caskets decorated using the scrapbooking or decoupage technique look very stylish.
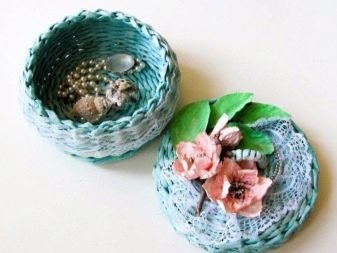
- In the finished product you can store any small things of small weight - these can be accessories for creativity and needlework, as well as jewelry, hair clips, some small documents (checks and receipts). Such boxes are usually made with partitions.
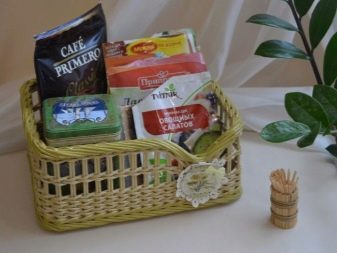
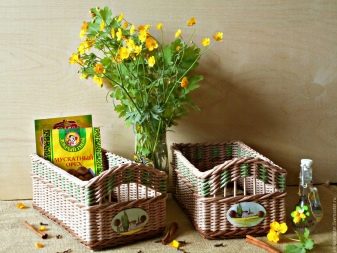
- Interesting boxes can be made for storing spices.
- Kids will surely like an unusual toy basket.
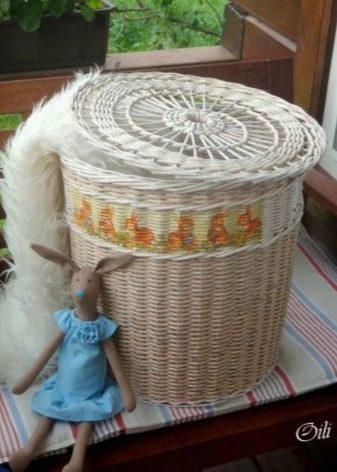
- Economical housewives can use an unusual product for storing dirty laundry

- You can simply use such a box as an element of decor, making it in such a way that it matches the style of your interior as much as possible.

How to weave a box of tubes, see the video.


