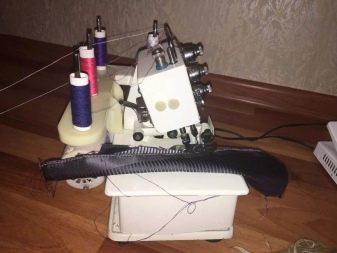
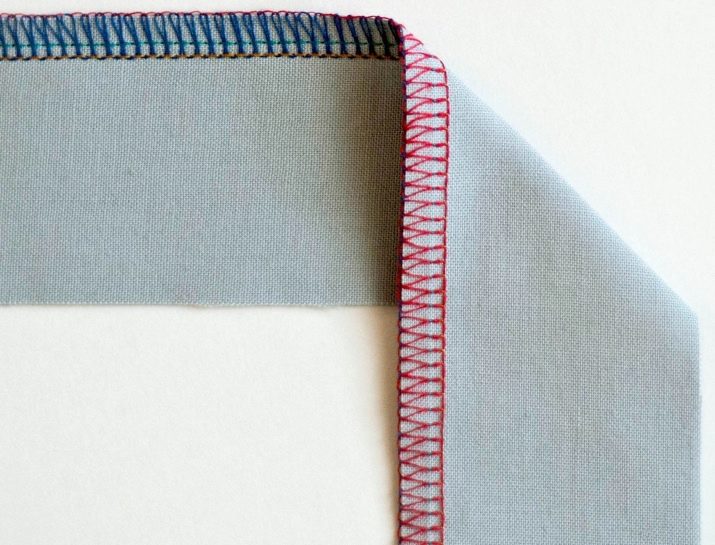
Overlock - a type of automatic (motorized) sewing machine, allowing you to make the sheathing of the edges of easily dissolving matter around the perimeter, stitch the product with two or more seams to give it strength. In some cases, an overlock is an assistant in the design of an item of clothing, underwear or accessory. This is achieved by working with two or more upper threads at the same time.
How to choose?
There are at least a few selection criteria.
- Workmanship. Suppose you need a model that will last at least several years in daily or weekly use. Carefully inspect, compare different models. To get started, read the reviews of at least a dozen models of the lower and middle price ranges. The calculation for long and frequent work is important here - the details of stainless steel, possibly stainless steel, which have greater wear resistance, play a decisive role.
If the manufacturer “darkens” and withholds important information, such an overlock will not last even two years with active work.
- Price. The optimal ratio between price and quality is for those who want to get the most productive overlock for the same money with at least 10-20 modes, each of which produces its own seam, significantly different from the rest.
- Producing country. If you do not trust China (there are good reasons for this sometimes) - look for American, European and Japanese overlocks, compare different brands and their models. Russian models, such as Agat DonLock, are a cheaper alternative, for example, American ones from Brother.
- The ability to stitch, sew under a flat seam around the perimeter (and not only) of any fabric - even wool and felt, from which plaids and blankets are made. A good machine will readily “break through” even skin and leatherette, drapes and other, more dense matter.
- The ability to put as large spools, spools of thread as possible. They will fit when the homemaker suddenly re-qualified as a “homeworker”, working on order, and rapidly “overgrown” with hundreds of surrounding customers. The dimensions of the machine, allowing you to start the bobbins of the upper threads - an economically more profitable solution than buying a palette (set) of small coils "for all occasions."
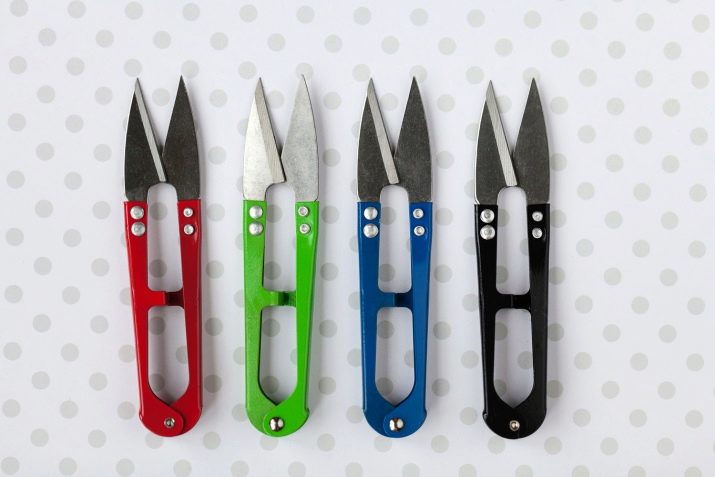
- Additional functions. A number of models have, for example, thread trimming - using the auxiliary cutter included in the kit.
Having chosen a high-quality device that meets your requirements, read the instructions for its use and thread the threads in your overlock.
Three-thread overlock
Unlike a sewing machine, whose equipment with thread for the upcoming sewing does not affect the formation of sewing stitches, and the lines do not indicate the presence of defective work, the overlock behaves differently. Missing any one thread fastener in the stapler will immediately produce skipped stitches or the seam will take on a stitching appearance.
The general instructions for refueling overlocks are as follows.
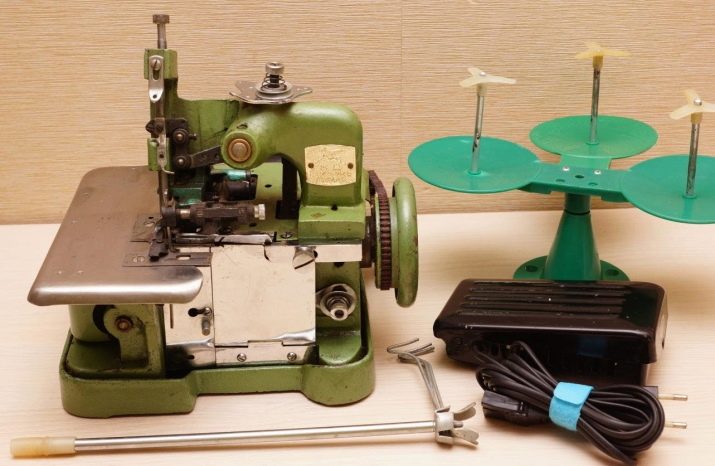
- Place the spool or mini-spool of thread on the pin holding it.
- Spool a little thread from the spool. Pass its end through holes or hooks that give it directions. The axis of the bobbin retainer must coincide with the line of the thread guide - this is one of the guarantees of a perfect weld.
- Pass the thread through the tensioners - deflecting and attracting. There are overlock models where one universal tensioner is used. In any case, do not miss a single detail.
- Pass the thread into the drain thread guide and thread it into the needle. The directions of motion of the thread and matter must coincide.
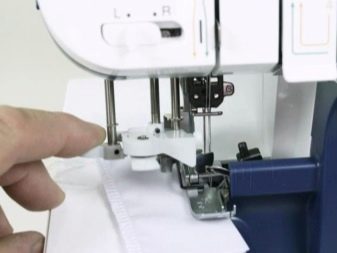
- Move the thread to the side through the slot in the presser foot.
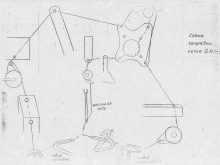
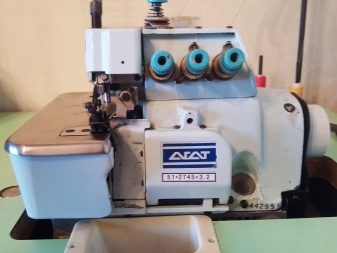
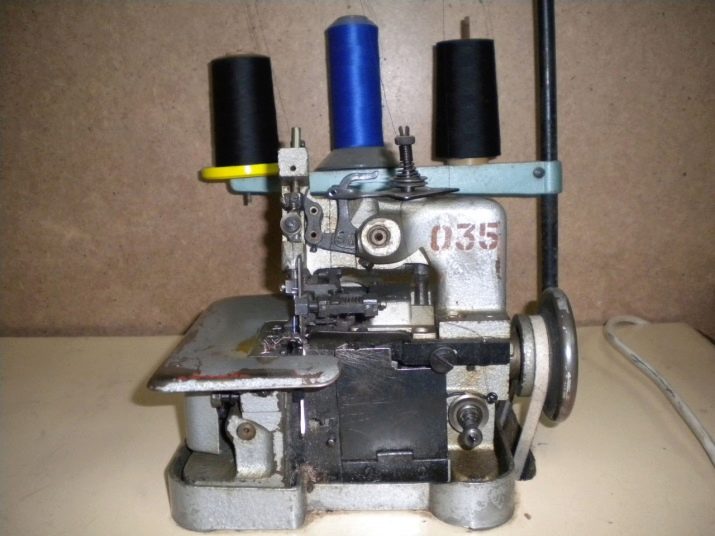
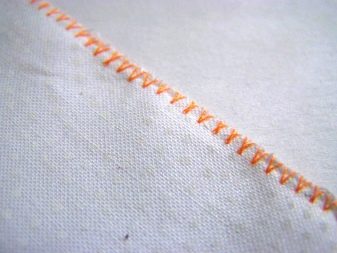
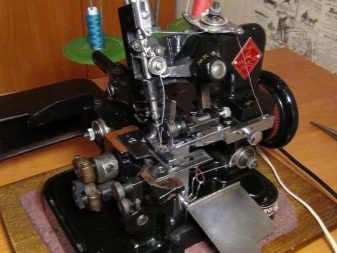
Place the test flap under the foot and drive it away. Check the quality of the seam. Incorrectly threaded threads will produce an incorrect seam. For beginners and the middle hand of tailors, an industrial overlock of class 51 is in great demand - he immediately accustoms seamstresses to working “on stream”. His threading procedure is as follows:
- drag the thread through the thread guide holes on the product body;
- pass the thread through the tensioner profile;
- pass the thread through the lower guide, the needle and the cut of the foot, and take it to the side.
Check the quality of the stitches by stitching a test flap.
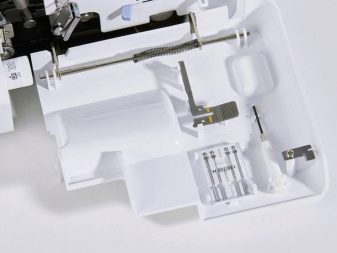
Filling the loopers individually
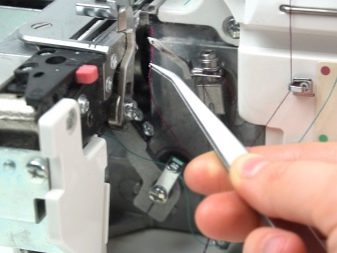
The main difference between such a gas station is one looper has a tensioner under the working area of the device. To thread the right looper, thread the threads through all the parts. It is useful to use threads of contrasting color - such a difference will quickly allow you to loosen or tighten the desired. To refuel the left looper, a little more time and effort is required - access to it is worse. Tweezers will help you, but if the hole for passing the thread is not quite convenient, move the needle shutter and pass the thread through the necessary parts.
On overlock 51 classes the same sequence of actions if there are four threads. The difference between refueling is as follows:
- the left tensioner of the upper thread has a left needle, the right one has a right needle;
- in looper tensioners the opposite is true: the first right tensioner is the first left-side looper.
However, refueling the loopers and tensioners varies from one model to another.
Specify this in the instructions for your overlock. A four-thread overlock can operate the threading mechanism in the lower looper, simplifying the process of threading the upper threads.
Chinese 4-thread models
Overlocks ordered in China often come with instructions in Chinese or English. If you did not learn English at the engineer level, use a translator.To set up such an overlock, you need to go through 2 stages of thread pulling through the loopers. The first is threading the left looper.
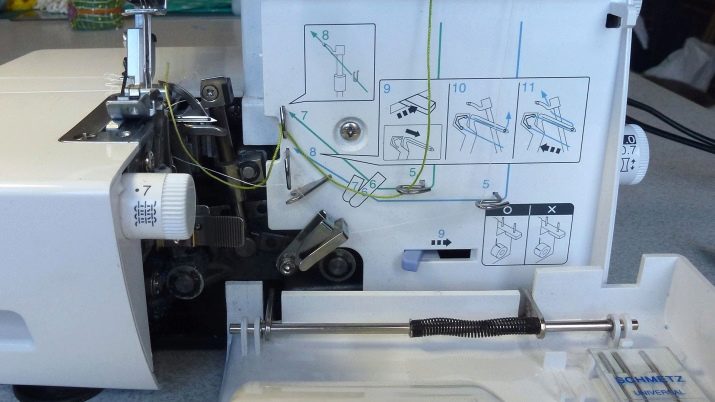
- Pass the thread through the hole of the closing cover using the thread guide itself, then direct it and pass through the same hole on the left closing cover.
- Thread the same thread through the slider openings on the tensioner itself. Pass the thread through the tensioner adjuster, and then through the channel leading to the looper.
- Twist the pulley until the right looper pulls up from the plate and needle.
- Pass the thread behind the lever with the right looper and lock it on the hook.
- Turn the pulley until the left looper moves to the extreme position.
- Pass the thread through its hole and continue to turn the pulley until the right looper is raised above the left plate. In this case, the left looper should rise up to the limit.
- Thread the scapula.


If this thread is threaded incorrectly, its break will prevent you from building perfectly even seams. Now thread the thread into the right looper as follows.
- Bring the thread through the hole in the plate of the device for tensioning and further passing through the eye of the needle.
- Pass the thread through the hole defining the restriction plate of the upper cutter, located in the thread tension mechanism passing through the right looper.
- Rotate the pulley so that the right looper runs up.
- Thread the same thread into the looper hole located under the hook, giving it the desired direction.
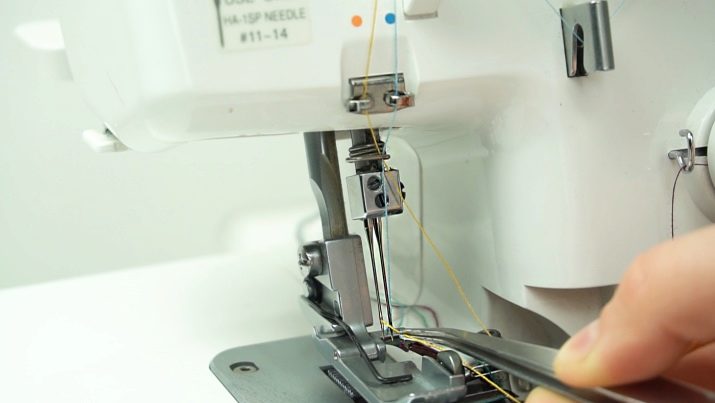
To insert the thread into the needle, do the following:
- skip the thread according to the mechanism of the tensioner regulator;
- go around the control axis and pass it through the hole in the plate;
- Pass the thread under the hook and thread it at the end of the needle.
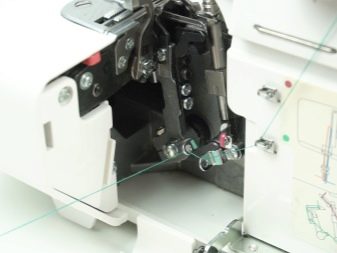
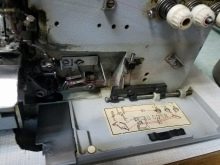
Then the thread is diverted through the cut of the foot to the side. Overlock is ready for sewing. Fill under the presser foot and stitch the test flap, check the quality of the seam. The threading scheme through all external functional units of the overlock is duplicated under the cover.
If you violated it, then when you try to work on an incorrectly threaded overlock, you can not only get a fuzzy and twisted seam, but also spoil the repaired item of linen or clothing.
Chinese three-stranded
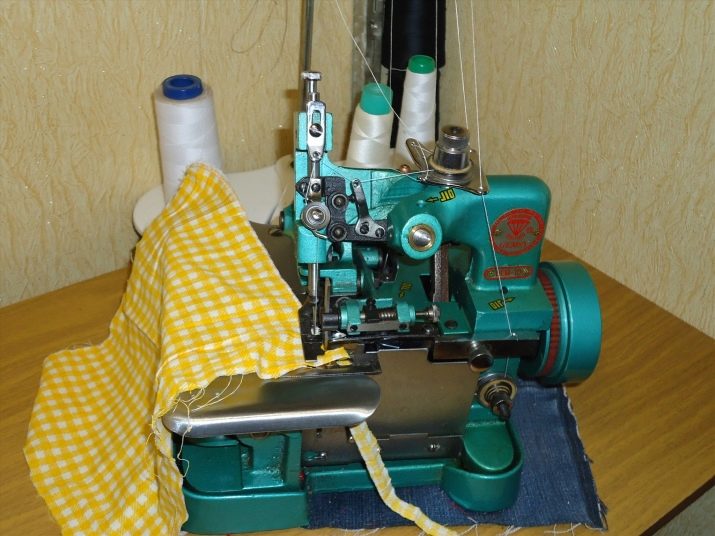
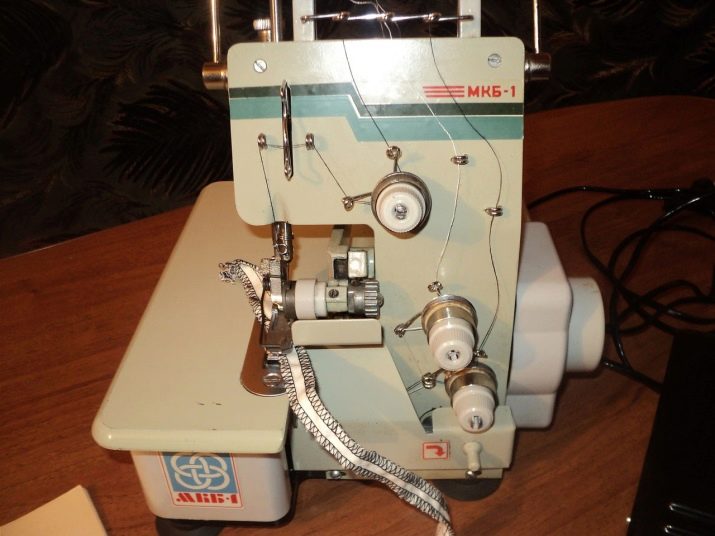
Refueling Chinese three-thread products is no different from preparing an industrial 51-class model or Russian three-thread products of the Agat brand. The latter are inferior in design to foreign devices, for example, of the Brother brand, but in functionality they are not inferior to them or to any other brands.
Conclusion
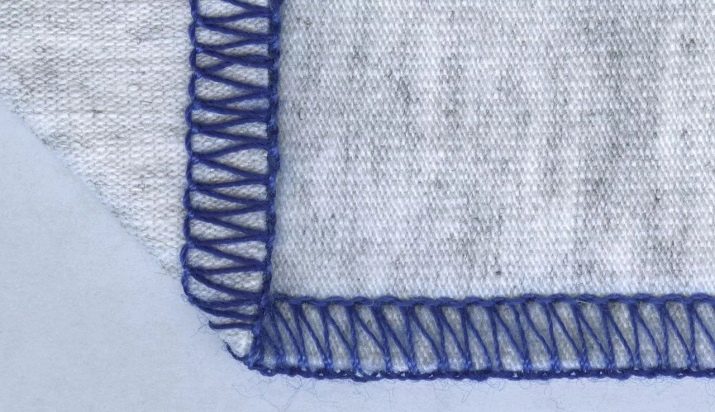
Overlock is the next step for seamstresses who have passed the initial level of sewing on a regular (household) sewing machine. You can, of course, hem the edges by bending them, but industrial sewing at this stage is basically suturing the edges without bending them under the “machine” seams. An “overlock” seam is less expensive, since only threads are spent, and not extra strips of fabric along with them.
An overview of the Chinese three-thread overlock class 51 is presented below.


