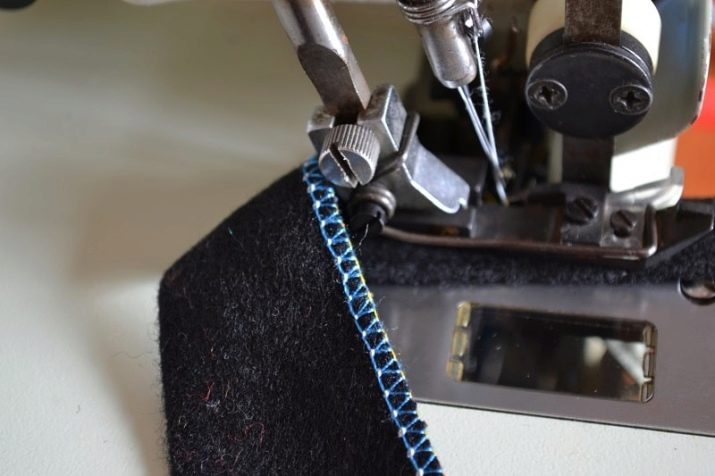
Overlock is a valuable helper for every seamstress. With this device, the seams on the basting are not only smooth, but also beautiful. Of course, in order for the overlock to successfully cope with the work, you will have to learn to work on it. And one of the important stages is threading. Here it is important to choose the right thread, and get acquainted with the features of the device, and with refueling schemes.
Refueling and adjustment tools
To simplify working with overlock, it is worthwhile to prepare some tools in advance. It’s more convenient to thread with them, and you can easily eliminate the problems that arise in the process.
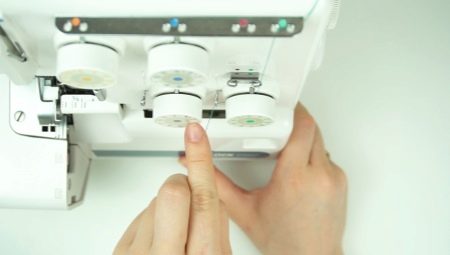
It is important that you always have at hand three or more colorful coils. This will avoid poor thread adjustment.

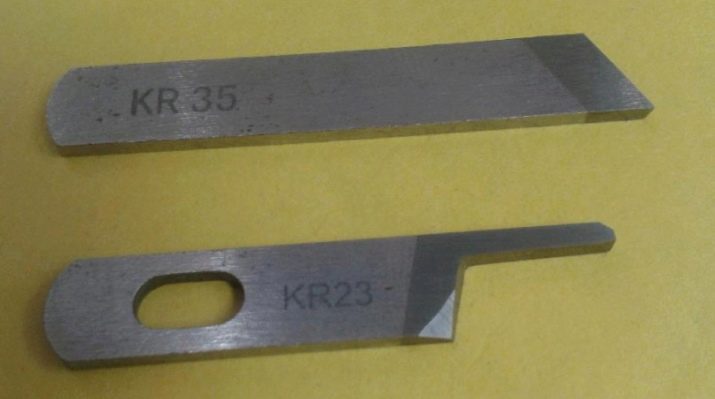
A spare set of overlock knives must be available for all beginners. After all, they are often used for various materials, and they quickly fail.
It is worth remembering that in fact they are designed to process threads that stick out.
They can also trim the edges of delicate and overly loose materials.
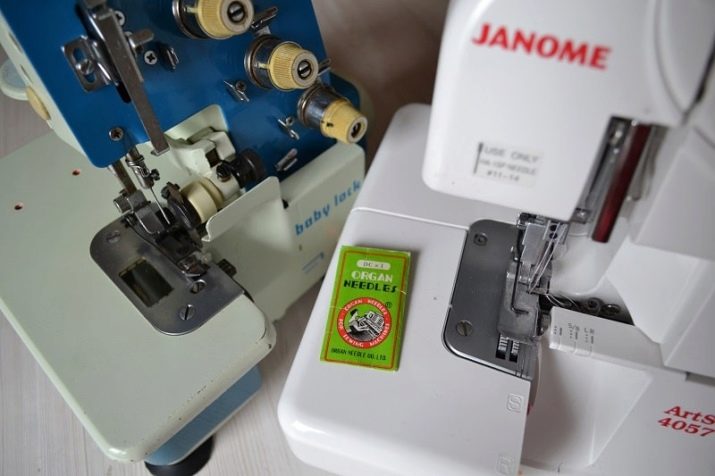
An additional set of needles should also always be available.. This will allow you to quickly continue with a bent or broken needle. Also, replacement will be required if frequent skipping of stitches is obtained in the seam line. It is important to set the needle correctly and do not pull the product by hand too much when sewing.
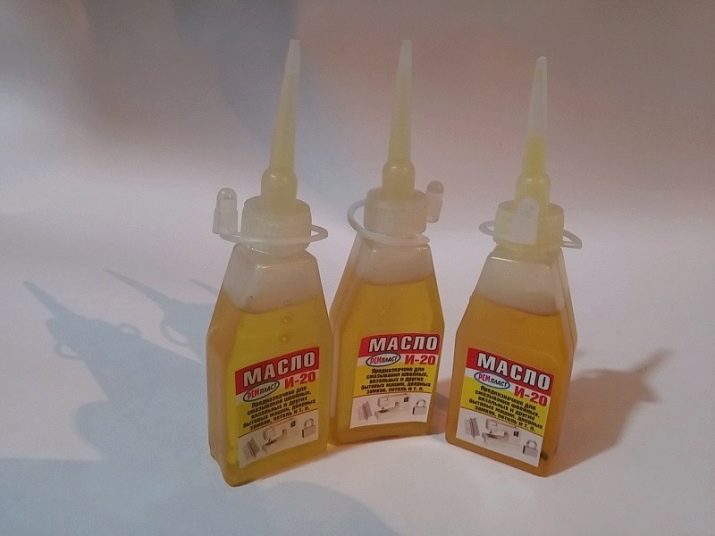
Lubricating oil helps protect overlock from overheating and breakdowns. It is recommended that at least once every 6 months lubricate the overlock equipment. The easiest way to carry out this procedure is with a conventional disposable syringe. Its use will allow to apply lubricant to all areas with difficult access.
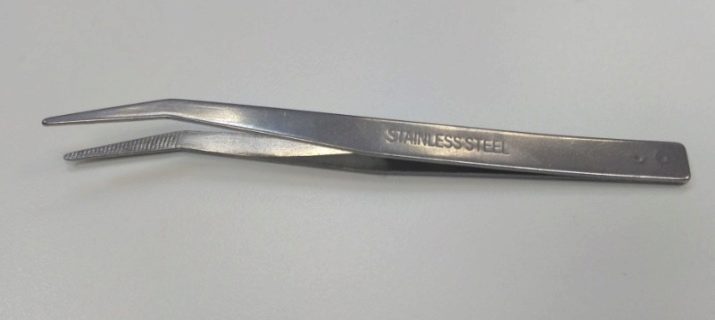
Thin-tip tweezers are a great helper when threading the hole in the left looper. It is located in such a way that getting to it with bare hands is quite difficult.
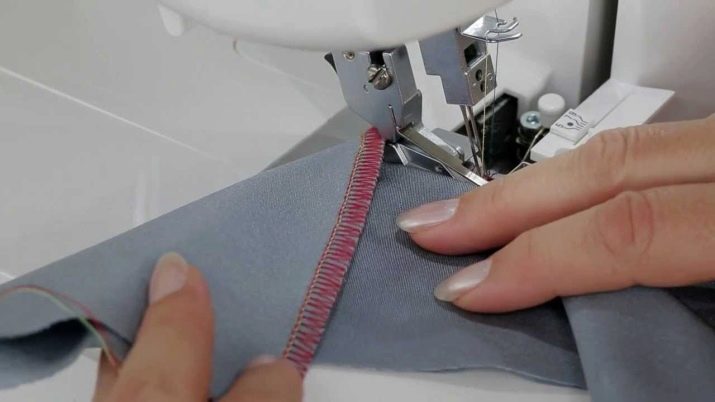
A small flap of fabric will allow you to check how well the threading is done. One control quitching is enough, and it becomes clear whether everything is done correctly or not. Thus, you can better configure the machine, and not spoil the product.
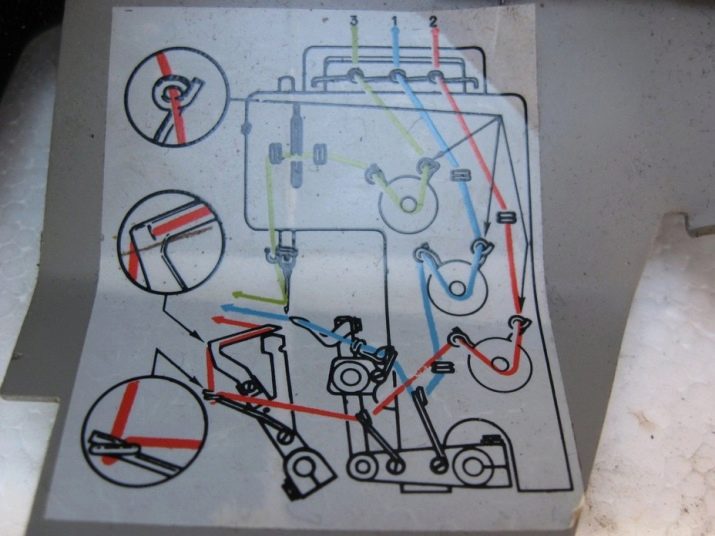
General scheme
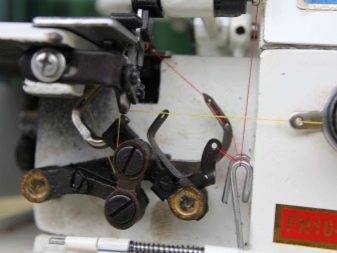
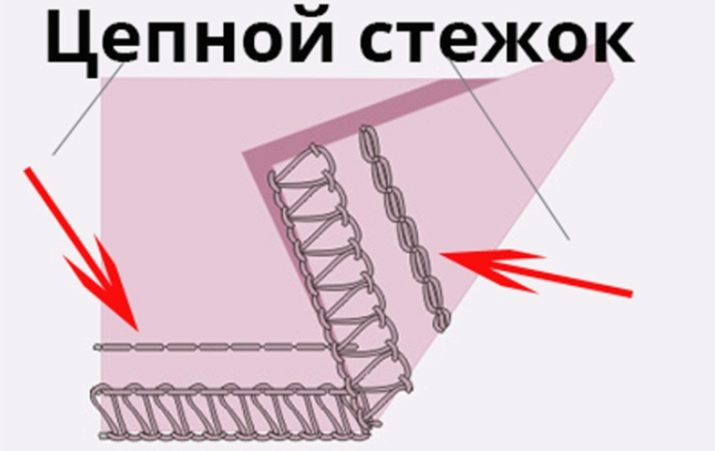
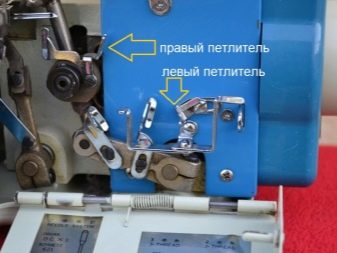
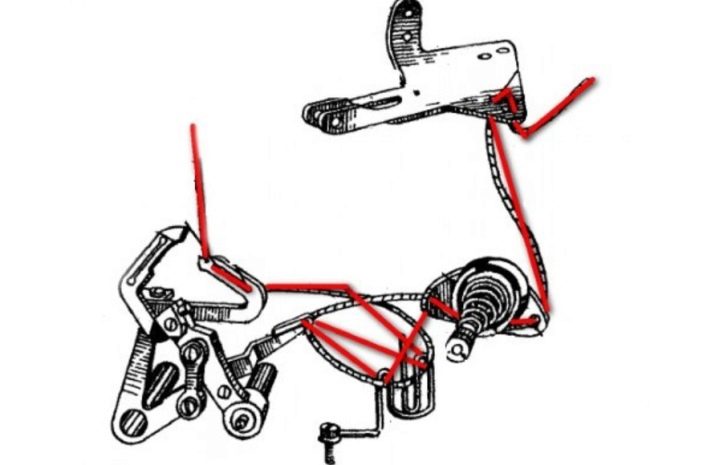
For overlock there is a single algorithm by which the thread is refueled. First, it must go through the left looper, and then through the right. It is worth clarifying that a looper is a hook-shaped metal device. During the operation of the device, it captures the threads coming from the needle and connects them with the threads passing from below. It turns a chain stitch.
The process of moving into the left looper is easiest to describe step by step.
- Through the thread guide, the thread passes into the lid eye on the right side. Then it must be dragged into the eye, which is located in the left-side cover that performs a protective function.
- Then the thread is circled around the tensioner and inserted into the passage leading to the looper.
- After that, it is necessary to scroll the wheel in a movement from left to right so that the looper on the right moves and stands exactly above the needle.
- Now you need to circle the thread at the back so that it passes around the lever device of the right looper, and then touch it by the hook.
- The wheel rotates again to lower the left looper.
- A thread is threaded into it, and then, with the rotating movements of the wheel, the right looper rises above the needle.
- The left looper is also set to occupy the highest position, and the thread is fixed under the foot.
Correctly inserting the threads into the right looper is somewhat easier.
- The thread is passed through the tensioner and is threaded into the slot of the plate with a knife.
- Then you need to scroll the wheel until the right looper is in the upper position.
- Now you can stretch the thread into the slot, which is located directly under the hook.
- The thread should go through the tensioner and plate. At the same time, she circles the rod of the device that regulates the tension.
- At the last stage, it is necessary to fix the thread under the hook and thread the needle into the eye.
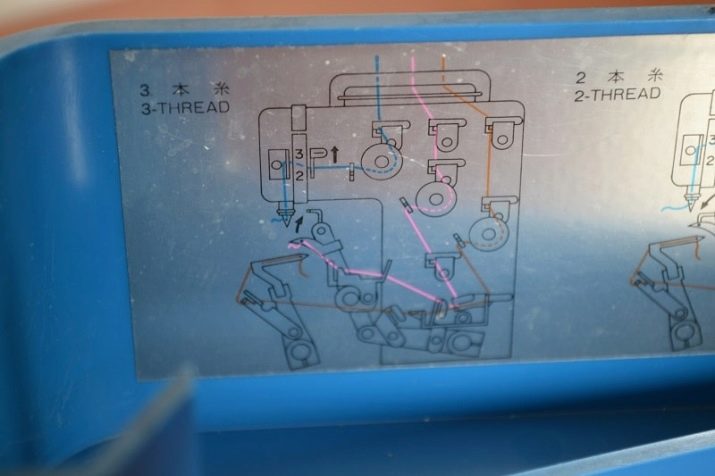
3-thread
The Chinese three-thread overlock is a universal model. If you learn how to thread on it, then you can easily do this on any overlock. The process will be performed in the following sequence:
- the threads must be successively threaded into the holes for the directions that are on the device;
- thread the thread into the tensioner, which is located in the right looper, and then hold it down;
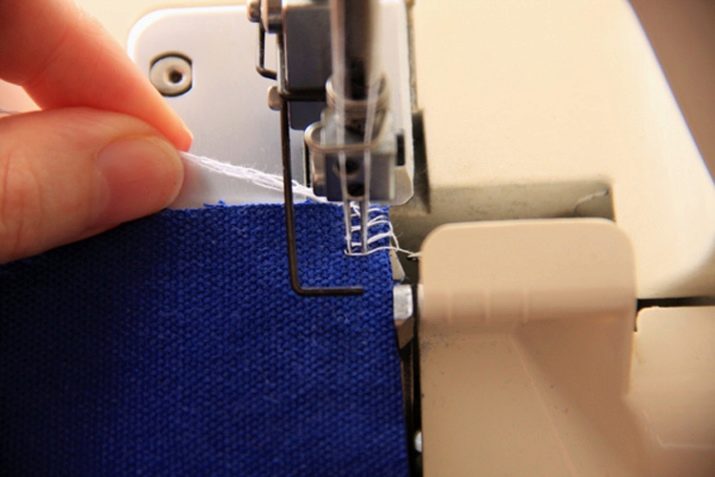
- then the thread must be threaded into the eye of the needle and brought to the back side through the foot;
- check the correct stitching on the test piece of fabric and make sure that the thread is threaded as it should.
It is worth clarifying that in a three-thread overlock one of the threads goes to the needle, and two pick up the loopers.
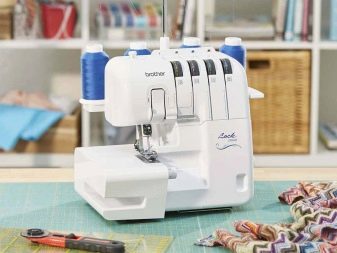
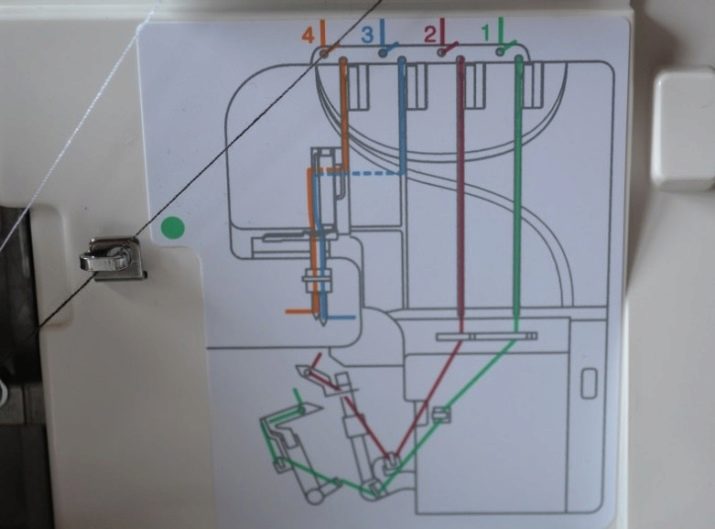
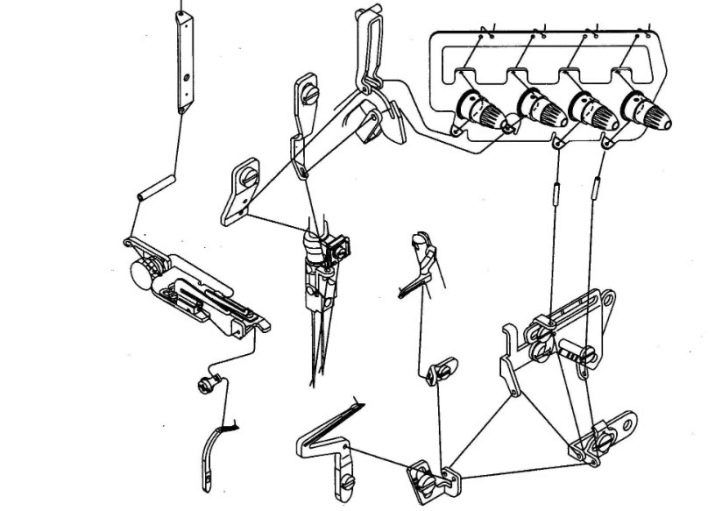
4-thread
There are two needles in the four-thread overlock. Two threads are threaded into them, and the remaining ones are captured by loopers. Some models differ by threading, but as a rule, a scheme is indicated on them. Moreover, it is often applied directly to the body of the machine.
Some units have a special system designed to simplify the process of filling the loopers from above and below (F. A. S. T.).
- Turn on the machine, and then raise the knife so that it is pressed against the overlock body and turn.
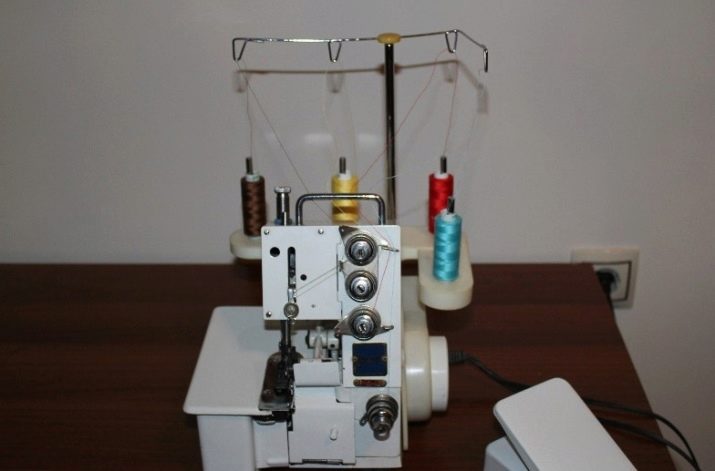
- Spools of threads put on special rods and pass them through the tensioners. It should be borne in mind that each thread has its own device for tensioning. Often inside the housing there is an instruction diagram that indicates which thread tensioner corresponds to which spool.
- The first thread must be hooked to 3 thread holders located inside the overlock housing.The end of the thread is inserted into a special connector, which, as a rule, is located near the desktop.
- Next, the second thread should be held in its tensioner, passing it through the looper. To do this, turn the wheel.
- The third one is refilled through the thread tensioner, and then through the holder at the top, located above the work table. After this, the end of the thread must be inserted into the right needle.
- Similarly to the third, you need to thread the fourth thread, only at the end it must be tucked into the left needle.
- When all the threads are threaded, you need to raise the tab of the device and lower the lever located on the back of the case. Under the foot, you need to pass all four threads.
- Now you can lower the knife to its original position.
5 thread
Before refueling the five-thread looper, it is necessary to check whether it is disconnected from the power supply. It is also important to raise the foot with the lever.
- Threading starts by turning the handwheel wheel toward you. This is necessary so that the needle holder rises as far as possible.
- Next, you need to insert the thread first into the upper and then into the lower looper.
- After this, the threads are inserted into the right, and after the left needle.
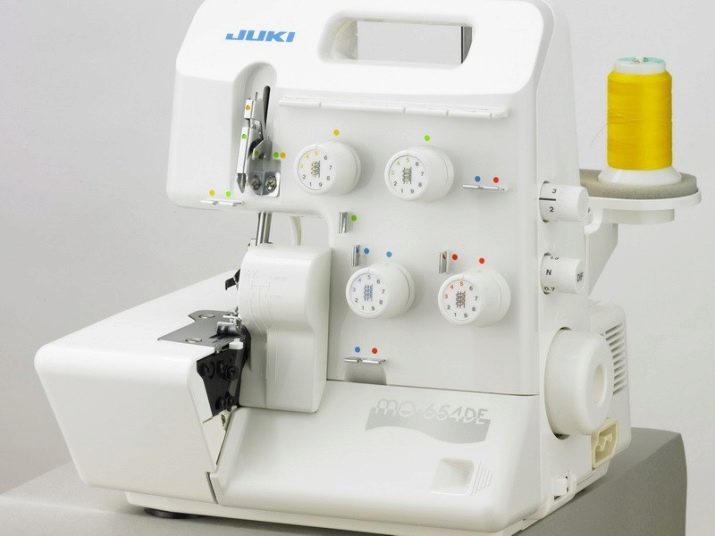
Often on the bodies of such machines a color refueling scheme is presented, which makes this process simpler. It is enough to wind the thread according to the arrows indicating the direction, and gently stretch it. For greater convenience, you can use special devices that will facilitate the work.
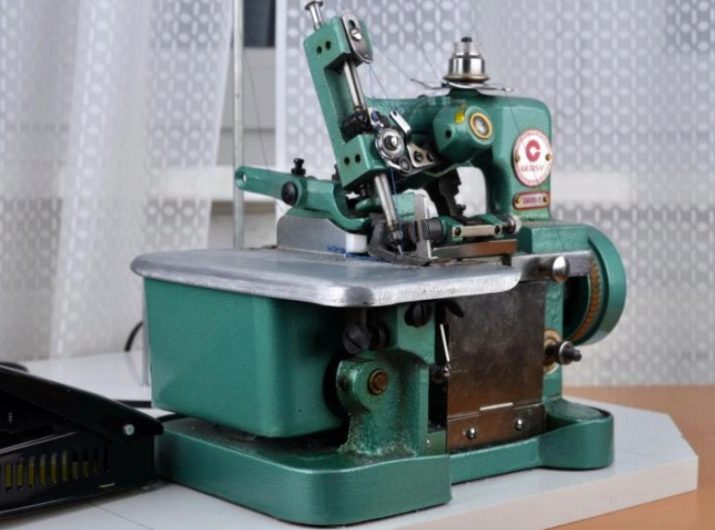
How to fill class 51 overlock?
Overlock 51 class is an industrial device capable of three-threading. Most often, this overlock is used in the studio to overcast sections on knitwear and various fabrics. The 51 class overlock model has a semblance to use at home called Prima.
Threading the thread into the device is as follows:
- the thread is passed through a pair of holes in the back into the thread guide;
- then it is pulled under the tensioner washer and pulled by a movement toward itself;
- then the thread must be inserted into the second horn, and then into the hole of the thread guide on the needle bar;
- at the last stage, the thread drops down, slips into the eye of the needle and is held back under the foot.
Professional Tips
For the overlock to work properly, you should follow some tips and a number of rules. In addition, this will allow you to get a beautiful trim of materials.
The most important thing is to keep the device clean.
It is worth remembering that all mechanisms need periodic lubrication. At the same time, they should not have dust or dirt particles.
It is recommended to use threads with the same thickness and torsion for an overlock. Malfunctions often occur due to the fact that the thread is tensioned incorrectly. This can be avoided if Before starting work on the device, check the thread tension constantly and, if necessary, carry out its adjustment.
It is important to choose the needles that are suitable for a particular model of the machine, as they differ in the length and thickness of the eyelet.
Moreover, the replacement of needles should occur before they break. Due to excessive wear on the needle, the sewing stitch can be of poor quality.
If there is a knock when working on an overlock, then it is worth stopping the overcast. This happens if the product is too thick, such as draped fabrics or some places on jeans.
On the overlock, you can, like on a regular sewing machine, after the operation is completed, do not cut the threads, but put new parts under the presser foot and continue overcasting. This will reduce thread consumption and prevent them from being pulled out of needles or loopers.
On devices with a knife, it is important to choose the right direction of the material so that the edge of the parts is evenly cropped.
In the next video, you can clearly see the correct and easy way to refuel an overlock.


