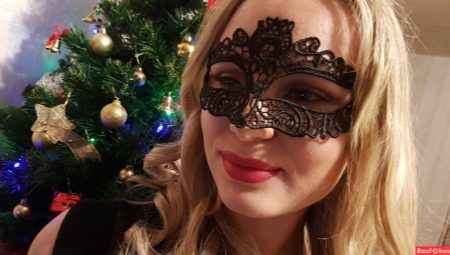
Carnival mask - an integral attribute of the celebration of the New Year. Making an unusual accessory for both adults and children is quite easy on their own.
History
Dress up in New Year carnival costumes - a tradition that has been around for decades. Even among the Slavs, it was customary to put on masks and outlandish costumes at Christmas time, for example, bears, goats and cows, kikimor and aquatic. Outfits of representatives of different social groups were also popular, for example, a girl could transform into a wise old man, and a young guy - into a wealthy lady. Each costume and each holiday mask had its own deep meaning. In 1722, Peter I held the first New Year's masked ball. At the same time, New Year's masks were even called a mandatory attribute, because without them they could not have been allowed to a holiday.
Today, tradition has changed, and carnival masks with costumes for the New Year are most often worn only by small children.

Big variety
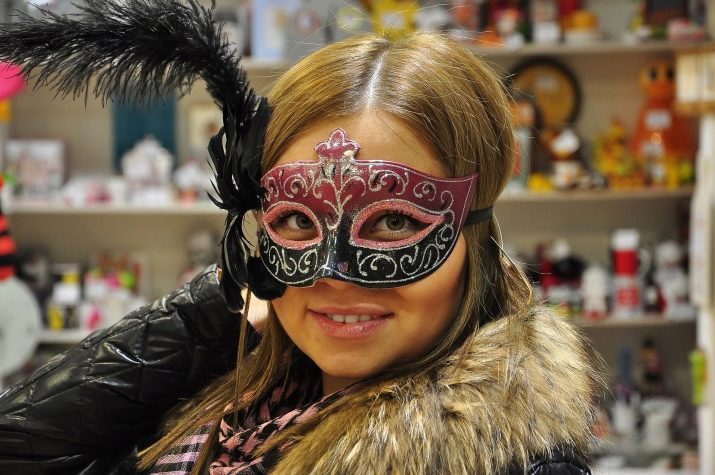
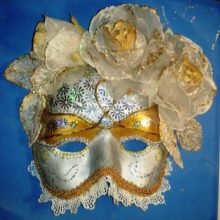
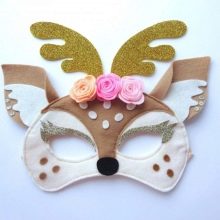
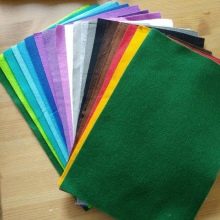
A variety of beautiful masks for children and adults is limited only by their own imagination. All of them can be made from paper or cardboard, but much more attractive are models made of felt. The simplest carnival mask covers only the eyes of a person and does not require any specific components. Having cut the base according to the template, it can be decorated with sparkles, beads and other decor. Always relevant are masks depicting an animal - a symbol of the coming year. Being universal, they are suitable for both boys and girls.It must be added that when designing such “naturalistic” accessories, one should not strive for the maximum repetition of the original - it is much better if they are just ridiculous.
In any case, the mask should be smart and suitable for the costume. To make a mask, you can use:
- paper;
- felt;
- plastic plates;
- papier mache;
- the cloth;
- polymer clay.
How to do and what is required for this?
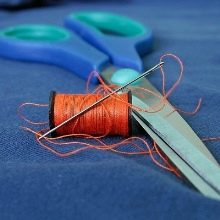
Giving preference to children's accessories from felt, at home they will be able to create a very nice muzzle of the mouse with their own hands. It is quick and convenient to work with soft material, and therefore it will be nice to do the craft. For needlework, sheets of felt of bluish and pink shades, as well as threads of black, gray and pink tones will be required. You can not do without a satin narrow ribbon of any color to match with which a mask will be worn. All actions will be easily performed with scissors, a needle and a simple pencil.
- Making a mask begins with the fact that a template of a finished design with all the details is drawn on paper. The pattern is encircled on a gray felt fabric and cut using ordinary scissors.
- From the pink felt, the nose and the middle of the ears are created, which are then sewn to the gray blank with pink threads. For work, it is recommended to use regular stitches.
- The mustache and eyebrows of the mouse can simply be embroidered with black thread, moving “back with a needle”.
- The satin ribbon is cut in half, after which the edges are processed with a lighter so that the threads do not creep out. The stitches are sewn onto the mask with gray threads just below the mouse ears.
- To complete the work, you can emphasize the outline of the entire mask with black stitches.
The following video demonstrates the process of creating a mouse mask described above.
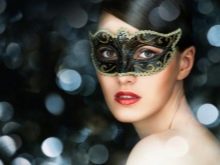
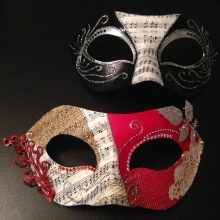
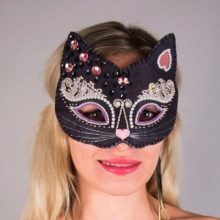
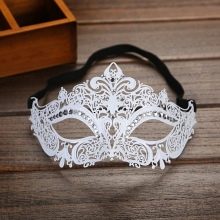
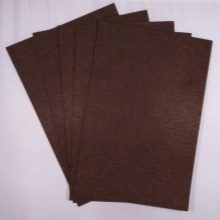
Standard carnival mask, which is suitable for both adults and children, can also be made of felt. In addition to sheets for the base, you will need a ribbon or elastic band to form the strings and a glue gun with rods. As a decor, small rhinestones, feathers, sequins and sparkles are suitable.
- At the preparatory stage, a pattern is drawn on cardboard. Since the mask is made for adults, it is enough that it just slightly covers the eye area.
- The felt itself can be selected either in black or in a shade to match the festive outfit. Transferring the template to the main work material, it is necessary to cut the mask with scissors.
- The perimeter of the decoration is made using sequin braid. The area around the eyes is treated with the same braid or decorated with spangles planted on glue. At the top of the mask, several bright feathers are glued.
- The joints are additionally masked with strasses or colorful beads. If the accessory for the New Year's carnival lacks color, then you can randomly cover the felt surface with beads, sequins or rhinestones.
- At the end of the work, ties are sewn to the mask.
If elastic is used in their quality, then it is worthwhile to limit yourself to a piece 30 centimeters long.
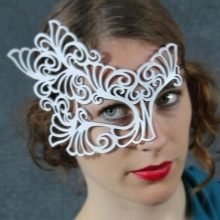
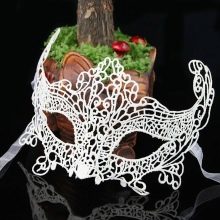
It will look luxurious openwork felt mask. To create it, only material of a suitable shade and braid of the same color, used for ties, will be required.
- A template is created from plain white paper, which is then redrawn onto felt. Next, the openwork mask must be cut, but since it has a large number of holes of various shapes, it is better to do this with well-sharpened manicure scissors.
- To the finished mask, either stick or satin ties are sewn. As a rule, fifty centimeter fragments of a thin ribbon are enough for this, the edges of which are scorched to prevent the creep of the threads.
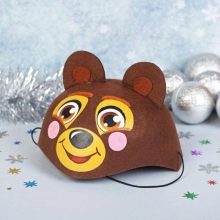
For children's Christmas costume may also be required mask cap from the same felt. For example, it could be image of a bear on the basis of which other animals are then created.To work with materials you will need several felt sheets: 3 pieces of dark brown shade, 1 light brown and 1 black. The eye sockets of the mask are constructed of white felt, although you can also use simple mother-of-pearl beads. To fix individual elements, either glue or a needle with a thread of the corresponding shade will be required.
- The work begins with the fact that a template in the form of a semicircle is created on a sheet of plain A4 paper.
- Taking the pattern as the basis, it will be necessary to cut two blanks of dark brown color, that is, the front and back of the cap.
- At the bottom of the blank, half a circle is drawn, the maximum height of which is 4 centimeters. This stage will improve the fit of the mask on the head.
- Separate patterns are cut out for small details of the bear's face. Using them, it is necessary to cut out details of light brown, dark brown and black shades.
- Small parts are either glued or sewn to the front of the mask. Ears are laid between the front and back, after which both halves of the structure are connected.
- The center of the eyes is made out either with white felt or with beads.
So that the cap does not fall from the head, it is recommended to also form a tuck in the back.
You can find out how to make a carnival mask with your own hands below.


