Having decided to build nails, many women begin to choose between acrylic and gel polish. Both methods have their pros and cons, but acrylic is still more convenient for use at home. In addition, it is easier to remove, and the simplest adjustment can be performed without involving a specialist.

Features and building techniques
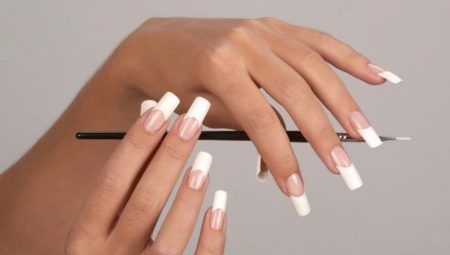
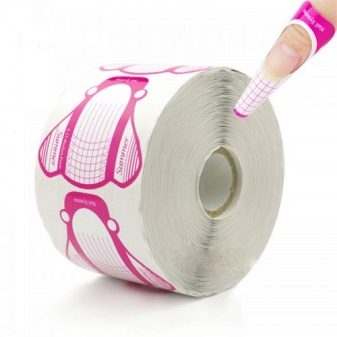
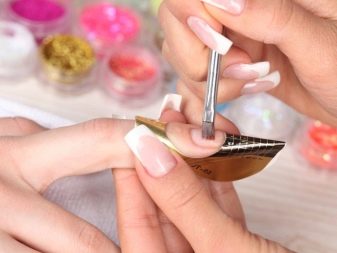
There are two main ways to build acrylic nails: on forms and tips. In the first case, the system is based on the use of paper or metal substrates.
As you might guess, the former are disposable, and the latter are reusable. The substrate is attached to the edge of the nail and removed after the procedure. It is on the forms that acrylic is applied, forming the continuation of natural nails.
Forms exist upper and lower, and the former are most often recommended for beginners. When using the upper forms, acrylic is placed on the recess of the substrate, and then pressed against the prepared nail. When using lower forms, the substrate is immediately fixed under the nail.
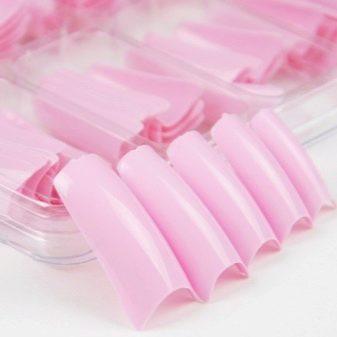
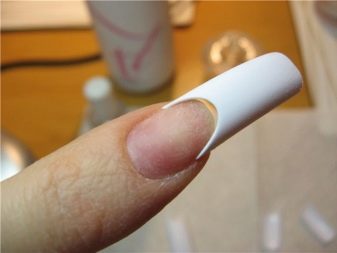
In the case of tips, artificial nails are glued to the real ones, and then they are covered with acrylic and further coatings. Since tips are made in different shapes and sizes, they can be used to quickly and simply change the “manicure look”. The advantages of this method are that a healthy state of natural nail plates is maintained, and the procedure itself does not take much time. Beautiful nails can be obtained in less than an hour, but, unfortunately, thin and pointed plates should not be expected.Tips are most suitable for oval-square nails with sufficient width.
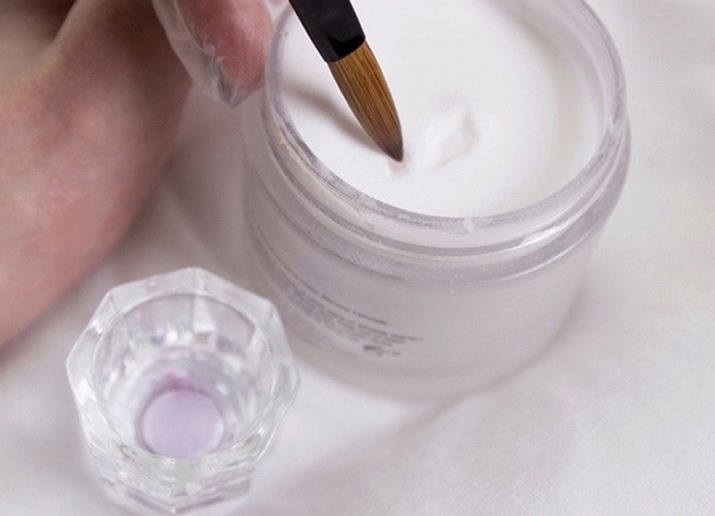
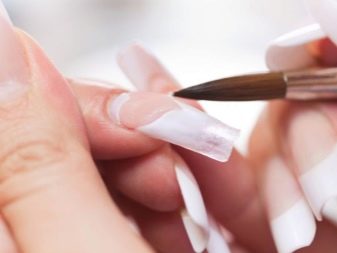
The acrylic coating itself is formed by mixing acrylic powder and liquid monomer. The resulting mass hardens due to thermal effects in approximately 5-7 minutes. However, the ideal strength, suitable for everyday "socks", arises only 2-4 hours after the procedure.
It is important to mention that high-quality acrylic does not contain toxic methyl methacrylates, which weaken the state of nails in any way. If the correction is carried out in time, then the acrylic nails will last up to several months.
Advantages and disadvantages
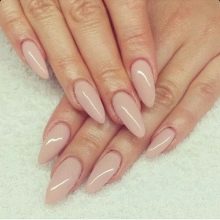
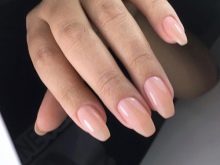
Acrylic extension allows you to make natural-looking nails due to the elasticity of the material used. They will be thin, but at the same time resistant and able to last quite longer than the same gel. Acrylic building can be removed independently using a specific solution and restore any violations. In addition, this type of coating does not limit the use of various techniques and the implementation of designs. Finally, it is worth mentioning that acrylic nails are not exposed to temperature fluctuations, so you should not be afraid of their breakage when moving from a warm to a cold room.
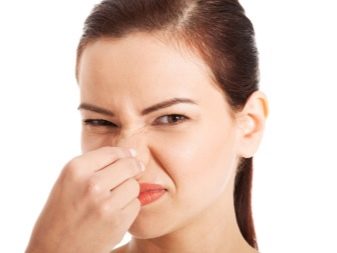
Unfortunately, acrylic has some drawbacks. A fingernail does not reach the nail at all, however, together with the extended edge, it acquires a specific smell that is unpleasant for many clients. During the procedure, it can cause discomfort, but after a few hours the nails still stop smelling. An allergic reaction is likely to occur, in addition, the natural healthy shine of the plate may temporarily disappear. Finally, the acrylic extension procedure is quite complicated.

The main differences from other techniques
Acrylic building differs from gel building by the technology itself. The result is thinner but stronger plates. In addition, the gel is afraid of temperature differences, and acrylic is not susceptible to them. A significant difference lies in the dismantling of extended marigolds. In the case of a gel, this will have to be done by a specialist, sawing off the material, which can be quite dangerous for natural keratin. In addition, you cannot correct the error yourself - the gel will have to be completely removed, after which everything should be done again.
Necessary inventory and materials
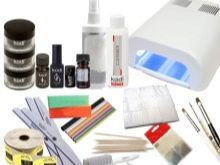
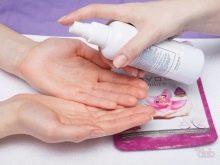
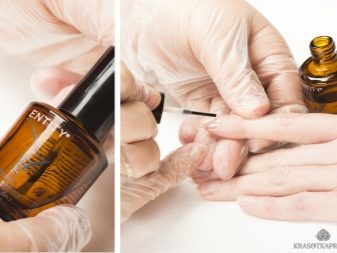
To perform acrylic building, you need to prepare the basic set of tools that you will need. The main procedure will be performed with acrylic powder, for which, of course, you need a brush. Thanks to the monomer, the acrylic coating will become strong, and a degreaser will prepare the surface for further coating.
The plate will also be processed with a base, which is an acid-free primer.
In addition, all the components of a hygienic manicure will be required, that is, nail files, a wooden stick, scissors, tweezers, buff and other necessary items.

Step-by-step instruction
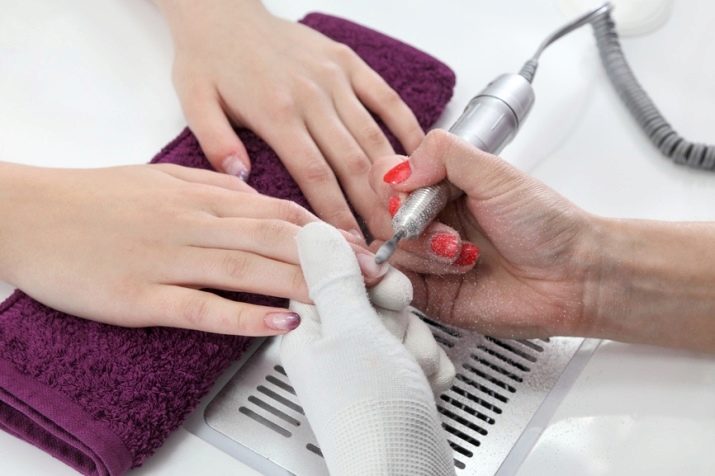
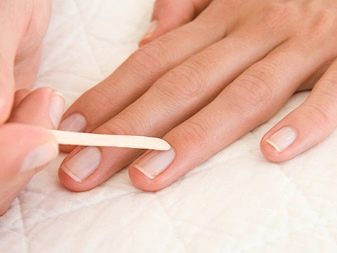
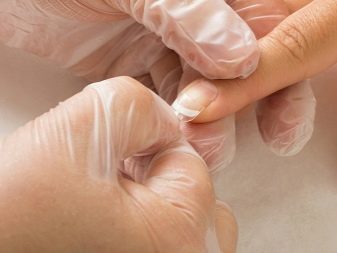
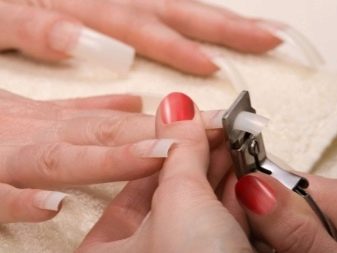
Nail extension with acrylic nail tips begins with the fact that they are pretty short cut. The technology involves treating the surface with a fine nail file or buff to roughness in order to provide better adhesion to other materials and further degreasing. Using an orange stick, you need to remove the cuticle, as well as remove pterygium (the lower layer of the cuticle). Having chosen the appropriate size and length of tips, suitable for the width and convexity of natural keratin, you need to smear the tip of one of them with glue from the inside and press it to the nail for 20 seconds. Properly before this, the surface will be additionally degreased using a special alcohol product.
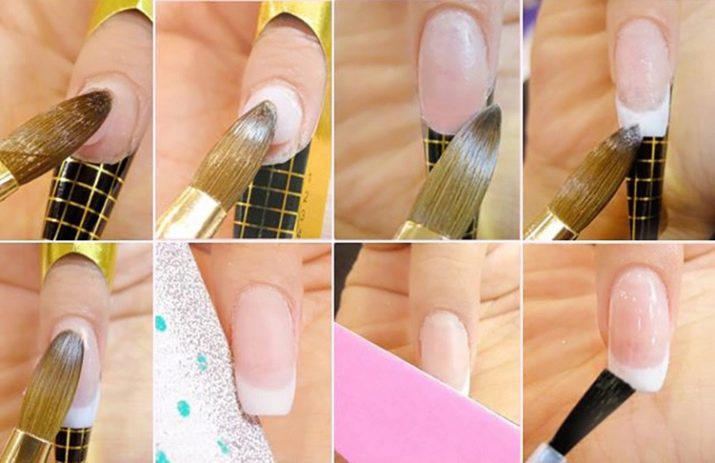
Having processed both hands, it is necessary to cut off the excess, strip off the excess shine to a matte white color and try to make the border invisible.If dust appeared at this moment, then it should be brushed off with a special brush. Following this, each nail is degreased, primed and left to dry completely. With the help of a brush, acrylic and monomer, a gradual treatment of the hands begins. The tool is dipped in a strengthening solution, and then in acrylic so that a ball forms, after which the coating forms on the little finger from its end to the hole.
It will be more convenient to lay out three balls along the length of the entire nail: the smallest - at the hole, the largest - in the middle and intermediate - with the edge, after which with a brush you need to form a nail. When the nails dry, you can eliminate the irregularities that have arisen, form the shape of the nail you like and cover the surface with oil.
In the case when it is necessary to build up on the lower forms, the process goes a little differently. The hands must be disinfected, after which the nail file is leveled. After removing the dust that appears with a special brush, you need to move the cuticle with pterygium and cover the nail with a primer. After it dries, a form is put on the finger, bent and fixed in the middle part. The ends of the substrate should be connected, but not closed.

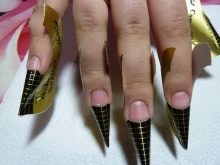
After that, the surface is again coated with a primer, after which a white acrylic pea is laid directly on the mold, which is a mixture of monomer and acrylic powder. With the help of liquidation and a brush, an extreme arc is drawn. A pink pea of acrylic is placed next to the cuticle.
As a result, all surfaces should be even, but the colors (pink and white) practically cannot touch.
When everything dries, the form should be removed. The nail is ground, greased with oil and coated with a top.
You can use the upper forms. The nail plate is processed in the same way. The upper forms are taken, and for each you need to place three acrylic peas and evenly distribute them. The acrylic backing is transferred to the nail. The excess is immediately removed with a wooden stick, and the extended nail is fixed for 7 to 10 minutes.
After that, the form must be removed, and the nail plate should be brought to perfection with a nail file. The cuticle is covered with oil.
Care Tips
Acrylic-enhanced nails do not require unnecessarily complicated care. Once every two or three weeks it is necessary to carry out home correction, which includes the design of the length and shape of the nail and the processing of the cuticle. In addition, if voids appeared between the lunula and acrylic, they must be eliminated. The first few days after direct buildup, it is not recommended to spend a lot of time at the computer or engage in activities that create stress for your fingertips.
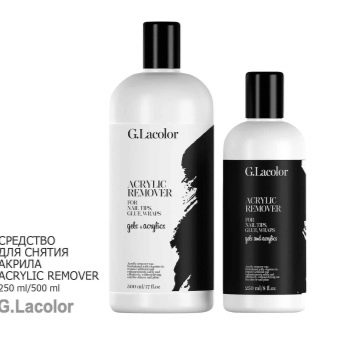
You need to remove acrylic nails using special solutions that do not have acetone in their composition.
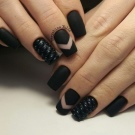
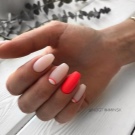
Design ideas
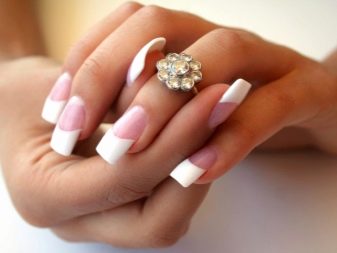
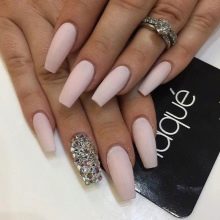
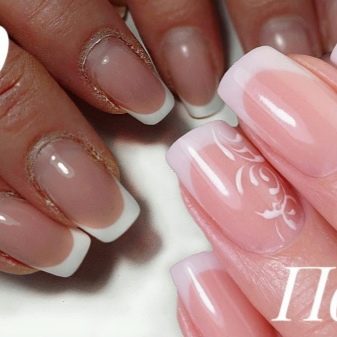
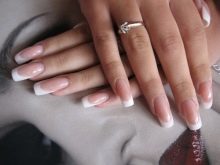
The most popular design for acrylic nails is a jacket. In this case, three types of powder are used: white, light pink and camouflage.

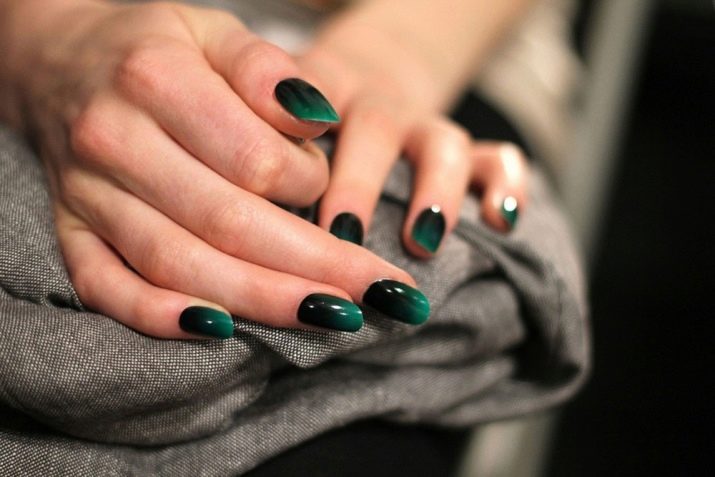
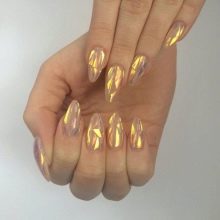
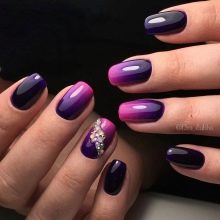
Used in acrylic building and a variety of colors. For example, a contrasting color edge is created, or a gradient is made.
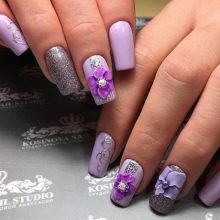
Using acrylic paints and a synthetic pile brush on top, you can apply a variety of elegant images.
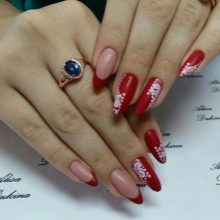
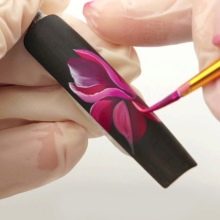
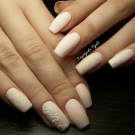
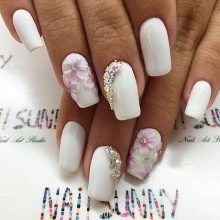
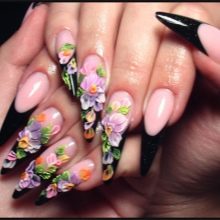
Modeling is especially popular - volume elements are formed on acrylic nails. As a rule, the surface is covered with a variety of patterns, natural elements, symbols and colors.
Reviews
If we talk about the opinions of women who have tested this type of building, many mention the fact that it is quite easy to do it yourself. You do not have to buy a special lamp for this. Nails are obtained persistent and pretty beautiful, so there is no need to worry that they will deteriorate when doing a variety of household chores.
Acrylic hardens faster than gel, so beginners are still advised to first practice several times with other material and hone the technique. In addition, the materials for such a procedure are quite expensive, so it would be a shame to translate them just like that. The fact that acrylic extensions are removed only with scissors can be both a plus and a minus.
In time, acrylic is usually worn up to four weeks. The forms are much more popular, as the tips sometimes fall off due to poor-quality glue. In addition, some women note that after using acrylic powder, their nails became stronger and even healthier, and plate breakage and delamination ceased.
You will learn how to make acrylic modeling on nails from the next video.


