
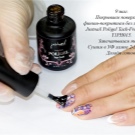
Slider design is one of the most popular ways to decorate nails today. This technique is an alternative to hand painting, it allows you to diversify even the most concise manicure. However, despite the fact that the sliders did not appear today, not everyone knows how to use them correctly, confusing them with stickers on an adhesive backing. This article will indicate the features of the material, dwell on the technology of working with it, indicate the causes of detachments and ways to prevent them.

Features of working with slides
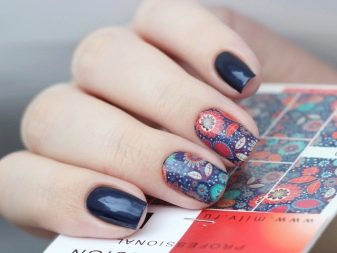
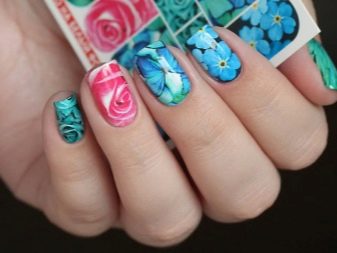
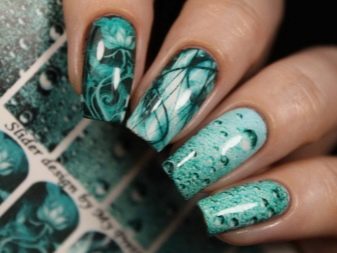
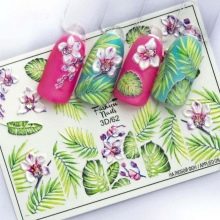
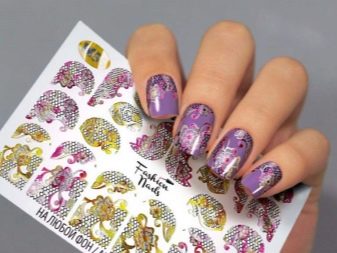
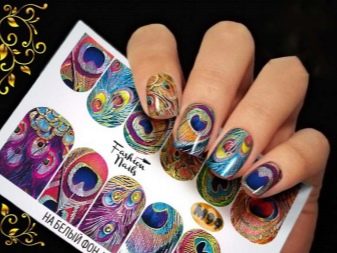
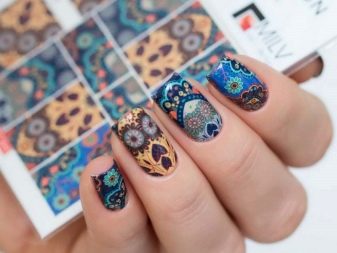
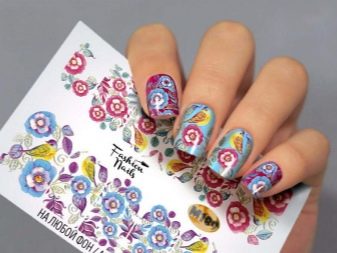
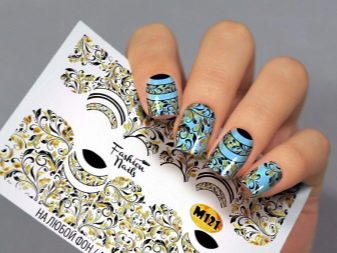
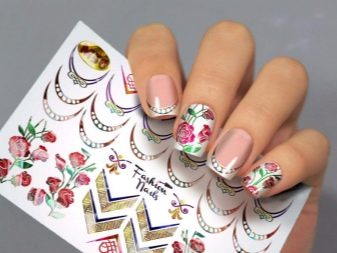
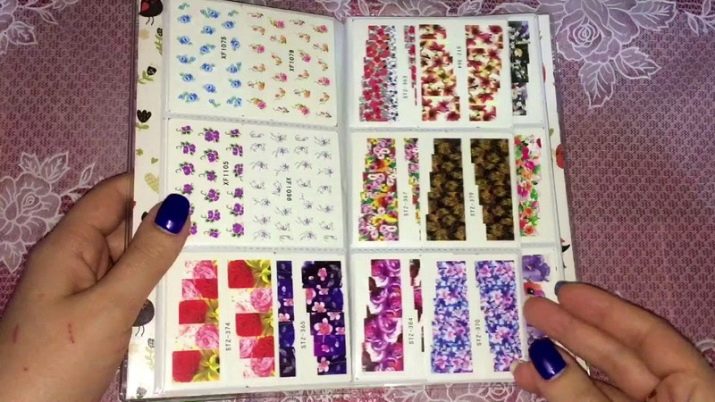
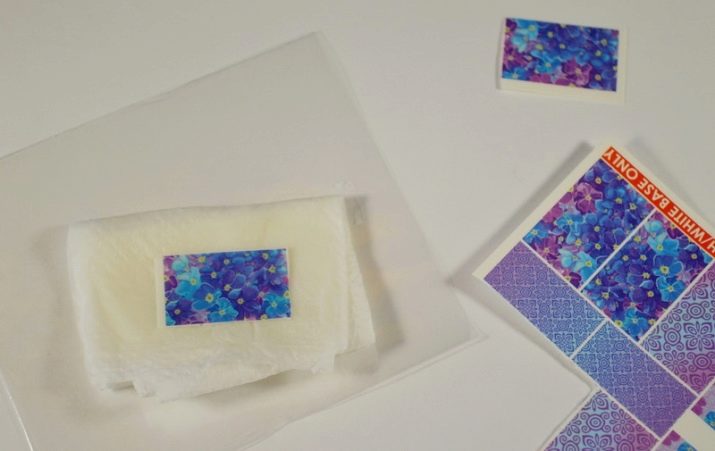
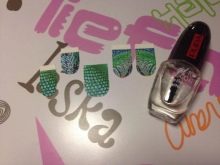
Sliders are called special water pictures to decorate accent nails. They are offered ready-made kits in the amount of 10 pieces. The sizes of the pictures are different, due to which you can choose the right parameter for a particular nail. In this case, the set is divided into 5 symmetric pairs.
In operation, the sliders are complex, it depends on the thickness of the film. If it is thin, then it can tear. Other varieties are elastic, and therefore they can be stretched a little. The underlay for the slider on the nail should be thin so that when adjusting, a viscous mass does not flow from under the picture. You can remove it before drying, but a large layer complicates the adjustment.

You need to glue the sliders correctly. Do not try to remove excess with a nail file after drying. So you can injure the skin and tear off part of the coating. Hands must be dry when performing the design.
Differences from Stickers
There is an opinion that sliders are not only pictures that require translation technology, but also stickers on a sticky basis.In fact, these are 2 different materials for nail design. Each of them today has acquired its own variations. To understand the difference, you need to know the differences between the slider design and the sticky pictures.
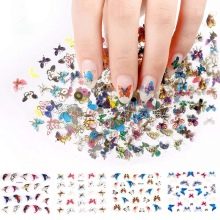
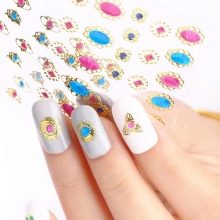
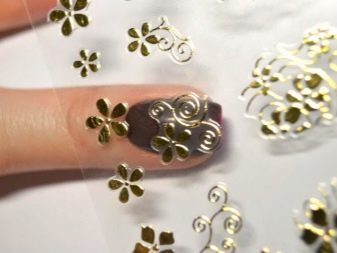
Pictures with a sticky bottom layer are glued to a dry baseotherwise, the decorative element will immediately peel off. Externally, such jewelry is a set in one theme. At the same time, their substrate can be either paper or thin plastic. Otherwise, such pictures are called 3D stickers. They are voluminous, and therefore, for sealing, they may need not one, but several layers of transparent coating.
Varieties
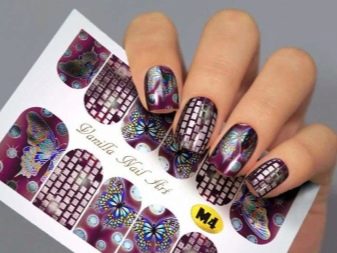
Today there are several types of slider design. According to the type of substrate, they can be classified into two groups: transparent and opaque. At the same time, two categories differ in marking, which helps the buyer to understand whether the slider design has a working white background or the picture is applied to a transparent base. Transparent options require the obligatory light tone of the substrate, because without it, the sliders will not have the original clarity of the picture and the purity of the shades.
Opaque products often have their own background, which is convenient and reduces the time it takes to complete the substrate. However, not everything is so simple here: due to the different thicknesses, often white varnish for a picture becomes an indispensable condition for high-quality design.
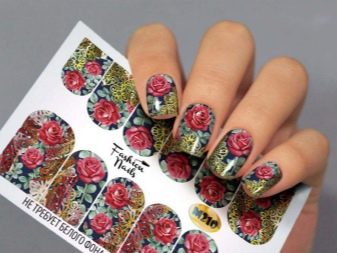
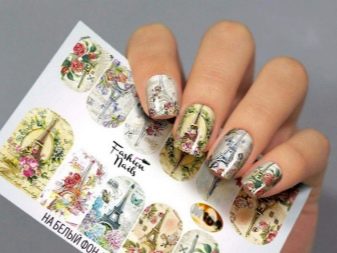
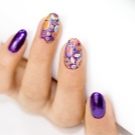
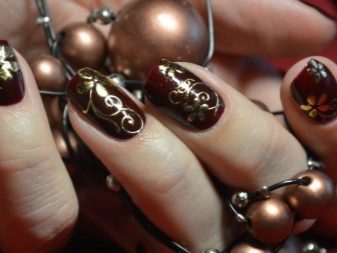
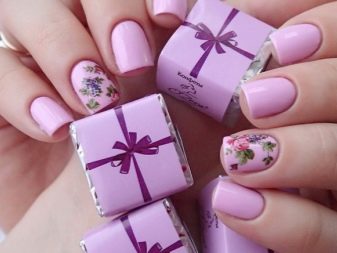
By volume, the sliders are partial or occupy the entire area of the nail. However, regardless of size, the technology of their fixation remains unchanged. By the type of drawing, the pictures can be color, neutral (black or white), gold, silver and holographic. At the same time, neither paint nor gilding affects the durability of the picture itself: it is determined by the correctness of the technology by which a decorative element is attached to an accent nail.

Step-by-step instruction
Sliders are easy to use, so you can use this decor on your own, performing manicures at home.
We take into account the type of coating
Manicure with a regular varnish is short-lived. Of course, it takes less time, but the usual nail polish holds, as a rule, no more than two days. Then he begins to chip, which, with the time spent on the design, will seem an annoying nuisance. Therefore, it is better to immediately work with modern hybrid products.
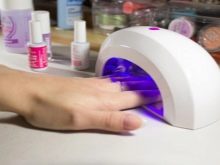
Such coatings will have to be applied in several layers, but the time spent is compensated by three weeks of integrity of the manicure. Gel polish refers to coatings that combine both the properties of the gel and the quality of the varnish. The disadvantage of this option is the mandatory presence of a drying lamp. This problem is easily solved: a household appliance can be purchased for 350-500 rubles by ordering in an online store, for example.
As for the nails, the gel polish perfectly lays down not only on their native nails. It also holds well on extended plates, but it is better to refuse invoices. Such nails often bounce off the natural base at the most inopportune moment. If its length for the design is not enough, before you start the creative process, you need to build up your nails and give them the desired shape.
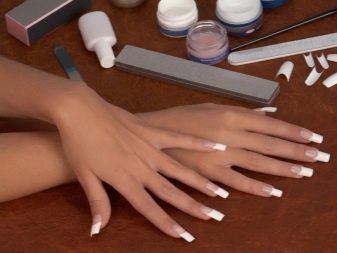
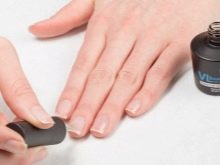
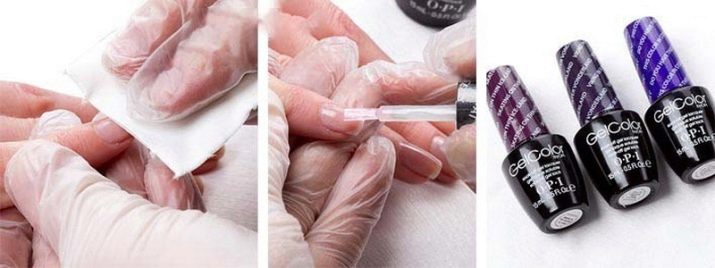
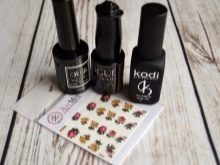
What tools and materials are needed?
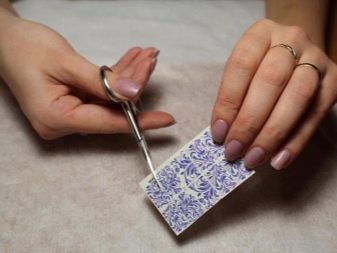
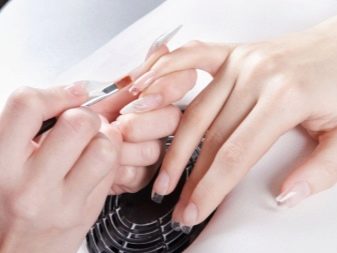
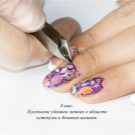
To glue the slider on an accent nail, it is worth preparing manicure scissors and a flat brush. Scissors need to trim the picture itself according to the shape of the nail plate. With a brush it will be easier to align the slider on the nail itself.
In work, you will need a soft file to remove excess slider and a basic set for manicure:
- base;
- top
- acid free primer;
- pigmented gel polish.
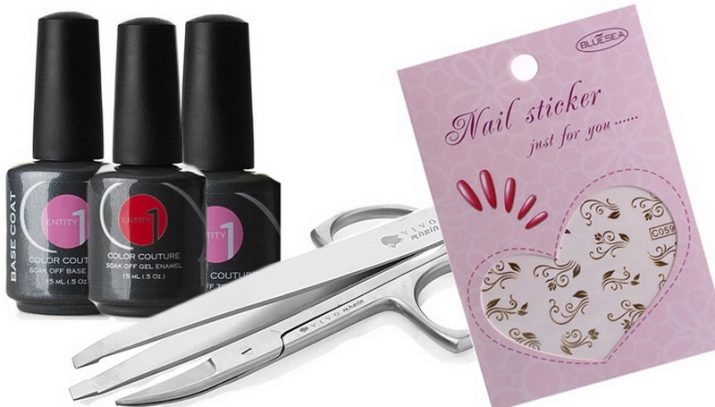
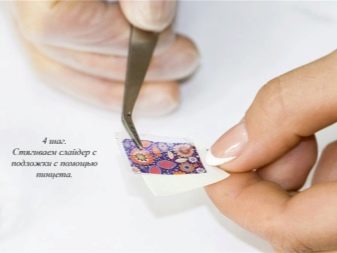
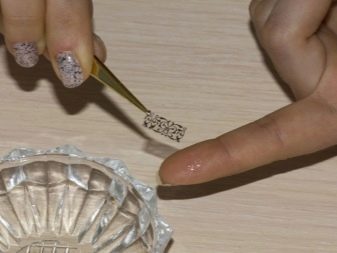
Since the slider will have to be moistened during operation, you need to take care of the presence of a napkin or a small container with water. Tweezers can also come in handy to transfer the picture as accurately as possible from the substrate to the nail plate.
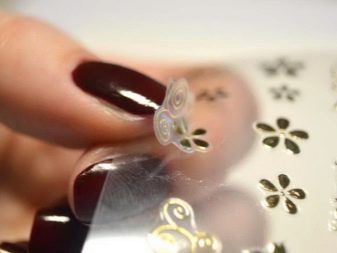
Cooking a picture
The preparation of the picture will be as follows:
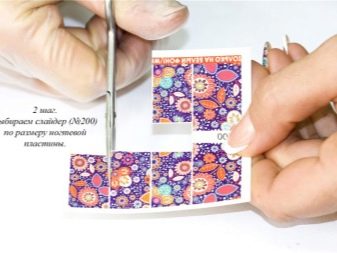
- choose your favorite images based on the color and texture of the varnish;
- select a picture that is more suitable for a specific nail;
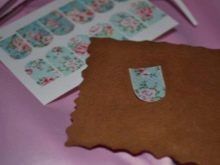
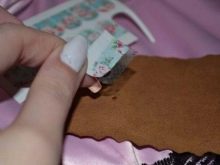
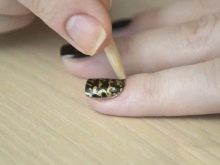
- by means of manicure scissors, the finished image is cut out according to an oval pattern or the roundly rectangular picture is cut from one side;
- a thin protective film is removed from the front side;
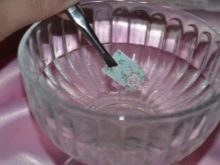
- moisturize the slider, trying not to wet the front side.

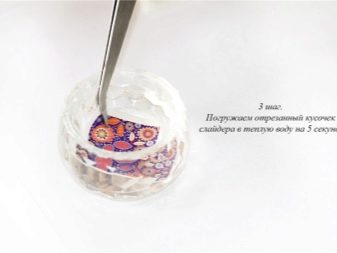
Humidification of the picture can be performed in water or on a dampened cloth. A few seconds are enough for immersion in water; on a napkin, the picture can lie for 30-40 seconds. This is enough to easily separate from the base.
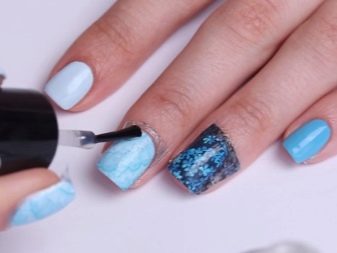
Fix the slider
There are 4 ways to fix the slider to the nail. Each of them will differ only in the material on which the picture is glued. It can be an ordinary base, a special white one, replacing a white gel polish, top, or even ultrabonds.
It’s easy to stick the sliders correctly.
- Before taking the picture, the base is applied to the nail, but it is not dried in a lamp.
- A thin layer of pigment is applied to the base layer and dried in a UV device.
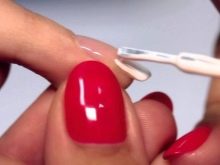
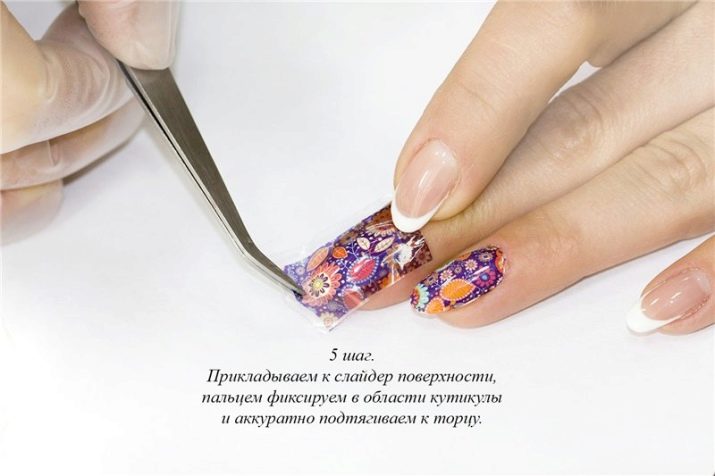
- The base will be sticky. The picture is removed from the substrate and applied to the base coat.
- A brush straightens the film, removing the folds.
- The design is adjusted with an acid-free primer, carefully dissolving the folds.
- The nail is dried, then on top is covered with another layer of the base and again sent to the lamp.
- It remains to seal the design with a layer of topcoat or top. It is applied in a thin layer and dried.

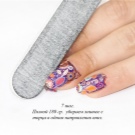
It is important to remember to remove excess film. Cut them after drying the base (top). If a white base is used as a substrate, then it will replace both the base and a thin layer of white varnish.
When the picture is attached to the top, it is important to consider that such a substrate does not need to be dried. It is on a sticky top that it will be easier to distribute the sticker, and it even has a better consistency compared to the base. And therefore, it will not flow out from the side rollers and the cuticle.
It is not difficult to work with the base, it allows you to make the coating more reliable. If the used film is thin, it is especially necessary to distribute it with a brush, avoiding tears. Ultrabond is good in that it does not create a large thickness. Its sticky layer copes with fixing the slider.
3D stickers
Stickers on a sticky basis have a completely different fixing technology. Such varieties are difficult to stick on the entire nail. For self-adhesive decorative elements, it is also better to use a hybrid varnish as the basis. To some, they may seem uncomfortable and even short-lived in the sock, because they often peel off already in the first few days from the time of the manicure.
The secret to working with them is to use a completely dry painted base. A picture is glued onto the dried substrate, trying to do it as tightly as possible. Excess decor is removed with a nail file.
An important point is the fact that after fixing the sticker you need to wait at least two to three minutes for the picture to take the shape of a nail. This will allow you to strengthen the fixation and to exclude the twisting of the decor. When he seizes and lies down, taking the form, it will be easier to seal with a top.
Common problems and expert advice
Usually, quality work rests on the nails for at least two to three weeks. It happens that the nails grow back, and the coating remains without chips and detachments. However, often the beauty on the nails exfoliates within a few days from the time of the manicure. The reason for this is poor-quality edge treatment.
In order for the slider to decorate the accent nail for a long time, do not forget to pass along the end of the nail, performing sealing. Pass along the edge of the nail plate with each material used in the work.
We note a few more basic problems.
- The slides will be dim if you glue too thin a film on a dark coating. You can not skip the stage of creating the substrate.
- The roughness of the picture on the nail is explained by the thickness of the slider and the features of the nail plate.Even one air pocket will lead to detachment, and therefore even small folds need to be leveled.
- If the coating is completely peeled off when accidentally touched, this indicates insufficient drying of the varnish under the slider. The coating under it needs to be dried a little longer.
- The importance of the top layer cannot be ignored. If there is no top on the slider, it will quickly fade or deteriorate, move away from the base.
- Manicure spoils the constant steaming of hands. From this, not only the stickers along with all layers can peel off, but the edge can also break off. With a constant hand wash, gloves are needed.
See the following video on how to apply slider design to gel polish.


