
Gradient manicure became fashionable not so long ago, but at the same time quickly won the hearts of many ladies with its unusual design. He allowed to make female nails even more beautiful and well-groomed - and all this even without visiting an expensive salon. If you get acquainted with the technique of the correct execution of such a creative manicure and are able to competently combine the available colors, you will get results that will exceed all your expectations.
The gradient today will allow you to realize the most daring and fantastic ideas, play with various colors and tones, constantly combine them, finding new interesting solutions. In addition, the gradient will be perfectly combined with other types of manicure.
Manicure Features
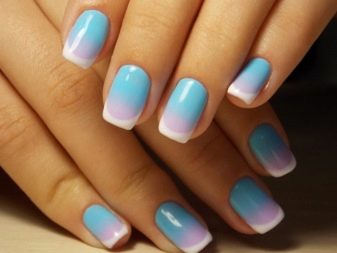
Gradient design is a popular subtype of French nail art, which represents a beautiful smooth transition of very close and similar colors or, on the contrary, contrasting opposite colors. In the gradient nail design, the boundaries between the colors used are mandatory, but they are not clear, but blurry.
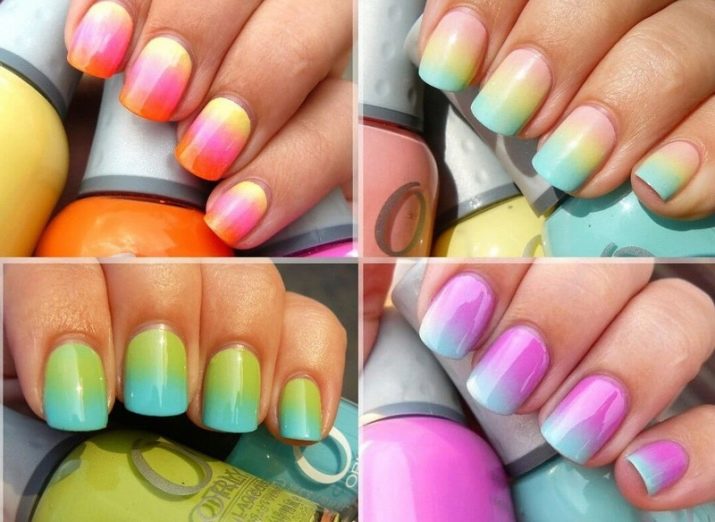
The main distinguishing feature of the nail gradient is the fact that more than one color is present on the nail, and a whole inflorescence of colors and tones. And the colors themselves, which catchy move from a more saturated and dark tone to a lighter one, and, conversely, at the request of the mistress of the nails, create either light and smooth, or sharp and sometimes even rough transitions of the color spectrum.
The gradient is applied to the nails both vertically - which is more common, and horizontally - the main thing is to do it according to a clear scheme, and then with the cross-border mixing we will get the much-needed transition from faded to a more saturated tone. Few of the masters can tell you the maximum possible number of colors or tones: some choose no more than four colors, others work with a good dozen - here a lot depends on the creativity of the master, as well as on the shapes and parameters of the nails themselves.
To design a gradient manicure, all kinds of coating colors are used. Thanks to the universal appearance, such a coating with a catchy gradient will perfectly look on the nails of any length.
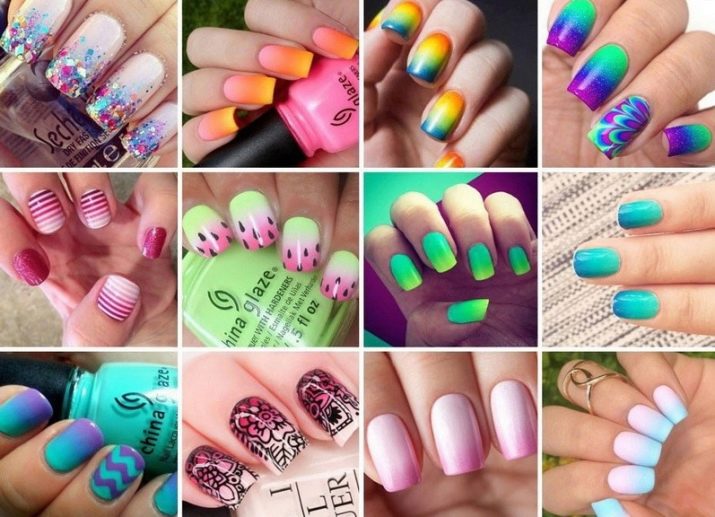
There are several types of gradient decoration of nails.
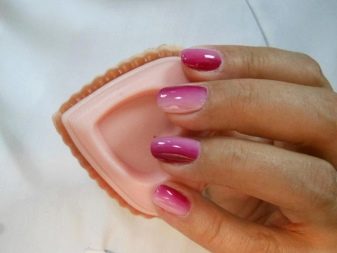
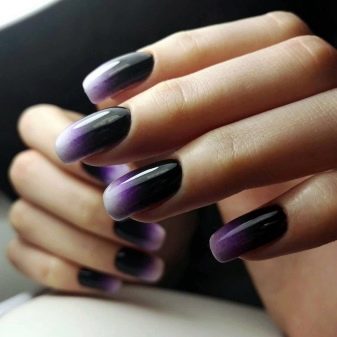
- The tip of the marigold is painted over with a varnish of a lighter undertones, after which this color will gradually flow into a much darker tone. For this kind of idea, you can choose the colors of one shade range or completely varnish, which is completely saturated and colored.
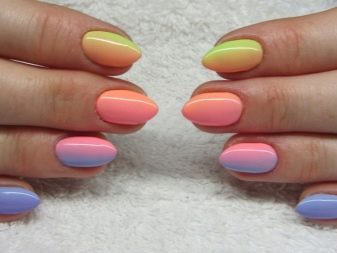
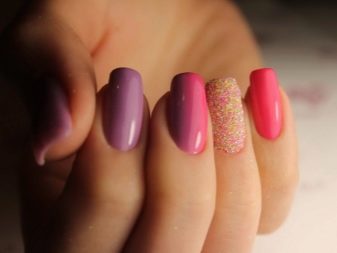
- The color of the nails can change with a visually inconspicuous transition from one nail to the second. Here, usually, several shades are immediately selected in a single color scheme.
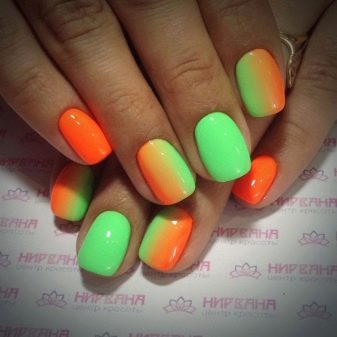
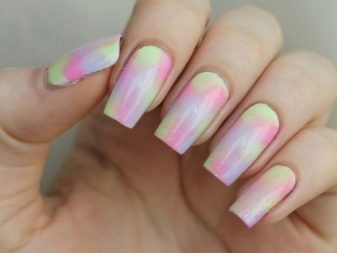
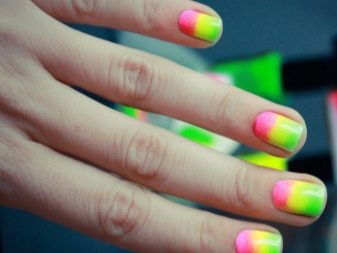
The gradient on the manicure always looks attractive, it will be more than appropriate in various circumstances, the main thing is to choose the colors used correctly. Gradient coating can be created using both bold and catchy, and with the help of rather dull pastel shades.
This kind of coating is perfect for respectable ladies and very young girls - After all, he is all-age. Many people think that designing a gradient is a very complicated technique, but in fact it is much easier to “smear” the varnish on the nails than draw flowers on it, display an ornament or letters. If you set a goal to learn how to decorate your nails with this method, then soon you can pick up the most interesting ideas for yourself.

Gradient Pros:
- uncomplicated methods of execution;
- magnificent combinations of any shades;
- catchy look;
- inexpensive tools and decor materials;
- the opportunity to come up with a unique design.
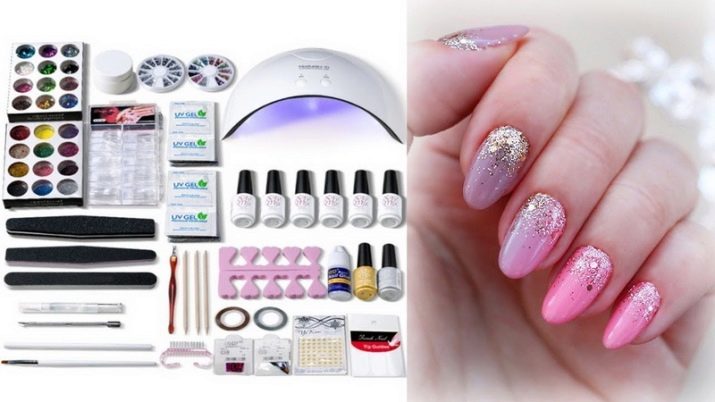
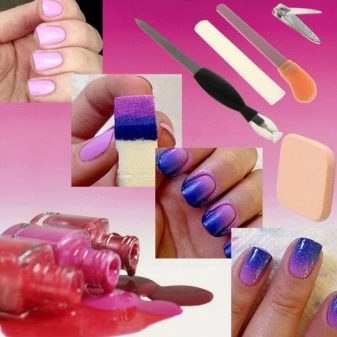
Necessary materials
The gradient is easy to produce at home with conventional varnishes.
In order for the varnish so carefully selected by you to lie evenly, and the transitions of one color to another to look neat, you need to prepare in advance:
- wax or cream with a moisturizing effect for your nails;
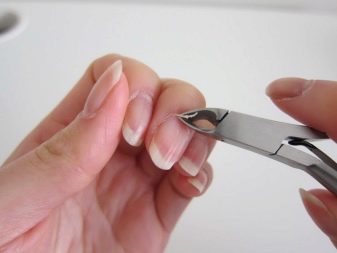
- a tool that allows you to soften and remove the cuticle;
- sticks with cotton wool that will be dipped in a special tool to remove excess varnish on the cuticle;
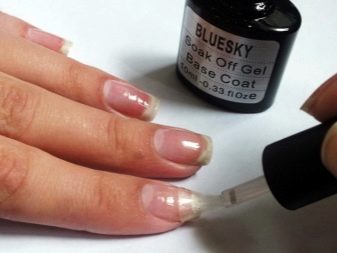
- base for future manicure and a special fixative;
- multi-colored varnishes;
- sponge or sponge, scotch tape, foil.
How to combine colors?
The simplest method for designing a manicure with a catchy gradient is to pick up some of the most stylish shades of the same color, which will differ as much as possible from one another by no more than 1-2 tones. They will allow you to form the most beautiful transition.
Given the fact that choosing colors that are very close to each other is often not so simple, you can get them pretty quickly - mixing different varnishes at home. To do this, you just need to mix the monochromatic order of varnishes to obtain intermediate colors, its darker counterpart is mixed with a light varnish. The saturation of the obtained tone will directly depend on the proportions in which the colors were taken.
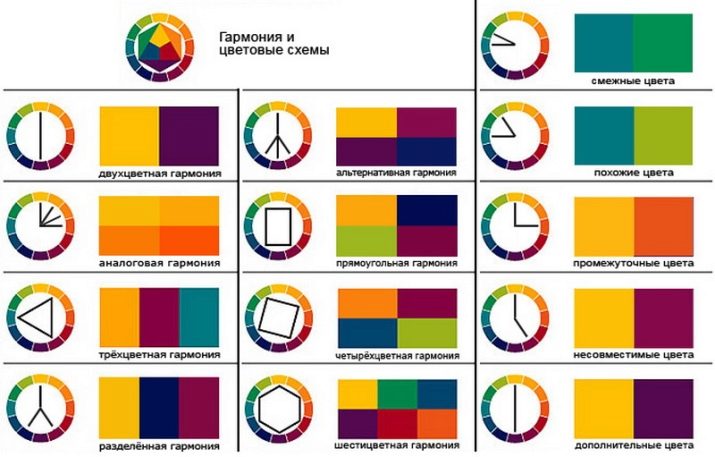
Choose the best combination will help a special color wheel.
To design the most catchy gradient, it is better to choose such combinations as:
- adjacent colors - shades that are located in adjacent sectors of such a wheel (it can be orange and yellow-ocher, light green and light green);
- very similar colors - these are the tones that are located after 1 sector from each other (as similar as possible and are pure tones) - these are blue colors and pale violet, saturated red and orange colors;
- intermediate - between them usually mentally drawn lines that intersect at an angle of 90 degrees (yellow and reddish-orange, red-brick and purple);
- analog harmony is a few colors that go in a row on a wheel with flowers (bluish green, blue, bluish purple);
- alternative harmony - luxurious combinations lying on the color wheel opposite the main color and 2 more adjacent tones (yellow, faded purple, bluish-lilac and reddish-lilac).
Execution technique
To create a stylish gradient on the nails, you can choose one of many techniques. Most of them are very simple and do not require expensive equipment or special tools. Decorating can be done at home with ordinary varnish. You can perform a large number of different manicure design options thanks to detailed step-by-step instructions.
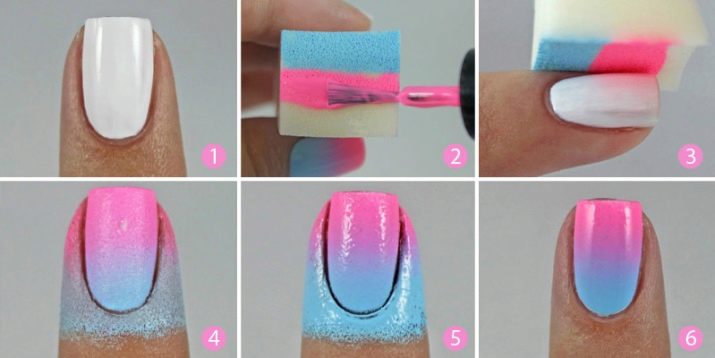
- The first way to design a catchy gradient on the nail is simple and excellent for beginners.
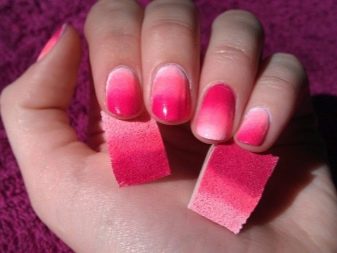
- A pre-selected color varnish just needs to be applied in even stripes to a small piece of sponge or sponge. The coating should absorb a little.
- The sponge is firmly applied to the nail until the transition from the first tone to the second is clearly visible.
- The dried coating of the nail is covered with a transparent fixative.
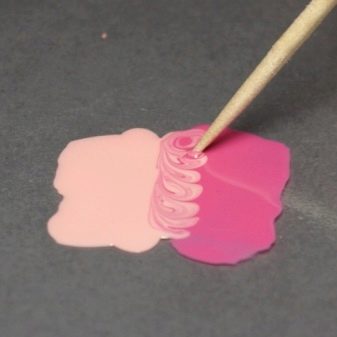
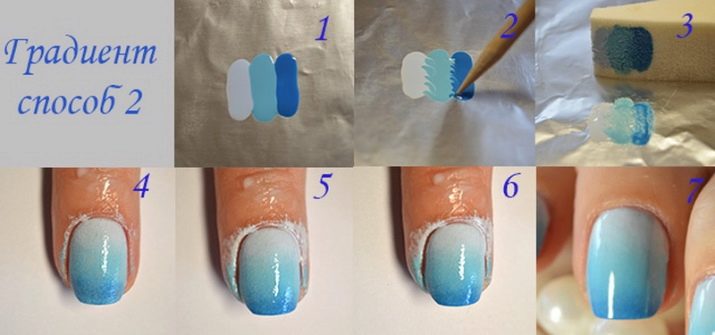
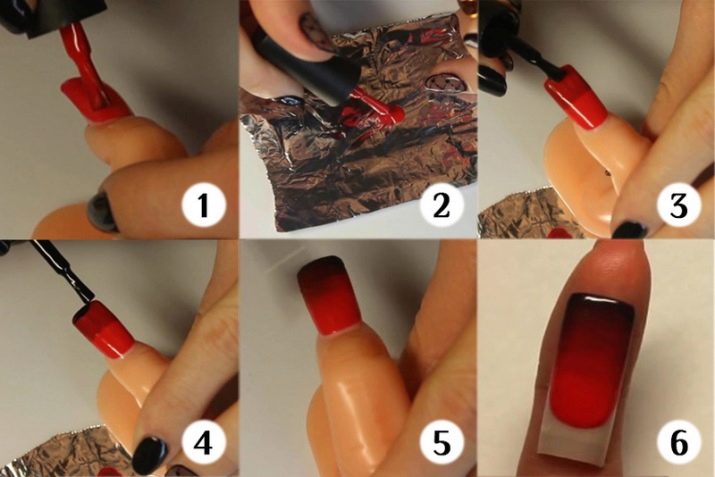
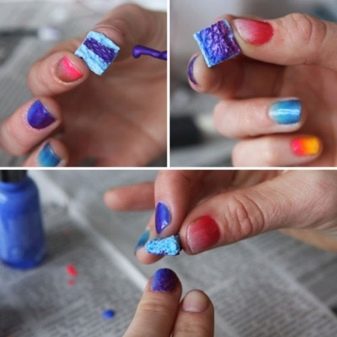
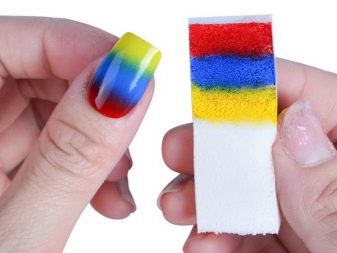
- Another interesting way that will require the use of a piece of foil.
- The varnish is applied in neat strips as close as possible to each other directly on the foil.
- With a toothpick or a wand specially adapted for this purpose, the available shades mix a little right at the docking sites.
- The varnish can be transferred from foil to a sponge in the usual way of reprinting. It is imperative that the varnish cannot dry up to this point. Then the color will only have to be transferred from the sponge to the nails already prepared for the new coating.
- The whole procedure ends with a transparent coating.
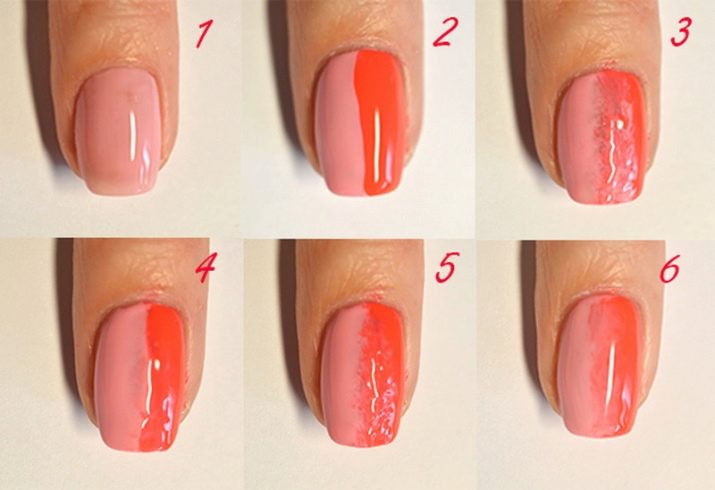
- When applying varnish to a sponge, it will be very actively absorbed, which can significantly increase the consumption of coating and then another method can be applied.
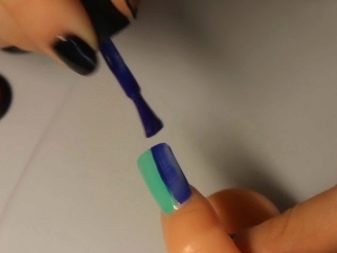
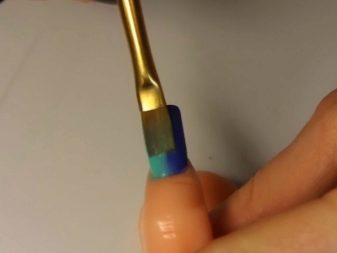
- The nail is simply covered with a varnish base. The next coat of varnish with pre-selected colors must be applied to the nail end-to-end with the first color used.
- Even before the varnish has time to dry well, you need to take a sponge and lightly patting it to create a border between the colors - the border should look blurry and not too distinct.
- The finished gradient is covered with a transparent base.
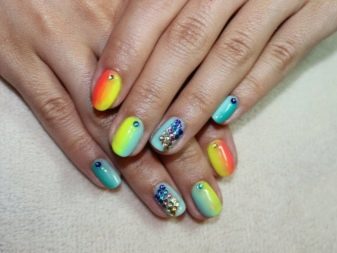
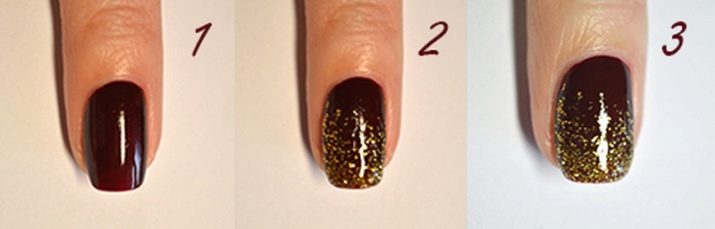
- A gradient with luxurious sparkles will look extremely unusual. Any available varnish is selected as the basis. As soon as the first layer of colored varnish dries, a coating layer with shiny particles must already be applied to it. For greater effect, glittering is best from the middle of the marigold to its edge. The design of the manicure is completed with a layer of protective coating.
You can use a special thermal varnish. It is best used by mistresses of long nails: then the effect of changing the color will be visually more catchy.
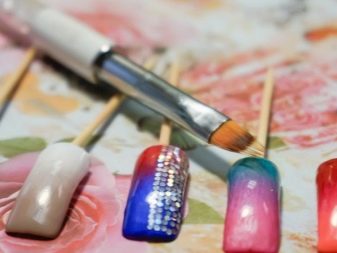
- A correctly selected brush will allow you to qualitatively design a neat decor with a gradient. For quick coating on the nail, it is better to choose a small and flat brush. To stir close colors, you can take a flat brush and a special fan-brush. If you need to create a geometric gradient, then you should worry about the presence of a stripper brush to apply thin strips with it.
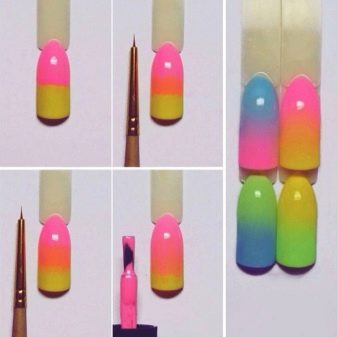
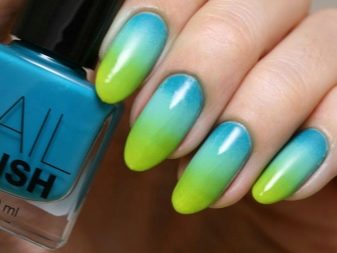
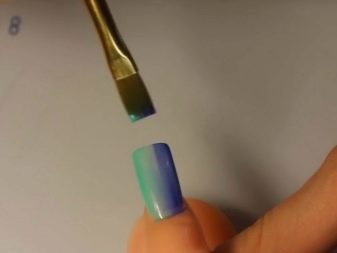
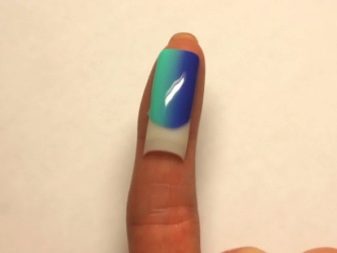
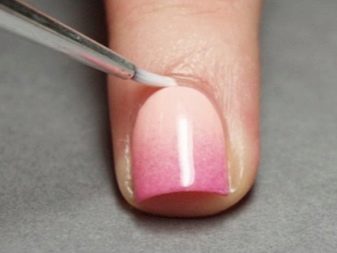
The technique of creating a vertical gradient with a brush will look like this:
- with a flat brush you need to paint over half of the nail;
- another color fills the other part of the nail;
- then the brush is slightly moistened in the clinser and carefully carried out at the junction of the border between the two colors, you can slightly move the brush to the right and left;
- the colors will mix and you will have a very beautiful gradient.
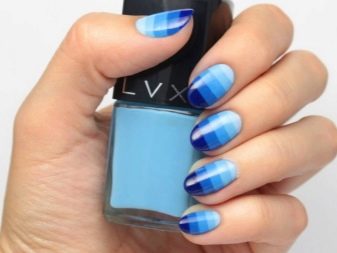
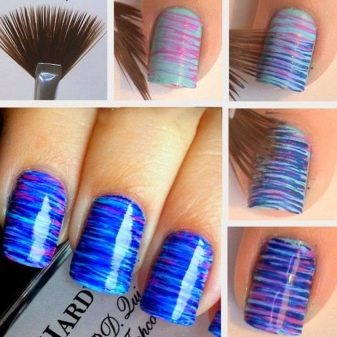
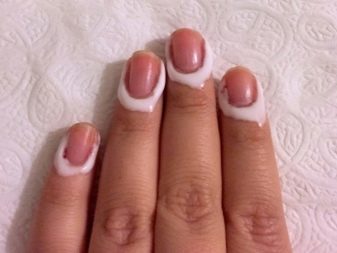
- To create a striped gradient, you just need to draw on the nails the rolling lines of an even or curved appearance. Such lines should be as thin as possible, and the transitions should be darker with each application. This kind of design can be considered both romantic and business.
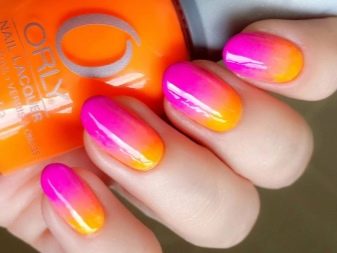
The actual colors for the gradient from frequent stripes are the most vivid or saturated colors in combination with light subtones. Here, a rich orange can turn first into a peach, and then into a yellowish-cream tone, finally turning into a snow-white color.
The technique of designing a striped gradient is surprisingly simple. First you need to prepare the nails themselves and cover them with a special base. The main color should be applied closer to the base of the nails. Each layer in turn will need to be dried under the lamp. Using a sponge, a contrasting tone is applied to the very tips of the nails, while shading is carried out towards the center of the nail plate. Contrast strips are made in parts, allowing you to give a deep color to the ends of the nail.
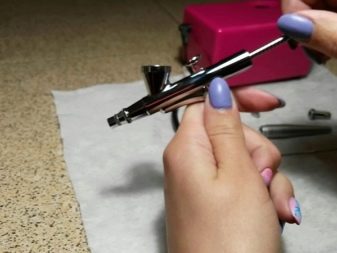
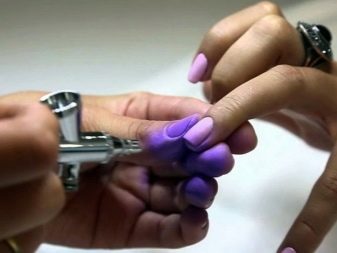
- The air gradient is also considered quite popular. They make it with the help of a special device called "airbrush", which during operation sprays the paint on the nail with a thin layer under serious air pressure. Most often, an airbrush is chosen for applying an ombre of a horizontal type. The device simply needs to be filled with the required amount of paint, a special compressor is connected to it, and the varnish begins to be applied with a thin layer on the desired part of the surface of the nail. Next, you just need to change the color and spray it on the tips of the nails so that a smoothly passing stretch of colors is visible.
Such an interesting color coating is carefully dried and covered with a top. The remains of the varnish that was sprayed can be very easily removed from the skin, for this you just have to wash your hands. An airbrush will allow you to create not only a neat ombre, but also significantly save time. The air gradient is suitable for ladies of any age group. Shades you can choose absolutely any of the most relevant in the current season.
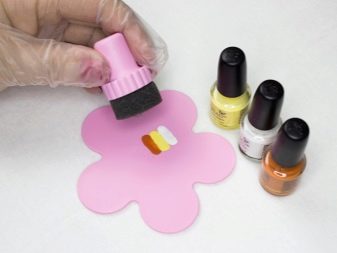
- Gradient with a sponge - at the same time it should be with flat and even edges. The selected sponge should be as dense and strong as possible, not too porous, in no case should it crumble so as not to leave pieces on the surface of the nail after itself. You can choose a makeup sponge or regular kitchen utensils. To work, the sponge will need to be prepared - cut a piece of the right size.
It is best to first lower such a sponge into the water and then squeeze it well. Thanks to a slightly damp sponge, the varnish used will not fill too quickly in its pores and therefore its consumption will be more economical. Thus, most of the varnish will be neatly reprinted from the sponge to the nails.
There are other methods for designing a gradient with an ordinary sponge - for example, the varnish is first spread on a special palette in the right order or according to the scheme, then you need to press the sponge to this surface and use it to transfer the varnish to the nails. In addition, with the sponge, you can determine the different direction of the gradient: make it vertically or horizontally, and also make it geometric.

If you do not get a smooth transition between tones, then perhaps you have chosen too contrasting colors. It will be necessary to find a different combination. Or you can apply several layers, allowing each of them to dry a little.
Useful Tips
And a few more recommendations from professional masters.
- Before you begin to apply the coating, you need to carefully prepare the hands themselves for this process, clean the nails, remove the cuticle from them, giving the nails the same look. You can, in addition, apply wax or a suitable cream to your hands for a couple of minutes.
- In order for the selected color to be much brighter, and the result is the most stable and durable, it is necessary to apply a special base or any varnish available at the hands of pastel colors. With it, it will be possible to completely hide the nail plate under the gradient itself.
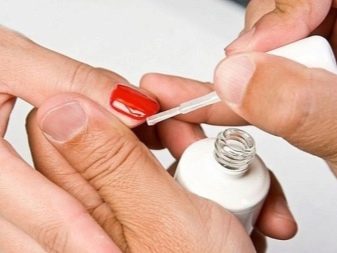
- Many women are overly puzzled by the fact that when working on a manicure, the skin at the nail is seriously dirty. But it’s worthwhile to apply a little cream on the skin near the nail in advance, or use scotch tape or ordinary adhesive tape to protect it, and the problem will be solved. And if, nevertheless, the varnish accidentally gets on your skin, then it can easily be removed with a special correction pencil or cotton swab.
- So that no bubbles appear on the surface of the marigold, it is best to immediately select the most dense sponge, and simply increase the number of layers of varnish. This will significantly improve the appearance and quality of the gradient, making it possible to make the transitions between colors less sharp.
- If you do not get a smooth transition of colors, you just need to wait a bit until the existing layers are slightly dry, and after that it will be possible to apply a couple more layers. The colors used will be of particular importance - the best transition will come between shades similar to each other, as well as tones of a single color scheme.
- In order to fix the manicure, you can actively apply a special colorless coating.
- The consumption of varnish for some types of manicure with a gradient can be significant, in order to avoid its significant losses, it is better not to choose too loose sponges for work.
- The secret of a quality gradient is a correctly selected technique and the most successfully selected combination of colors. Such a nail design will be a very creative addition to any fashionable look and give your hands a well-groomed and decent look.
- If you like rhinestones, stickers, ornament, you will also have a place to apply your imagination here - all these elements perfectly fit into the gradient design. Instead of a base with a glossy effect, you can apply a matte - suddenly you will like it more.
See how to make a perfect gradient on your nails in the next video.


