A manicure with a crown is a stylish version of modern nail design. He has a lot of opportunities for decorating nails, and sometimes it seems that drawing something like this is difficult. However, this is not quite true.
Important points
A manicure with a crown is not classified as universal. He is dressed up originally, and by no means suits every stylistic direction of clothes and is not appropriate in every case. This is a gorgeous solution for women of different age groups, however, in order for the female image with a similar addition to receive the enthusiastic looks of others, you must understand that such a design:
- not suitable for everyday bows of business women and office workers;
- cannot be used in a dress with a dress code;
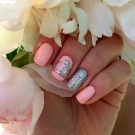
- Looks better on a light background, so it needs a substrate for a more interesting look;
- implies a beautiful shape of the nail plates;
- must be unique on at least one hand, excluding any cloning and addition of similar elements;
- It is combined with the color of the main pigment of manicure;
- It is performed in different techniques, but on a plain or unpainted pigment basis;
- located in the center of the accent nail without the slightest bias in one of the parties;
- ugly ugly when executed on two accent nails, half the pattern on each.
Design techniques
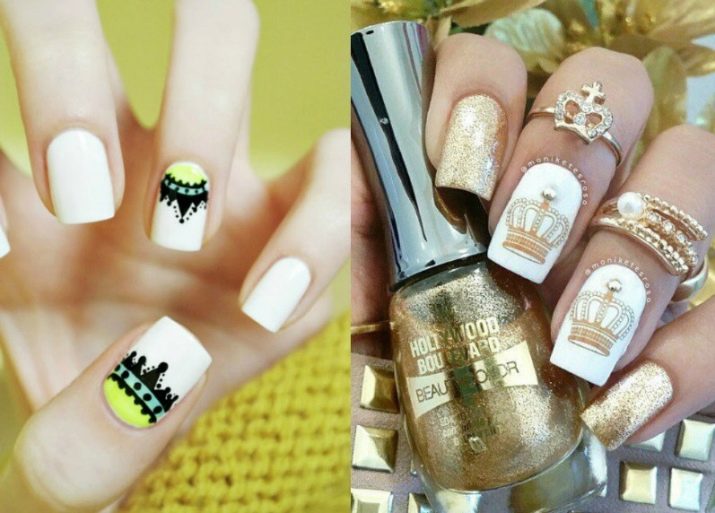
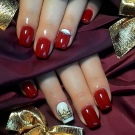
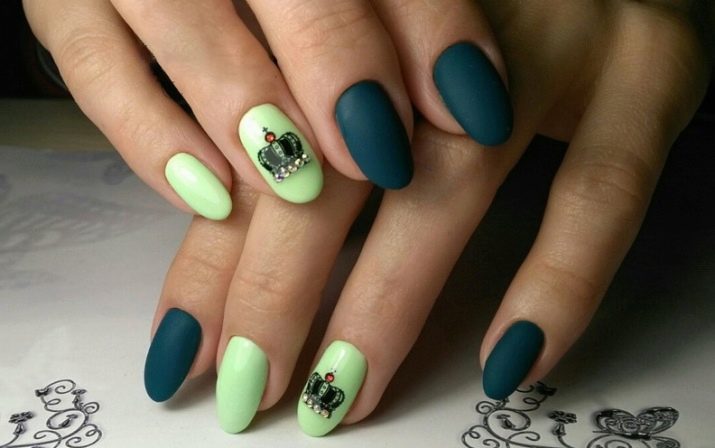
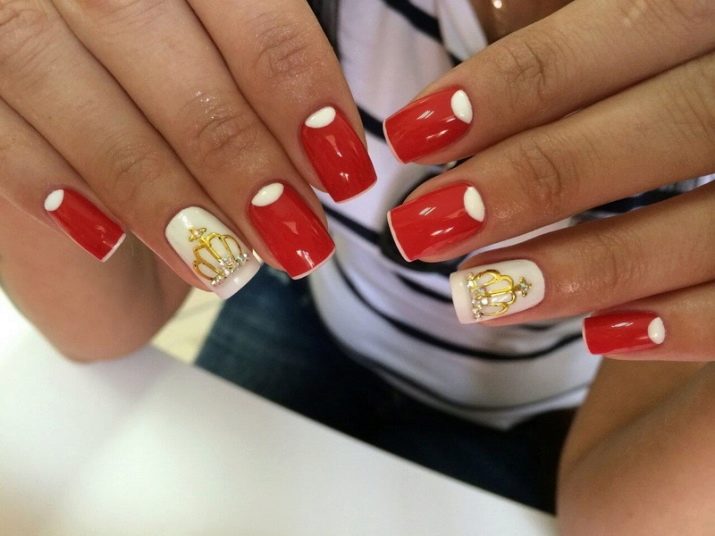
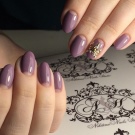
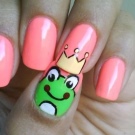
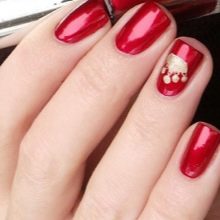
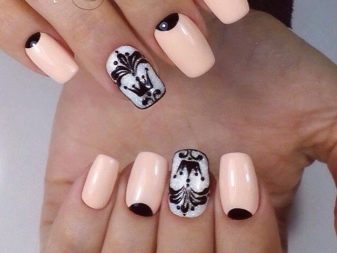
The crown is often painted on nails stained with the same color. This technique is called classical and is based on painting the nail plates throughout the area with the same color varnish. In this case, the accent nail itself can be performed not only in the color of the base of the manicure.
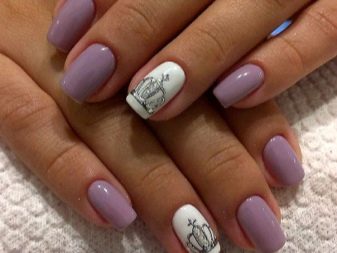
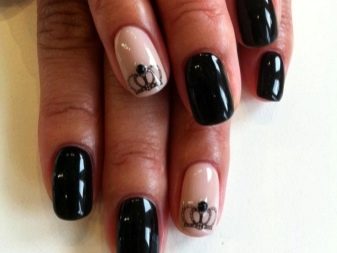
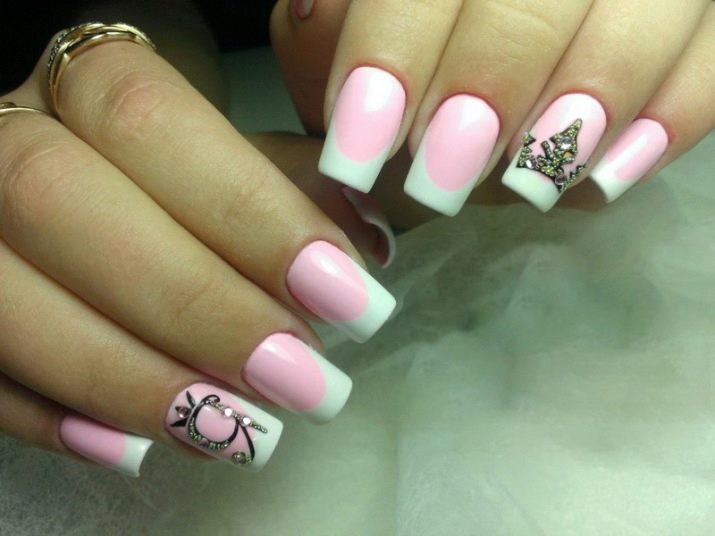
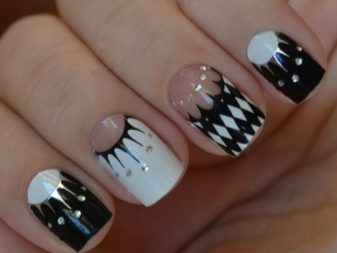
Such a design will look beautiful on a plain background with other nails made using the French technique. This technique is characterized by the presence of a familiar smile (painting the top edge of the nail in white or another color). Using harmonious combinations of shades, you can create a unique and luxurious design, thanks to which a woman will be in the spotlight.
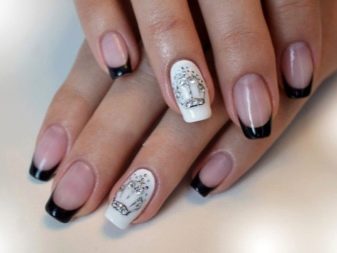
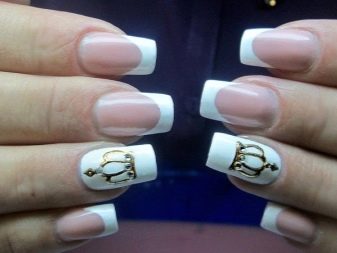

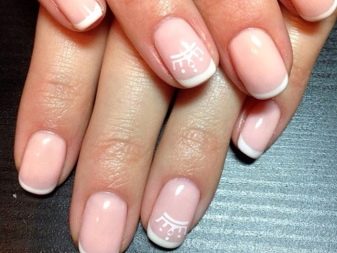
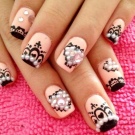
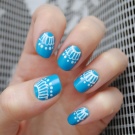
Regarding the technique of French, it can be noted that it is an excellent basis for decorating smiles. It is from them that you can create laconic crowns by drawing sharp angles to a smile and putting dots on their tops using dots with a small nozzle. By the way, the technique of an inverted jacket or even a lunar manicure is also suitable for such a design, because you can also give the holes the appearance of crowns. However, when creating such a design, you need to consider that accents are good and expressive only when they are few.
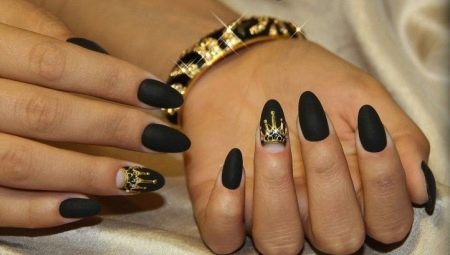
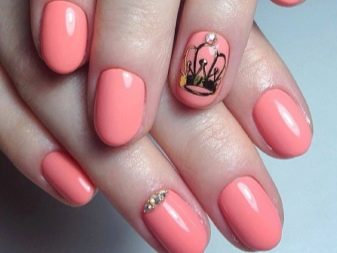
To make the crown holes look stylish, it is better to paint the remaining nails with plain varnish. In addition to French manicure, the technique can be gradient or with an ombre effect. Moreover, you can use different types of hybrid coatings for all nails. For example, matte gel polish will make it possible to add a high status to the design. Against such a background, the crown will look expensive and majestic.
Colors and Pattern Ideas
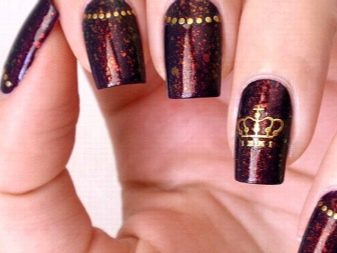
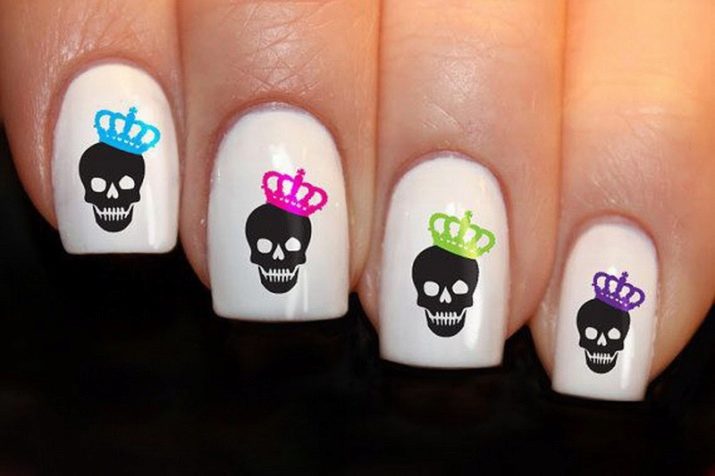
Colors of manicure with a crown can be very diverse. For example, not only the background may differ, but also the tone of the crown itself. If in the traditional version it is more often black, gold or silver, then, in addition to these colors of the palette, it can be:
- red;
- blue
- black and green;
- fuchsia colors;
- bright blue;
- purple.

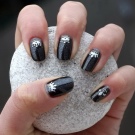
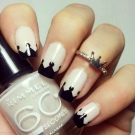
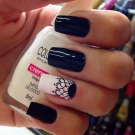
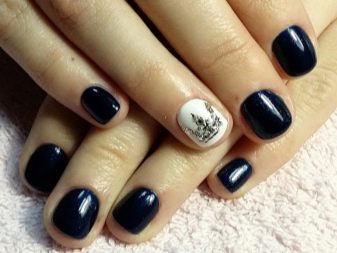
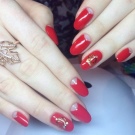
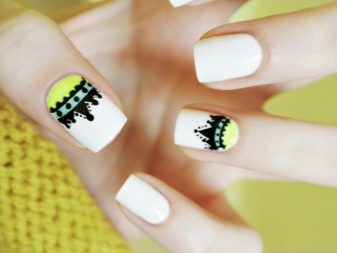
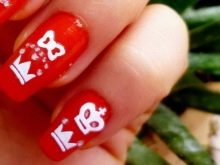
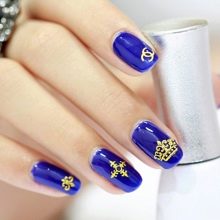
The crown on accent nails can be white, if the main background of the manicure is a dark gel polish. For example, a white pattern on a black, black-violet or emerald base will look beautiful. This solution is especially true for short nails, because light tones of gel polish visually reduce the already insufficient length of the nail plates. If you want to choose a bright design color, for example, red, then you will have to choose a softer contrast to it so that the two partners do not compete with each other.
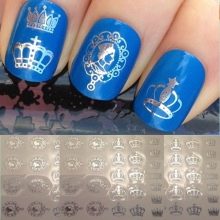
To create a design on short nails, in addition to the drawing technique, you can use alternative methods. For example, you can use ready-made stickers or stamps with engraving. They differ from the painting technique in that in these cases you do not need to draw anything, and it takes much less time to create a beautiful accent. Stamping, if desired, can be painted, like a stained glass technique, but until the picture is glued to the nail. The pattern turns out to be color, moreover, quite accurate, which is another advantage of this technology.
How to draw step by step?
Consider the full accent nail decoration technology. Based on it, you can draw a design using any color paints. However, it must be understood that for light tones, the substrate must be light so as not to distort the beauty of the original color. For example, for white, beige, and even red, the undercoat should be white. If it was decided to paint with silver or gold, the substrate should be dark.
There are several options.
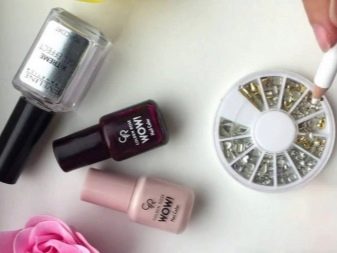
To make the crown look beautiful and stand out against the background of the base, it is worth preparing:
- base coverage;
- finish;
- light gel polish for the background;
- black varnish for the crown;
- gold gel;
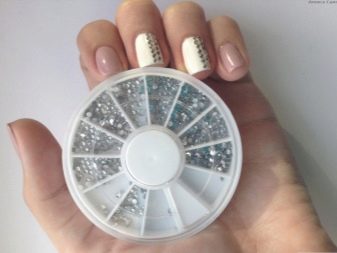
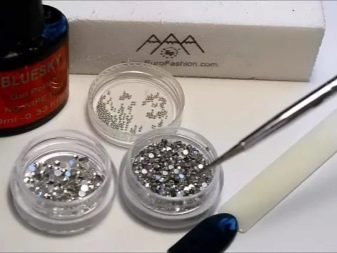
- rhinestones and broths of golden color.

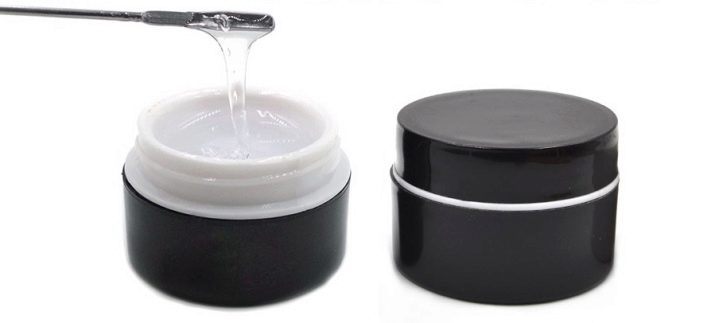
In addition, you will need a thin brush and a clear modeling gel. To get the print professionally, you should first draw it at least in the form of a sketch. He will show what size should be so that the picture looks beautiful and fits on the nail. When everything is ready, you can start design.
- The nail plate is covered with a base layer, dried in a drying device.
- After that, the accent nail is stained with two thin layers of pigmented varnish with drying of each of them.
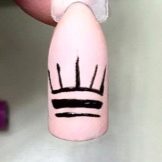
- Then they take a thin brush and black acrylic gel paint and draw a transverse line just below the middle of the nail.
- Under the obtained base line of the future crown, another one is carried out, only more subtle.
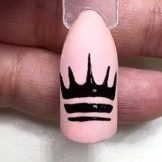
- Having found the approximate center of the upper line, a concave rhombus is drawn above it.
- Half-bombs are made at the edges of the line. All three elements (together with the middle) should be elongated, ending acutely.
- From the base of the central rhombus, a curl is drawn on each side. The same is repeated on each inner side of the half-bomb.
- Above the top line rhombs and curls cross out with thin dashes.
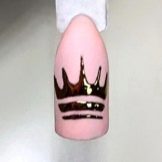
- The resulting substrate is coated with gold paint.
- The nails are dried in a lamp, after which they are sealed with a layer of finish and dried again.
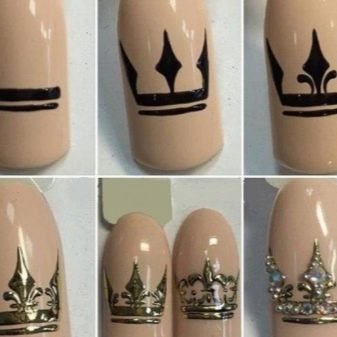
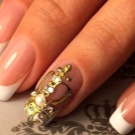
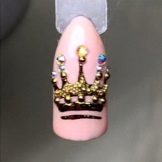
Begin decorating. So that there is not a lot of decor, and the crown looks beautiful, you need to choose elements of different sizes. Smaller rhinestones are glued to the upper base, the strip below is left untouched. More rhinestones are fixed in the centers of the rhombus and half-rhombuses. To make the crown look more realistic, the broths can be glued along the edges of rhombuses or around large rhinestones.
You need to glue the decor on the finish coating after applying it, so this layer can be more dense than all the previous ones. However, rhinestones, like kamifubuki and broths, on a transparent modeling gel are much stronger. Of course, working with him is a little more difficult than with the top, because you have to gain a lot of weight to a minimum, avoiding its excess near the glued decor.

Transparent gel is also convenient in that it can easily replace small decor such as broths, while not diminishing the bulk of the design. It is important to take into account the fact that after gluing the volumetric decor, you need to cover the accent nail with top material again, or even two. Moreover, it is important to ensure that the composition does not fall on the sparkling decor, because this will stop shining.
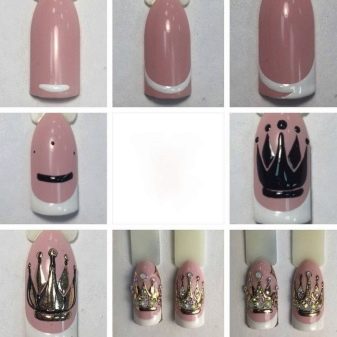
According to an exemplary scheme, you can create a different model of the crown. For its implementation, they also use black paint, as a substrate for golden paint. The algorithm of actions is as follows:
- first, two transverse lines are drawn on a nail already painted and dried in the lamp;
- the upper one is thickened, after which an arch is drawn over it;
- from the center of the arch up draw a small thin line;
- at the edges also draw verticals slightly below the center line;
- the distance between the received side lines and the central one is divided into two and drawn up another line, which should also be lower than the central one;
- the arch is thickened, smoothly connecting with vertical lines, ennobling the teeth of the future crown;
- the substrate is dried and coated on top with a layer of gold;
- then the finish is applied to the accent nail and, while it is still sticky, they start decorating the crown;
- rhinestones are glued to the very top of the crown teeth, and crystals are glued on top of them;
- two transverse lines (thick base and thin bottom) are connected with golden rhinestones, gluing them to the teeth symmetrically extended;
- the handle is filled with small broths;
- after all the sparkling decor elements are glued, the nail is dried in a lamp, and then again covered with a layer of top;
- if there is a sticky layer on the material, then it must be removed after drying.
For how to perform a luxurious manicure with a crown, see the next video.


