Adhesive tape for nails today is at the peak of popularity. With its help, you can create a bright, restrained or original manicure for any occasion. It is easy to use. It is not necessary to train for a long time, and you will get a manicure no worse than a real professional.
How to use such material?
Professionals have come up with many ways to use self-adhesive tape for nail design. With its help, they create complex geometric patterns and patterns. But for a beginner it is important to understand the principle of its action and try to make the simplest design yourself.
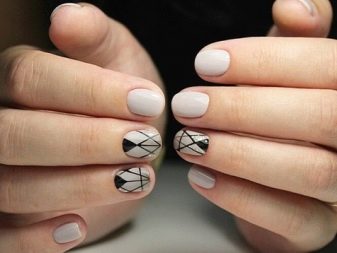
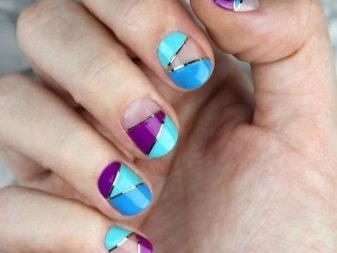
At the initial stage, it is important to make a quality manicure so that the final result is pleasing to the eye and is neat. Make it the way you are used to. It doesn’t really matter if it is a trim or hardware method.
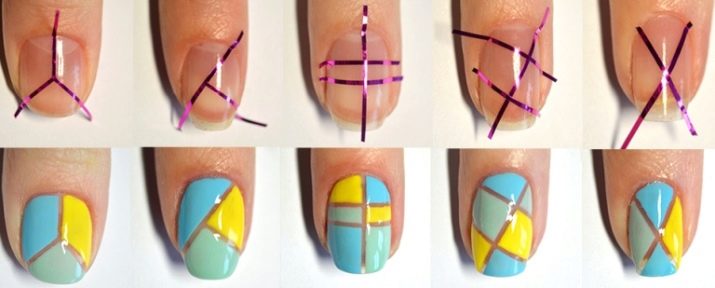
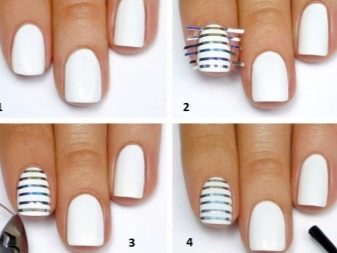
Next, apply the base, dry well. Now is the time for the primary color. We also dry it. Next, cut off a few ribbons of the desired length and glue on the nail. Where and at what angle to do it depends on your desire.
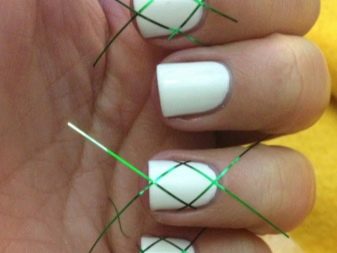
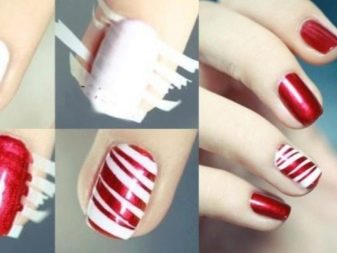
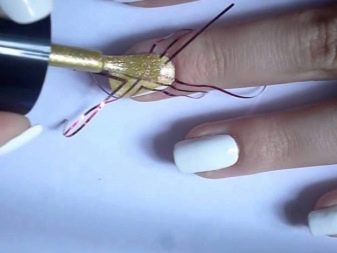
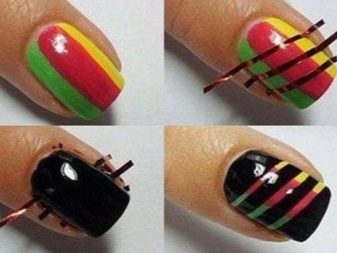
Only after that we apply the second color. Try not to paint the strips too much. The less varnish gets on them, the easier and more accurate you will remove them later. Actually, after you paint over the selected area, the adhesive tape can be removed. This is best done with special tweezers. So there will be less risk to touch the varnish and spoil the entire manicure. Dry everything thoroughly and cover it with a finish.
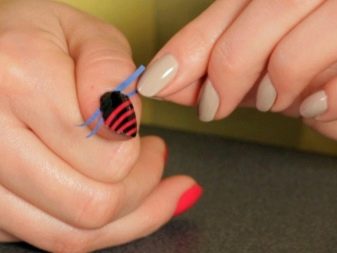
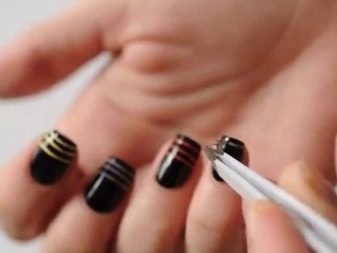
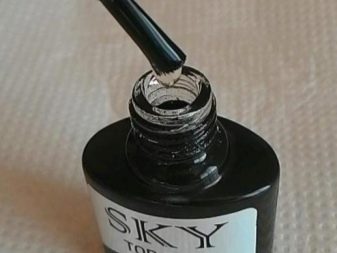
This is the simplest procedure, with the help of which you will make smooth multi-colored stripes on your own nails.If you show imagination, then you can develop more complex options with a large number of colors, a variety of geometries and interesting effects.
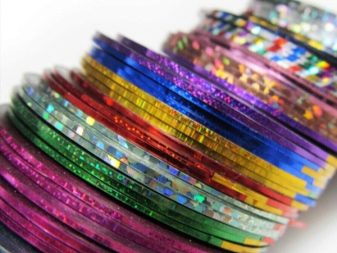
Ribbon manicure can be done differently. To do this, take a decorative adhesive tape. It differs from the previous material in its beauty. From the outside, it has an attractive shiny surface that can be covered with spangles or small grains.
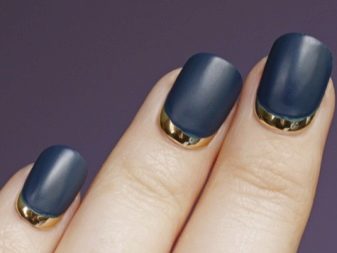
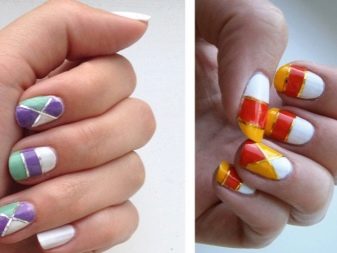
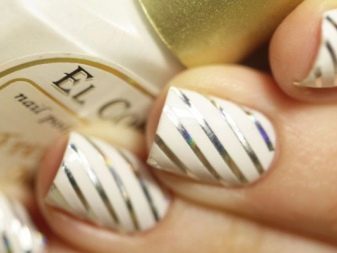
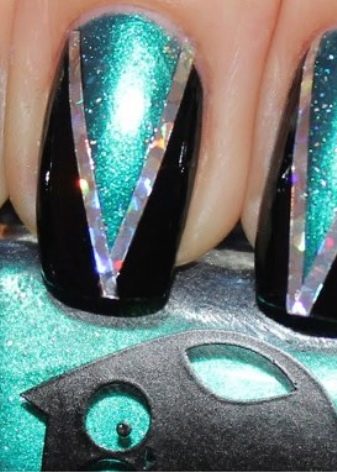
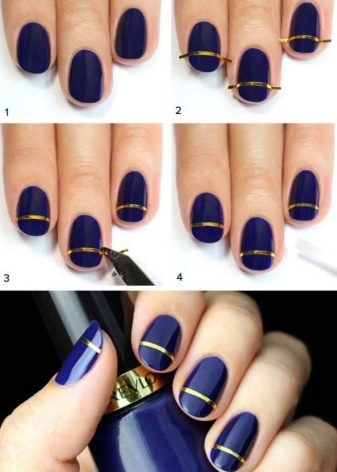
The execution of the procedure itself is even simpler than in the first case. First, manicure, base, primary color - everything, as described above. Next, glue the ribbon of the desired color and width. Gently spread it with a stick on the nail, paying special attention to the edges. If the length is a little longer, then bite off with tweezers. Then cover with finish and dry.
Striped Fashion Design Ideas
As you already understood, there can be a great many options for manicure with ribbons. Everything is limited only by your imagination and skill.
Geometric
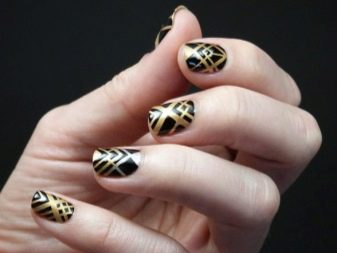
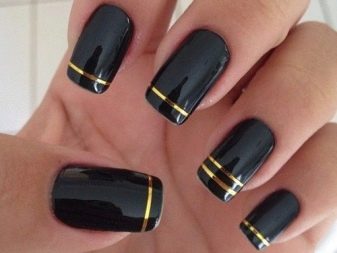
Think in advance of the design of the nail, as you will need to accurately arrange the tape in a certain order. They can be used as a stencil or as a decorative element. No one forbids and combine these two methods. So you get the usual color and shiny stripes.
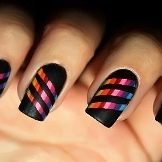
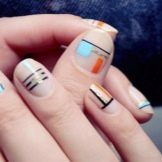
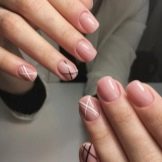
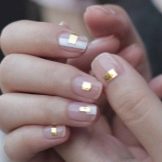
Lunar
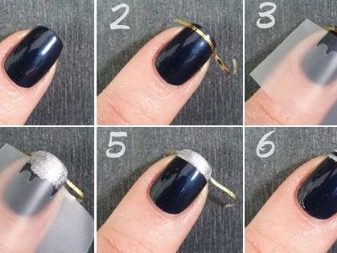
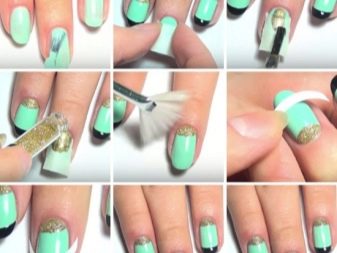
Manually making an ideal curved crescent-shaped line is quite difficult, and this is what a high-quality moon manicure requires. Use adhesive tape for this. Just place it not directly, but with a slight rounding. In specialized stores you can find curly Lena, which will already have the desired bend.
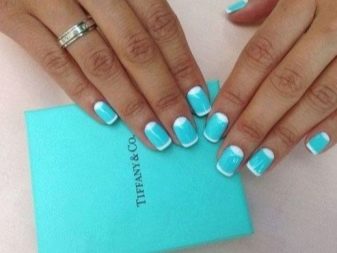
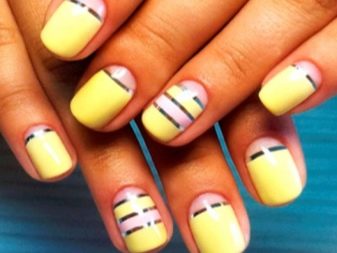
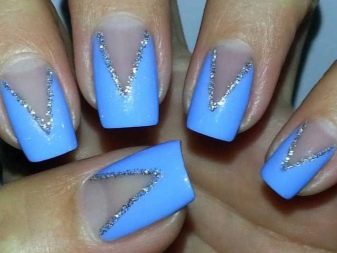
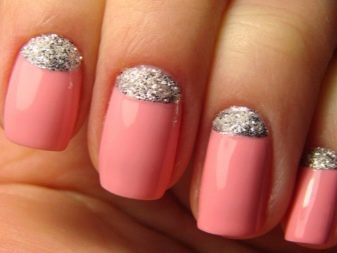
French
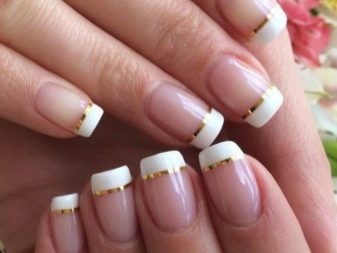
This popular design is easy to bring to life with this material. Cover the entire plate with the main color (most often these are nude shades), dry well and glue the tape. Now cover the free edge with white varnish, remove the tape and dry. To add sophistication and elegance, you can again attach a golden ribbon to the border of two colors and fix it. So you get a very beautiful and original jacket.
Matt
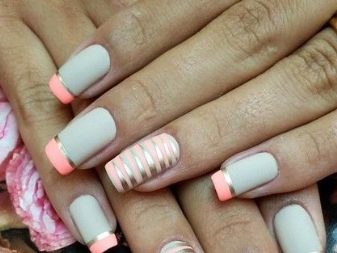
The ribbons have a shiny coating, so when you cover them with a matte top, they will lose their radiance. To avoid this, you will have to separately cover the main plane of the nail with a matte finish, and treat the strip with the usual one. This will be easy to do by separating the desired area with the same adhesive tapes.
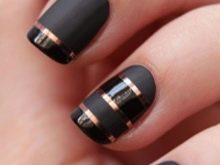
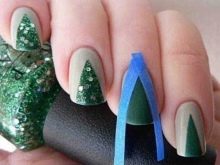
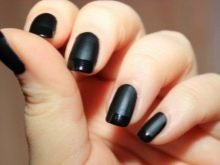
Vertical stripes
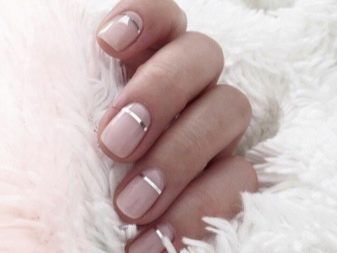
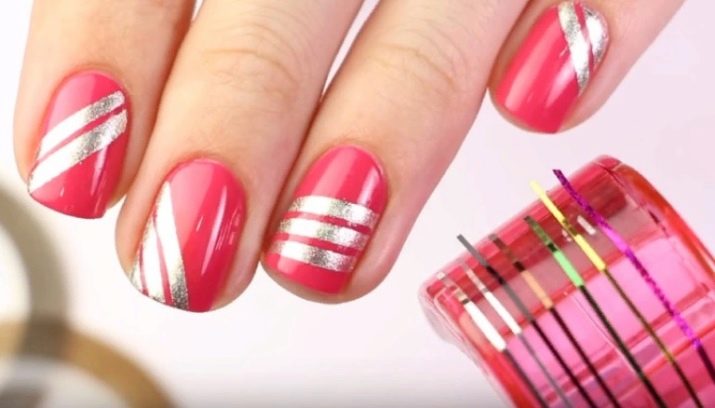
With this technique, you can create a stylish minimalistic design. Choose a base color and cover it with all the nails. Glue a shiny strip onto the middle or ring finger. You can arrange all the other fingers in this way, but you can limit yourself to one.
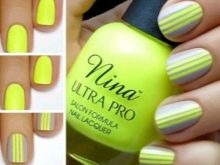
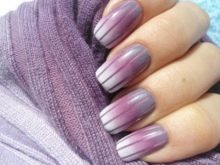
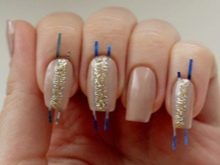
Horizontal stripes are done in the same way. How many of them will be and what color, it's up to you. Think of a combination of colors, bandwidth and number. The beauty of horizontal stripes is that they do not have to be identical on different nails. Asymmetry will only enhance the individuality of manicure.
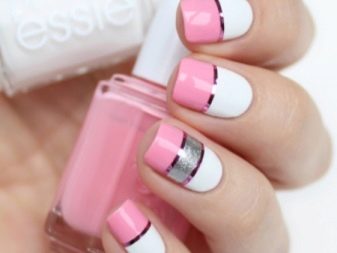
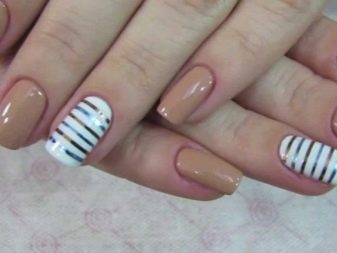
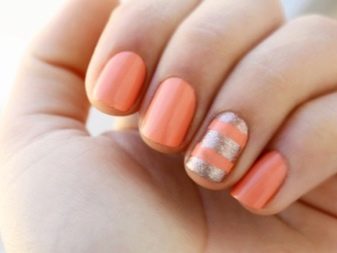
Grid
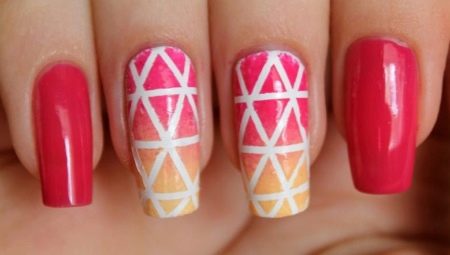
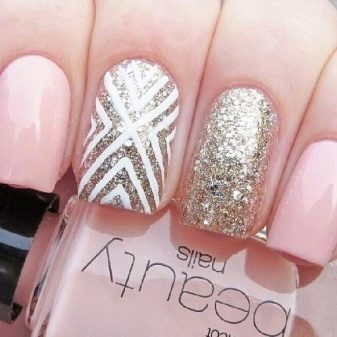
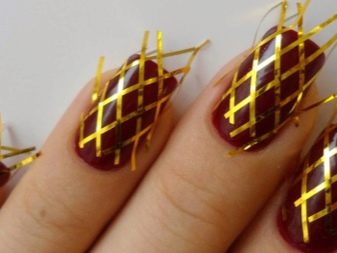
It’s not easy to draw a smooth mesh on the nails without additional tools. Therefore, cover the nail plate with the color that you have chosen for the lines. Dry and glue the tape first on one diagonal, then on the other. This way you get a grid. Next, cover the nails with a second color, remove the mesh and dry. To enhance the effect, you can attach rhinestones to the intersections.
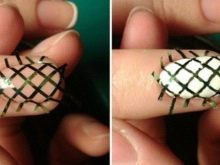
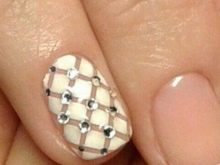
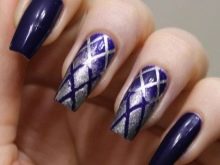
Design options for nails with decor
In a duet with ribbons, you can use other decorating methods. The main thing is to observe a sense of proportion and not try to fit all the available jewelry at one time. The most popular decorative elements used by craftsmen are rhinestones, glitter and stones.
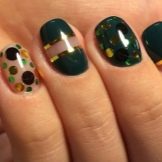
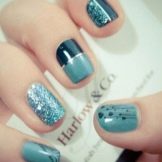
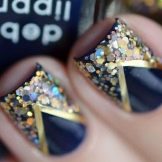
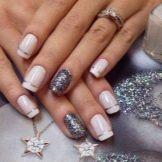
In specialized stores you will find many jewelry for nails. It can be stones that imitate precious minerals, metal golden figures, piercings and much more.Such diversity may make you dizzy. But think about what kind of bow you are going to make a manicure for (or what style you keep in your clothes). Only then make your choice. Of course, there is no such variety in beauty salons, but even here you can find decent options.

Even if you are going to make only one strip on the nail, it can be decorated with a pebble. Their use is also relevant in the creation of French or moon manicure.
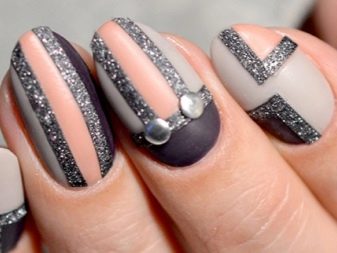
Tapes are small in width for ease of use. If you want to draw a wide shiny line, then use glitter. An interesting option is obtained if the edges of a wide shiny strip are decorated with matching adhesive tape.
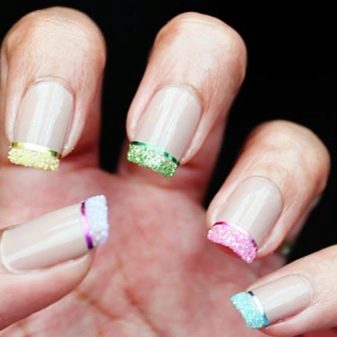
The technique of marble manicure today is mastered by most masters. But if you want to add a twist, then feel free to use ribbons in your design. Do not be afraid that the manicure will be overloaded. There are many options for execution. For example, you can make half of the nail using marble technique, and cover the second with a shade of tone, and separate the border with a shiny ribbon. And you can think over your own design for each finger: some should be left in one-color design, others should use ribbons, and the third should be covered with marble.
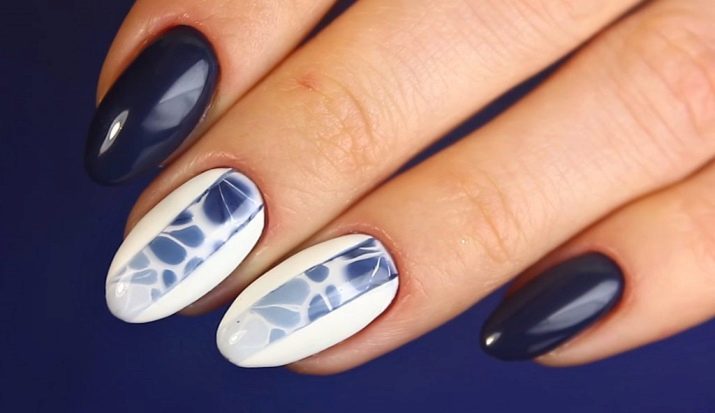
After we figured out how to use duct tape for nail design, let’s summarize a peculiar result and name the advantages that this material gives.
- Low price. You do not have to choose which shade of tape to choose. You can afford to buy several options at once and enjoy an interesting design.
- Ease of use. After several workouts, the process of creating a manicure will not cause you any difficulties. Each time, you can complicate your task by applying more complex geometry or other decorative elements.
- Convenience of storage. It will not be necessary to take care that the expiration date expires. In addition, no special storage conditions are required: neither temperature conditions, nor protection from the sun or high humidity.
- Holds well on nails and does not lose its attractive appearance. After the manicure is completed, you should not be afraid that the tape will separate from the nail or will be erased.
- Allows you to create perfectly straight lines effortlessly. Try to draw the same with a regular brush and you will realize that this is not an easy task.
Useful Tips
If you are interested in this unique material for nail design, then it will be useful for you to find some useful tips for working with it.
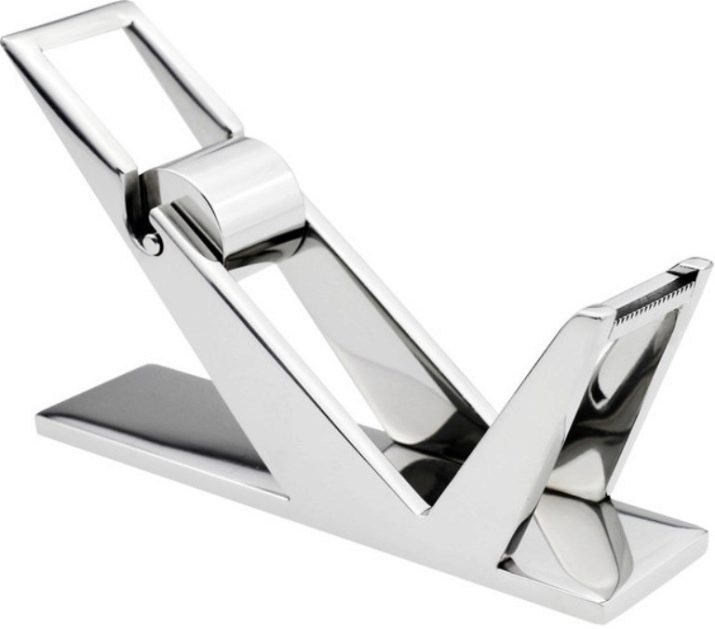
- The simplest and most convenient place to store thin ribbons will be a tape dispenser. You can put several tapes there at once. Pull the desired length and tear it off (you don’t even have to use scissors for this). The tape will be securely fastened and there will be no need to be afraid that it will unwind accidentally.
- If you have not had time to purchase such a tape, but want to create a screen manicure, use ordinary tape. Working with it is a little more difficult than with a special thin ribbon, but you can create a beautiful design if you wish. Next time, do not forget to buy this interesting material for design.
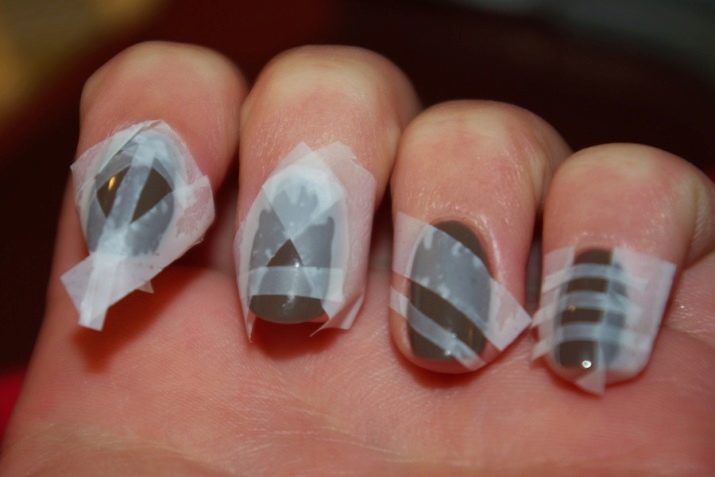
- Adhesive tape allows you to combine not only different colors on one nail, but also a matte and glossy finish. The application procedure is the same as when working with varnish. So you can make an exquisite French manicure, leaving the tip in gloss.
Self-adhesive tape for manicure is a unique find for any master. With its help, you can create interesting (and most importantly, neat) geometric shapes, stripes or use them as a stencil.
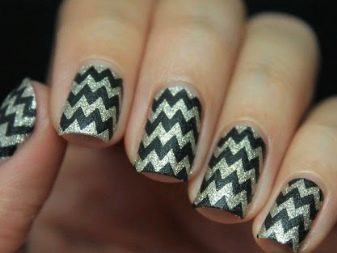
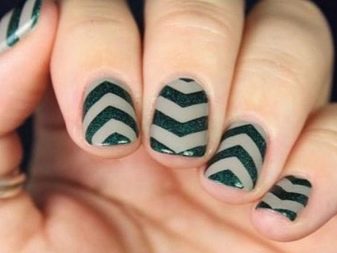
The video below demonstrates the process of performing a simple manicure with a ribbon for design.
