
Sand design of nails looks equally amazing on the nails of young ladies and respectable ladies. It is perfect for a romantic date and formal business meeting. Some fashionistas are interested in features of plush design, execution technique, useful tips, pros and cons. Other young ladies want to learn about new trends in fashion, to see unusual velvet images on nails.
Features
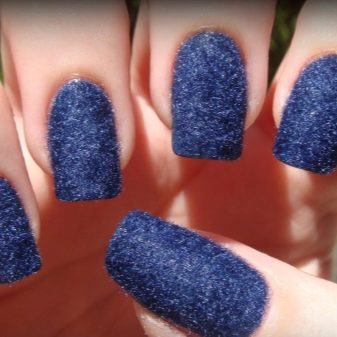
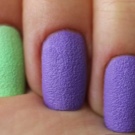
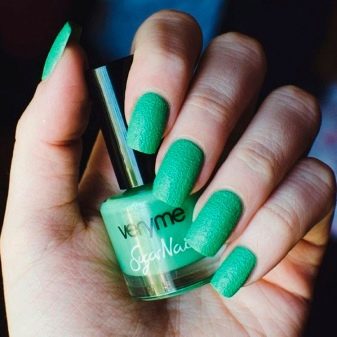
It has become fashionable to decorate nails with soft sand and a matte top. It turns out a great plush surface. Sand manicure looks luxurious and original. It is created with the help of a special powder called “velvet sand”.
Flock can be of several types. It can give nails the appearance of velor, velveteen, cashmere, satin or suede. After final processing, a matte finish may result. The color of the sand depends on the base gel, when mixed with it, the powder acquires its color. Interaction with varnish does not affect the sand texture.
Sand manicure is great for natural and artificial nails. Any types of varnishes are suitable. A plush manicure looks voluminous even without applying a top top. Any design created with the help of gel can be decorated with velvet or acrylic powder.
Sand effect manicure looks modern, elegant and stylish.
Advantages and disadvantages
There are undoubted advantages of the design.
Sand manicure is easy to do. The material is very easy to apply on the nail, lasts a long time. For the use of powder does not require special professional tools. They will be needed only to create a picture on the nail surface.
Gorgeous manicure with the effect of sand can be done at home on their own. You must first familiarize yourself with the instructions for the correct application of the material to the nail. Sanding the surface is easy, quick and easy.
If velvet sand was not enough, then it is quite possible to replace it with acrylic powder. You can purchase the material in any specialized store.
The versatility of manicure is that it combines with any clothes, suits ladies of all ages.
The disadvantages include the difficult removal of a rough texture. The remains of the sand design are cleaned with cotton wool soaked in nail polish remover. The cotton pad must be pressed to the nail plate, hold for several minutes. After softening the sand, it is not difficult to remove the substance.
It is not recommended to remove sand with metal files. An abrasive file often causes serious damage to the nail plate.
There is another drawback: a manicure with a sand effect, made at home, lasts several days. It can be made for a specific event. In beauty salons, creating a sandy design is an expensive procedure.
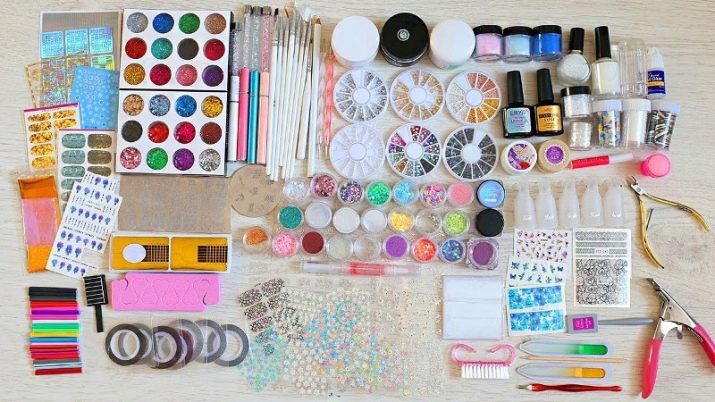
Materials
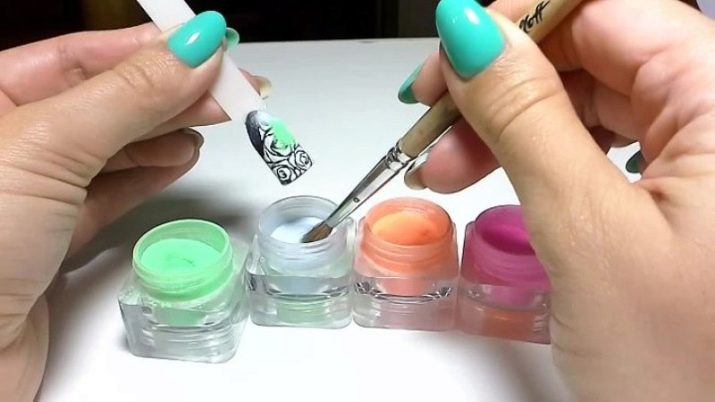
To create a sand manicure, you will definitely need velvet powder, varnish and a brush.
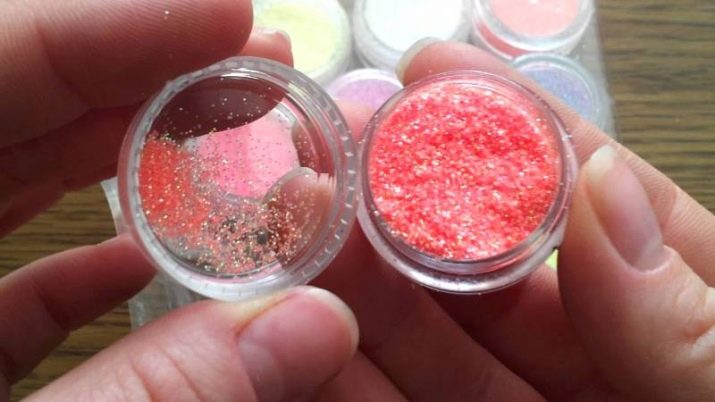
One of the most excellent materials for decorating nails is velvet sand, or flock. It looks like a multi-colored fine powder. The powder consists of acrylic material, brought to a dry consistency. The structure of the powder resembles a brilliant dust. Special viscose added to the sand creates a flickering effect.
Often used acrylic powder, which in consistency is similar to velvet sand. With its help, you can create a more refined sand manicure. The print looks very neat, lasts longer than a drawing made of velvet sand.
Acrylic powder does not require the application of a fixing top to preserve a rough surface.


Sugar varnish, or liquid sand, lays well on the nail surface, does not spread. But according to the reviews of some girls doing manicure on their own, liquid sand highlights the relief and emphasizes the roughness of the nail. To avoid this, two conditions must be met:
sugar varnish should be selected high quality;
the nail plate must be sanded smoothly and solidly.
Execution technique
There are various techniques for applying velvet sand to nails. You can use any method you like, if only to properly cover the nail plate with sand.
Pour a lot of powder onto the not yet dried nail surface, dry and brush off the leftovers.
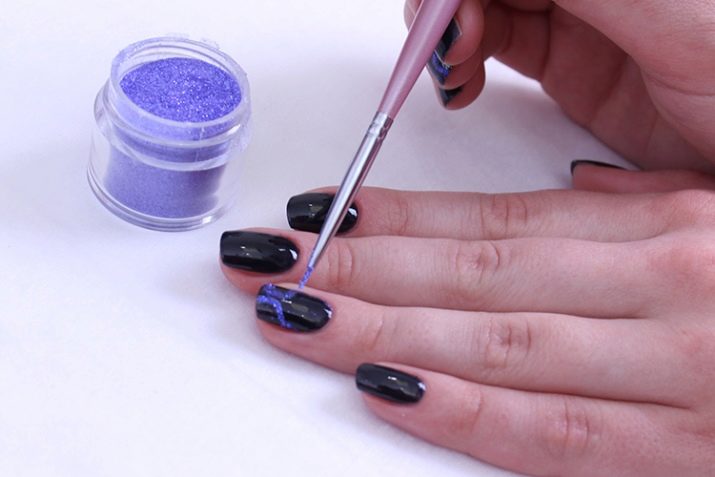
The finger with the varnish applied to the nail is lowered into a jar of special sand.
Liquid sand is easily applied with a brush to the surface, because it is much thicker than ordinary varnish.
Sparkling star dust is created by mixing velvet powder with fine sparkles. The mixture should be drowned in gel or varnish.
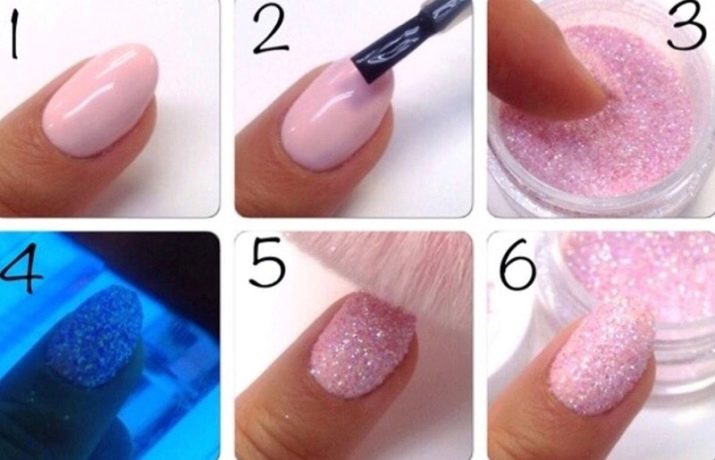
Technique for performing manicure using velvet sand:
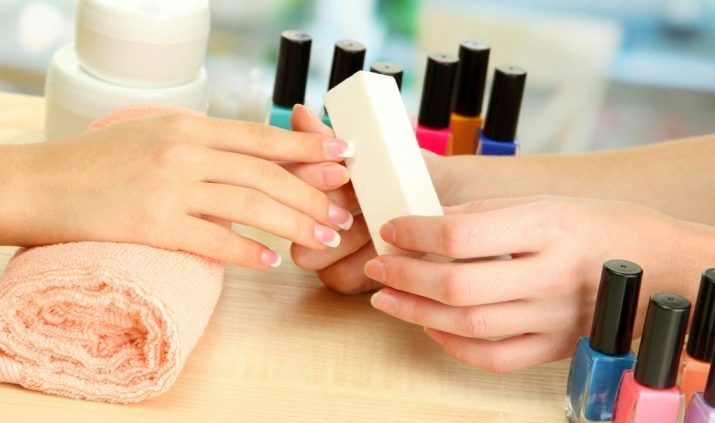
first, the nail plate is leveled with a nail file;
cuticle removal, cleaning, degreasing and polishing of the nail;
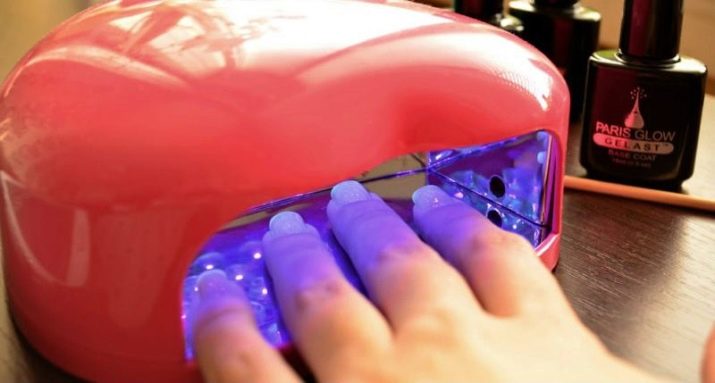
a base is created, dried in an ultraviolet lamp;
two layers of gel are made;
again, the nails are thoroughly dried in a lamp;
the nail surface is treated with a top;
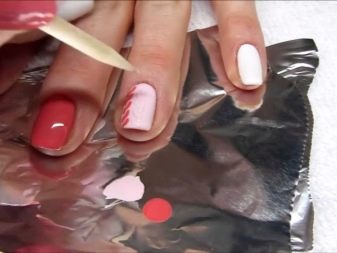
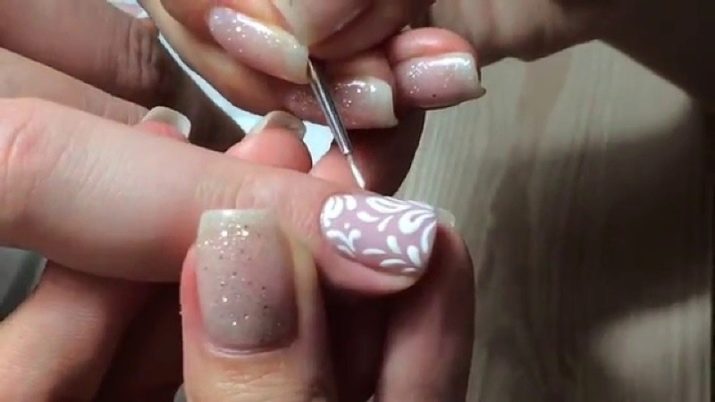
apply patterns, ornament, any pattern to the dried plate;
abundantly sprinkle sand on the surface that has not yet dried, while the pattern should be completely covered with the substance (it is recommended to act on the jar to shake off excess);
drying in the lamp takes twice as long as usual;
after polymerization, the remaining material is removed with a brush.

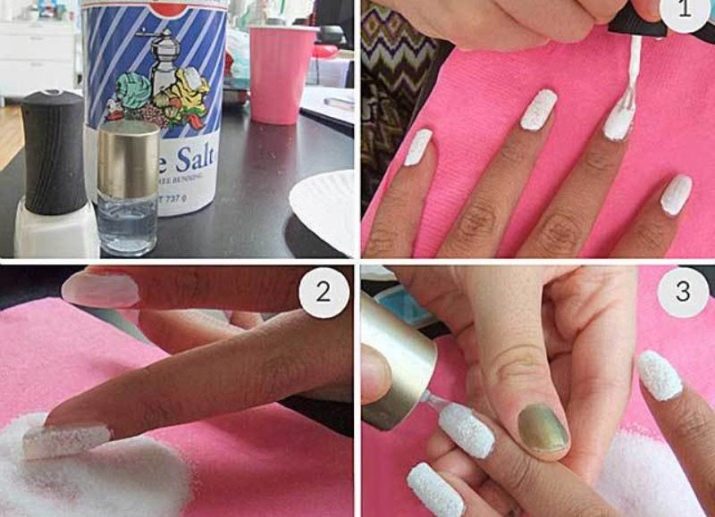
There are two more ways to create a sand manicure without using a base gel.
First method:
preparation of the nail surface: cleaning, removing the previous varnish, degreasing, sawing;
applying a clear or cream varnish;
after about 10 minutes, the surface is sprinkled with velvet powder;
excess sand is removed with a brush;
draw patterns;
the nail plate is covered with shellac;
It is advisable to dry your nails in an ultraviolet lamp.
Second method:
After cleaning the nail, it is necessary to apply varnish;
then a drawing is made;
then you need to use velvet sand;
after drying, the excess powder must be shaken off;
then follows the application of fixing varnish.

You can use acrylic powder. It forms a slightly different roughness. The velvet effect is enhanced.
Step-by-step instructions for creating sand manicure using acrylic powder:
give the necessary shape to the nails with a file;
degrease the surface;
apply a base layer and dry;
make a layer of gel, dry thoroughly;
repeat the previous action;
apply top, dry, remove the adhesive layer;
create a gel pattern;
dry the layer;
the sticky layer does not need to be removed;
gel again;
sprinkled with acrylic powder;
dried in a lamp;
brush off excess powder with a brush;
Do not cover with a final top to avoid the loss of velvety.
Useful Tips
When applying such a manicure, you can use the advice of specialists.
Flock of proven companies must be purchased at specialty stores or at beauty industry fairs. You should see the date of manufacture, expiration date.
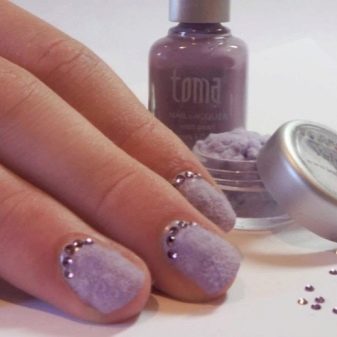
You do not need to save velvet or acrylic powder. Sprinkle the nail surface abundantly. For better fixation, it is necessary to press it lightly.

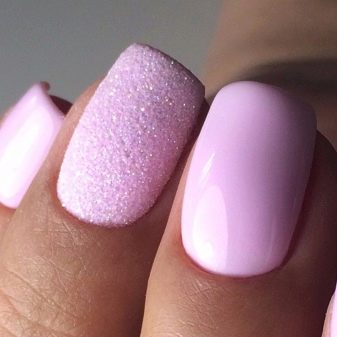
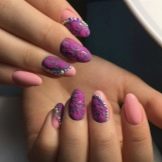
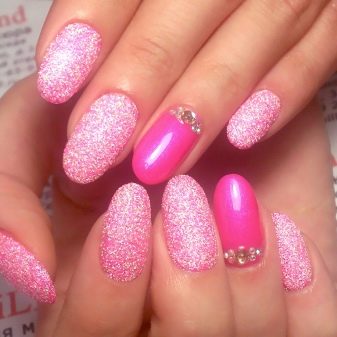
To add charm to nails the jacket strewn with sand will help. Rhinestones will give a special piquancy.
It is recommended to apply clear and bold lines. They are needed to get an expressive picture.
Matt shades of varnishes provide good sand holding. On such a surface it is easy to draw, the image does not spread. When drawing on the entire nail, glossy varnish can be used.
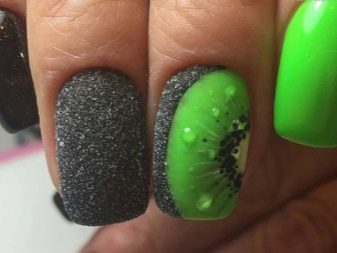
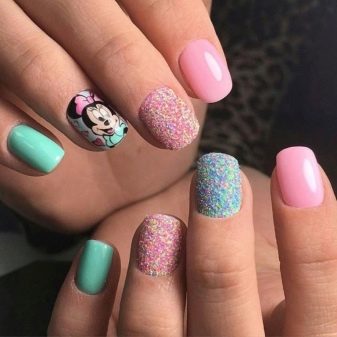
It is best to use several shades of sand.
Before applying patterns with gel paints, the nail plate must be rubbed with a grinding buff.
Very thick paint is recommended to be mixed with gel or varnish of the same color.
Longer drying in the lamp allows the velvet powder to take a darker color. If you want to achieve this result, you must exceed the recommended drying period.
Before applying the top topping, the sugar lacquer must be completely dried.
During drying without using a lamp, nails covered with velvet sand should not be touched for 40 minutes. The picture will definitely not be erased if an ultraviolet lamp is used.

Interesting Design Ideas
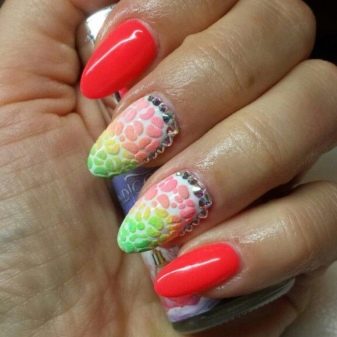
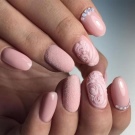
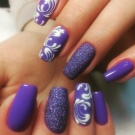
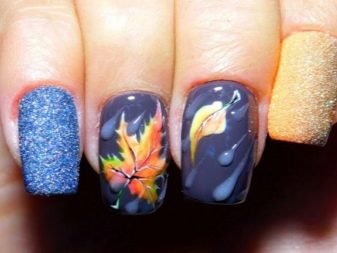
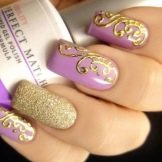
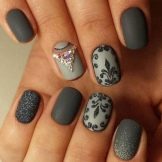
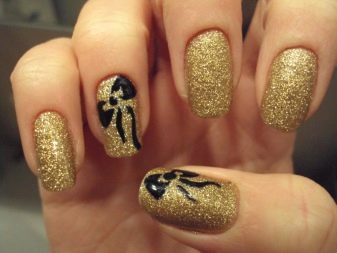
Any decorative element applied to the velvet surface of the nails gives elegance and solemnity. Various patterns, flowers, symbols look amazing on a plush nail plate. This season it is fashionable to use floral and floral designs. Velvet roses, delicate flower buds look unusually.

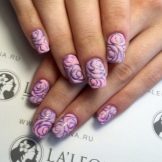

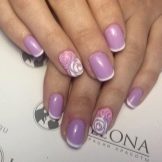
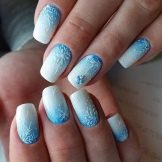
A special charm is given to the image of dew drops on flowers created using rhinestones. You can see plush floral arrangements. A white wedding sand manicure with flowers, magnificent patterns looks very nice.
The trend is the eastern pattern. The print with the image of sakura branches, an oriental ornament remains the most demanded and fashionable design.

A novelty of the season is marmalade nail design. It is similar to sugar manicure. Not dried out nail plate covered with gel or varnish is sprinkled abundantly with powder melange.
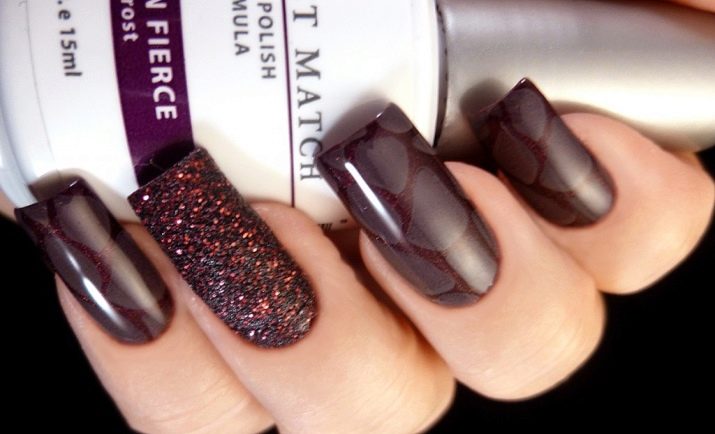
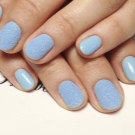
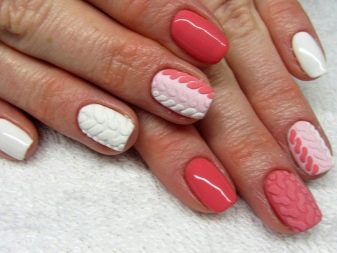
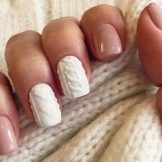
Sand manicure is perfect for creating a winter design. Frosty velvet patterns look amazing on nails. Knitted manicure imitates weaving a scarf or sweater. Looks great on almond-shaped and short nails. It is perfect for the winter season.
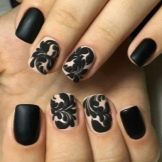

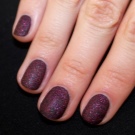
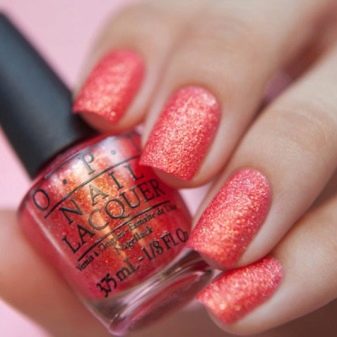
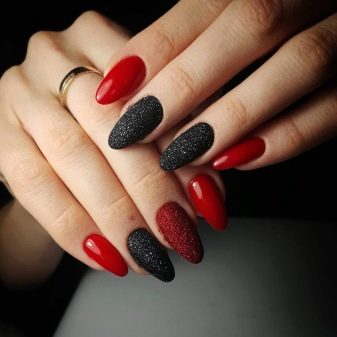
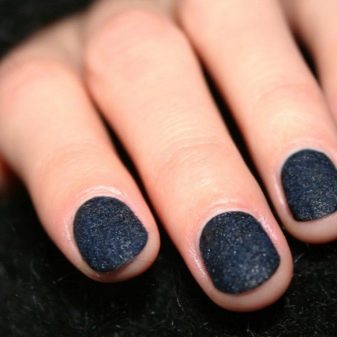
Sand black manicure will suit the evening celebration, inlaid with white shiny stones will give the design a special gloss. Velvet sand is perfectly combined with any colored varnish. Red varnish against the background of sand looks bold and bright.
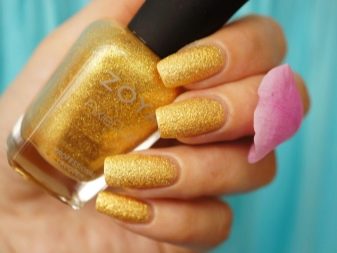
The use of golden sand is suitable for any clothes, suitable for all events, including for everyday life. Golden velvet always looks elegant and luxurious.
About what "velvet sand" is and how to work with it, see the next video.


