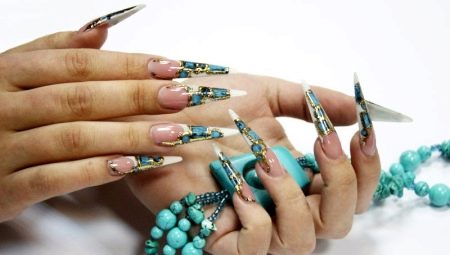
Manicure has changed significantly over time, and today it is not just varnishing, but a real art. The nail itself became a kind of canvas for the artist. It creates extraordinary drawings, and sometimes whole pictures. Manicure professionals have developed hundreds of areas of nail art with various designs. One of the most popular techniques today is called nail casting.
Casting is one of many types of design designed for extended nails. Its creation requires special devices, and the design process itself is performed using foil. The resulting manicure attracts hundreds of girls, because with the help of embossed metallized foil you will achieve a unique pattern.
Features
As already mentioned, casting is a type of nail art that requires foil to create. This technique has its own subtleties, and without a clear instruction it cannot be put into practice, because fixing the foil on the nail is not so simple.
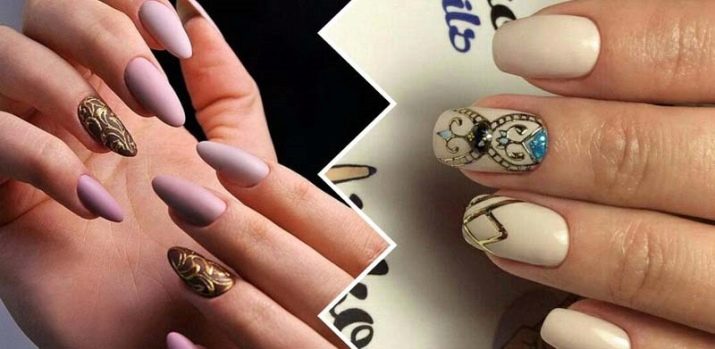
The molded design looks much more effective on long nails, so it is often used on extended nails or tips. The impressive radiance of the foil made it possible to apply it in many designs and discover a new style.
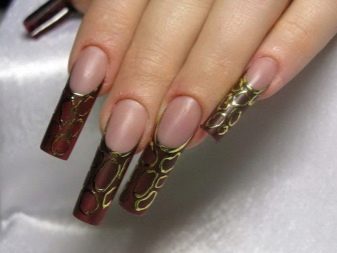
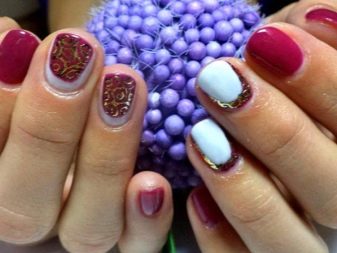
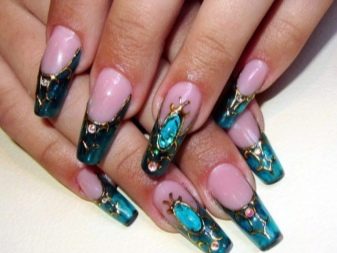
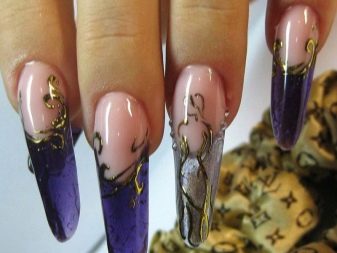
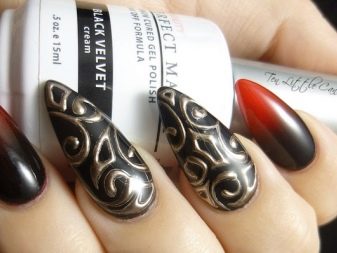
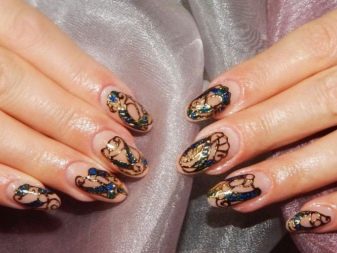
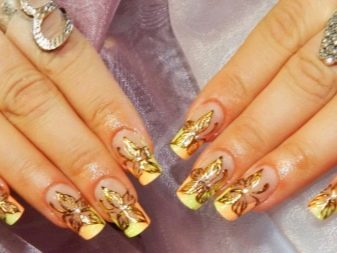
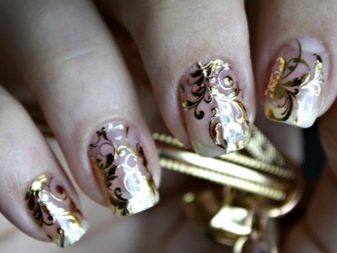
The most popular became gold foil, it is often used in combination with colored gel varnishes. Shades such as purple, black, red, emerald made a real sensation - all of them are perfectly combined with gold casting. Using this combination, you can make a festive manicure with a spectacular pattern. Thanks to the foil, the nail decorates an intricate image of various curls and geometric lines.
Necessary tools
To create a cast, you can use the services of the salon, and even this manicure is quite possible to do yourself, having the necessary equipment at home. Of course, there is no guarantee that the manicure will come out the first time, but if you practice, any girl will be able to boast of casting on her nails.
To create a new manicure you will need:
- black helium paint with the necessary stickiness;
- thin brush for applying the image;
- foil of any shade;
- Nail coating for the base, it can be either color or transparent;
- top for fastening;
- UV lamp for drying.
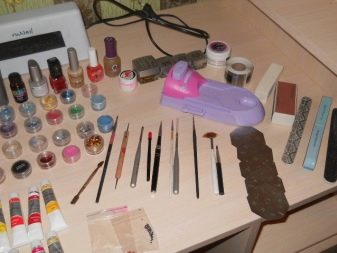
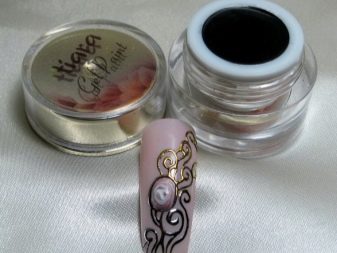
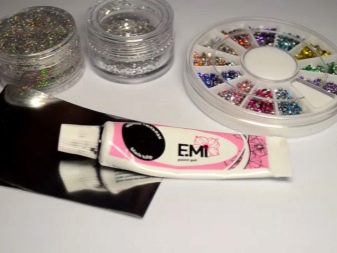
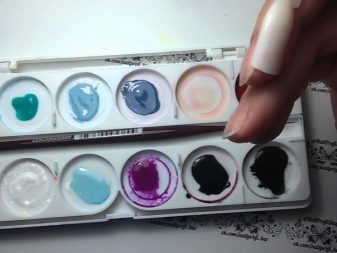
Such a manicure is notable for a small price for the necessary tools, so if you wish, you can do it not only for yourself, but also for your friends. The foil can also be applied to special glue, but it is much more convenient to use black gel. So the picture will look more expressive, and will not merge with the base foundation.
How to do it yourself?
The step-by-step casting technique consists of several points. But before you start the technique, you need to prepare your nails. After all, I do not want to spend a lot of effort, and then watch how after a couple of days the casting just crackes and sprinkles. If you make the design correctly, then the result will please you about 3-4 weeks.
Step-by-step casting is carried out in the following steps.
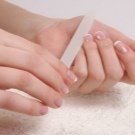
- Make a standard manicure, that is, with the help of tweezers get rid of excess cuticle. Give the nails the necessary shape with a file, and carefully polish the surface of the nail to make it matte and even.
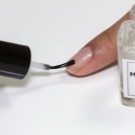
- After preparations, apply the primer base to the nail plate. Dry thoroughly under the lamp, cover with a colored varnish of your choice, but it is desirable that the shade match the future ornament. If the gel polish is pale, then apply a second coat for brightness.
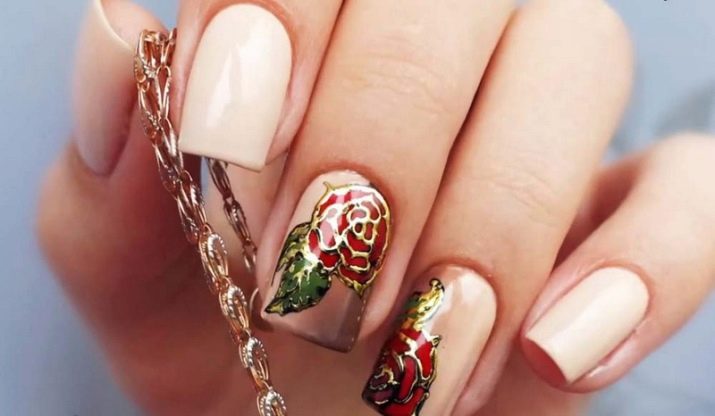
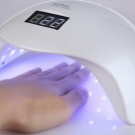
- Dry the main background thoroughly with an ultraviolet lamp, if you wish, you can add a picture or spraying. The main thing is that the molding is harmoniously combined with the added design.
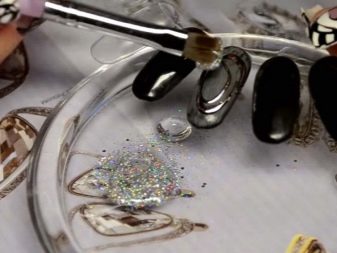
- After thorough drying, you need to remove the sticky layer, and already on the treated nail with a brush and a special contrasting gel to create the desired pattern, which is later covered with foil. It is better to walk more than once along the helium circuit to give the picture volume.
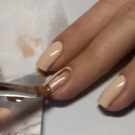
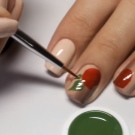
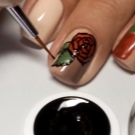
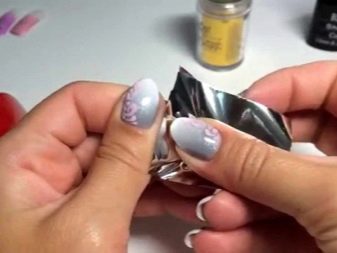
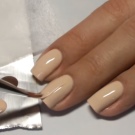
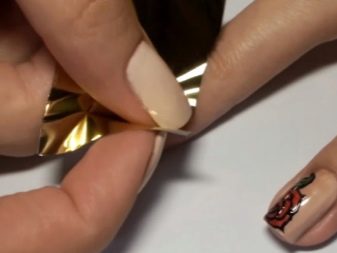
- Dry the ornament a little, and with tapping movements press the foil with the wrong side to the nail plate until it is completely smoothed. Next, sharply remove the foil, then gold dust will print on the pattern, giving the manicure a certain zest.
- The fruits of efforts must be covered with top gel, dried in a lamp for a couple of minutes, and the sticky layer removed.
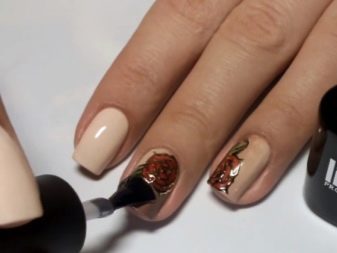
Basically, this step-by-step instruction applies to transfer foil, because it is the most convenient, and even beginners can use it in practice. But there are other ways to create nail casting.
Varieties of foil
The casting technique directly depends on the type of foil; it can be of three types:
- transferable;
- tear-off;
- based on glue.
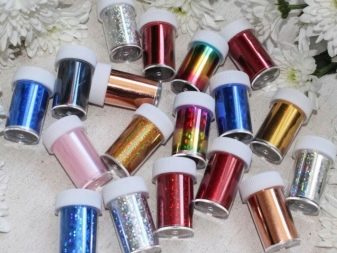
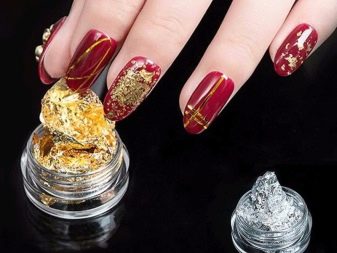
When using any of these types, there are small features that should be considered to achieve the desired result.
- When using the transfer foil, the material is superimposed on the drawing, and after tearing it off, it is transferred to it like a sticker.
- When tear-off foil is used, the necessary pattern is cut out of it and fastened to the gel with a sticky layer.
- An adhesive backing foil is also easy to apply. To do this, remove the lower protective layer, and press the foil to the nail plate with the adhesive side. After that, the foil is smoothed so that no bubbles remain under it.
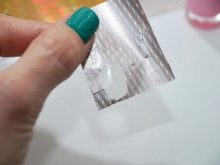
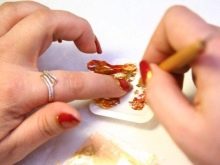
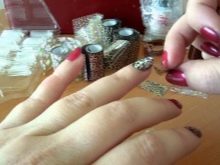
The foil can be different, starting from the standard silver, and ending with gold, a matte shade, a hologram and a mirror texture. In addition, the foil comes with different patterns, so any kind of foil can be used to create a masterpiece.
Fancy designs
Today's materials for nail art make it possible to create not only a variety of designs, but also incredible colors.
- Casting allows you to cover the nail plate both fully and partially, recreating any patterns.
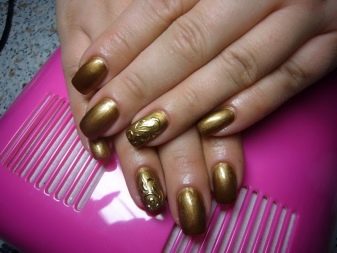
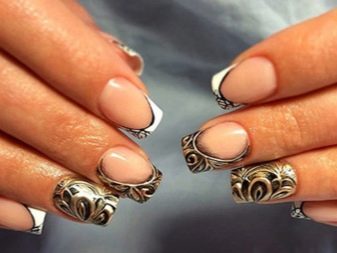
- Metallic shine gives a manicure a special look. In addition, it can be pastel shades, exquisite gold and silver colors, and any others at your discretion.
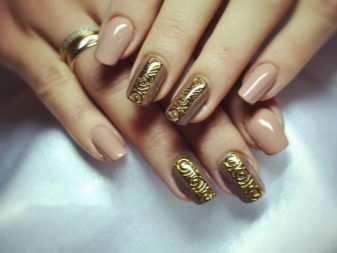
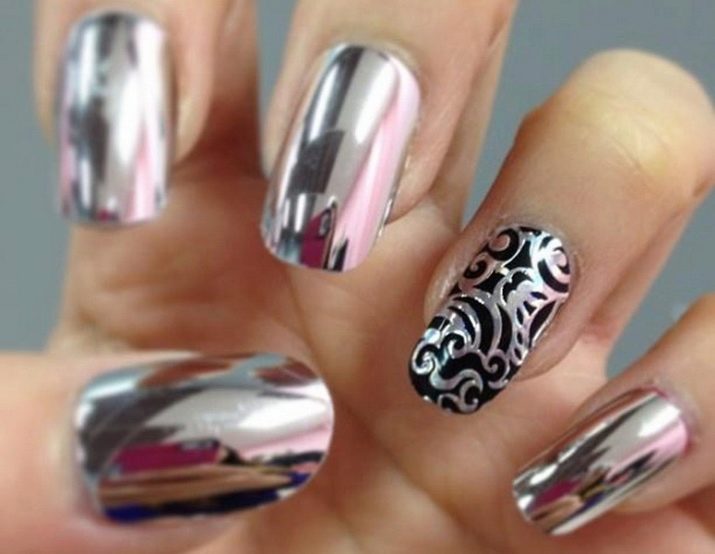
- Mirror shine gives effect, and if you add it with intricate curls or the whole composition, you will get a dizzying and unique manicure.
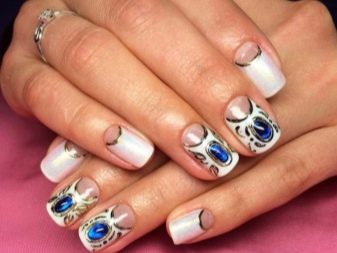
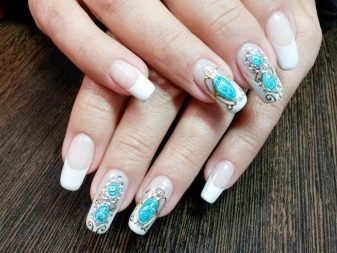
Using the casting technique, you can make not just a manicure, but a real jewelry masterpiece. With its complement, even a simple and simple design becomes exquisite in appearance. And if you add other decorations, such as liquid stones, you will get a three-dimensional design, the best suited for the celebration.
Popular ideas
The casting technique includes thousands of different designs. You can not only create a unique pattern, but also make mosaic ornaments.
Top casting designs include the following combinations.
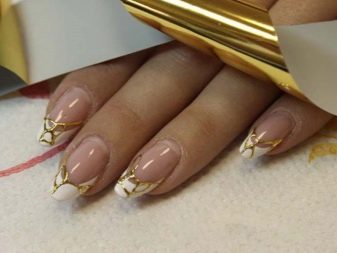
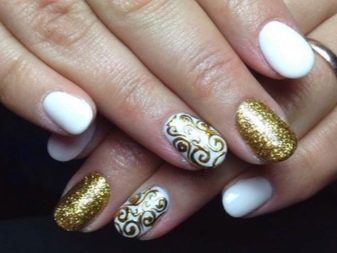
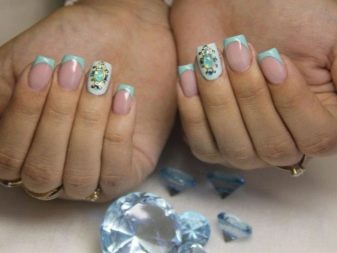
- Golden is the most popular of all, and if you combine it with a French jacket, then this manicure will definitely overshadow all the others.
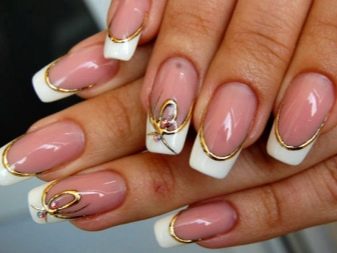
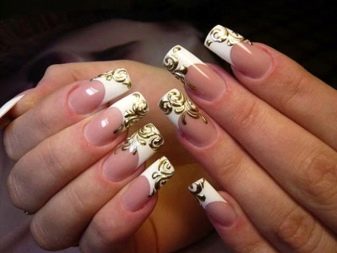
- The color metallic or silver is suitable for lovers of restrained design. It is not as luxurious as a golden sparkle, but gives its refinement and nobility.
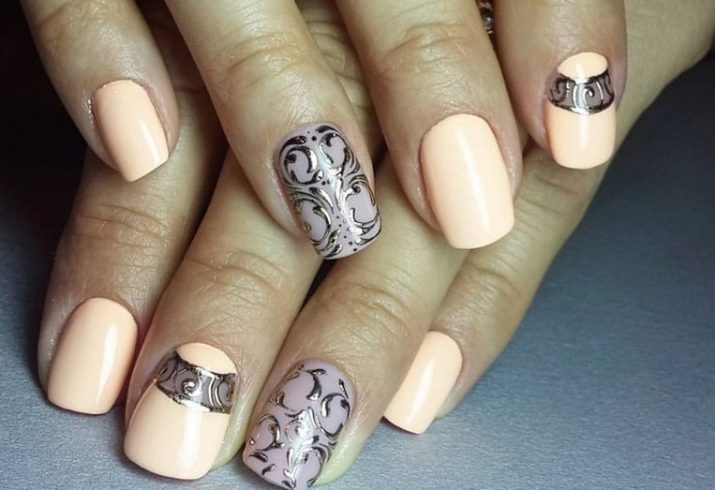
Gold and silver are always in fashion, and casting with such shades has become a real breakthrough in the spectacular design of manicure. You can safely use these shades both individually and in combination.
A rather original solution for nail art is a combination of precious stones with foil. This manicure design creates a complete composition that stands out by imitating jewelry. Combining two directions: casting and liquid stone, you can get a unique decoration in the form of a stone framed in a gold frame.
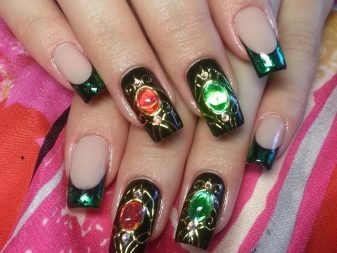
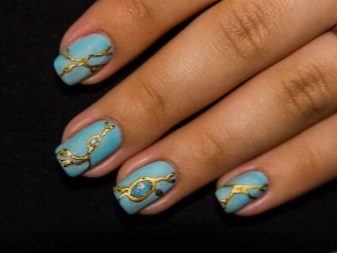
The meaning of this design lies in applying a polymer to the nail, which creates an imitation of stones, such as emerald or sapphire. Their advantage is low weight, unlike real stones. Liquid elements do not cause discomfort.
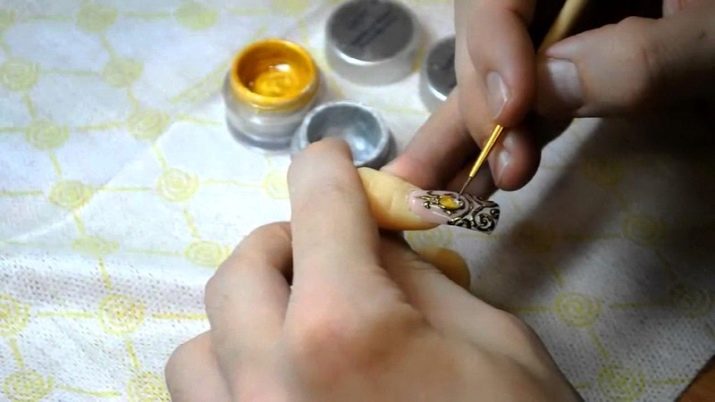
A special polymer, after completely drying, takes the form of a true gem. It becomes more voluminous and sparkling after gel coating. To create a complete imitation, it is better to cover the nail with a special gel for sculptures. So the effect of the bulge increases significantly, creating the illusion of a natural mineral.
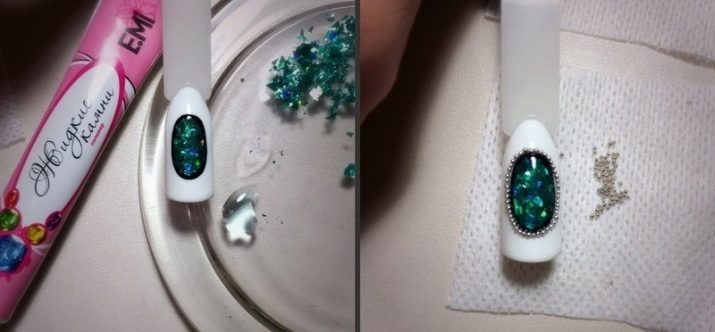
See how to perform perfect nail casting in the next video.
