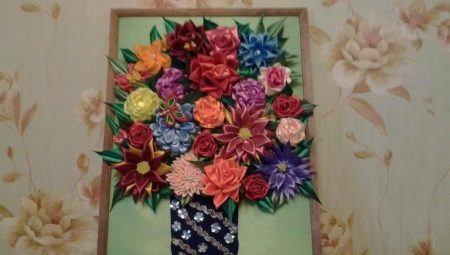
Everyone wants their home to be cozy and beautiful. In order to create a warm spiritual atmosphere, often use all kinds of paintings or panels. In our article, we will talk about how to make interior decoration items in the kanzashi style.
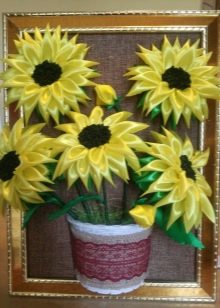
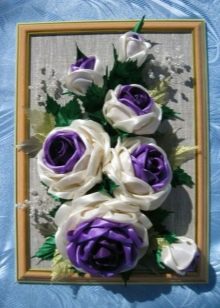
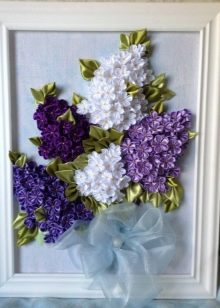
What is required?
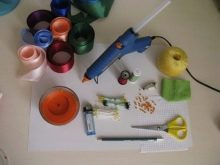
To make an interior panel with the image of flowers using the kanzashi technique, you need to purchase a certain set of working tools and materials.
- Tapes. They must be several shades. When creating a picture, green colors are most often used - petals are made of them, and other colors are used to twist the flowers themselves - these can be bright contrasting shades (red, blue, purple) or more delicate colors (pink, white or lilac). But with regard to their texture, you can select. Satin ribbons are used by the vast majority of craftswomen. This popularity is explained very simply - the tapes are convenient to use, they are easy to cut, they are quickly melted. In addition, this material is not prone to shedding, it does not undergo deformation and at the same time maintains its desired shape for a long time. Crepe satin ribbons are harder to work with. Despite the fact that this material, like the atlas, is not deformed, nevertheless crepe satin is a rather fragile canvas - when singed, there is always a risk of simply burning the ribbon. In addition, if you use a light shade to make your picture, then keep in mind that over time, dark traces may appear on it. Kapron tapes are convenient - it is pliable, soft and at the same time crease-resistant material. Organza ribbons cannot be called simple in any way, since the fabric is very loose and quite stiff.Usually, only skilled craftsmen with extensive experience in needlework work with this material, so think carefully before acquiring tapes. Although organza flowers certainly come out really beautiful.
- Threads of different colors - here you will need special threads for embroidery (floss or the like).
- Tailor needles.
- Centimeter tape or ruler - in the course of work, measurements are inevitable, especially if you are just taking your first steps in the kanzashi technique.
- Scissors - they must be sharp and high quality.
- Candle or lighter - the fact is that in the process you will have to repeatedly scorch the edges of the tape. This is necessary so that they do not crumble in the future, as well as for bonding several layers together. At this stage, you need to work as carefully as possible and keep the entire process under control to prevent the fabric from burning. It is very important that during reflow, the workpiece should be kept at the base of the flame, and not above it - otherwise your leaflet will turn black. The lighter can be replaced with some other tools - it can be a hairdresser curling iron, a soldering iron or a wood burner. In a word, the choice is huge - take the tool that is most preferable for you.
- Glue - it is best to purchase a special glue for the fabric, for example, "Moment-Crystal". It is most convenient to use it in work with a glue gun, this solution is very practical, since when applied to the hands there are no spots left.
- Tweezers - with this tool you can hold small details of future petals in case you can’t grab them with your hands.
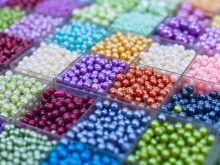
- Decor Elements - it can be all kinds of pebbles, beads, sequins, rhinestones and many other decorations.
- Some needlewomen also use strong hold hairspray to fix the desired shape of the petal.

Manufacturing technology
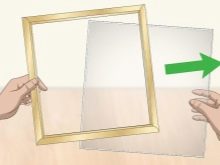
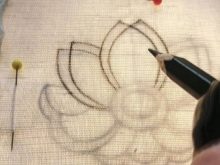
The master class on creating interior paintings using the kanzashi technique includes several main blocks. The first includes the work of making frames and flowers. To get started, take the frame and remove the glass from it. On the material that you prepared as the basis for your picture, you should transfer the contours, circle with a pencil and cut. On this, the manufacture of the base for the kanzashi panel is ready. After that, you need to make any flowers in the kanzashi style and use several types of petals at once - it’s best to create a couple of options.
To twist the petals using simple technology. For crafts, you need to take a satin ribbon with a width of 5 cm and use a pair of scissors to cut a square, respectively, 5x 5 cm. They burn the place of the cut with a candle and bend the resulting workpiece diagonally 3 times and again scorch the cut to fix all the layers together and the structure did not fall apart.
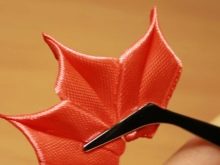
The second block of work involves the creation of leaves. To twist the leaves, it is necessary to cut the outline of the sheet from the green tone tape with a width of 5 cm, and then lightly scorch the edges of the candle with fire - this way you will give the workpiece a three-dimensional shape and prevent shedding. While the leaf is cooling, it must be gently bent by the hand along the edge.
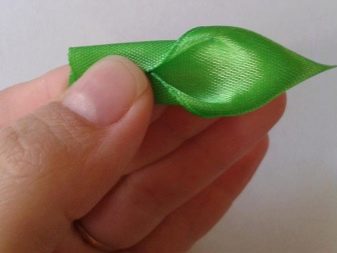
Leaves can be created in another way. - in this case, a trapezoid is cut out of a green tape so that its sides are 4 and 1 cm, and then bent in half, pressing two corners to each other. In this case, the front side of the material should remain inside. The corners are scorched, and it is very important to clamp the scorched edge with your fingers with a strong movement.
When the material cools down, the formed leaf is carefully turned out - it turns out in the form of a round arrow.
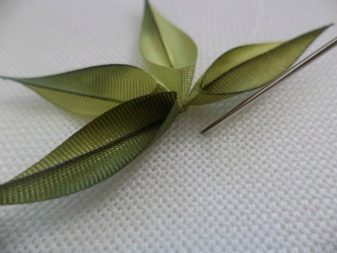
The third block of work involves the direct creation of the picture itself. When you have both the flowers and the leaves completely ready, you just have to lay them out on the basis so that you get a beautiful picture.
After laying out the picture, a soft pencil or chalk draws a wavy line depicting the stems to the flowers, and then embroider them with dense green threads - It is best to take several threads at once, so that the stem is more noticeable.
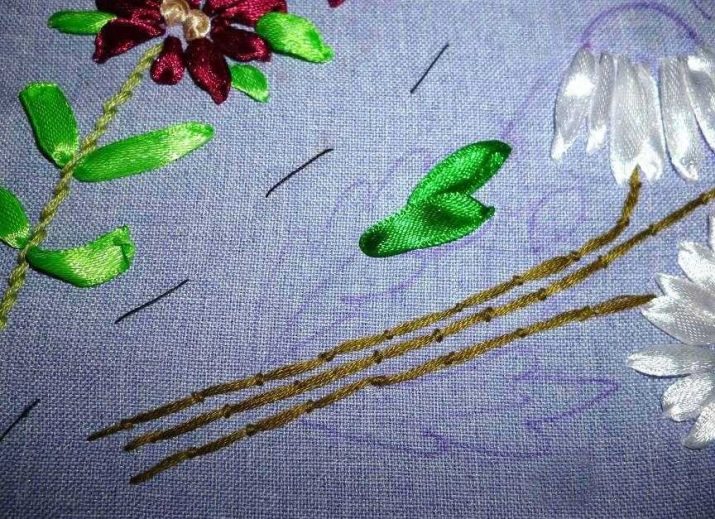
After that, we move on to fixing the leaves and flowers.
We draw attention to the fact that glue should be applied only to the middle of the sheets - otherwise it will spread and give the picture an untidy look.
After all the manipulations are completed, you just have to glue the base of the picture around the perimeter to the back of the frame and place the finished panel in it. It can be hung on the most noticeable place in the room so that the picture will please you, the household and guests of your house.
Beautiful examples
We offer you a small photo selection of the most beautiful paintings and panels in the style of Kansash.
These can be images of delicate bouquets of light shades.
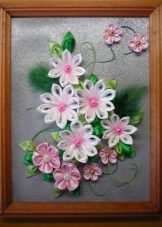
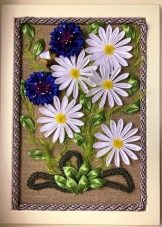
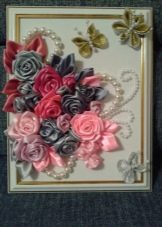
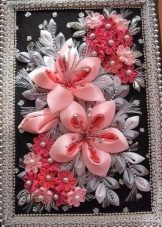
No less stylish look pictures of bright colors that play the role of an accent in the interior.
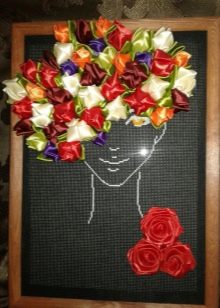
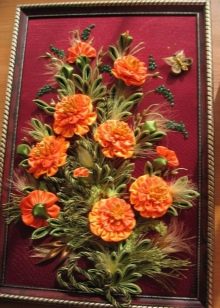

A master class on creating a picture using the Kazan technique in the video below.
