The art of making flowers from silky fabric is the basis of kanzashi. Atlas and organza in skillful hands turn into admirable jewelry. About 400 years ago, in Japan, a tradition was born to make magnificent compositions for hair. Often Japanese women made them with their own hands. Exclusive little things to create an individual image do not have to be bought in a store. How to make a rose from pieces of matter - this article will tell.
Features
In the Land of the Rising Sun, it was customary to decorate only hairstyles with flowers using the kansashi technique. They had a lot of combs, hairpins, hairpins with different types of inflorescences for every season of the year. Modern designers offer different options for using inflorescences for decoration.
Make out not only hair accessories, but also:
- brooches, rings, clips;
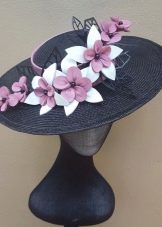
- clothes or a hat;
- frames, paintings, caskets, curtains.
Pieces of fabric are used to create flowers, leaves and stems. Pre-cut into squares, folded in a certain way and connected in series. Roses using the kanzashi technique are rich in colors and sizes. Forms also vary: there are rounded, pointed and wavy, there is only a blossoming flower and with a lush crown. They frame the composition with leaves, complement with rhinestones, beads.
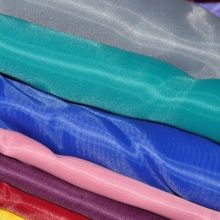
A characteristic feature of such products is the bulge and volume, plants are obtained as living. The fabric for work is selected elastic so that it can hold its shape. Craftswomen like bright juicy colors and interesting combinations, for example, satin and organza.
A feature of this method is the collection and gluing of individual elements into a single ensemble.
A three-dimensional panel in front of us or a boutonniere - the principle of work with each detail is clear technology.
What are they?
Carefully examining roses made of fabric, you notice that in appearance they are sometimes very different: some have sharp tips, while others stand out with a large crown. The manufacturing rules for each model vary significantly.
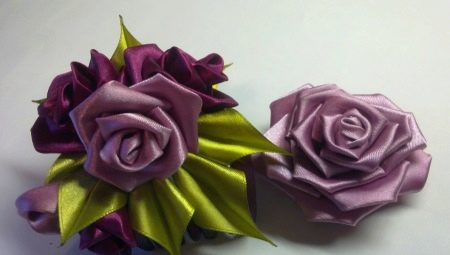
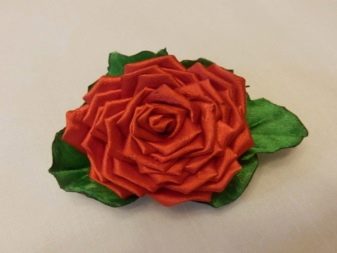
- Classic variety - made of atlas squares folded several times and fastened together. It turns out a lush design with a tightly rolled core.
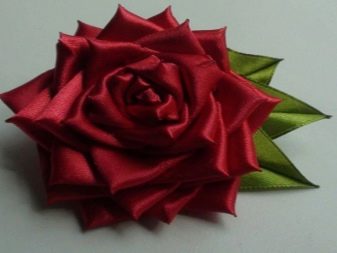
- With sharp tips- by the method of preparation and assembly, it resembles the previous type, but in the process, the squares of silk are bent at an acute angle.
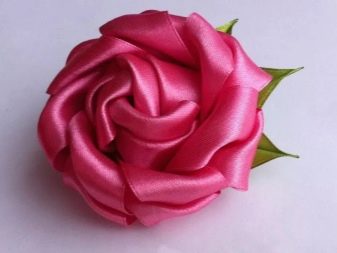
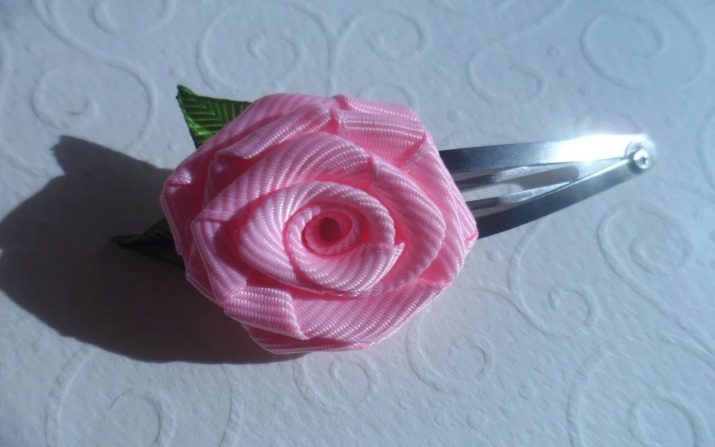
- Flat Twisted Ribbon, reminds a slightly ajar rose with a dense crown.
- With arched petals - This is a rather time-consuming variety: each element is cut according to the template, melted over an open fire. The effect of natural concavity is achieved.
The buds according to the method of twisting and the final result can be very different:
- closed;
- ajar;
- blooming.


Mini roses are twisted from narrow braid, they look original and are suitable for decorating small hairpins.
Organza makes airy and translucent jewelry.
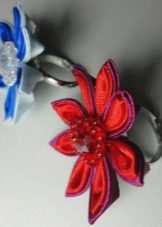
Two-color - multi-colored materials in a contrasting combination give original compositions.

Lush is a fully bloomed flower with a voluminous halo.
Tools and materials
It is necessary to prepare the following set:
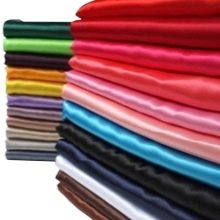
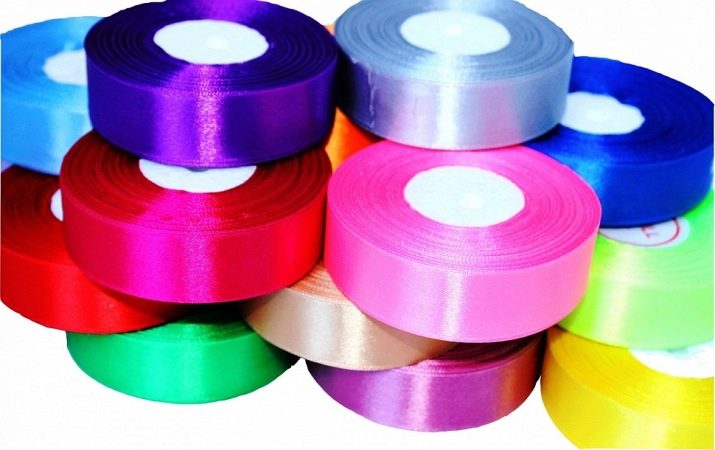
- satin ribbons, organza or other fabric;
- a ruler;
- sharp scissors;
- straight tweezers;
- a candle or a lighter;
- transparent glue (for example, "Moment") or a glue gun;
- threads (preferably silk) and a thin needle.
In addition to the above, you may additionally need for individual projects:
- felt;
- safety pins;
- cardboard;
- beads.
To cut out details and collect a flower, most often only a cloth, glue and tweezers are required. And for a beautiful design of one or more elements, additional materials will come in handy.
Manufacturing workshops
Learning to make jewelry with your own hands for yourself, as a gift to a friend or mother in the kanzashi style is quite simple. To create an unusual and sophisticated brooch, bracelet or silk rim, a similar technology is used for preparing and combining pieces of satin in beautiful crafts. It is important to consistently perform each stage of the MK.
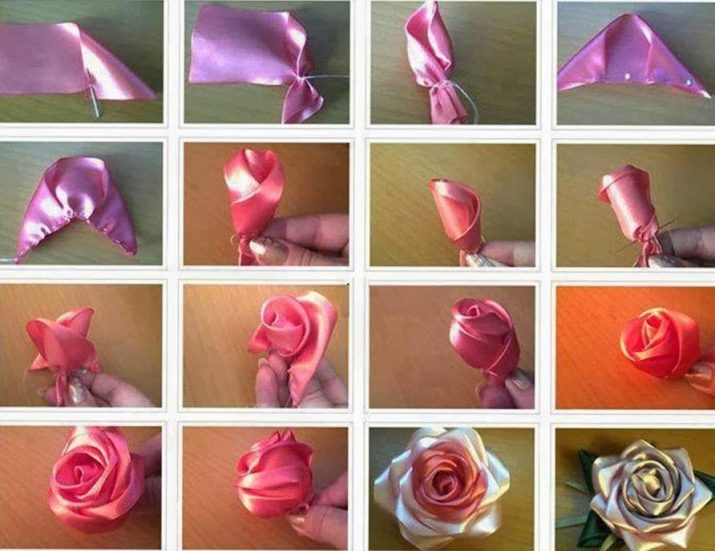
Classic version
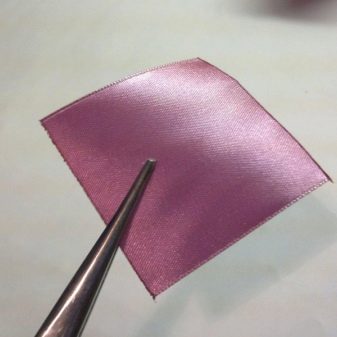
- We will prepare a tape 5 cm wide. This is the most convenient size for work. We cut into 5x5 cm squares. We process the cut points on a flame so that they do not crumble.
- For bud, 7 or 8 square pieces are cut, for a small rose - 15, and for a lush flower - 20 or more.
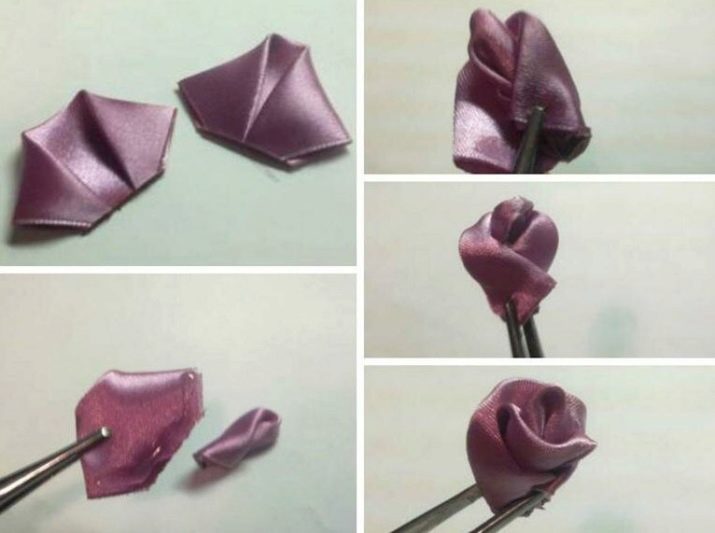
- We fold the squares with opposite angles and fix, as in the photo, with a hot tool or a thread with a needle.
- From the blanks we add the petals - we bend the free angles to the center and fix. The angle of the hem can be made different if you turn the halves on top of each other - we get a narrow petal and vice versa. We make the outer part wide, while the narrow ones form the inner part.
- We cut off the part where the corners converge by about 0.5 cm, holding with tweezers and after trimming processing over the flame.
- We make the middle - on the base of a narrow part from the outside we apply glue with a match or a toothpick. Fold in half and tightly twist in such a way that the edge overlaps the edge. Wrap the seams inward.
- We also lubricate the next workpiece with glue and wrap it around the core. The upper part does not fit completely only at the base. Then we fix in the same way.
- We attach each new fragment on the opposite side from the previous one, that is, the edges of the first element will be inside the second, the second we wrap the third. The larger the flower, the less the details are twisted and the greater their number.
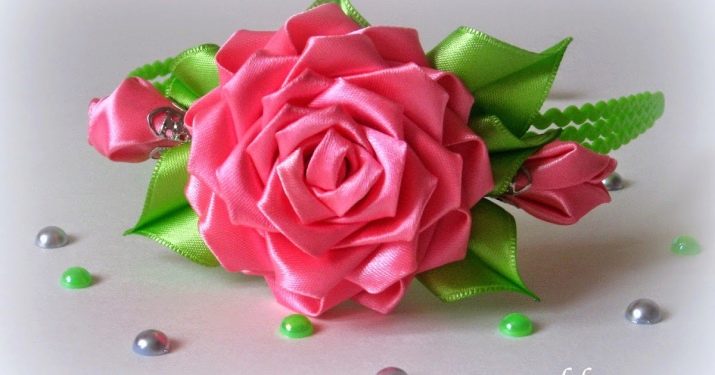
We make a finished copy with leaves, rhinestones, lace. With this product, you can decorate elastic bands for hair by placing one on each.
Suitable for the design of shoes, belts, bags.
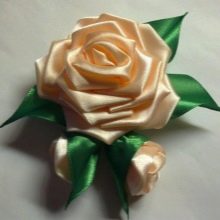
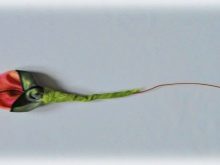
Tea roses
- We cut the tape 2.5 cm wide 7 cm long. For 1 bud 11 segments are required.
- The tips are slightly melted on fire.
- We bend a corner and sweep.
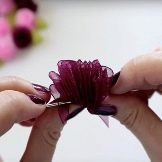
- We tighten the thread, from this matter gathers in folds, and fix it. We get a fragment of a flower. It will require 11 petals: the first and second rows of three, and in the third row - five.
- Putting it together - twist the middle of 1 petal with a roll, hem and fasten with a thread. Cut and melt the tip.
- Fragments are fixed to the middle in turn - only 2. On the lower edge from the inside we apply glue, wrap the core roll and easily compress it. The second - glue on the opposite side.
- The next row consists of three elements. Apply glue from below to half of the petal and press it to the base. One by one we attach, retreating so that the ungreased half comes into the next petal in a row. The third will close the first.
- The last row includes 5 parts, performed in the same way.
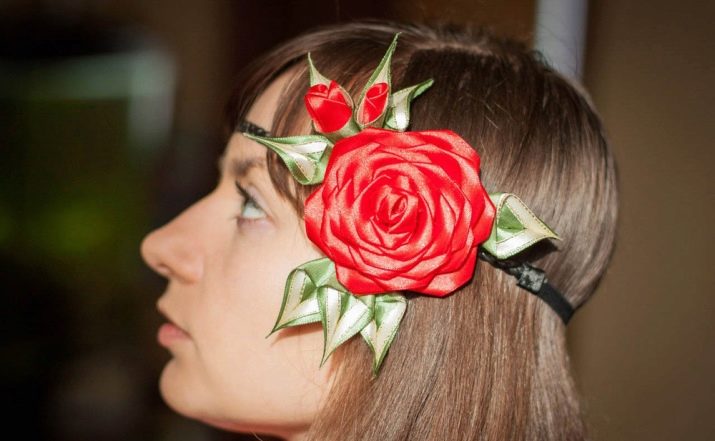
- From the green satin ribbon 8 cm long, we prepare the leaves. Fold it in half and cut out the halves of the leaves. This is done with scissors or a soldering iron. If cut with scissors, then the edges are melted on fire. Turn the leaves and glue.
The resulting blanks are suitable for decorating a hoop or boutonniere.
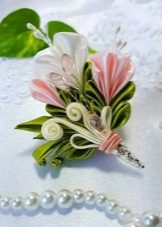
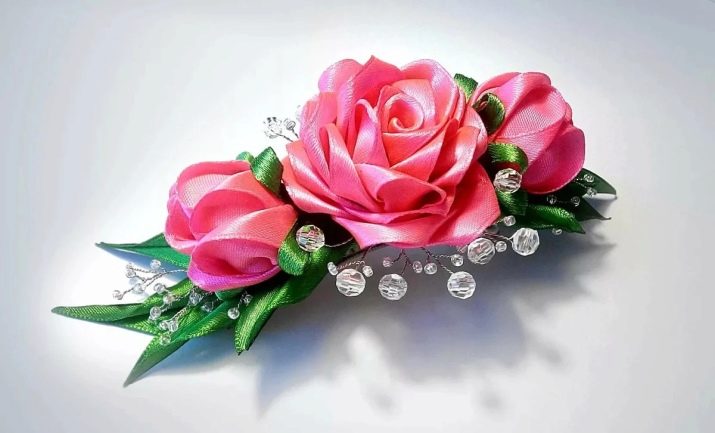
Hairpin masterclass
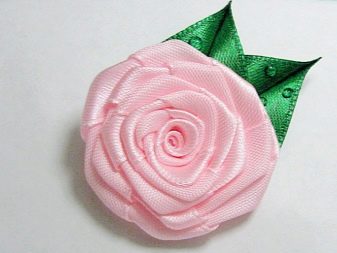
- We will prepare green, white and pink satin ribbons. Slices are processed by flame.
- Pink and white - 2.5 x 6 cm, green - 2.5 x 10 cm. About 6-7 petals will be needed for a bud, 20-22 for a blossoming flower.
- Fold in the same way as in the classic version of the manufacture (see above).
- For crafts, you need 28 white and 20 pink. The flowers will be two-tone: pink inside and white on top.
- Cut the leaves. We bend the tape 2.5x10 cm in half, cut diagonally with a soldering iron or scissors. In the second case, diagonally melt the edge on fire. Two types are obtained.
- We assemble according to the classical scheme, combining white and pink tones: for a bud 3 + 3, for a flower 7 + 14.
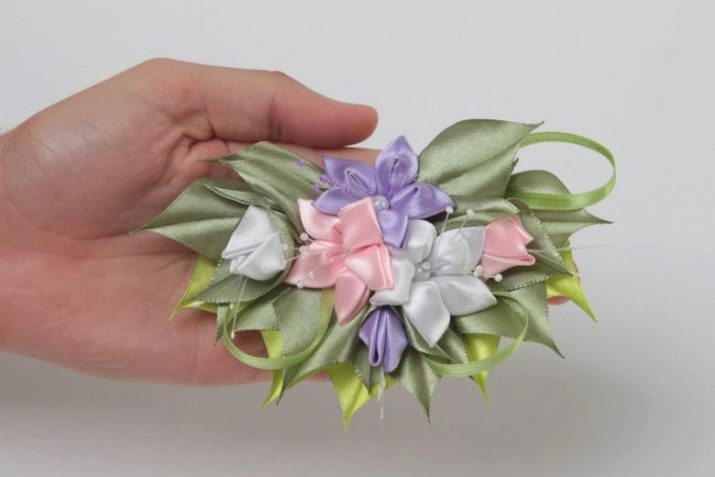
- We put the buds in the envelope leaves and glue them, we decorate the large flower with open leaves.
- On a rectangle of felt 2.5 x 8.5 cm, we glue the leaves along the oval, we use all the residues.
- Glue small roses, leaving room for a huge one - in the center. Can be placed differently than in the photo.
- A hairpin (you can choose another variety) is recommended to be glued with a patch of felt. The hair clip with holes can be pre-sewn.
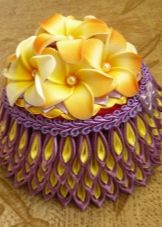
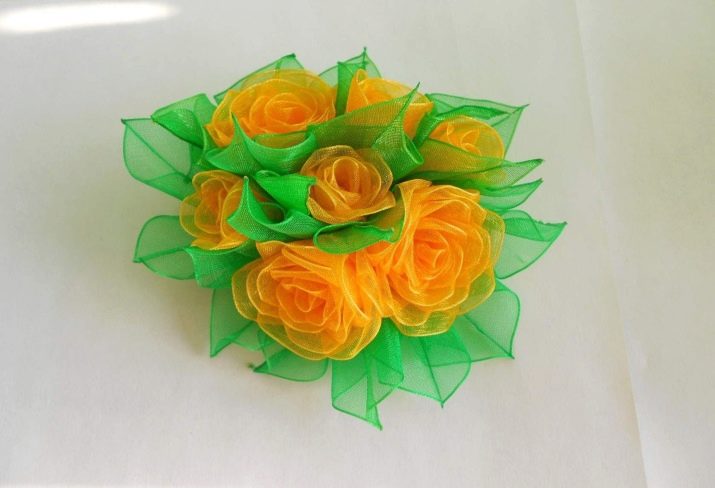
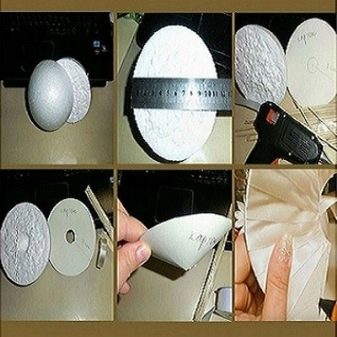
Kansashi bouquet
How to make inflorescences of different sizes is already clear. Let's try to make a bouquet of them.
Required:
- foam ball or hemisphere with a diameter of 12 cm;
- baking paper sleeve and thick cardboard;
- glue, scissors;
- satin braid, lace, beads.
The manufacturing process itself looks like this.
- Cut the foam sphere into halves.
- From a sheet of cardboard we cut a circle with a diameter of 20 cm and fold it into a low cone. The ball should fit freely in it, the cone should be slightly larger.
- With the sleeve we make a recess in the middle of the hemisphere. In the cone, you also need to make a small hole in the middle.
- We decorate the circle from cardboard with lace or satin from the center to the circle, glue the place of the cut.
- We wrap the sleeve from the bottom up, and then from top to bottom with a bright braid and glue it. We put a large amount of glue into the hole on the foam and insert the sleeve - this is the leg of the bouquet. Close with a cone, decorate the base and edges with lace. You can add beads, hearts, bow and other elements.
- We place blanks on the base of foam. Here, both flat and lush buds will be appropriate. Decor from leaves, braid, rhinestones - in any of the compositional options it will look appropriate, most importantly, observe the measure or focus on one thing.

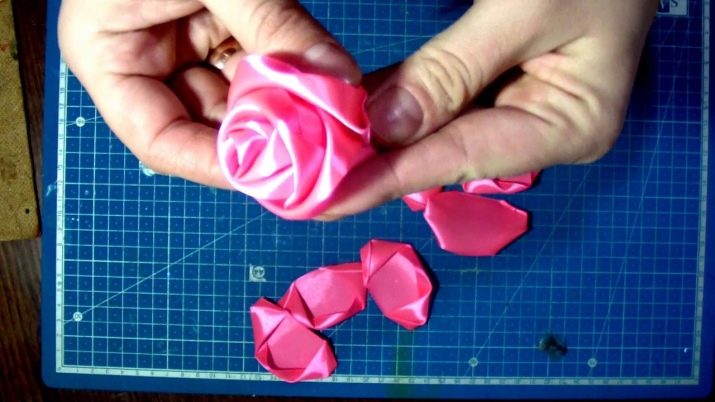
Satin ribbon
In an effort to create a rose, very similar to a real one, needlewomen resort to a variety of techniques. For example, each petal is cut separately. To do this, prepare a sheet of cardboard.
- We draw 3 patterns, as shown in the photo.
- According to the patterns, we cut 20 blanks of 6 and 5 cm and 15 of 4 cm.
- The cut points on each are processed above the candle. With the help of fire we give a concave shape.
- Take a cotton swab, grease with glue. Gently wrap a small petal around.
- Apply glue to the next bottom and press it to the stick.
- We attach the small parts with the concave part inward in turn to the base.
- Then comes the turn of medium and large. But now the concave part is carried out.
- We cut the cotton bud at the end of work together with the base.
From organza
The material itself adds to the craft of transparency and splendor. Light compositions will be an excellent replacement for bows and ruffles.
Little flowers:
- For small roses, a narrow braid of organza is taken 2 cm wide, about 50 cm long.
- For leaves - 4 cm wide and 8 cm long.
- The edges of the braid are cut off at an angle and melted over a fire.
- We take a long needle and, piercing every 2.5 cm, we collect braid on it.
- Raise the assembled part to the tip of the needle, and thread the tip of the tape into the eye.
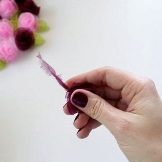
- We rotate the needle clockwise, the more intense the rotation, the denser the bud will be. Rotation in the opposite direction will help to form the desired density of inflorescences. Lift the eyelet up to get a compacted core.
- We will stretch the needle through the collected braid. Cut off the excess and process it on the fire.
- Sew thread inside or glue.
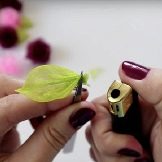
- For the sheet, put the green braid in a triangle, press with tweezers, cut and melt.
- We make 3 folds, cut the tip and connect the two parts.
- It is possible to issue additionally.
- Glue to a rose.
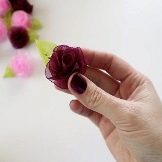
Small twisted roses are suitable for decorating studs, hoops or dresses.
Recommendations
- To scorch loose matter, you need fire - a lighter or a soldering iron. A candle leaves both hands free - this is the best option for beginners.
- For the first experiments, it is advised to choose thick satin ribbons of dark tones, if accidentally singed, it will be imperceptible.
- Squares are cut in size of 5x5 cm. This is the most convenient size.
- Needles are chosen thin and long, and the threads are silky.
- When folding the first parts, do not rush to apply glue, try several times at first without it.
- The glue is taken transparent and quickly drying, for example, “Moment”, it is better to apply it with a toothpick or stick.
- It is better to start with crafts from several elements, and then move on to more complex ones.
See how to make roses using the kanzashi technique in the next video.


