Herbarium is a traditional decoration that has existed for many years. Compositions of dried plants, previously popular only among botanists, are now able to decorate almost every house or apartment. They make paintings, bouquets, albums, and even postcards. To create such beauty, it is necessary not only to have a sense of taste and imagination, but also perseverance.
What it is?
Translated from Latin, a herbarium means "grass." It is a collection of plants dried by the rules. Depending on their type, this can be either a single flower or a branch, or a whole plant. Initially, herbaria appeared in Italy at the beginning of the XV century. The founder of this type of art was the famous botanist of the Leaning Garden of Pisa Luke Gini.
To date, not a single copy has been preserved created by his hands, but some collections of his students still remain.
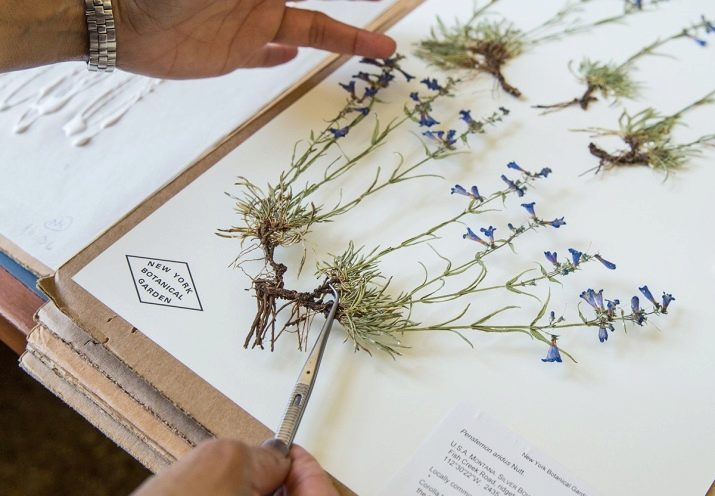
Almost all exclusive herbaria are registered in international databases. In addition, each plant is assigned a special letter code, which consists of six letters of the English alphabet. However, today plants are dried not only for the sake of science. Most people turn the gathering of plants, flowers and creating compositions from them into hobbies.
What is necessary?
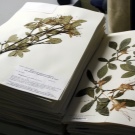
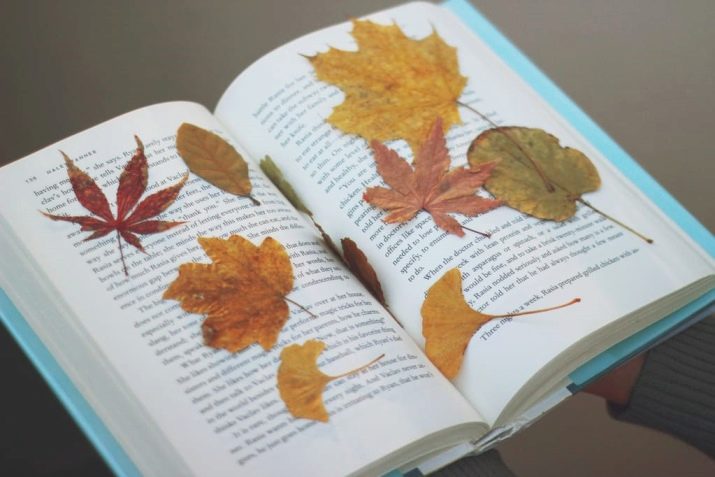
You can store the herbarium in a special album with files, where not only dried plants will be located, but also inscriptions about their origin. Albums can be purchased in special stores or do it yourself.To do this, you need to take either very thick sheets of paper or cardboard and put in files. It is not necessary to fasten them together. It is better to purchase a regular folder folder. In addition, you can use dried plants as bookmarks in a book or create pictures or panels from them.
And also some masters use herbariums to decorate caskets or plates, or make postcards from flowers.
Classification
Herbaria can be classified into several subgroups.
- Special. Such a herbarium is intended for a specific purpose. For example, a teacher at a school may ask you to create a thematic collection of plants based on the material you have learned.
- Periodic. Most often, this distribution is done by the seasons. For example, in spring you can dry bird cherry shoots or cherry blossoms, in summer - flowering medicinal or ordinary plants, in autumn - colorful leaves or bunches of mountain ash, and in winter - unusual branches from trees.
- Systematic. Most often, such herbaria are compiled on the basis of already collected plants. But they are placed in alphabetical order or by type. That is, everything is gradually being systematized.
- Thematic. Such a herbarium consists of certain species specimens. Medicinal plants, for example, chamomile, mint, sage or wormwood, go separately. And also weeds or cereals can be picked up for the collection.
- Floristic. Such a herbarium is collected in a particular place of residence.
- Morphological. In this case, a single plant is collected in parts. In addition, you can collect the same plant at different periods of its growth.
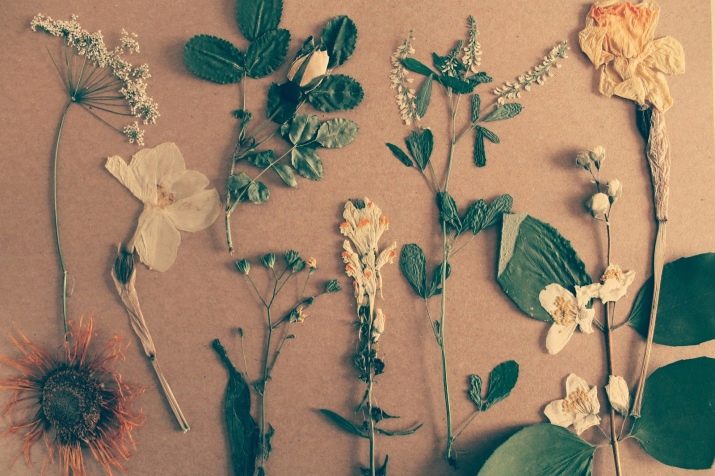
How to collect and dry plants?
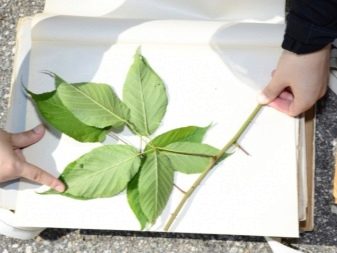
To make a herbarium, you can collect completely different plants. It can be leaves from trees, and flowers of different sizes, and cones, and even moss or tree bark. Such a variety is suitable for those people who create volumetric compositions. However, before proceeding with the collection of plants, it is imperative to familiarize yourself with the following rules:
- you should not go for plants early in the morning, when the dew has not yet dried up or in rainy weather, you need to collect a herbarium only in sunny weather; if it has recently rained, you need to wait at least 2-3 hours;
- Before collecting it is necessary to inspect the entire plant well and make sure that there are no damages or insects on it that could damage it;
- if there is no need to pull out the plant along with the roots, then you need to carefully cut it with a sharp knife or scissors; if everything is necessary, then the roots must be well separated from the ground, and also washed;
- no need to collect more plants than necessary;
- it is necessary to bypass those copies that are listed in the Red Book;
- it is better if the collected samples will be of different sizes, which will make more beautiful compositions; in addition, it must be remembered that the plants should be collected during the period of their full disclosure.
In addition, deciding on the collection of herbarium, you must definitely take with you such items as:
- a small scoop for digging;
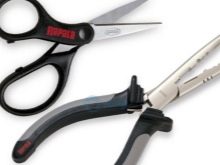
- knife or scissors;
- special paper for drying or a simple newspaper;
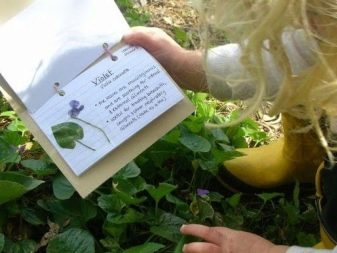
- a pencil or pen, as well as a notebook, so that you can write not only what kind of plant it is, but also the date, place of its collection.


You can dry any plant in different ways, each of which has its pros and cons. Whichever drying option is chosen, first you need to give the plant the desired shape.
Natural drying
In this case, you will not need to use any devices. Found plants will be able to dry on their own in the place where they were placed. In addition, they can be made both voluminous and flat. Using this option, you need to be prepared for the fact that the herbarium can quickly collapse or lose its natural color.In addition, such samples are not very suitable for various crafts, since they simply can not withstand the effects of glue and other similar materials.
Dry herbarium, without using special tools, you need from 1 to 3 weeks. It all depends on the volume of the plant itself.
In addition, after the end of this process, you need to remove the plants only with tweezers so as not to damage them, because after drying they become very fragile and brittle.
Drying press
This option is considered basic, because it is more reliable, and the plant at the end will look beautiful. Moreover, it will be able to remain in this state for many years. You can use two options.
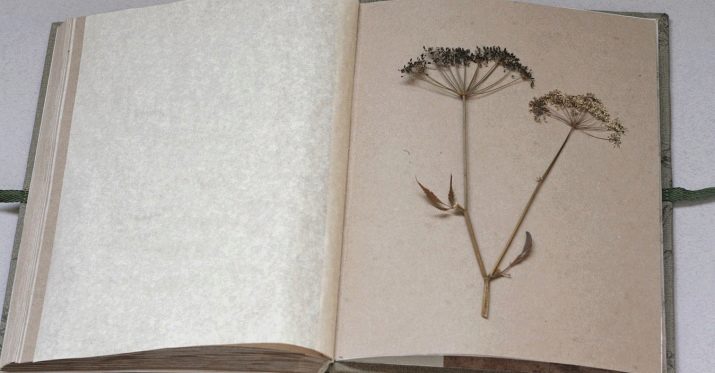
- Unnecessary books. This option is more suitable for fans and has been used for a long time. First you need to smooth the plant well, and then place it on the page of an unnecessary book. From above it is necessary to cover with a sheet of paper, which experts call a “shirt”, and also put here a sheet of necessary information. Next, the book must be carefully closed and put under several books. It is very important that the sample does not accidentally budge.
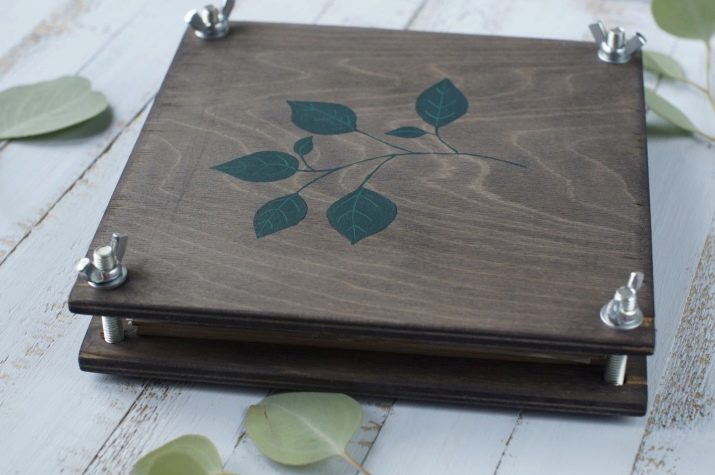
- Herbarium press. This device is designed to dry different plants. It consists of two boards of the same size. At the edges are holes in which the ropes are threaded. With their help, the data of the board is fastened. Prepared samples must be placed in “shirts” and then put between the boards. After this, the device should be clamped well. Up to 45–50 collected samples can be dried in it at a time. To speed up the process, you can take the device to the street during the day, and bring it back in the evening.
Important! Which option was not used, the “shirt” must be changed daily, because it absorbs all the moisture from the plant. If you do not change in time, it will lose its natural color.
Volume drying
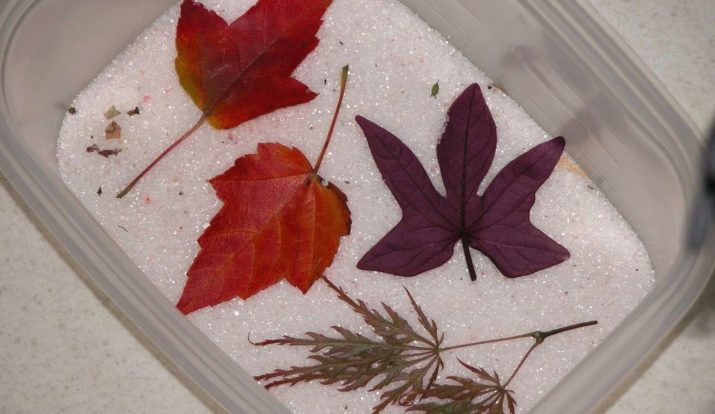
Most often, this method of drying is used to preserve the plants in their original form. From them you can make not only pictures, but also bouquets. First you need to take the container in which the plants will be dried. Then carefully place the samples in the cooked vessel, top down. Next, you need to fill them with a special drying agent called silica gel.
The whole plant should be completely covered. After 15 days, you can get the dried plant and use it for its intended purpose. The second time it is not recommended to use silica gel, because it has already absorbed all the moisture from the dried samples.
In addition, you can try to dry herbarium samples with glycerol. To do this, mix glycerin with pure water in a ratio of 1: 3. HThen it must be poured into a container prepared in advance. A small incision (up to 5 centimeters) should be made on the stem of the plant and carefully placed in a solution of glycerol. Each millimeter of the sample needs to be treated with this solution, so it is better to do just that.
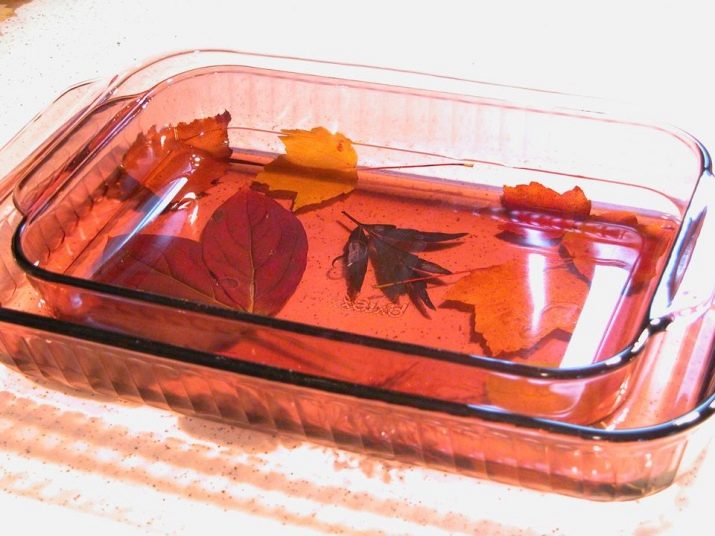
After 2–4 days, you can remove the sample and put it in a dark place to dry.
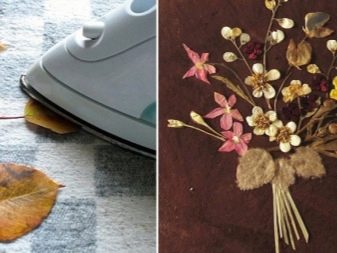
Quick drying
Using some household appliances, you can quickly dry plants. However, this does not mean that the quality of the samples will be good. Use such drying is necessary only in the most emergency cases.
- With an iron. Using such an appliance, you must make sure that there is no water in the steam compartment. Then it should be heated to medium power and only then can the drying process be started. You need to attach the iron to the plant for a few seconds, and then remove and give the same time to cool. Repeat everything until the plant is completely dry.
- In the microwave. By placing flowers or leaves, turning on the appliance at full capacity, you can literally dry the plants in 2-3 minutes.
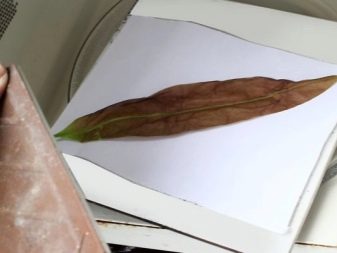
Important! Using any of the selected methods, you must first place the sample in a “shirt” before starting to dry.
How to make a herbarium?
When all the drying stages are over, you can try to do various crafts with your own hands. There are many ideas for such compositions, since human imagination knows no bounds. However, the choice always remains with the person who does this.
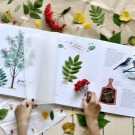
In album
If this method is chosen, all samples must be placed in certain types. Separately, there should be leaves, flowers, herbs, tree branches. In addition, if you plan to use such an album for needlework in the future, it is better to place all the samples by color, so that it is easier to work with them. You can make such an album yourself, or you can just go to the needlework store and buy it. In any case, samples should be placed on each sheet separately. In addition, between the sheets there must be inserts made of tracing paper.
You can attach plants in many ways. For example, if in the future it is planned to use them to design some crafts, then you need to glue them lightly. For this, double-sided tape is suitable, which can easily peel off the sample.

If the album is made only for viewing, then you can glue "tightly".
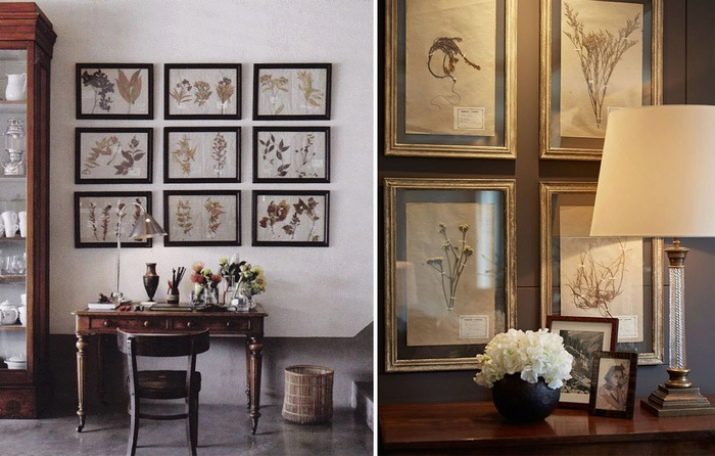
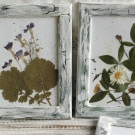
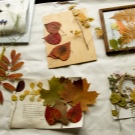
Panel
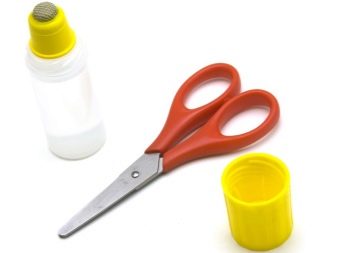
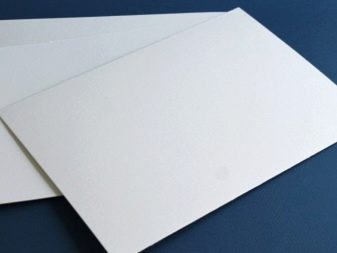
Such use of herbarium is considered the simplest and easiest. Not only an adult, but also a child can cope with it. Or you can make such a creation together. To create it, you must prepare the following materials in advance:
- thick sheet of paper or cardboard;
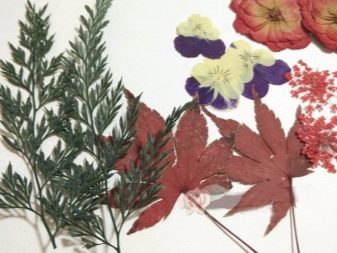
- dried plants;
- frame - samples can be stored both in glass and without it;
- glue;
- sharp scissors.


Next, on a blank sheet of paper, you need to put a picture of the future picture, and then glue all the necessary elements. After this, the sheet should be placed in a frame, more correctly, if it is with glass. So the samples will retain their appearance longer, in addition, the composition itself will also look more beautiful. In this way, you can create not only panels, but also paintings in the Provence style or various applications for your children.
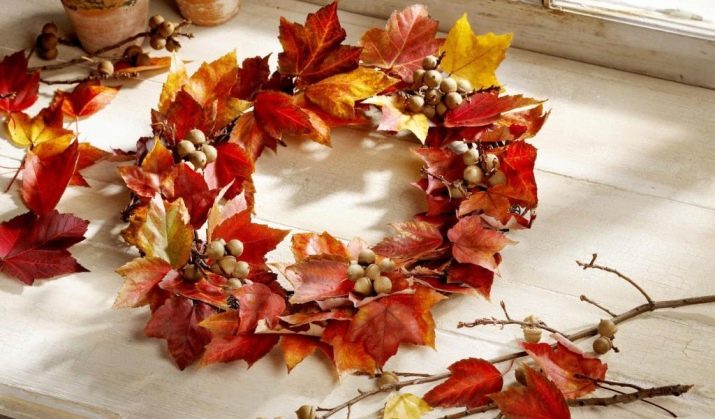
Herbarium Wreath
A wreath on the door always looks very beautiful. In addition, he immediately attracts his eyes, as if inviting to come to visit. It will be quite easy to make it, you just need to take the following materials:
- a small piece of dense wire;
- nippers;
- sharp scissors;
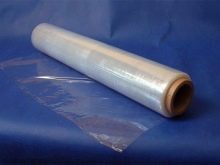
- cling film;
- plant samples;
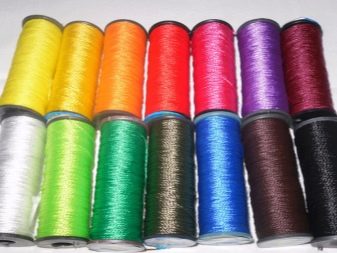
- threads in tone plants.
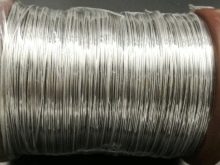
First you need to make a wire frame with a loop for hanging. In the meantime, all plants need to be distributed in bunches and fixed with a food film, cut into pieces of 5 centimeters, to the wreath frame. If the bundles with the samples are more voluminous, the more a wreath will be. When the last bunch with plant samples is fixed, you can also decorate the wreath with ribbons or beads.
Storage rules
If you follow the following storage rules, then the herbarium can be stored for many years and will also go to the next generation:
- it is necessary to store all dried plants in a dry and sufficiently ventilated room;
- each of the samples must be properly designed
- for long storage, each of the samples must be treated with special insecticides in order to protect against attack by various parasites;
- the storage location should be well protected from sunlight.
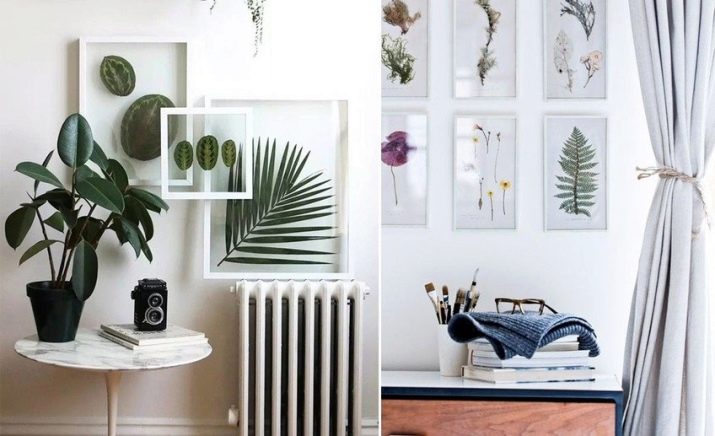
Examples in the interior
Now many complement the design of individual rooms with the help of compositions from dried plants.

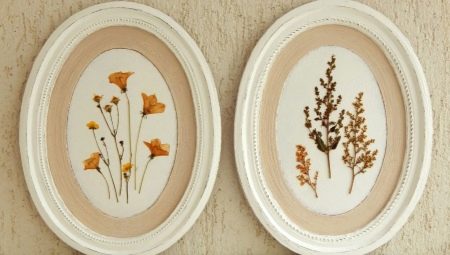
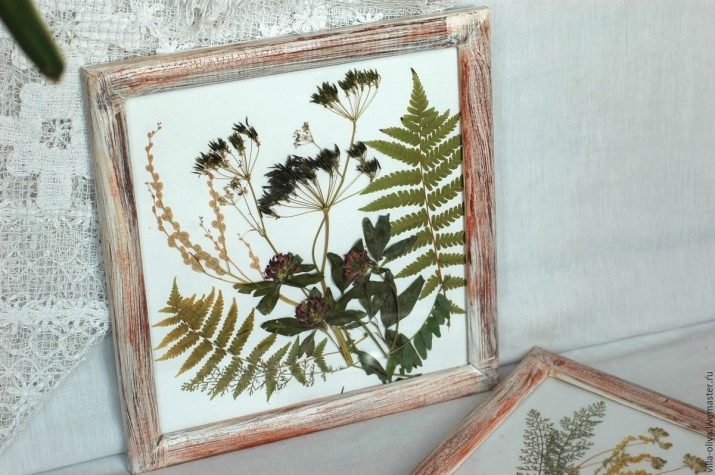
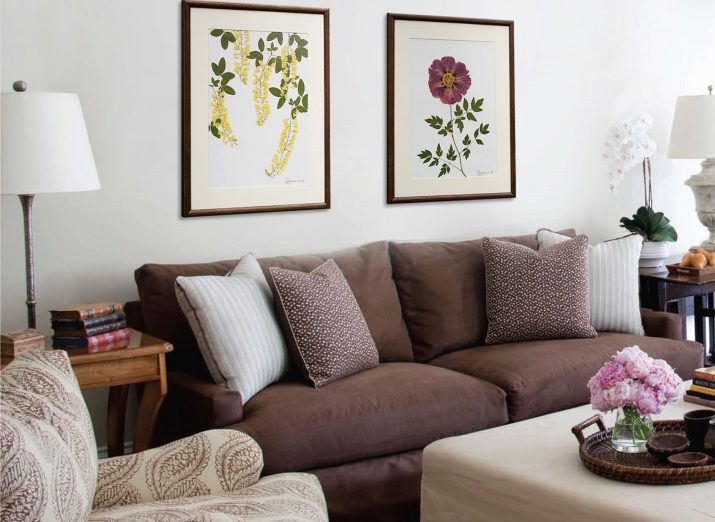
On the wall
A beautifully decorated herbarium painting can not only complement the interior of the room, but also completely transform it. Especially beautiful will look plant samples taken from botanical gardens.
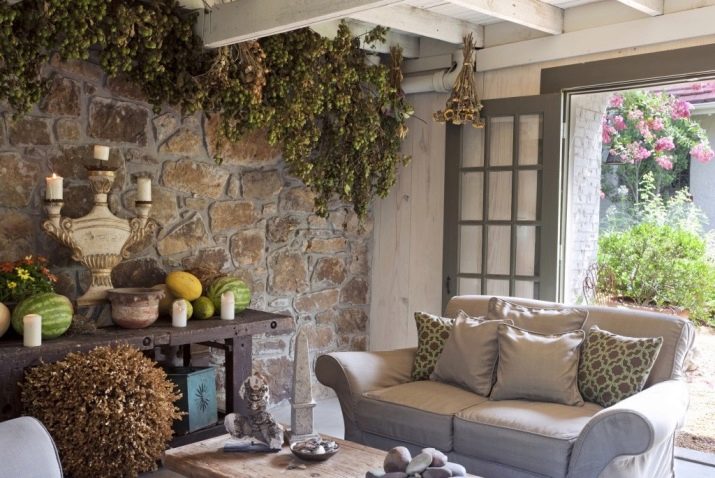
Provence style living room
Making a room in this style, you can decorate with paintings and compositions not only the walls, but also all the other corners of the room. For example, arrange vases with dried flowers using volumetric drying. In addition, you can hang from the ceiling not one, but several dried bouquets at once.This will not only add unusualness to the room, but also fill the whole room with the aroma of herbs.
It is worth noting that anyone can do herbarium. After all, this is completely uncomplicated. The main thing is to have a desire and be able to fantasize a little. Only in this case, you can get as a result not only a simple album with dried plants, but also a beautiful addition to the interior of the room.
See how to properly prepare the dried flower and dry the herbarium in the video below.


