
Before starting a gyro scooter repair at home, you need to familiarize yourself with the nuances of its implementation in detail and follow the detailed instructions. If the damage is serious, you should contact the store, presenting a check, where they will consult or replace the gadget.
If the warranty period has expired, you must contact a specialized department for the repair of such modes of transport.
Types of scooters
The gyro scooters are divided into many types, but to possess the basic information and determine the type of breakdown, it is important to consider only 2.
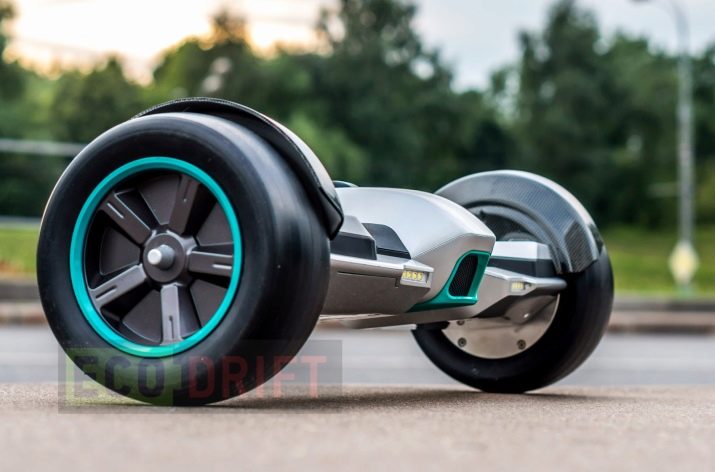
- For children, transport with wheels of 6-8 inches is assumedwhich are sensitive to the road surface and can be damaged by strong vibration (at high speed) or small stones. Wires are often wiped and worn out - this disrupts the connection of the motherboard with the wheels. This kind of gyro scooter is better to use in the yard with a flat surface, but not off-road.
- More versatile are 10-10.5-inch wheels, which are suitable for almost any age. They are protected from shaking while riding thanks to the installed flexible tires. Those, in turn, are divided into chamber and tubeless.


Faults and their causes
Manufacturers are constantly improving the quality and durability of the goods, but do not guarantee the eternal operation of their products, since with prolonged and constant use of the gyroscope it is difficult to avoid wear and tear. Causes of problems with the devices can be:
- improper use (driving on impassable roads and poor surfaces; collisions with external obstacles; falls; storage errors);
- factory defect;
- low quality.

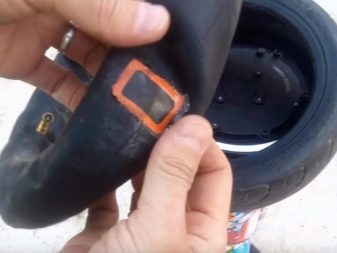
A common problem when using this type of transport is wheel descent. And also the reasons include:
- damaged nipple (air bleed);
- imperceptible cracks (often form if you use the gadget outdoors at temperatures below 0);
- mechanical damage to the wheel (cut, puncture);
- violation of sealing gaskets.
A rarer problem is rim deformation. Do not be upset if any of the above happens.. Any problems of this kind can be easily solved at home without contacting a service center.
It is only necessary to acquire universal assemblies for fixing bicycle wheels, interchangeable wheel elements and several tools. As a rule, in order to replace a tire, a camera in it or fix a hole / hole with your own hands, a complete analysis of the gyro scooter is not required.
How to remove the wheel?
The process of removing the wheel from the gyro scooter and disassembling it is not complicated, but requires care. It is only necessary to follow the detailed instructions so as not to damage the gadget itself and its electronics. Disassemble the device in several stages.
Preparation
Before starting work, it is necessary to prepare tools, of which there are not many, namely:
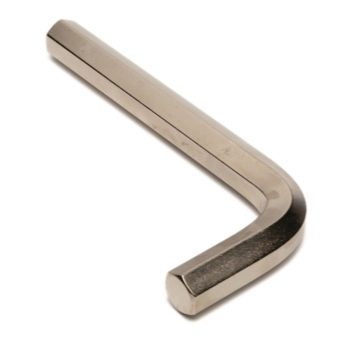
- crosshead screwdriver (or a screwdriver that will speed up the workflow);
- hex wrench (size is determined by the type of hoverboard).
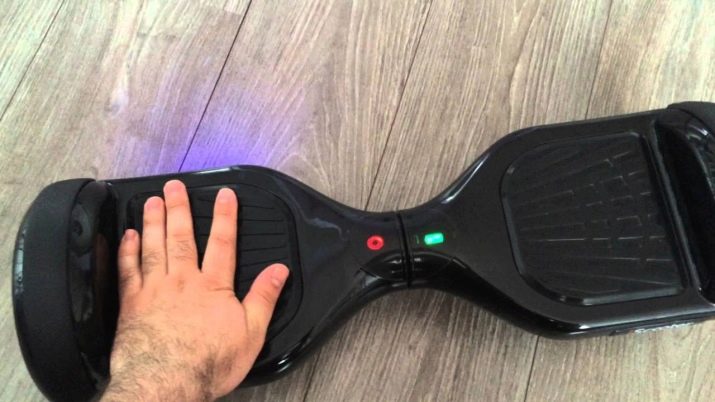
The gyro scooter needs to be turned over and laid on a flat surface (table or floor) for ease of use. After the first stage, it is necessary to inspect the wheel for flaws, punctures, cuts and other malfunctions. This will determine the next steps: repairing the part or buying a new one.

Housing
Carefully unscrew the screws on the bottom of the hoverboard with a Phillips screwdriver. Then you should remove this component of the case.
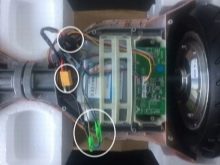
Important! On 10-10.5-inch models, the top and bottom of the chassis are connected using a wire from the power button. And also in any gyro scooter, the connection can be made using wires to provide light music. When you remove the cover, they are easy to see. Having disconnected them, you can see the engine, 3 control boards and a battery.
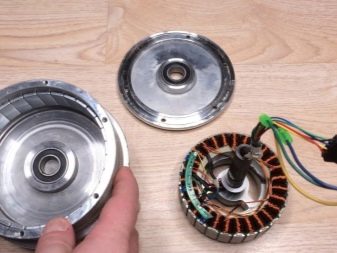
Electronics
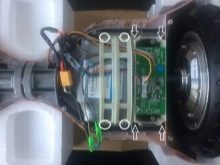
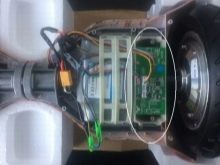
To disconnect the necessary wheel from the motherboard and the battery, you need to find the plastic holder where it is fixed, unscrew the 4 main screws and disconnect the cable. This will remove the stand for the side control cards.
Replacement
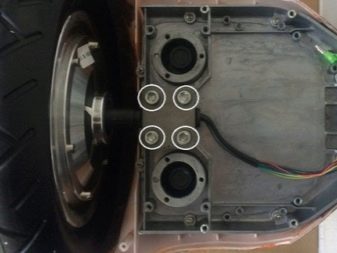
Using a hex wrench, unscrew the 4 bolts securing the wheel and disconnect it from the gyro. To disassemble, for example, a 10.5-inch wheel, certain actions are performed.
- First remove the center cap.
- After removing the cap, you can see 4 screws. They should be carefully unscrewed with a screwdriver or with a screwdriver (the second is easier and faster) and remove the cover.
- Then you need to unscrew the spool cap and bleed air from the tire.
- Next, you need to strongly squeeze the tire to remove it from the rim.
- Using a flat screwdriver requires disassembling the wheel.
Important! To assemble the wheel, install the camera, the wheel and assemble the gyroscope itself, you should step by step repeat all the steps according to the instructions in the reverse order.
See how to remove the wheel from the hoverboard in the next video.


