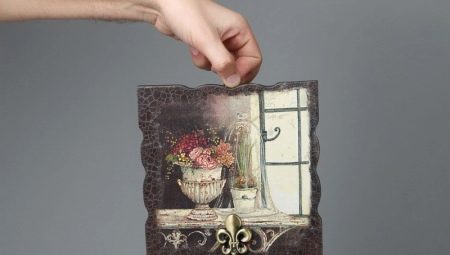
Decoupage technique is suitable for those who want to bring personality, comfort and beauty to their interior. This is a handmade work that is highly valued throughout the world, because it is with her that things capture a piece of love and warmth of her master. Decoupage translated from French means “cut”, the technique involves gluing cut pictures on the surface of objects.
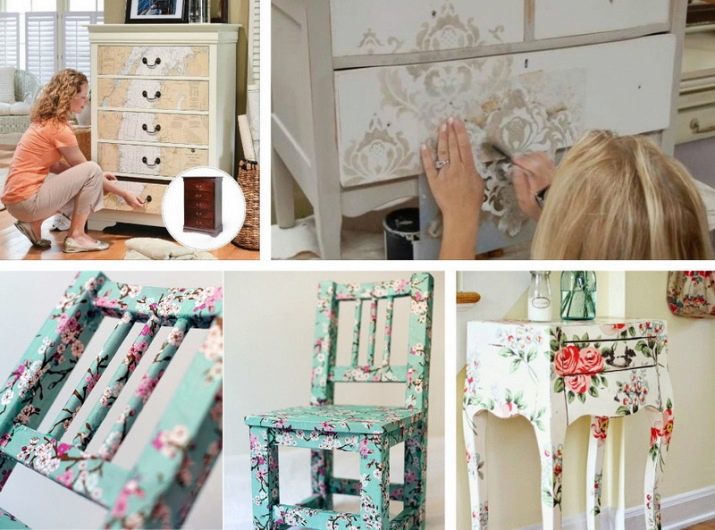
What do you need for work?
It’s better to start changing your interior with small items. Decoupage can then be transferred to furniture and finished with walls and floors. The volume of work will depend on the patience, desire and skill of the master. For decoration, stock up on the following tools and materials.
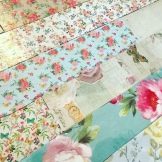
- Choose any picture on paper, for this use magazines, colored napkins, posters, newspapers, photographs, drawings from wallpaper. You can buy ready-made decoupage cards or rice paper in handicraft stores.
- Gypsum primer or mixture for complex surfaces.
- Tonal acrylic paint.
- Decoupage glue or PVA diluted in equal parts with water.
- Lacquer for the selected type of surface and topcoat.
- Soft brushes, sponge for shading paints.
- Sandpaper. To remove paint you need to use grinding tools.
- An alcohol-containing liquid will be needed to degrease the working surface.
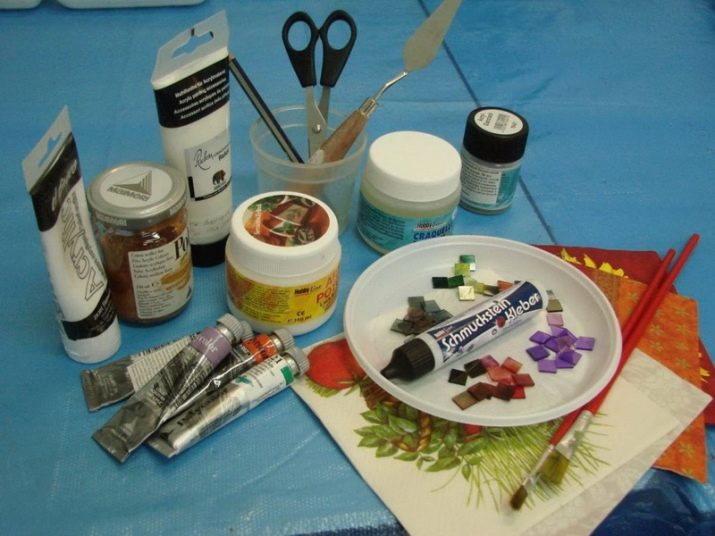
Decoupage materials are easy to find in hardware stores, needlepoint stores, and online stores.
How can I transform furniture?
Furniture and household items are most often used for decorating with decoupage technique. It is much less commonly used on walls, floors, ceilings, and windows.Decorating furniture, you need to understand that not every style in a room can accept decoupage.
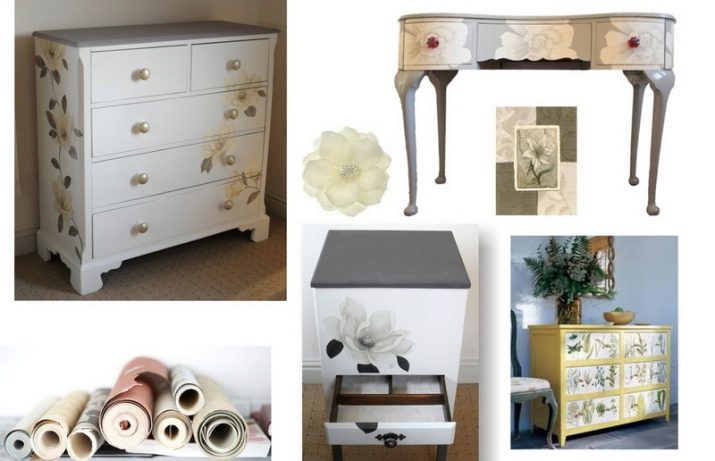
If in the environment of the room one of the following areas is observed, you can safely begin to work.
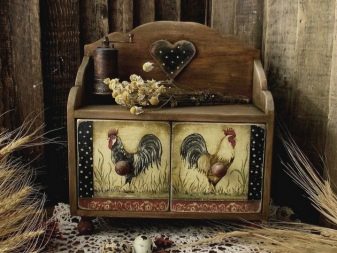
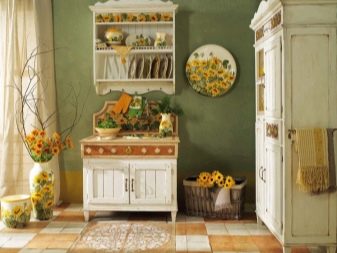
Country
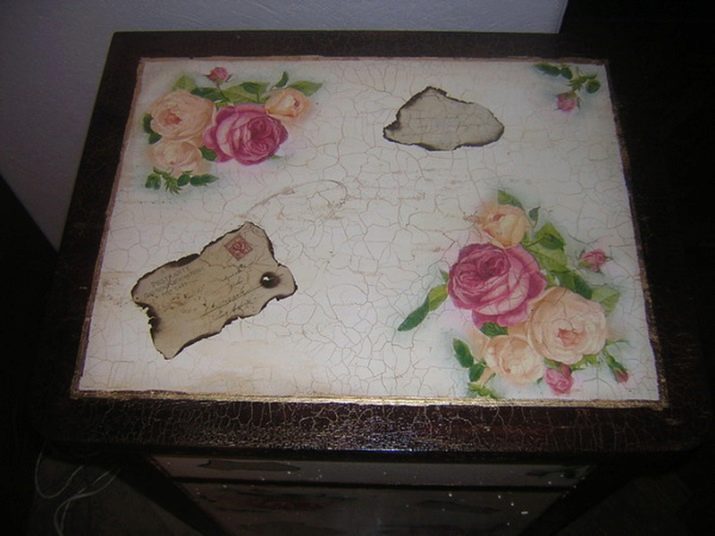
Almost all types of country choose vivid pictures depicting flora, fauna and folk ornaments. The furniture should be simple, the decoupage technique will help to give it a centenary look, simulating the cracking of varnish and paint.
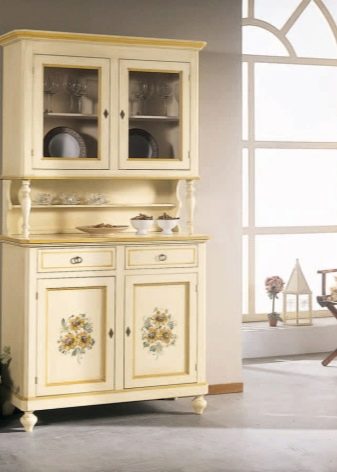
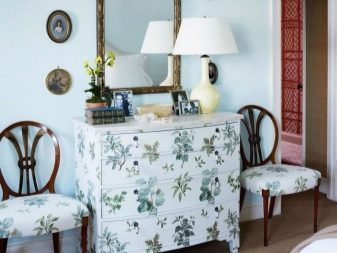
Provence
The style of the French village also refers to the rural areas, but unlike the country, it is characterized by gentle pastel colors and whitened surfaces. For furniture you can choose artificial aging method and color print.
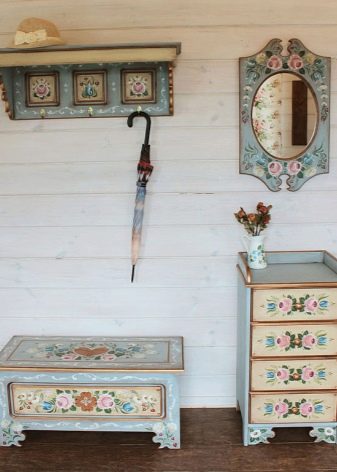
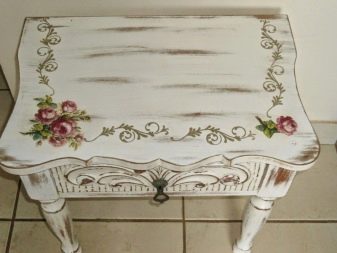
Shabby chic
Furniture in this direction, at first glance, is difficult to distinguish from Provence style, the same whitened, aged and pastel colors. The difference is that items of Provence should have a simple rustic look, and the Shebby-chic furniture is more like an antique, imitating a rich past.
In the decoupage of this style, methods of blurry borders and scuffs are used.
Simple city
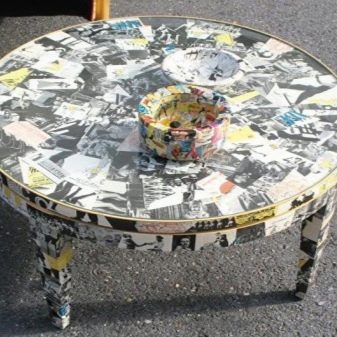
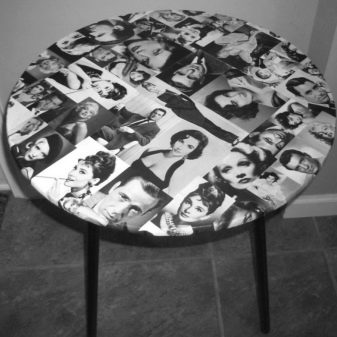
To decorate furniture of this style, use the decopatch technique, this is a kind of decoupage. She represents randomly sticking on the surface of cut or torn pieces of pictures.
In this case, it is better to use a black and white newspaper version or photographs.
Victorianism
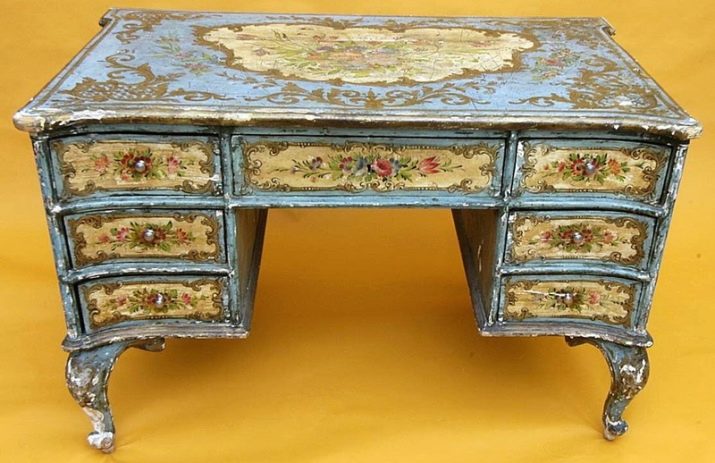
When working with furniture of this style, you will need certain skills. Perhaps the use of (the thinnest metal sheets imitating a gold surface). Characteristic for Victorian Gold, green, blue shades.
Choosing pictures, you can pay attention to the subjects of hunting, floristry, still lifes.
French vintage
Black and white versions of pictures are used in furniture decor, pastel colors can be connected.
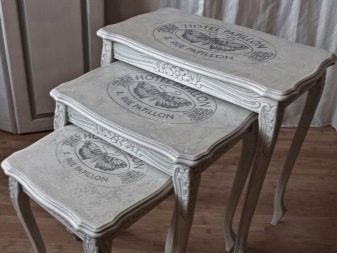
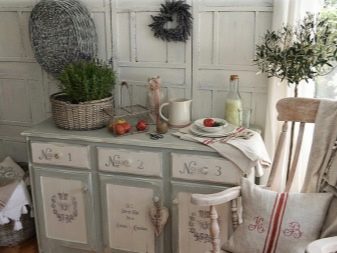
If your environment has one of these styles, you can proceed with the transformation of furniture. Consider the basic process of working in the decoupage technique, it is used for any pieces of furniture and things that need decoration. Small differences will be taking into account the material (wood, glass, plastic, metal), as well as in the application of additional techniques (craquelure, patina, potal). In the future, we will only make corrective descriptions of working with the floor, door, etc.
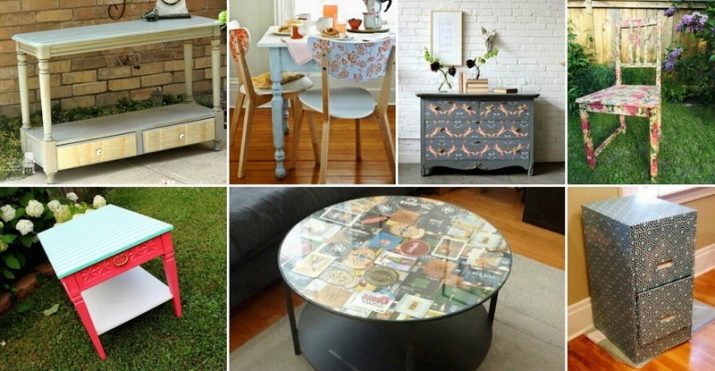
So, the sequence of actions in the decoupage technique is as follows.
- Remove all furniture from the surface of the furniture, clean it of old paint and sand it.
- Putty all cracks and crevices with putty, and then prime with an even layer.
- After drying, apply several layers of tonal acrylic paint.
- Sliding surfaces (glass, plastic, ceramics) should be degreased with alcohol, tin coatings with water and vinegar.
- For better adhesion of the pattern to the surface, it is cleaned with sandpaper.
- Before gluing furniture with pictures, they should be prepared. To do this, soak in water for 20-30 seconds and carefully remove all layers of paper, leaving only the last one with the image. Rolling movements produce from the center to the edges of the picture.
- Decoupage glue (or diluted PVA) is applied to the furniture surface and the image is carefully glued, collecting it from fragments of pictures. Each piece of the picture is carefully leveled with a wet brush.
- After drying with the application, you can work in any technique: paint on with paints, shade the background, age with craquelure varnish, apply nacre, gilding.
- After complete drying, the work should be covered with several layers of varnish.
How to decorate the door and windows?
The interior is very impressive, in which the decoupage of doors and windows support each other in a single style. But if there is no energy for grandiose projects, you can decorate only the window frame or part of the glass. The door will also look great in the performance of decoupage technique.
It should be especially decorated if it has lost its appeal or is tired of its color, it becomes possible to update the design without any special material costs.
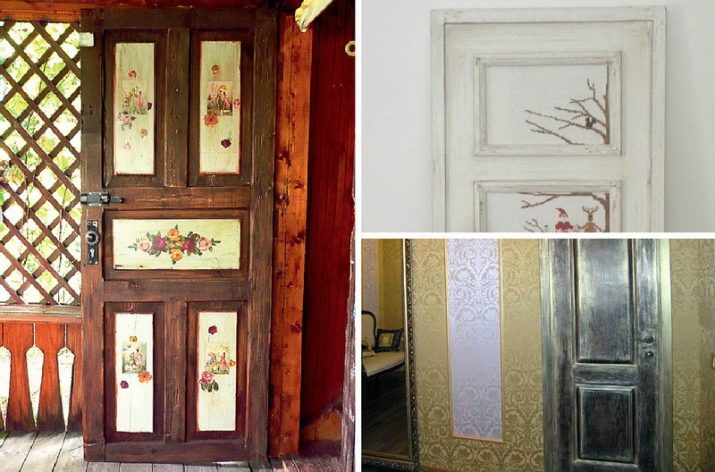
a door
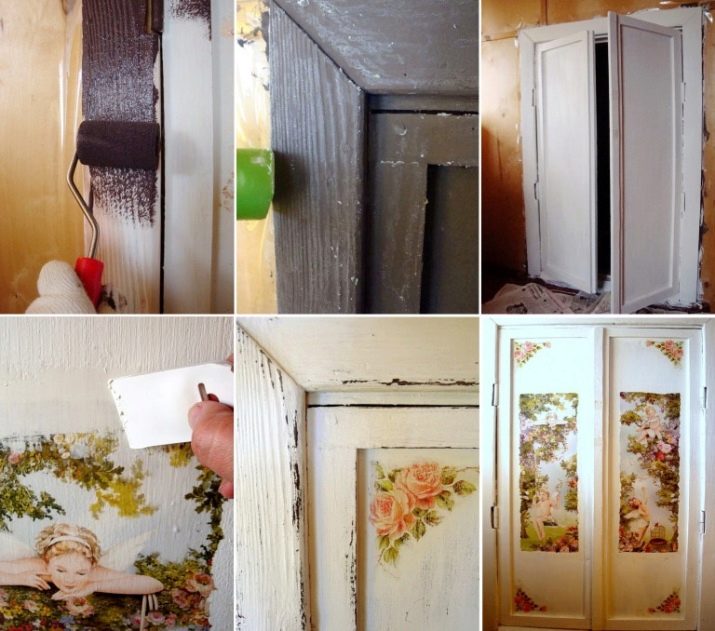
The door may turn out to be a starting point to switch to furniture items in the future and make a cozy room in the style of Hand made. Consider the step-by-step way of decorating the door leaf.
- For high-quality work with the door, it is better to remove it from the hinges, otherwise the process will become long and painful.
- Old paint is removed from the surface, then the workpiece is washed and dried.
- The canvas is leveled with a primer.
- The first layer of acrylic paint should be white, it neutralizes the effects of the primer.
- Then apply a tonal acrylic layer, which will be combined with the picture.
- When the door dries out, a prepared prepared pattern is fixed with glue on its surface. Applications can be not only made of paper, but also on a fabric basis.
- With a damp soft brush, gently smooth the image, expelling excess glue and air bubbles.
- If the drawing could not be perfectly placed on the door, it can be corrected with a brush and paints.
- At the last stage, several layers of varnish are applied, which will not only give the canvas a beautiful finished look, but will also protect it from dust and dirt, from scuffs and scratches.
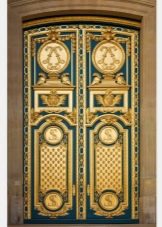
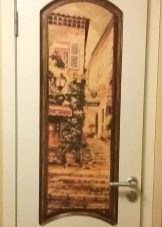
It is more logical to use the decoupage technique on interior doors. But some craftsmen decorate the entrance to the house with them. Consider the photos of the door decor to better have an idea about it:
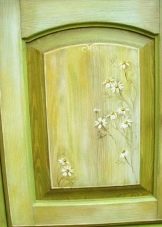
- the delicate fragile bush of chamomile on a canvas of unstable green color with elements of a yellow hue impresses;
- gilded decoupage for imperial style (empire);
- front door of a heavenly hue, made on the theme of floristry;
- fragments of doors decorated with decoupage technique.

Window
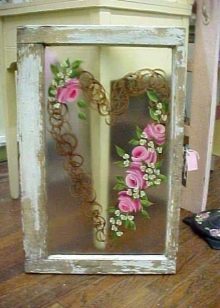
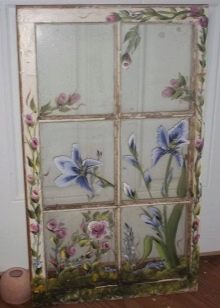
Sometimes, using the decoupage technique, a glass surface of a window or part of it is covered. This technique justifies itself only in hot climates, since glass becomes less translucent. In other cases, only the frame is decorated. Plastic windows or old wooden frames can be used. You will have to tinker with the latter. During repair, it is better to remove them from the window opening and completely update: clean from old paint, sand, primer. Plastic surfaces must be degreased with acetone before decorating.
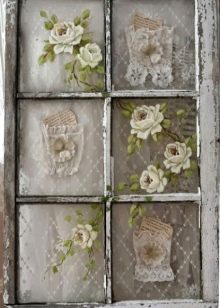
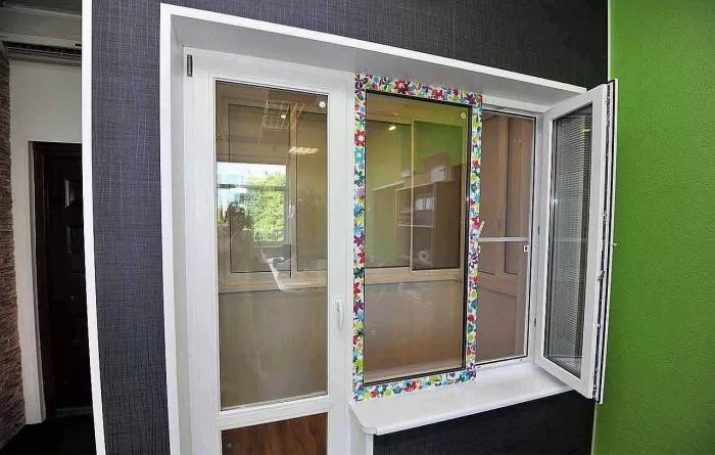
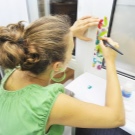
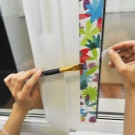
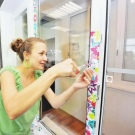
Layered prepared napkins are cut into strips to fit the width of the frame. Apply to the surface and coat first with a wet brush to smooth, and then with glue. In the process, you need to monitor the sequence of the picture. Pay special attention to the places where the hardware is located. After a day, the product is varnished. The window takes on a unique look and is eye-catching.

Ideas for floors and walls
It is usual to see furniture decorated with decoupage technique, or thousands of cute little things: vases, plates, caskets, notebooks, gift boxes. But decoupage on the floor seems incredible. Will the thinnest paper withstand the load that falls daily on the floor? It turns out that with the right approach to business, it will not just withstand, but also hide all the unevenness of the flooring.
Decoupage walls are also rarely seen. The door can be removed from the hinges, put in a convenient place for work and decorate. Such manipulations cannot be made with the wall; one has to adapt to the vertical canvas.
Whoever succeeds in the end gets a surprisingly beautiful surface.
Floor
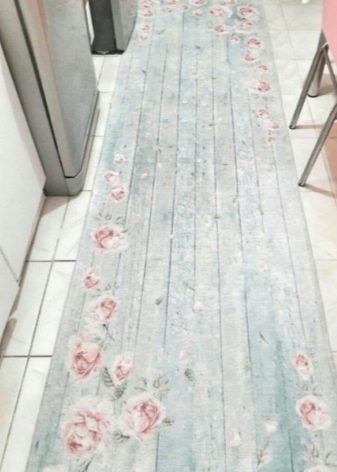
If you are going to transform the floor, you need to decide for yourself, the work will take place on the entire coating or fragmentary. For example, old linoleum can be updated by hiding only spots and scuffs under the applications. Working in the decoupage technique over a large surface, it is necessary to use a varnish for a floor covering, he will well fix the picture and is guaranteed to prepare the floor for daily use.
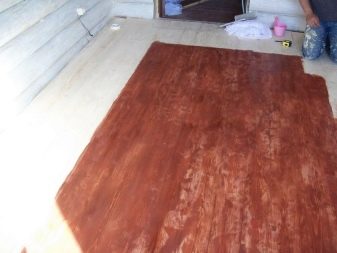
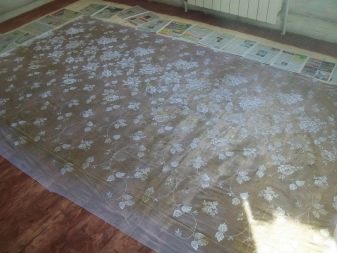
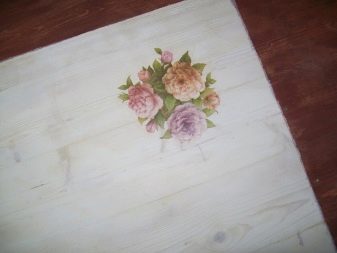
Consider one of the ways to decorate the floor with different techniques. Around the perimeter of the room, an ornament is made using appliqués, and the central part is decorated with dyeing through tulle. Step-by-step actions are as follows.
- A wooden floor is prepared for use by grinding. The surface is completely free from old paint.
- Using masking tape, they cover the floor 30-50 cm around the perimeter - the part on which the ornament will be located.
- The coating in the center of the room is treated with mahogany stain. Tulle is laid out on a dry surface and bronze-colored spray paint is sprayed on top.
- Having removed the adhesive tape from the curb part, it is treated with a white stain to create a contrast and left to dry completely.
- Decoupage technique works on prepared light border of the floor. Cut out applications are put on glue, a layer of decoupage varnish is applied on top.
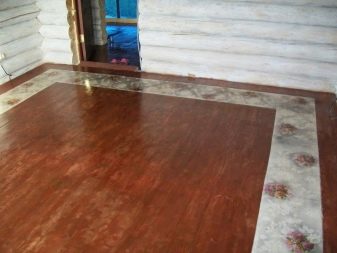
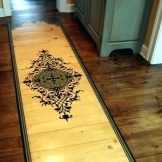
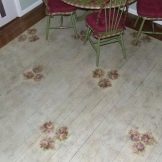
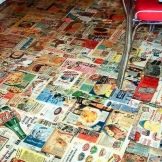
To understand what a floor made using decoupage technique looks like, consider the examples in the photographs.
- The surface is decorated in the form of a carpet, a contrast technique is used. A sophisticated oriental ornament looks extravagant against a light background.
- The decor is made in two contrasting shades: dark around the perimeter and light in the center. In working with the main part of the room, the technique of painting through the tulle was used, then applications with the image of flowers were applied.
- The smooth surface is made using the decopatch technique (a kind of decoupage), the floor is completely covered with magazine clippings.
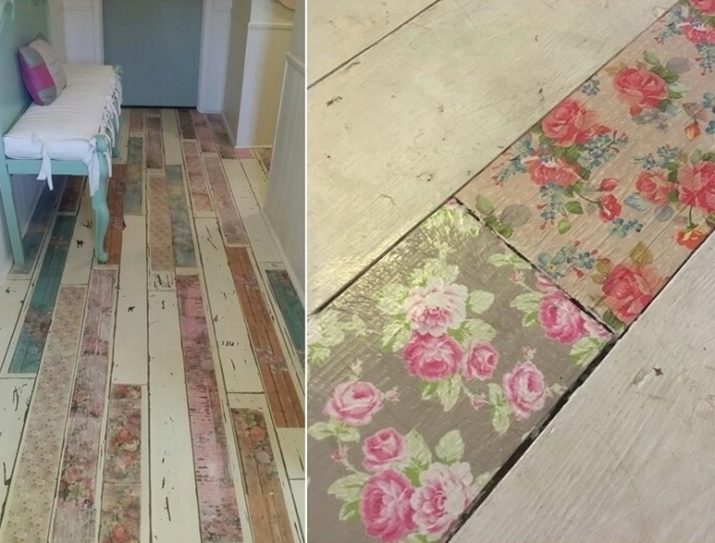
- An example of a de-patch technique on a plank floor. Each board has its own ornament, and the entire surface of the floor looks like a patchwork quilt.
- Beautifully made plank surface in the style of shabby chic.
Walls
Decoupage can be done on a small part of the wall or covered with it all the walls of the room. The choice depends on the taste and creative potential of the contractor. Decoupage technique looks good in small rooms (nursery, bedroom, kitchen, hallway).
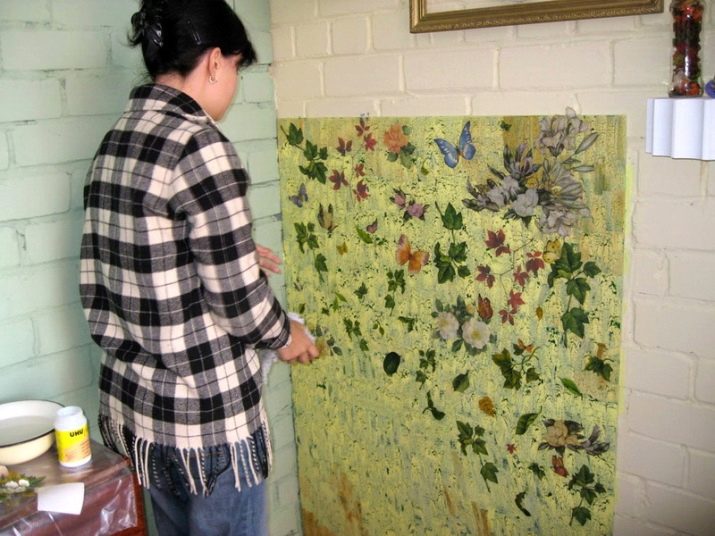
In spacious rooms, one wall can be distinguished by decoupage. Black and white variations from newspapers and photographs are often used for urban styles. For teenage rooms, bright fragments from comics are chosen. Floral print fits all country styles. If floristry is done in gentle pastel colors, it is used to direct shabby chic and provence. Consider how you can decorate a wall yourself at home using decoupage technique.
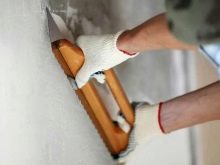
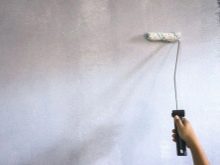
- The surface of the wall is perfectly leveled, plastered and primed. Dried.
- The picture is chosen according to the style of the interior. Media can be clippings from magazines, photographs, rice paper, napkins, wallpaper applications and other paper products. In further actions, there is nothing new for decoupage technology: cut out, soak and remove the top layer.
- Pictures are placed on the wall using an adhesive base.
- Then a layer of varnish is applied. Decoupage is performed in a horizontal position so that the flowing varnish does not spoil the work. For walls, this is not possible. Apply special quick-drying mixtures, apply gently with a soft brush.
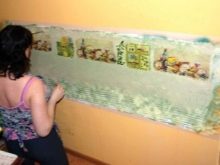
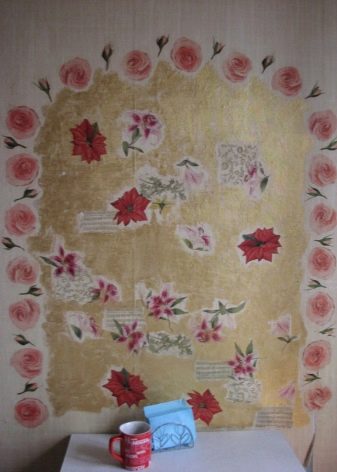
The fragmented decoupage on the walls looks more organically. Consider examples of different uses of this technique on wall surfaces.
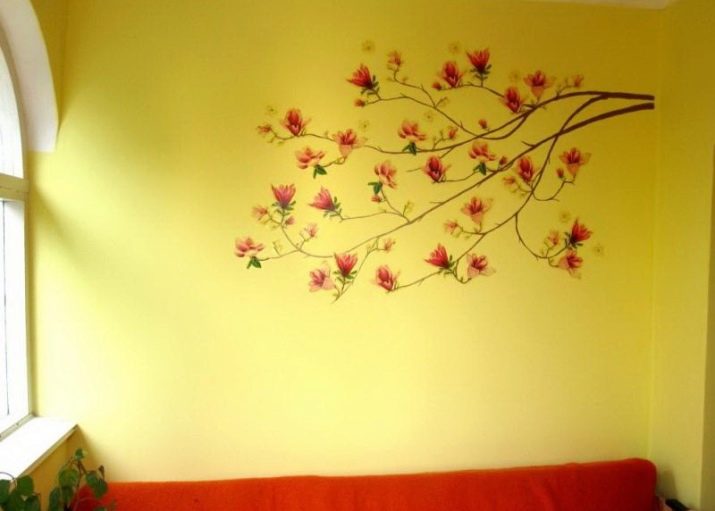
- On a flat sunny wall is an elegant branch of a blossoming magnolia. It fills the void of the surface, but at the same time does not create massive pressure.
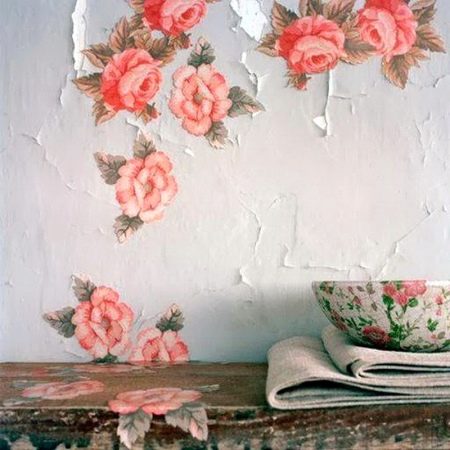
- The decor imitating the aged surface of the wall is beautifully beaten. He unobtrusively goes to the shelf, supported by a vase in the same style.
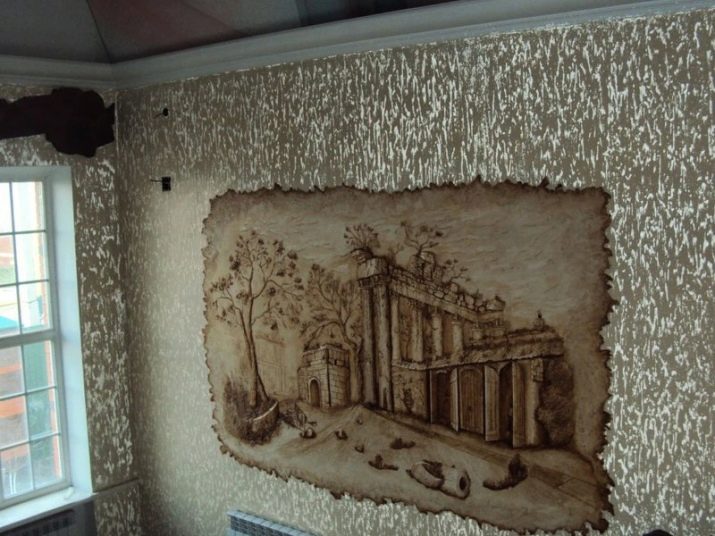
- Imitation of an old fresco on the wall also made by aging technique.
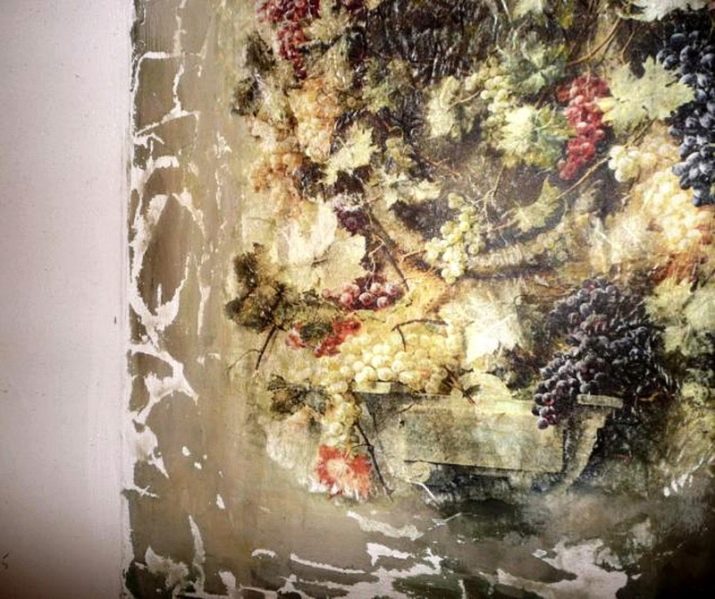
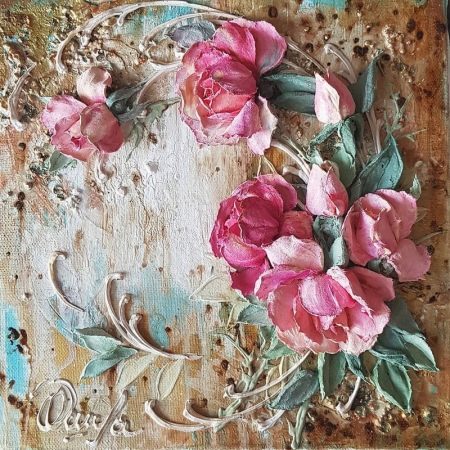
- Volumetric decoupage made using textured paste.
- The image on the wall by the decoration method may well replace the carpet or the full picture.
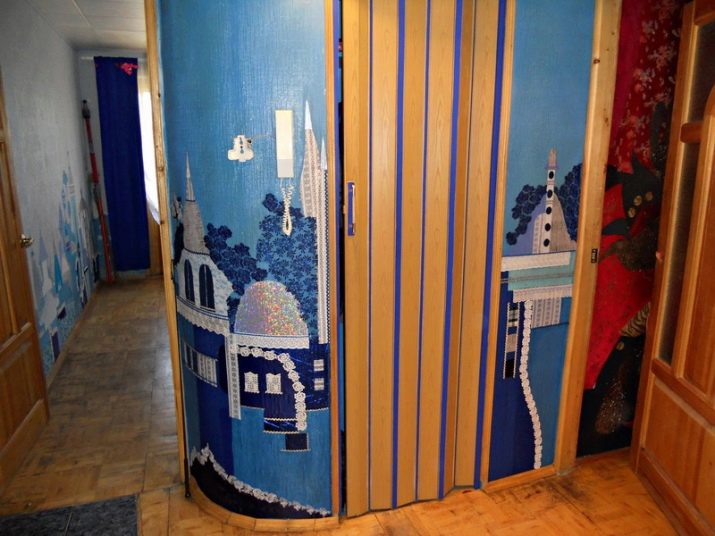
- In creating a bright interior, in addition to paper applications, are used fabric elements.
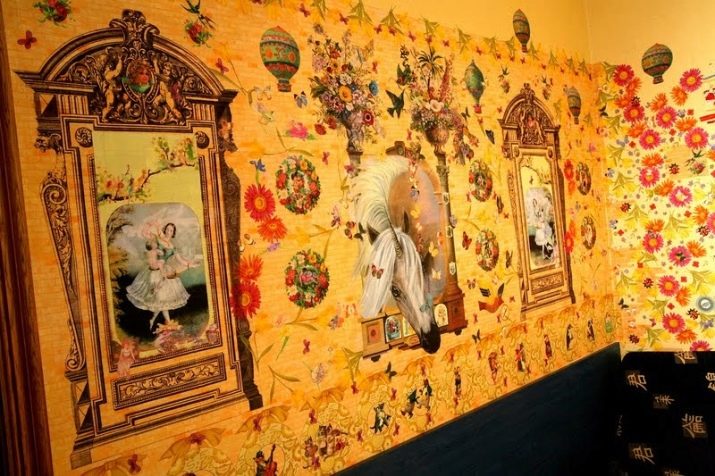
- Decoupage application example on all walls of the room.
Beautiful decor options items
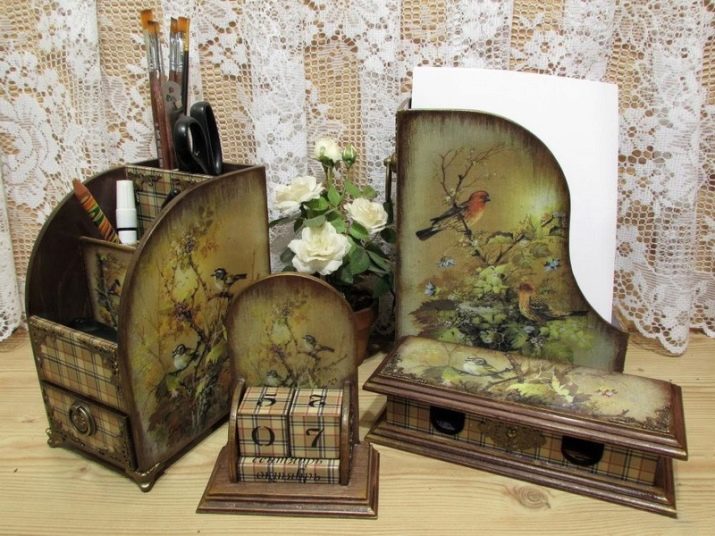
Items decorated in the style of decoupage can be introduced into the interior as an independent type of decor, or in support of furniture, windows, walls, made by a similar method. The main thing is that they do not discord with the situation. Beautiful decoupage options can be found on the Internet, they will inspire you to create your own masterpieces:
- writing instruments;
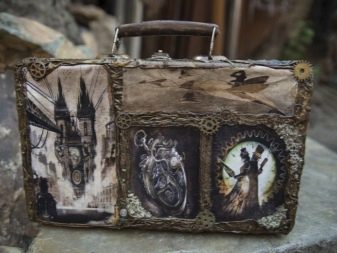
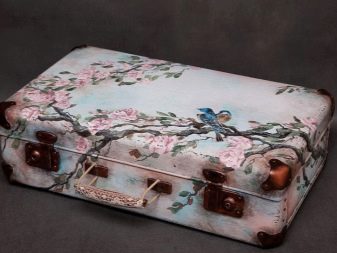
- in decoupage technique even an old suitcase can become irresistible;
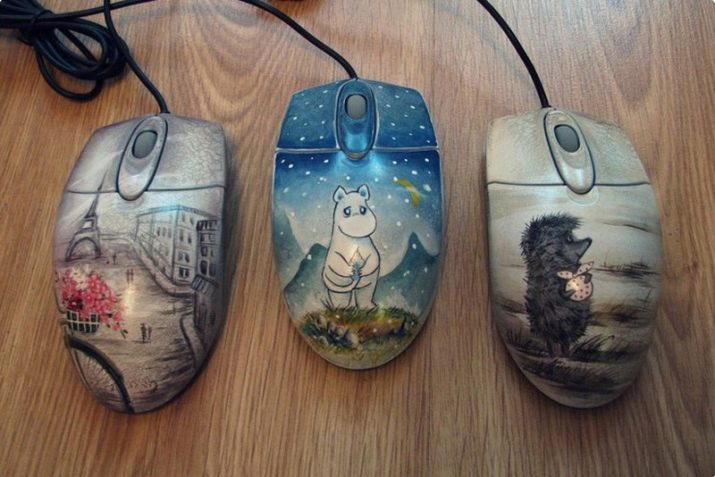
- the decorated computer mouse looks positive;
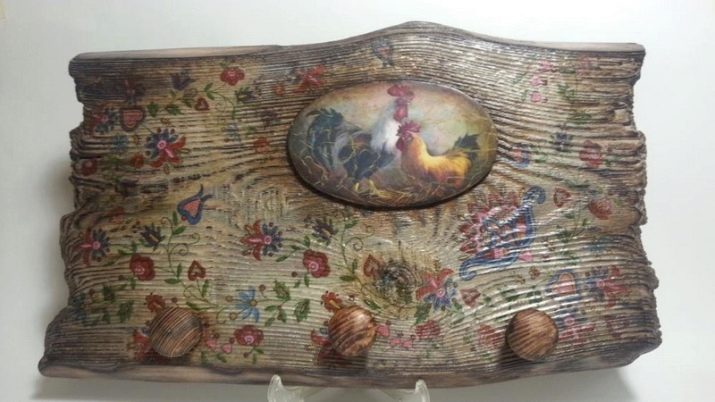
- country-style towel hanger;
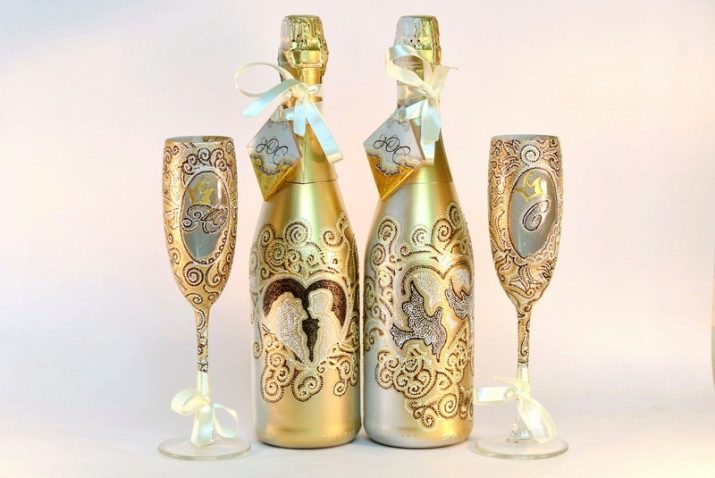
- pair decoupage of wedding champagne bottles for young people.
If creativity lies in the character, you should definitely try to change the interior with your own hands. The decoupage technique can help with this - an inexpensive and very beautiful way to decorate any surfaces.
See how to decorate a wall using decoupage technique in the next video.
