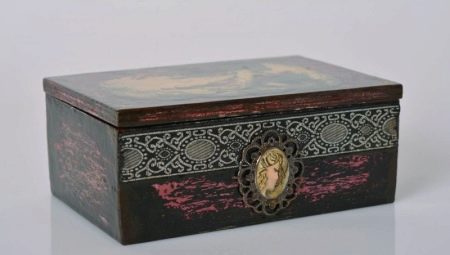
Decoupage is one of the oldest directions in design, based on the attachment to some base of cut out fragments of paper, fabric, leather with subsequent painting and varnishing. With its help, you can decorate home decoration, furniture, make a souvenir or a holiday gift.
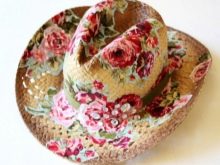
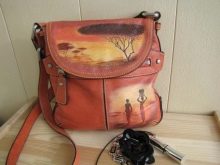
This technique is used to decorate and ennoble wood products, ceramics, fabrics, leather, metal. It is used in the manufacture of exclusive accessories, designer handbags, hats, clothes, dishes, caskets.

Style selection
There are many different directions and styles in the decoupage. Let's consider some of them.
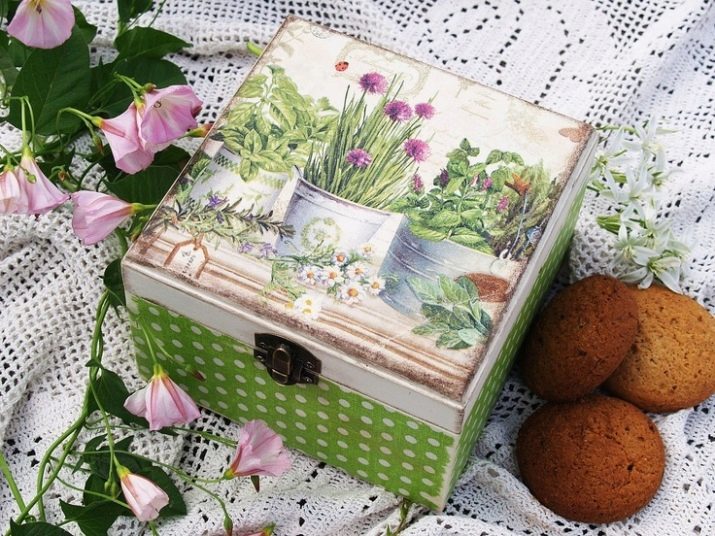
- Provence - it is characterized by delicate floral drawings, elements of rural landscapes, nature, soft pastel colors. Born in France.
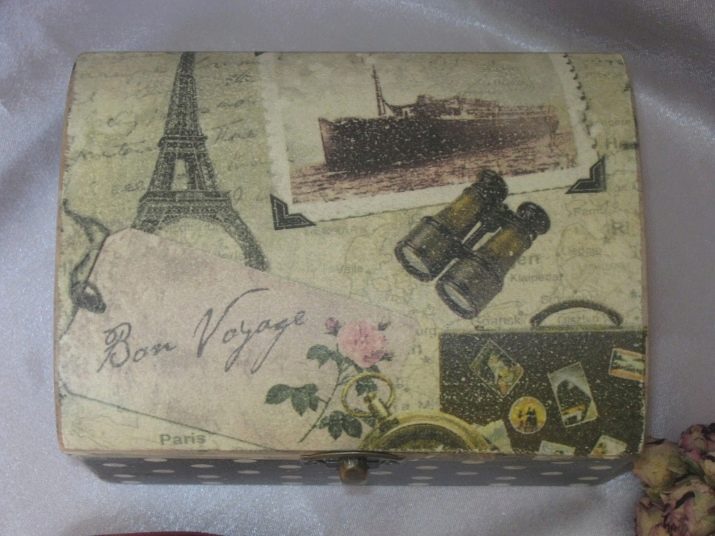
- Vintage - It is used more often on wooden objects. With the help of a special technique for applying dark and light paint of different shades, vintage products “age”.
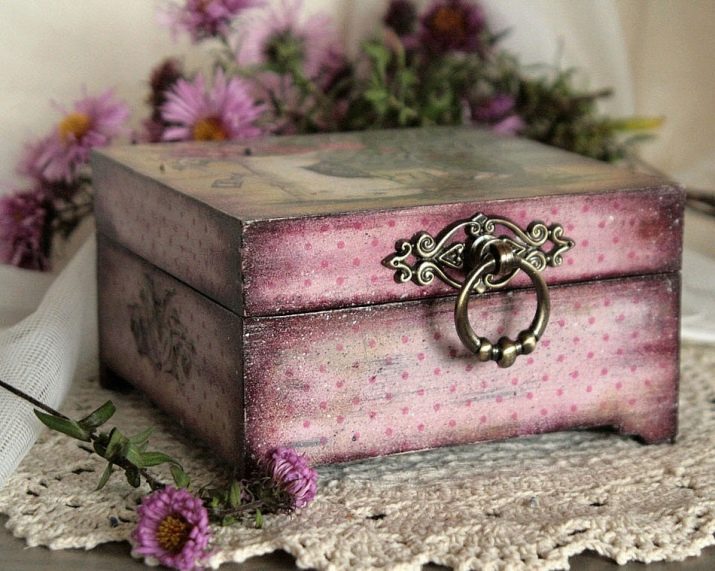
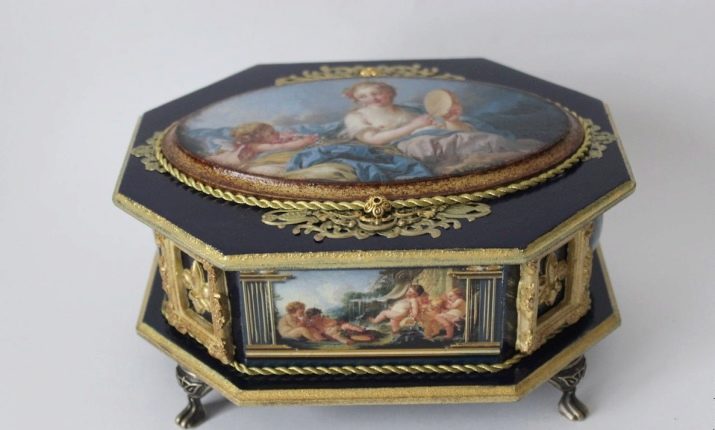
- Victorian style. Reminds England of the times of Queen Victoria. Its purpose is to give the product a luxurious, antique look, antique. The main colors are dark, saturated, with gilding. Motives - lush bouquets, girls in beautiful old clothes, angels.
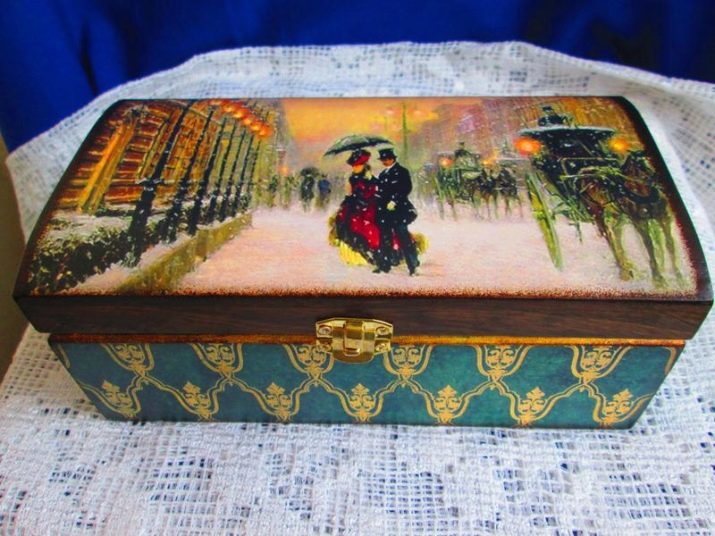
- Country or rustic - differs in simplicity, restraint in details, comfort. Used pictures depicting pets, plants, fruits. The color is calm.
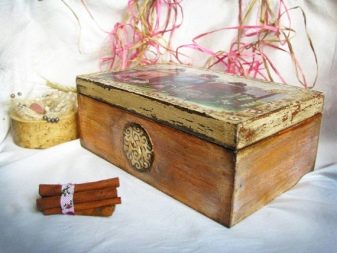
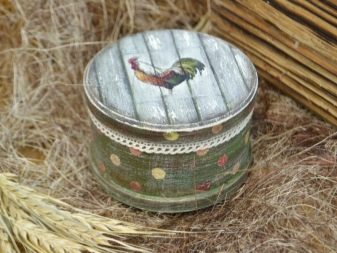
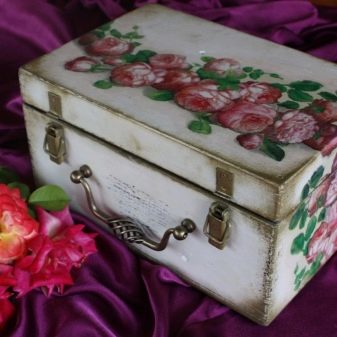
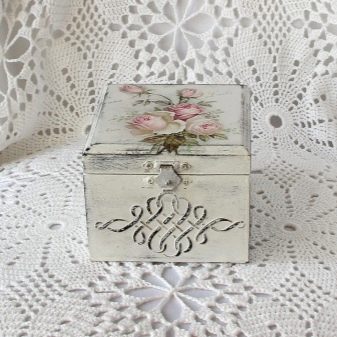
- Shabby chic - a very young style, appeared at the end of the XX century. The name can be translated as "well-worn chic." It is carried out in light colors, and scuffs are applied in dark colors. One of the motives is roses.
- Simplicity - Text, clippings from magazines or newspapers are used as images.The dominant color is white; light gamma, as if wrapped in a haze. All colors are usually of a cold spectrum. It implies nobility and restraint, "aging".
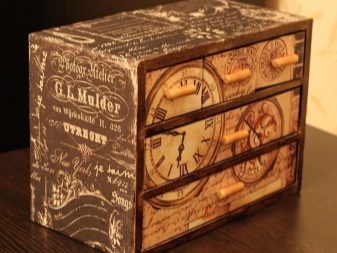
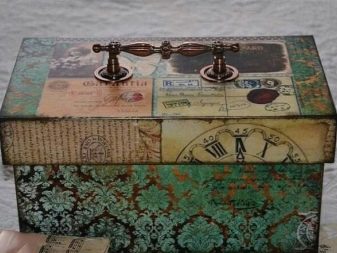
- Military - as the name implies, the military-style themes are used in the style (weapons, camouflage, khaki, metal elements). Often motives for striving for peace are used here.
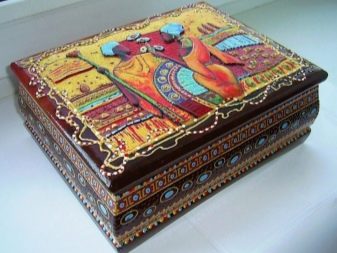
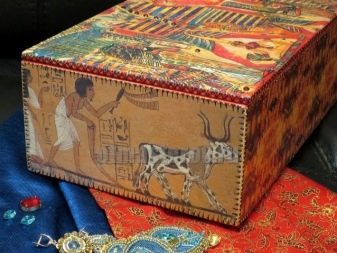
- Ethno - includes elements of everyday life, culture, national clothes of various nations. It can be objects in the East, African, Indian and other directions. Drawings come from simple, primitive to complex ornaments, compositions.
Preparation
Once the style of the future project is determined, you can begin preparing and purchasing the necessary tools.
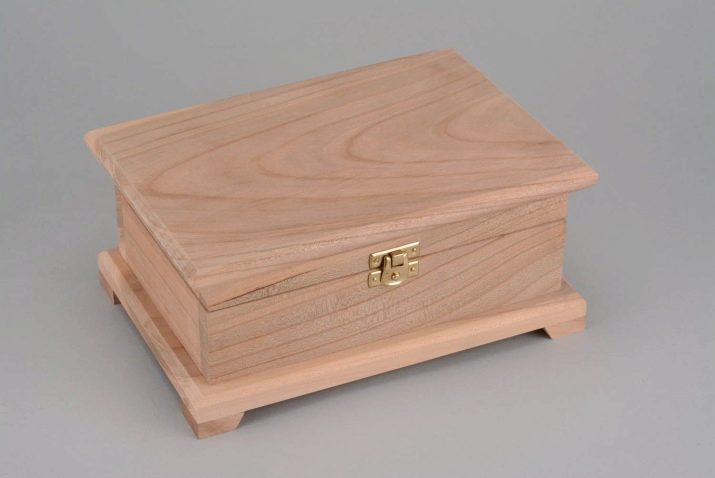
It is better to work with small products, gradually moving, as they say, from simple to complex, for example, to decorate a small box made of wood.
You can take the old one that has already "lived", or buy a new piece in a specialized store.
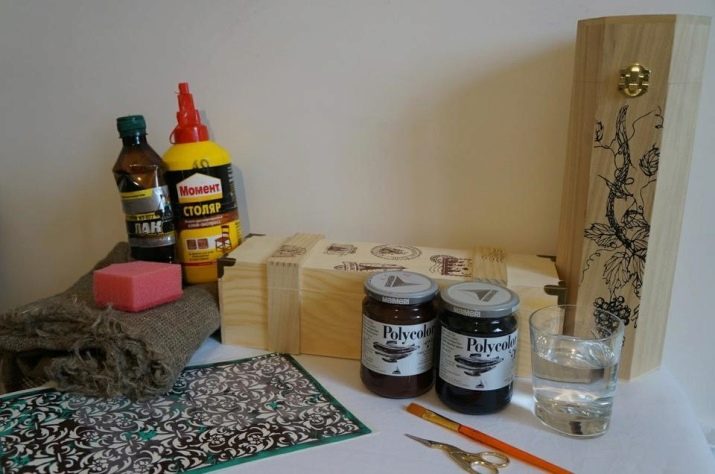
The following materials will be required:
- PVA glue or decoupage;
- texture paste - with its help you can create a three-dimensional relief pattern;
- decoupage napkins with matching patterns;
- sandpaper;
- various blanks, decoration elements;
- polymer clay (self-setting);
- scotch tape - to fix any parts;
- screwdriver;
- acrylic varnish of the desired shade;
- water-based paints, colors depending on the chosen style;
- acrylic primer;
- wax candle;
- cardboard - used for the manufacture of various patterns, patterns.
The list needs to be clarified, adjusted depending on the technique, the style in which the box is planned to be made. In any case, it must first be prepared: if necessary, wipe, remove the old paint, use a screwdriver to remove decor elements, locks, handles, hinges.
Master classes
To make an original gift or an unusual thing for your home using decoupage technique, you need to study the technology. At first, this may seem too complicated and incomprehensible.
However, if you accurately and accurately follow the recommendations and advice of experienced craftsmen, everything will surely work out. In the information below, we will consider step by step, in detail, the details and subtleties of this art.
After the box is cleaned of paint and unnecessary details, the most interesting begins - the creative process. It includes several stages.
- Sanding the entire surface. The more thoroughly this work is carried out, the better and better the result will be.
- Then paint is applied to the wood, color is selected in accordance with the selected project. If necessary, repeat the operation several times. Wait for it to dry. This stage is called toning.
- The next moment is transferring pre-prepared images to the box. Its implementation will require attention and accuracy. For this purpose, decoupage napkins are used, instructions are sold in stores complete with them, which details how to separate a drawing from paper.
- Overlay the selected pattern at a specific location, straighten, and then with a thin brush apply glue. Make sure that there is no displacement and creases. When the first layer dries, the procedure is repeated.
- Further, if desired, you can combine paper pictures with relief from texture paste, figures made of polymer clay, shells or other elements. Just stick them with glue to where you need to.
- The dried surface of the box is varnished in several layers, each time waiting until the previous one dries.
- And the last thing fix corners, locks, handles, eyelets.
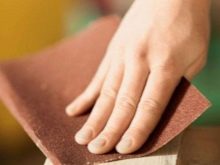
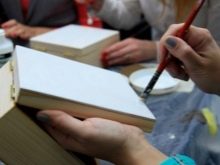
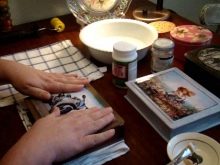
These are, so to speak, the general steps that must be taken in the decoupage technique. Each style also has its own nuances and features. For example, to create scuffs and aging effects in the style of shabby chic and vintage, already painted products are again treated with sandpaper and wax is applied to the edges.
Then they are covered with a paint of a darker or lighter shade, so that the bottom layer is slightly visible, which will create the appearance of prolonged use of the thing, as if the paint had worn off a bit.
For the same purpose, at the very end of the work, when the last, top layer of varnish dries, the product is treated with wax.
Items decorated in a lush and elaborate Victorian style can be rubbed with a wax candle, the appearance will be the same as that of an old polished parquet.
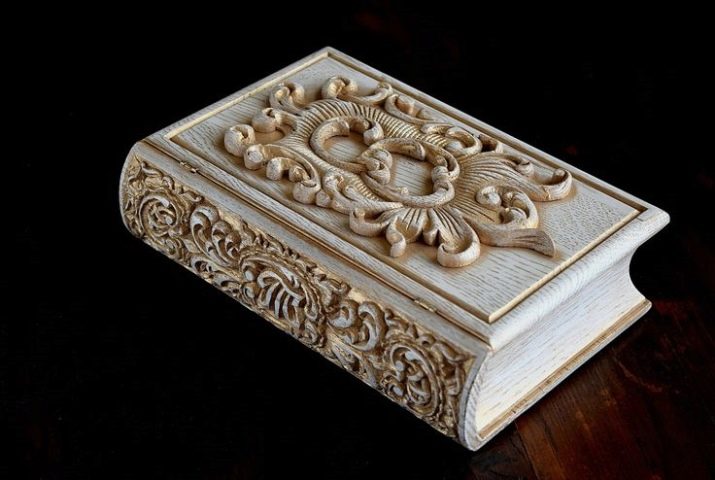
A book box with a carved cover looks very interesting and beautiful. To make it, you will need a wooden blank in the form of a thick book. To make an imitation of sheets, the sidewalls and the front part after painting are lightly treated with an iron brush.
Then, the stencil is tightly fixed on the top cover, texture paste is applied to it - this is convenient to do with a small spatula or a small plate of thin, dense material. It is necessary to ensure that there are no displacements, otherwise the patterns will turn out to be smeared. At the end of the work, the stencil is carefully removed, the excess paste is cleaned with a cloth.
The decoration of the second lid is started after the first is completely dry. They also process the spine of the book.
When the workpiece dries, you can walk a little along it with sandpaper to trim and smooth. Next, the outer surface of the box is covered with acrylic primer, light or dark, depending on the chosen project, allowed to dry, then proceed to the final painting. Here you can give free rein to imagination.
For example, to obtain a “under malachite” surface, a white paint, slightly diluted with water, is applied to the base from black soil. Immediately get wet with a dry rag. After drying, they are also painted green.
When everything dries, a transparent varnish in 2-3 thin layers is applied to the box. Inside it can be painted in any color, pasted over with patterned paper, fabric, velvet. That's all. The work is done. It remains if you want to glue the metal corners and add a little gilding.
In this technique, you can make a box for needlework or a box for tea.
The box in the form of a hexagon is also original. If you decorate each face differently, you get a kind of mix.
A small box decorated with winter motifs looks like an antique Christmas toy.
Interesting ideas
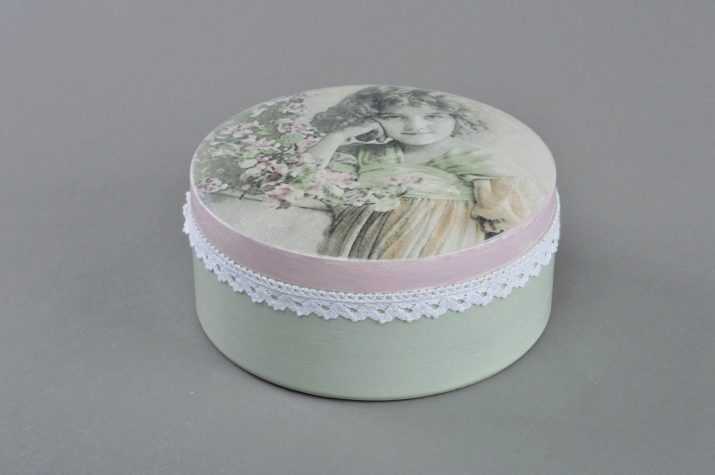
The simplest project for beginners is the usual round box, painted in a plain color, with a laconic pattern on the lid.
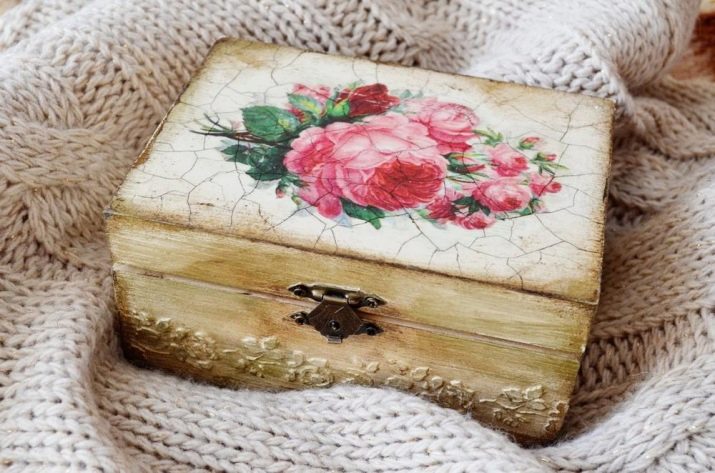
As experience accumulates, mastery is perfected, one can proceed to the realization of more complex ideas. For example, try to “age” objects with craquelure varnishes. This way will give things a shade of nobility and aristocracy.
Or make a decor in the form of a mosaic of colored cardboard, leather, fabric, reflective mirror material.
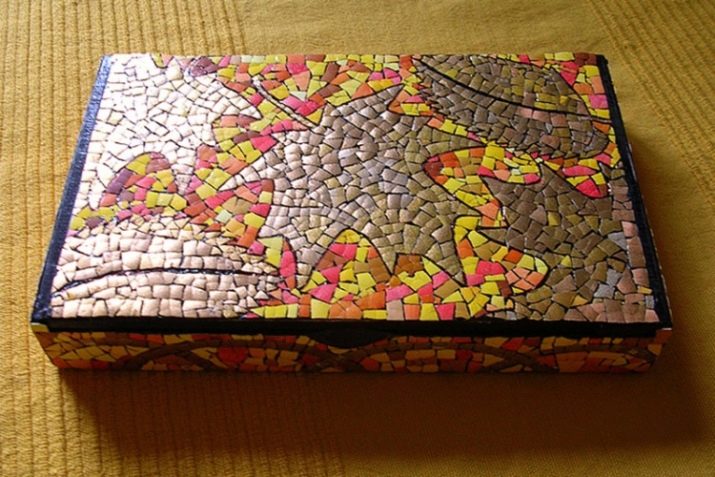
Decoupage technique opens up truly endless possibilities of decorating and updating the interior. Creative people present their best works at prestigious exhibitions.
On how to make an unusual decoupage of a casket, see the following video:
