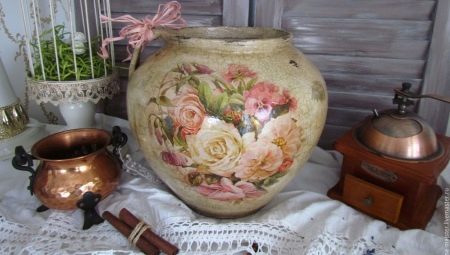
Decoupage translated from French means “cut”. Cut out applications from pictures, and then, using glue and varnish, decorate them with any surface. It can be wood, plastic, metal, fabric, ceramics, leather, glass.
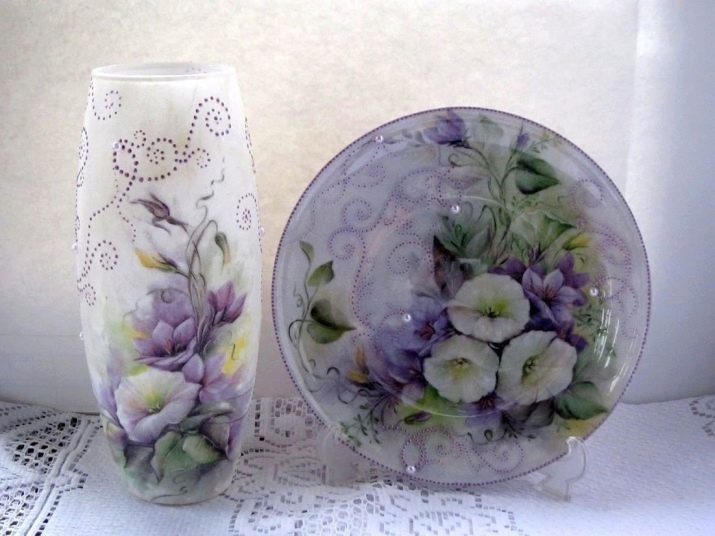
General information
Although art is quite old, it was in the 21st century that it acquired a grandiose scale. The enthusiasm of needlewomen for decoupage technique is associated with the abundance and availability of raw materials in our time.
In addition, such a hobby has many advantages:
- all the old things in the house (chairs, shelves, dishes, banks) can not only be updated, but made into unique, exclusive household items;
- the cost of transforming old things is minimal;
- a lot of pleasure from their work;
- with the help of decoupage, even one who does not know how to draw, can feel like an artist and create amazing things.
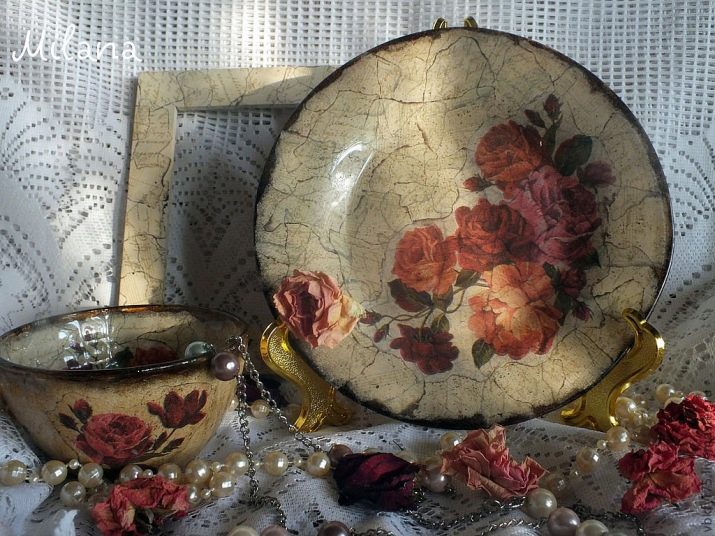
Many craftswomen prefer to work with glass because of the abundance of this material at home. Everyone in the house will find bottles, cans, dishes, mirrors, photo frames, watches under glass - everything will work for creating beautiful and stylish crafts.
But glass also has its drawbacks - this is a rather fragile material, he obliges to be especially careful. Besides, sliding surface requires pre-treatmentso that the decor can easily be fixed on the work item.
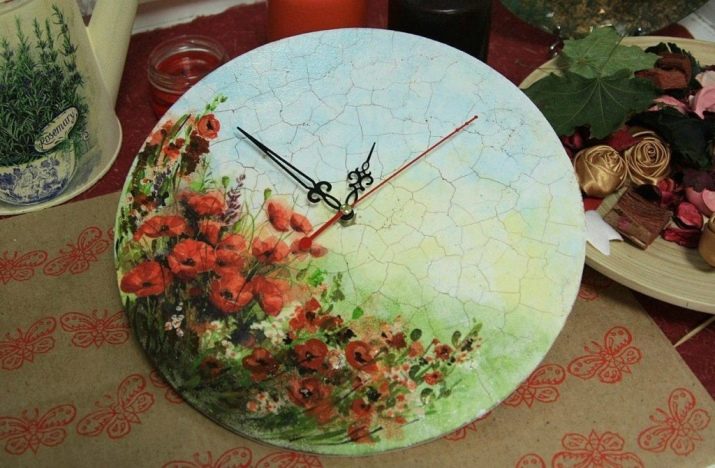
Glass decoration using applications has 2 techniques:
- direct decoupage - the picture is applied to the outside of the glass object;
- reverse decoupage - the pattern is glued on the inside of the subject.
Sometimes these two types are mixed, that is, the work is performed using the reverse decoupage technique, and then finalized on the outer glass surface.
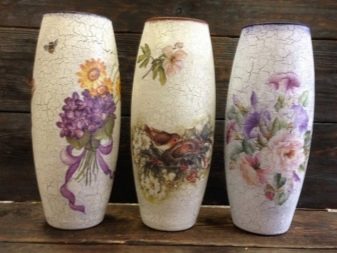
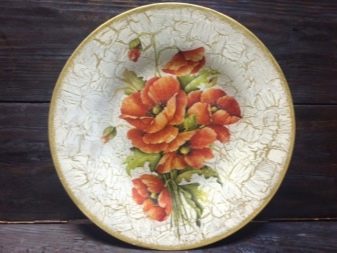
Materials and Tools
Before you begin, you need to collect the necessary tools and materials. Today it is not difficult to do this - everything that is needed for decoupage is acquired in needlework stores. If there are none nearby, use the resources of online stores.
In such retail outlets you can find rice paper, ready-made varnish prints, stencils, decoupage cards with pictures, colored single-layer napkins. From the proposed collections, a drawing is selected in accordance with the taste, the necessary color and style. There are no problems in our time with a primer, varnishes and paint.
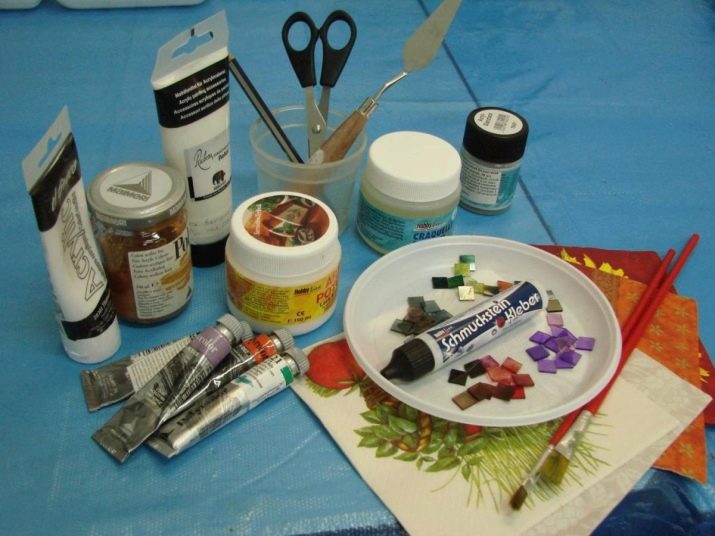
For decoupage of glass surfaces, you will need the following tools and materials:
- the item itself for decoration;
- selected drawing on any paper medium;
- primer for complex surfaces, you can use an acrylic mixture;
- alcohol-containing liquid for degreasing the material;
- tonal paint (acrylic);
- brushes;
- diluted PVA glue, or special decoupage glue produced by the industry;
- ordinary sponge for blending the paint layer;
- texture paste (if volume is needed);
- topcoat and varnish compositions for selected additional techniques;
- water tank for soaking the picture.
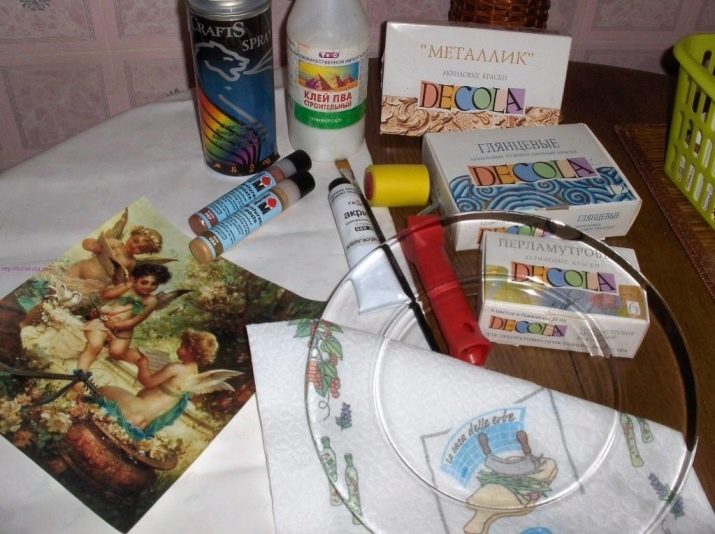
Direct decoupage
The direct decoupage technique is suitable for any material. Therefore, choosing a glass jug or carafe, work with it in the same way as with a thing made of wood, metal, plastic or any other material.
The only difference is increased caution due to the fragility of the material and the processing of a slippery glass surface with sandpaper for better adhesion to the ground.
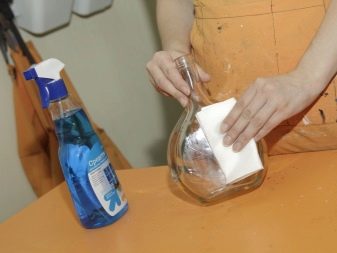
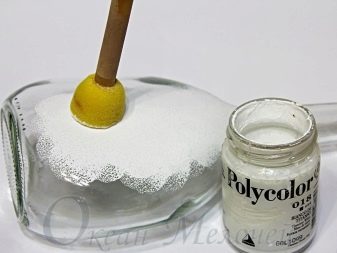
We offer beginners to use the step-by-step instruction of decorating with decoupage technique on transparent material:
- Direct decoupage, for example, a glass shade, involves a pattern on the outside of the product. The plafond is well washed, dried, rubbed a little with sandpaper. Then treated with an alcohol-containing solution, thus degreasing the surface.
- A primer is applied to the prepared dried lampshade.
- After drying, the workpiece is painted with acrylic varnish to protect the primer. Preparation for decoupage is completed. A neatly conducted preparatory phase of work ensures its high-quality outcome.
- Decoupage cards, photographs, and other drawings on a paper basis are pre-cut and soaked for 20-30 seconds, then carefully spread with their face on a clean layer of paper or cellophane, spread with a damp brush and carefully rolled up excess layers of paper, dried a little.
- Then prepare PVA varnish. To do this, dilute the adhesive with a liquid (1: 1). A glue layer is carefully applied to the back of the picture, the paper is removed and the picture is placed on the ceiling. Smooth thoroughly with a wet brush.
- When the surface dries, it can be decorated with any additional methods: coated with mother of pearl, patinated, aged with craquelure varnish.
- At the last stage, the product is coated with a finish varnish and left to dry.
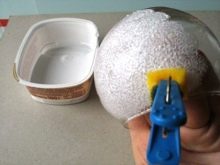
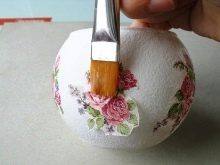
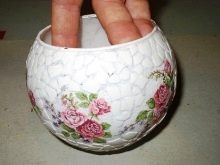
In the second way, the direct decoupage technique is produced without a primer in order to maintain a transparent glass structure. The glued picture is covered with several layers of varnish, while processing only the picture, the entire ceiling remains untouched.
When working with varnish on glasses and mugs, you need to try not to bring the coating layers to the edges of the product so that there is no contact with the varnish during operation.
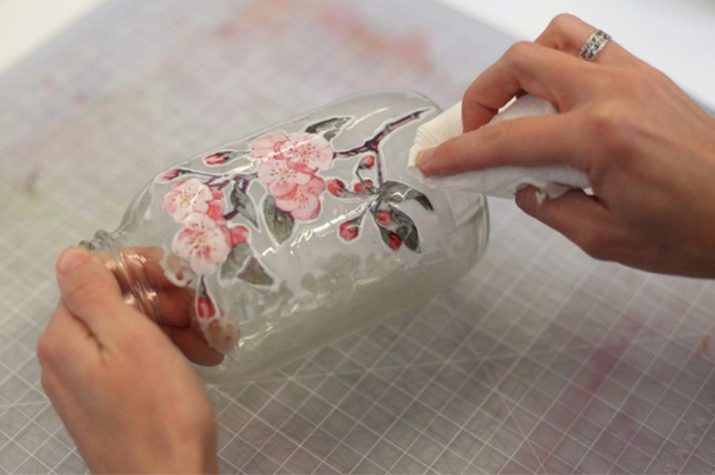
Reverse decoupage
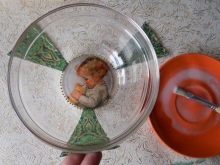
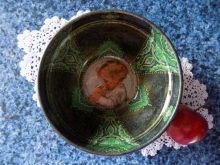
Reverse decoupage is performed only on transparent materials. Decorate vases, banks, glasses, bottles and other household items of the kitchen.It is convenient to decorate glass plates in this way, since the food will not come into contact with the varnish during operation.
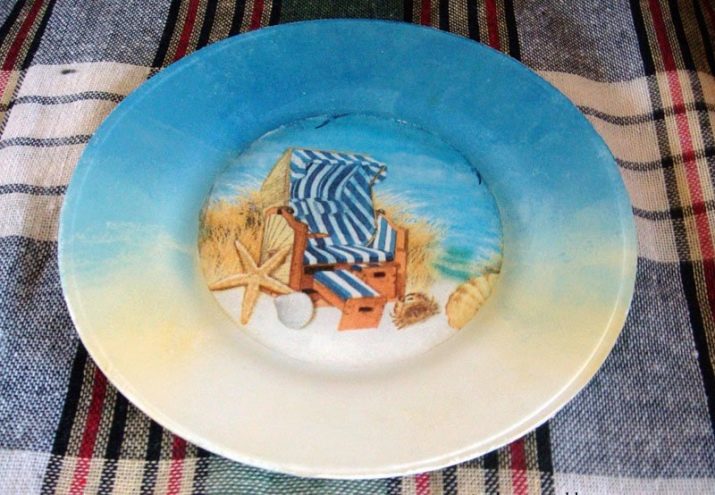
Consider how to make decoupage on a plate with your own hands.
- Select and cut out the picture, divide it into fragments.
- PVA glue is diluted in equal parts with water, applied to the front side of the fragments of the picture and applied from the back of the plate, carefully composing the composition.
- Using a wet brush, straighten the pattern.
- When the picture dries, the back of the plate can be painted or coated with craquelure varnish.
- At the last stage, several layers of varnish are applied and allow the product to dry well.
- Then bake the plate in the oven for about an hour at a temperature of 90 degrees, to fix the picture.
Decoupage assisting techniques
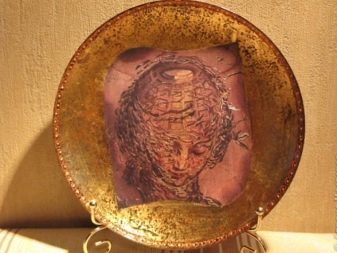
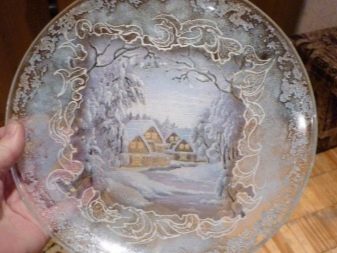
Some craftsmen give their work a very spectacular and realistic look. They achieve results by forming the volume and using various auxiliary techniques. For example, you can not just prime and paint an object for application, but create an imitation of a metal surface or the effect of antiquity.
If you want to create volume, choose a textured primer with fillers. With its help, beautiful structural surfaces resembling stucco work are obtained.
To achieve special effects, you can use the following materials and methods.
Impression of wear
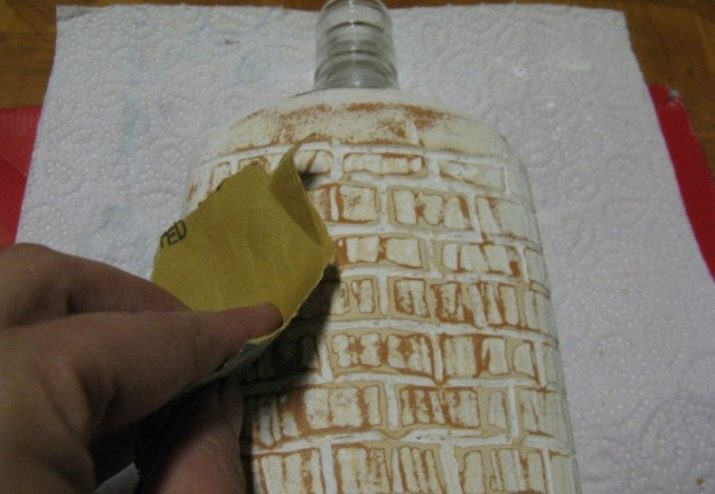
It is necessary to prepare several types of contrast paint (acrylic). You will also need a wax candle and a hard-top sponge. You can use sandpaper instead.
The subject is painted with one type of paint. After drying, the places where it is planned to create scuffs are rubbed with a wax candle. The entire surface is covered with a second type of paint. Allow the workpiece to dry well. Then, using a hard object (emery, sponge), the surface is cleaned of wax. Two types of paint, rubbed with a sponge, create a realistic scuff.
Potal
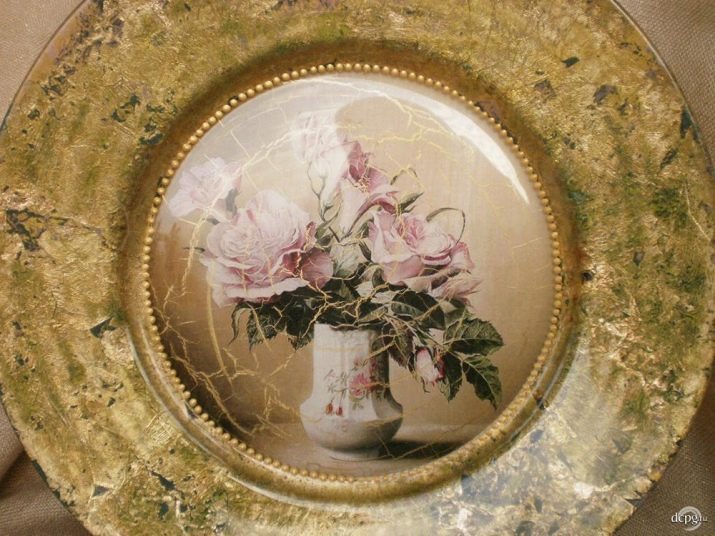
These are the thinnest sheets of metal imitating gold leaf. To decorate the glass surface, you additionally need to purchase several special brushes, glue for potali and shellac (varnish for gilding). Using a potal, a silver or golden surface is prepared for further decoupage work.
Craquelure
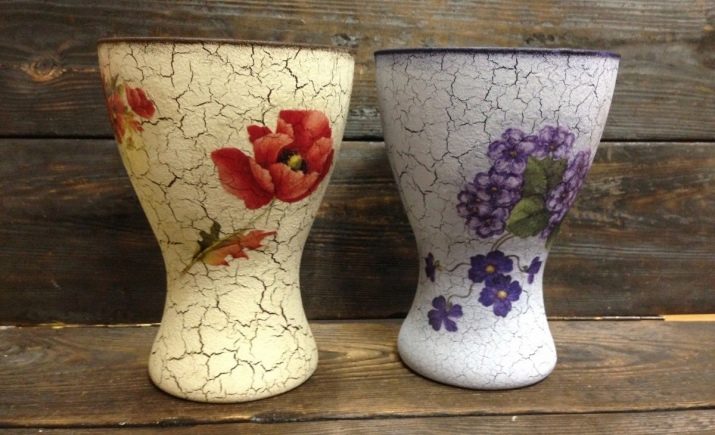
Artificial aging of the paintwork surface. The crackle technique is often used in combination with decoupage. The surface of the subject is covered with a thin network of cracks. This is achieved as follows: Craquelure varnish is applied to the paint layer, it is allowed to dry almost until done, then the object is painted again with acrylic paint diluted with water to a liquid state. Allow to dry for a day. During this time, the paint will crack and be fixed with shellac varnish.
Patina
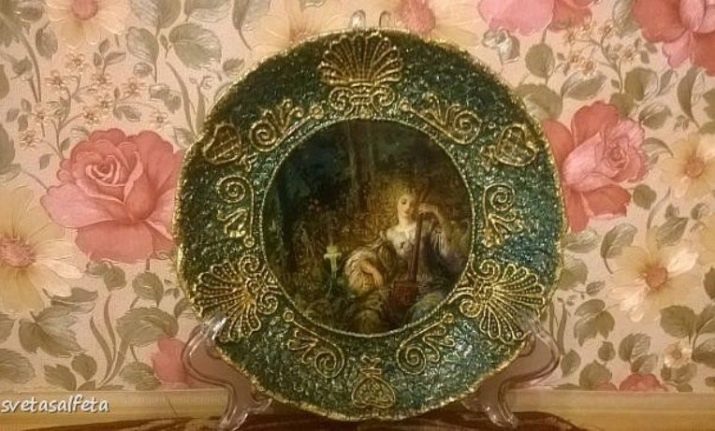
This is an imitation of tan plaque. In nature, it occurs as a result of oxidation, under the influence of time, on bronze and copper products. The patina technique helps emphasize the signs of aging on objects from any material.
Beautiful examples
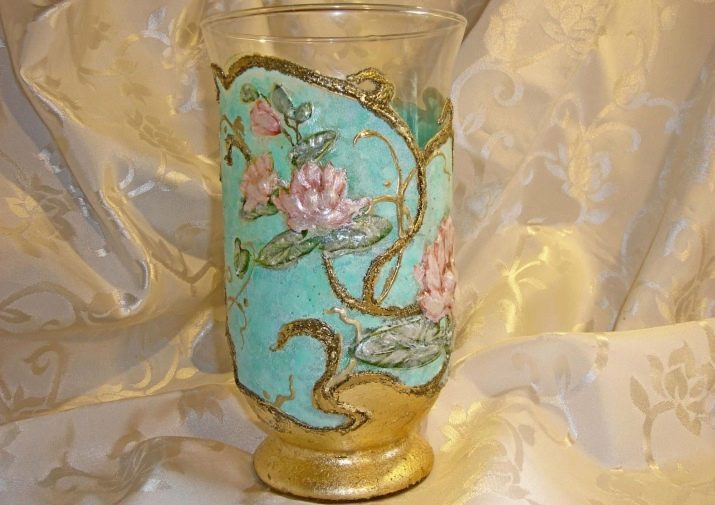
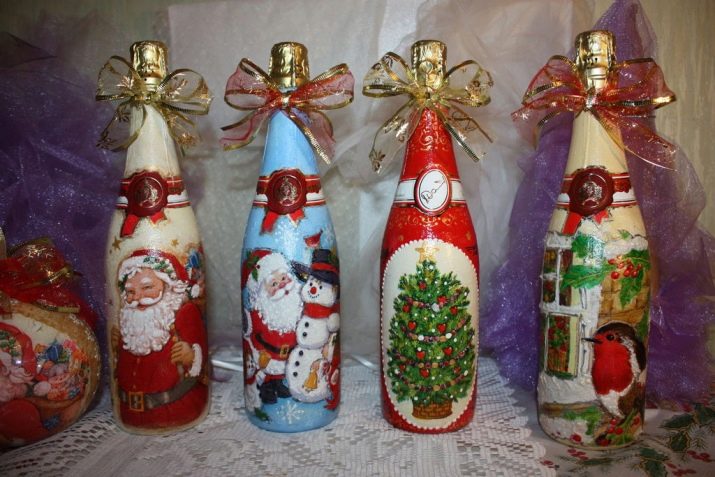
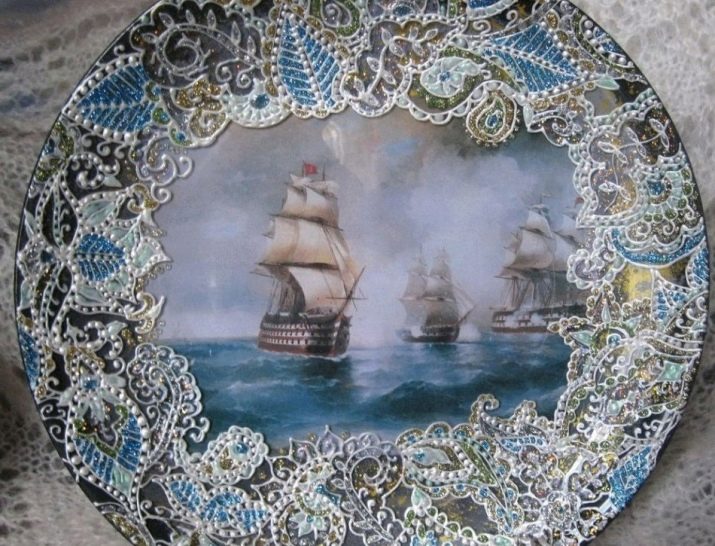
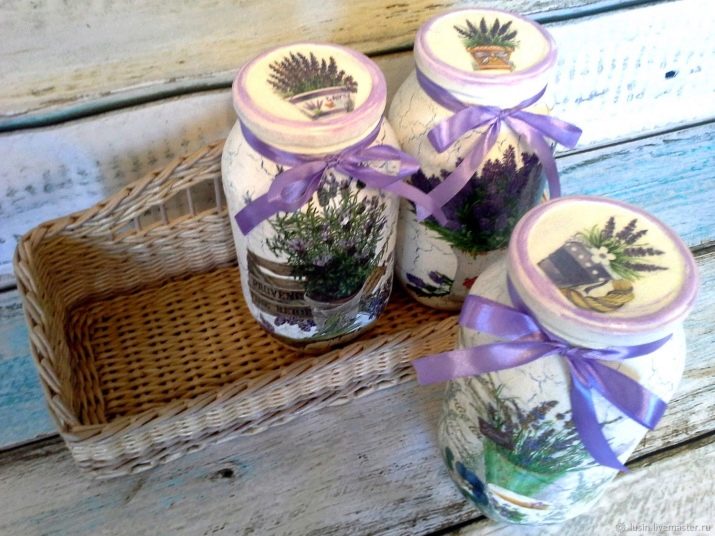
How unusual and delightful the decoupage technique looks on the glass surface can be seen by looking at the photos.
- Vase decorated with potal and textured material.
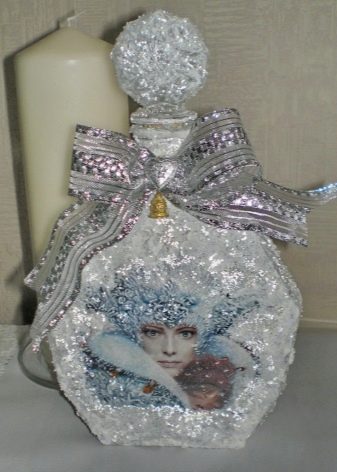
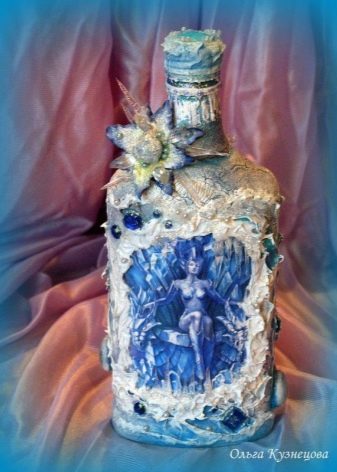
- Decoupage bottles, New Year's series.
- Marine theme selected in the work on the plate. The decoupage technique is complemented by painted elements using rhinestones.
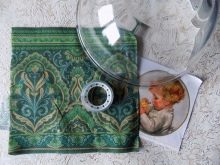
- Direct decoupage of a glass jar and lid.
- Reverse decoupage on the tabletop of a coffee table.
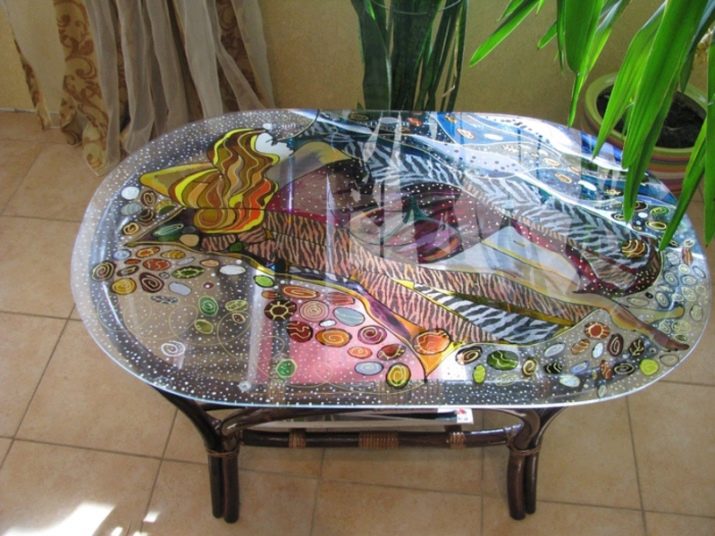
- The design of the bottle "Snow Queen".
- “Bottle for Gin” - a decoupage made using the patina technique and textured paste.
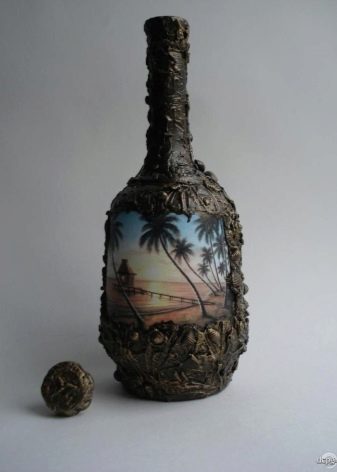
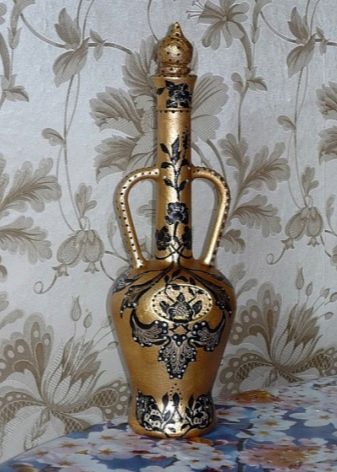
Decoupage on glass gives fantastically beautiful results. Decorated in this way things are not ashamed to present, put on the table or decorate the walls with products of their own production.
The technology for creating decoupage on glass can be found in the next video.
