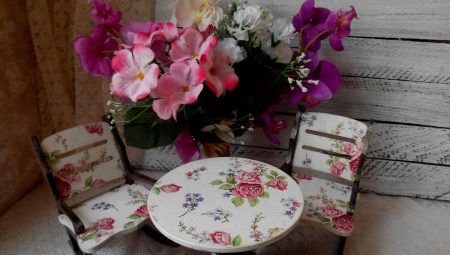
Today handmade items are gaining popularity - they, with minimal investment, create a special cosiness in the house, different from the standard decor. An old table made using decoupage technique, gaining a second life, will save on the purchase of furniture and will become a "highlight" in the interior.
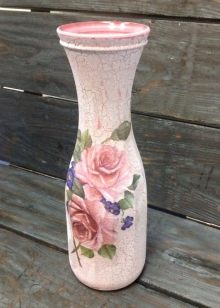
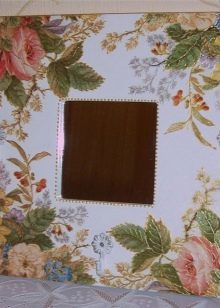
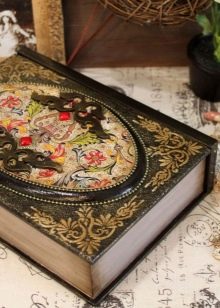
Decoupage technique will appeal to those who do not know how to draw, but really want to create a “miracle” with their own hands. It consists in transferring the finished cut-out drawing to the surface of the object, therefore the name of the method translates as “cutting”. You can cover the picture with anything you like: vases, mirrors, books, candles, gift boxes. Not only will they be updated, but they will also change their dull standard look to an unusually attractive image.
Interesting options
Having decided to update the table using the decoupage technique, we don’t think that there are a lot of options, and you need to decide on them before starting work. It will depend on what tools and materials we need.
Having chosen a table for alteration, you should take a look around the atmosphere in which it will be.
The picture and performance technique must be chosen in accordance with the design of the room, otherwise even the most beautiful table will bring disharmony to the interior.
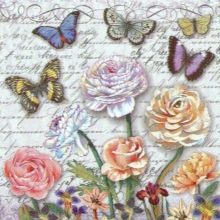
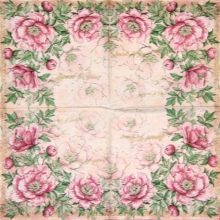
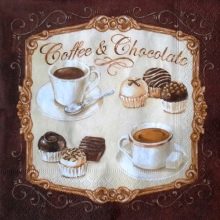
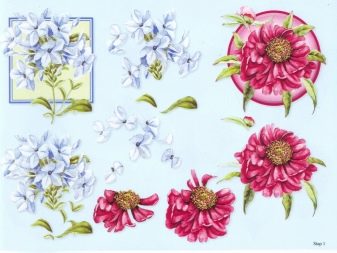
The pattern is cut out of fabric, tulle, rice paper, they are printed on a printer or copier. Nowadays, three-dimensional "napkin technique" is widespread. Not paper images are used, but colored three-layer napkins. Depending on the destination (children’s, lunch, coffee), the theme of the picture for the table is selected.
Consider decoupage options. Any of them can be used to decorate furniture.
Direct decoupage
It is also called classic, the most popular of the types of decoupage. The pattern is cut out and pasted onto the outside of the item, and then varnished.
Previously, the surface of the table is prepared for work: primed and painted, then the drawing is glued. The image is covered with a two-step craquelure and finish varnish.
Reverse decoupage
This technique is used to decorate transparent objects: glasses, vases, any glass products. Transparent plastic is also suitable for work.
The technique is simple: the picture is not glued to glass, but under glass (on the back of the item). And then everything is done according to the scheme: craquelure, background, finish varnish.
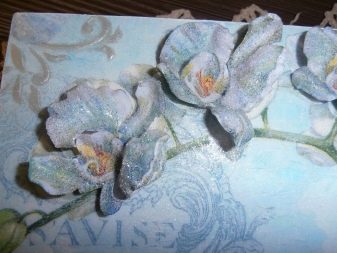
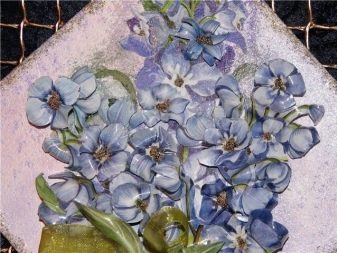
Volumetric Decoupage
Using this technique, a flat image is not simply glued, but the volume of the picture is created in different ways. This can be achieved by re-sticking each element or using raised special masses on which the picture rests.
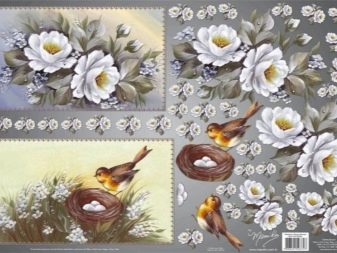
To create a three-dimensional product, many use ready-made three-dimensional decoupage cards - they are purchased in stores selling creative materials.
But some craftsmen achieve volume on their own. This is done using five or six identical drawings. One of them is taken as a basis, and fragments are cut out from the rest and glued to each other in layers. For a similar technique, silicone glue is used. You should not get too carried away with building up the form: excess volume can violate the integrity of the perception of the picture.
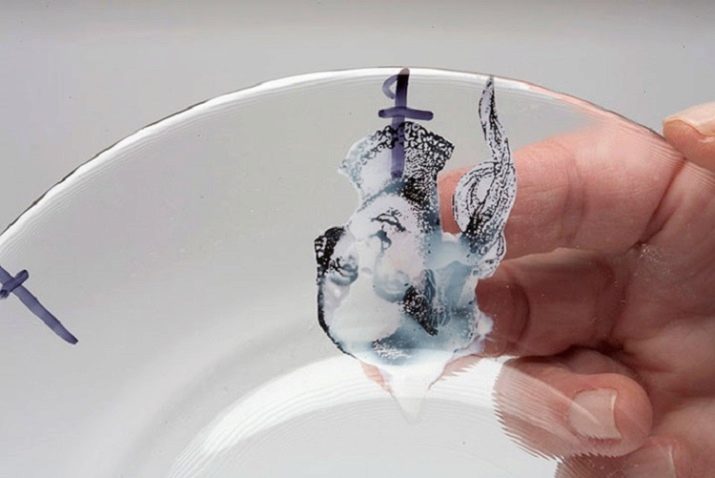
The Italian decoupage technique Sospeso Trasparente uses a more expensive way to increase volume: it involves the use of thermoplastics. This is a completely harmless, non-toxic material. The technique of Sospeso Trasparente is as follows:
- drawing is divided into fragments and work with each part separately;
- the fragment is glued to thermoplastic;
- when the picture element is completely dry from the glue, the excess plastic material is cut off, and the rest, carefully holding with tongs, is heated over the candle until it acquires plasticity;
- further, they quickly form the desired element using a special tool (bullets);
- The image, fragment by fragment, is laid out and formed on a latex rug, then transferred to the subject of decoupage.
Art Decoupage
The meaning of this technique is to combine the pattern and the background, the transition between them becomes completely invisible. The result is achieved in three ways.
- Smoky. This technique is considered basic in artistic decoupage. She imitates the real painting of the artist, creates a visual volume. Initially, the decoupage item is primed and painted, a pattern is glued, and then, in different ways, using a paint to create a smoky background.
- Classical. You need to choose the right colors and enhance the influence of the picture. The effect is achieved with the help of shadows, shading colors, painting. Working in this genre, you feel like an artist. This method is considered the most difficult, but the applications look like a real painting.
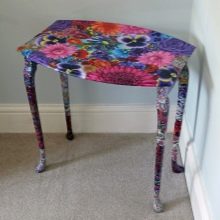
- Decopatch is a type of decoupage. This technique decorates not only the countertop, but the entire table completely, using a large number of fragments. The method resembles another popular type of creativity - patchwork, when things are created from many colorful rags.
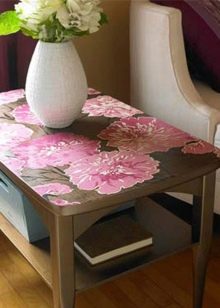
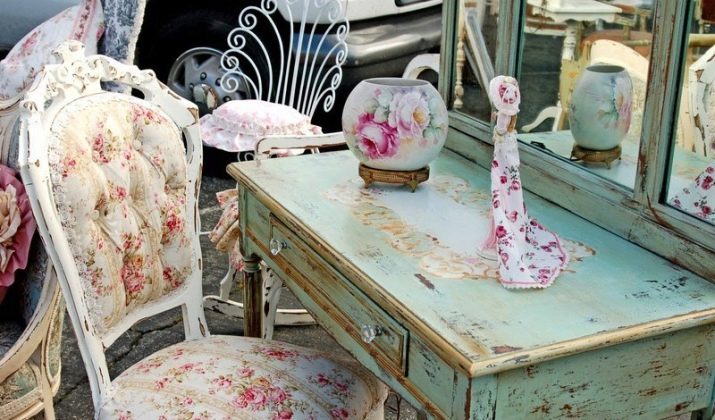
A table decorated using decoupage technique looks best in small rooms (kitchen, children's room, bedroom). He will not get lost among large furniture and will always be in sight.
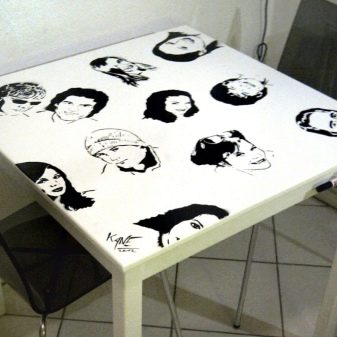
In spacious rooms you can place a table made in black and white - it will attract attention with its rigor and original design.
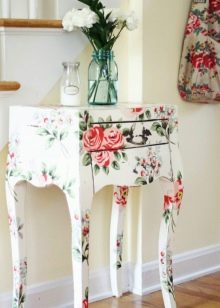
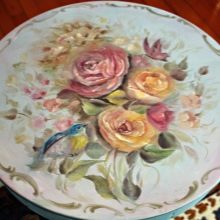
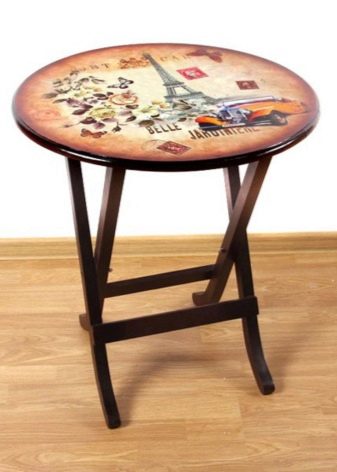
Today, most often choose pictures copied from vintage postcards. They are used in the style of provence and shabby chic.
Necessary tools
Any surface - glass, wood, leather, stone, ceramics - is suitable for decoupage technique, you just need to choose the right tools and materials. Different structures need different types of paints, varnishes and means to create peculiar effects.
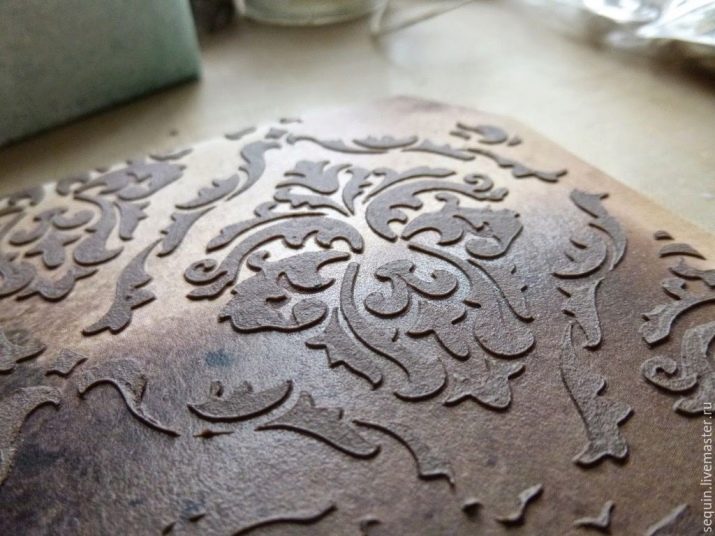
Nowadays, it is not difficult to find everything you need to work using decoupage technology, there are special shops offering goods for creativity. You can buy rice paper, varnish printouts, decoupage cards and napkins with ready-made collections of drawings. In addition, the most incredible acrylic paints are available today: metallic, with a pearlescent shade, chameleons. Texture pastes with various fillings allow to add volume to the image, they help to imitate stucco molding, create relief structures. Using stencils achieve fantastic effects.
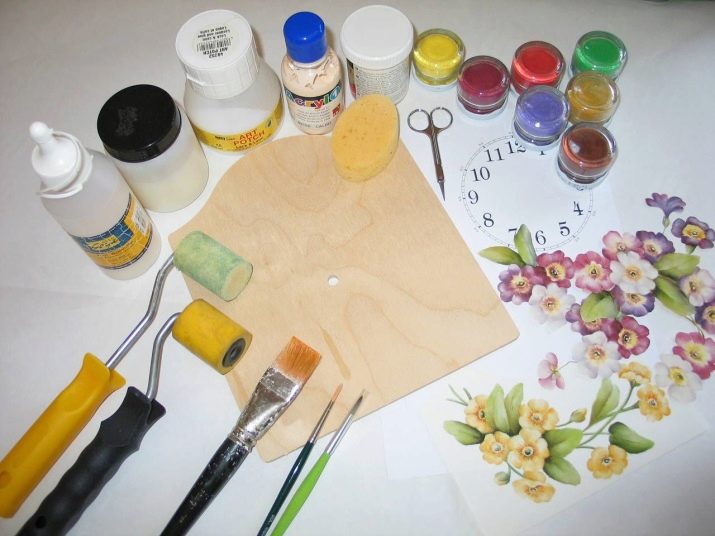
So, to work on decorating the table you will need:
- table;
- working drawing;
- grinding tools;
- putty;
- acrylic foundation;
- degreasing fluid;
- glue produced for decoupage (you can dilute PVA with water);
- sponge for brushing; brush;
- craquelure, if you need an aging technique;
- texture paste (if applicable);
- varnish;
- candle.
Preparation
Worktops differ from each other in the structure of the material, and their preparation for decoration takes place in different ways. The table chosen for work can be a kitchen wooden, written polished or coffee glass.
Surface preparation
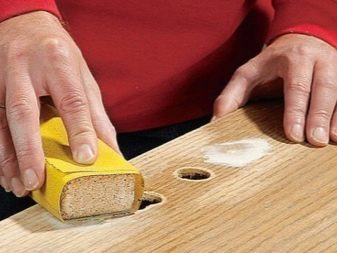
It is sufficient to degrease the plastic or glass surface with alcohol and you can begin to work. Sliding materials should also be worked out with emery to increase adhesion of the surface to the pattern. But with the old wooden table you have to tinker longer. Preparation will take some time and effort, but it is necessary. It makes no sense to cover the clumsy surface with a picture - the deplorable state of the piece of furniture will not change from this. The preparatory measure is as follows.
- The wooden table should be cleaned of old paint with grinding tools or sandpaper.
- Irregularities, crevices and scratches must be thoroughly puttied.
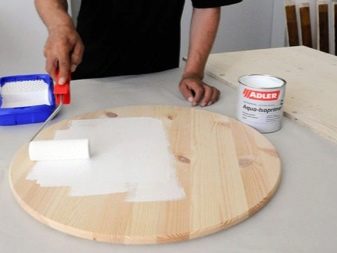
- Cover the table with a layer of gypsum primer.
- After drying, paint the surface with tonal acrylic paint in several layers. There is an interesting technique for staining the final layer through the tulle, which acts as a stencil and leaves behind a beautiful mesh pattern. The paint color of the last and previous coat should be different.
- Before applying the picture to the surface of the countertop, the painted table is completely dried, and then degreased with acetone.
Preparing a picture
If you purchase pictures for decoupage, you will not have to prepare them for work. And with other types of images you will need to carry out a certain series of actions. For example, ordinary napkins need to be layered to get the thinnest layer with a picture.
Decoupage cards or magazine versions of patterns are soaked before use. Prints are coated on the side of the picture with a layer of hairspray. You can use glue for decoupage, but, most importantly, to get from four to five layers of coating, with complete drying of each layer. The resulting material is sent for five minutes in warm water, then carefully dried with a towel. To free the picture from extra layers of paper, it is carefully rolled from the surface starting from the central part of the sheet, displayed in the direction of the edges. The remaining fine pattern should be handled with extreme caution.

Procedure
For those who want to make a designer thing from the old table, we offer a master class for beginners. Before starting to work with the picture, the primed and painted surface of the furniture should dry well. The following procedure is provided step by step.
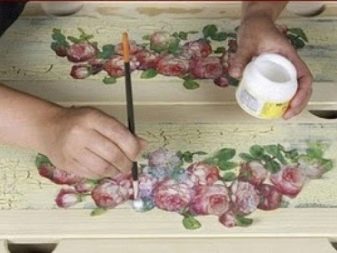
- Prepared, cut out the thinnest drawing is laid out on polyethylene (image down) and slowly leveled with a wet brush. If the picture begins to tear, it is carefully corrected with a needle. It is important that the brush is soft and moderately moist, and not dry or wet, otherwise the pattern will tear or get wet.
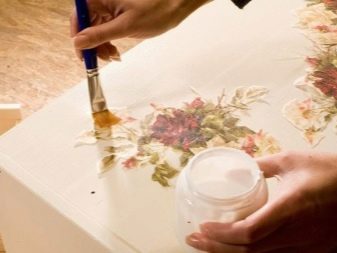
- A picture is laid on a greased tabletop, then cellophane is carefully removed, and the picture is smoothed from the central part to the side of the edges. The brush should be moderately moist, as in the previous action.
- The surface is covered with a layer of fixing glue.
- If the image turned out to be deformed, after drying it is covered with tracing paper and leveled with a non-hot iron.
- The main work is done. Next comes fantasy and skill. You can draw patterns with acrylic paint, retouch the background, apply craquelure, patinate or paint with a touch of mother of pearl.
- After the creative process, the last few layers of topcoat are applied.
Do-it-yourself video decoupage instruction:
Finishing Examples
There is no kind of table that could not be decorated using decoupage technique. Children's, kitchen, writing - you can decorate any with your own hands. We offer you to get acquainted with different types of tables and finishes.
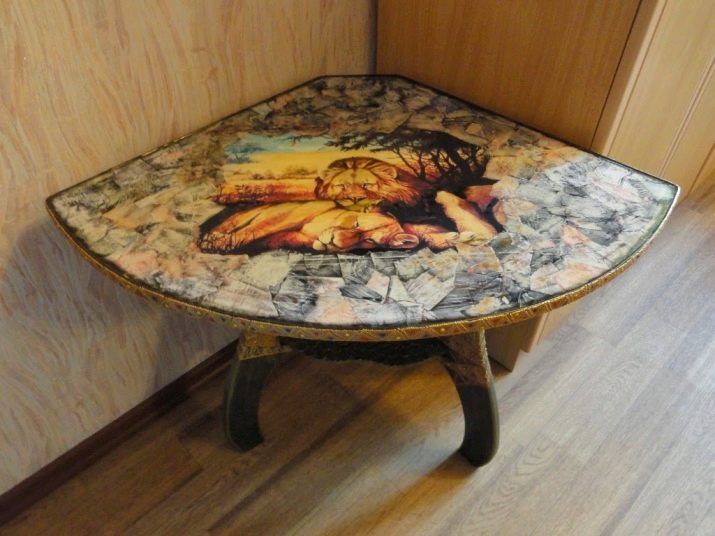
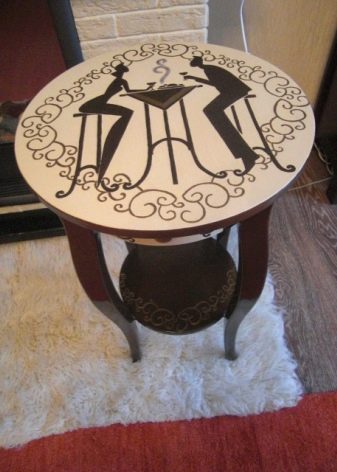
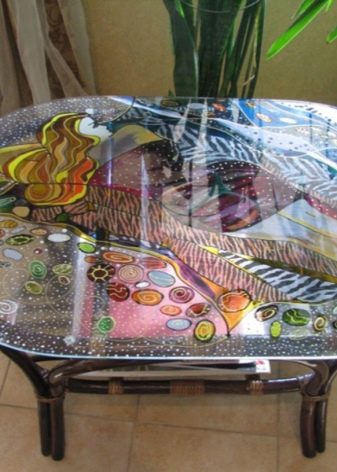
- Corner Coffee Tablemade on the theme of African motifs.
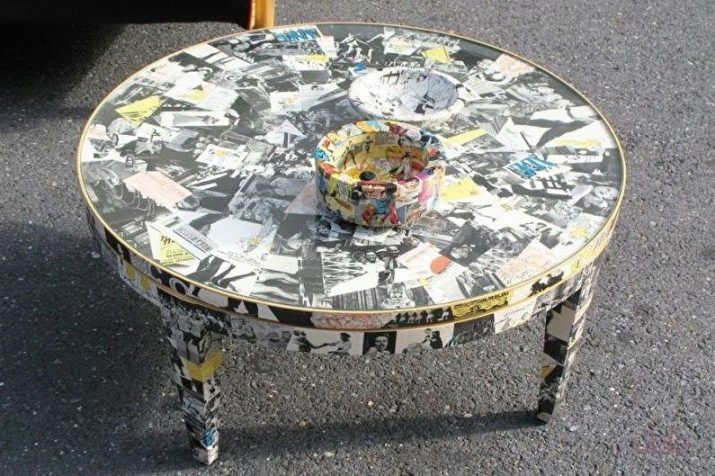
- Decopatch Technique Example - Varieties of decoupage.
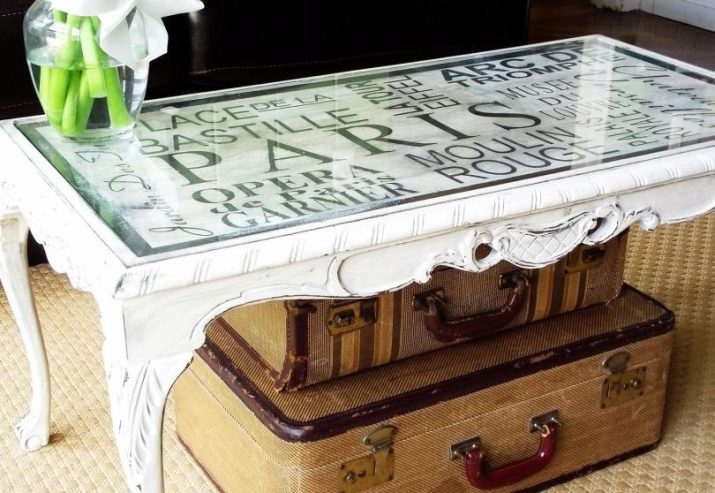
- Using letter images. Colonial style table - reveals the theme of geography, travel.
- Cinema fan's coffee table in retro style, black and white photographs of actors are used.

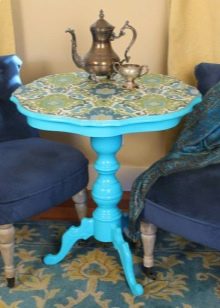
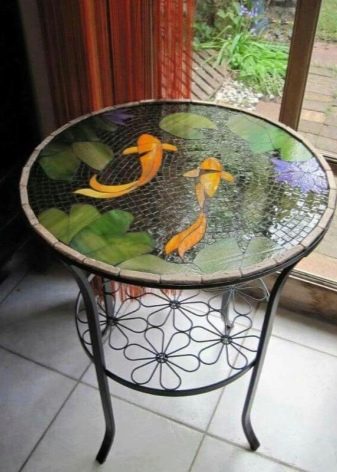
- Round coffee table.
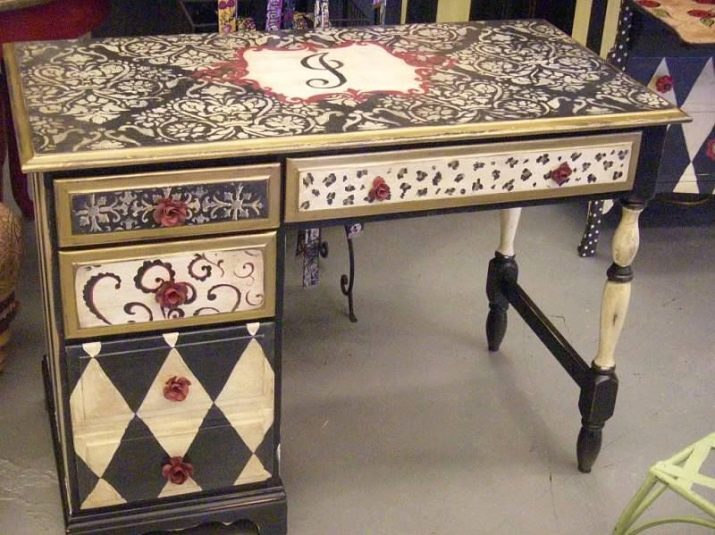
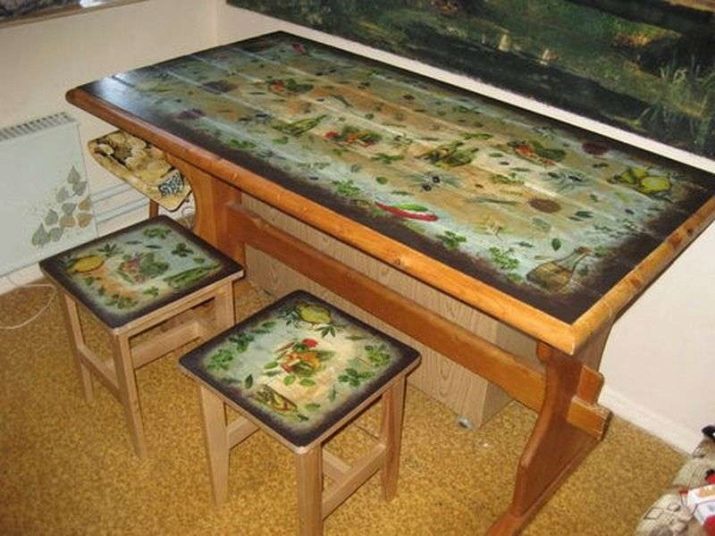
- Old desk got a second chance thanks to decorating decoupage.
- Examples of forward and reverse decoupage techniques on two different glass surfaces.
- Dining group furniture.
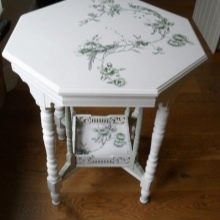
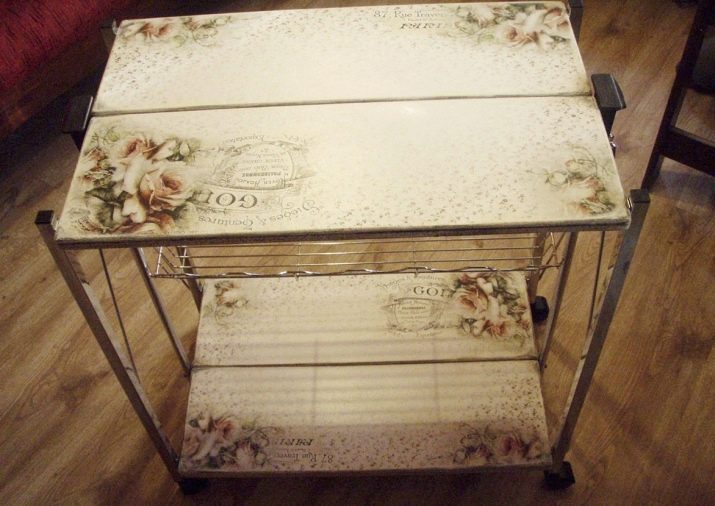
- Serving table, made in the style of shabby chic.
The beautiful peculiar decoupage technique has not changed for many years of its existence. The difference lies only in the accessibility and diversity of modern work material. Today, everyone can upgrade the old table and turn it into a “highlight” of the interior - you need only inspiration, desire and diligence.


