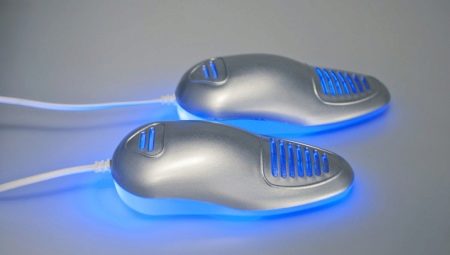
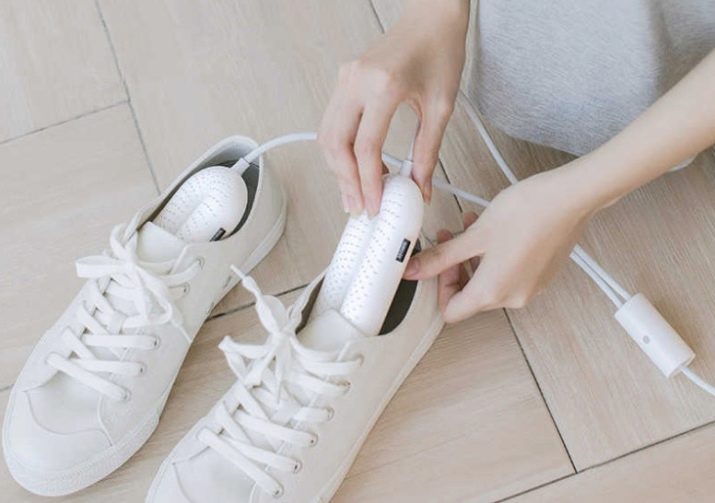
You can extend the life of your shoes if you dry them properly. Leaving wet shoes on the battery or near the heater may cause cracks in the sole or surface material and also cause a deterioration in appearance. Shoes can be properly dried using special dryers.
Since shoes have to be dried at any time of the year, even the most reliable shoe dryers, sooner or later, can become unusable. But like the devices have a simple design, and if some breakdowns occur, they can be repaired independently at home.
Possible malfunctions
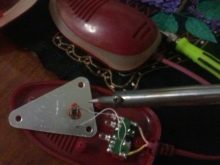
Both the whole device and only one of the heating elements can become unusable. You can determine which of the heating elements does not work by putting your hand to the plastic case of the device connected to the network. The idle element will not heat up, in addition, if there is a backlight for the heating element, it will also not work.
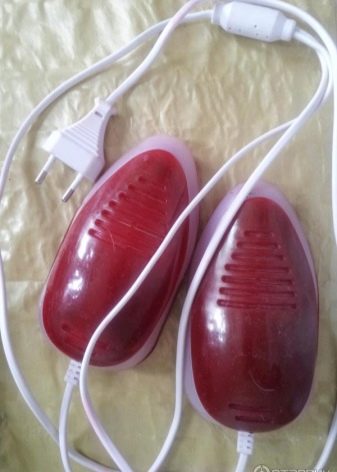
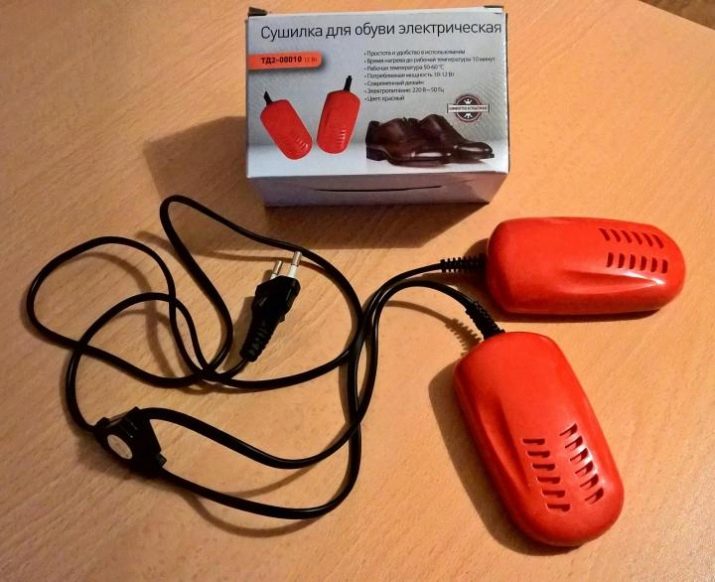
Any shoe dryer consists of parts such as:
- electric cord;
- heating elements placed in a plastic case;
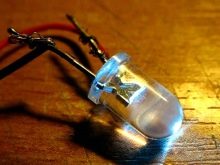
- LEDs
A malfunction may occur in each of these elements.
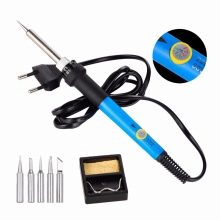
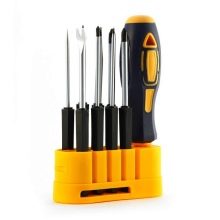
To repair any of them, the dryer will need make out. Therefore, you will need a basic skill in working with electrical appliances, as well as a set of screwdrivers, a knife, a soldering iron.
Among the most common malfunctions in the work of shoe dryers are:
- wire breakage;
- wire disconnected from the heating element;
- burnout of the LED.
After the cause of the failure is determined, you can proceed to repair the device with your own hands.
How to fix the dryer?
Before proceeding with the repair of the device for drying shoes, it is necessary disconnect the dryer from the mains. A working appliance must not be subjected to any mechanical stress in order to avoid electrical injury. In the event that only one of the heaters does not work, then the cause of the breakdown is disconnected wire from the heating element.
Correction of the malfunction will consist of several stages.
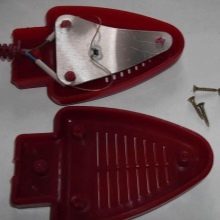
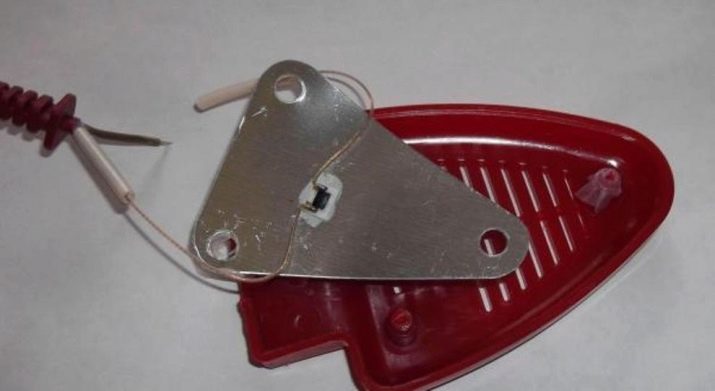
- Remove the fixing bolts on the back of the plastic housing.
- Open housing.
- Check the connection of the supply wire to the heating plate. The heater is a ceramic resistor coated with a thin layer of foil and located directly under the radiator grill. In case of a break, the wire will have to be connected back with a soldering iron.
- After the wire is soldered, it is necessary to wait for the alloy to cool completely, since the elements that have not completely cooled down after soldering can disconnect from each other at the time of assembly.
- After making sure that the connection is reliable, you can install the heating plate in its place, connect the housing parts to each other and fix the structure using bolts.
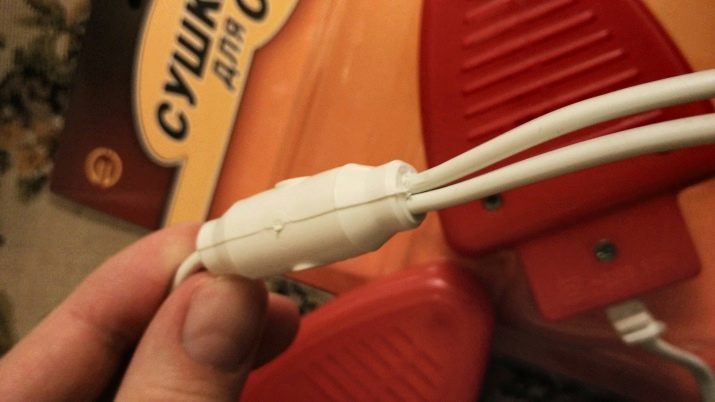
If none of the heaters is working in the device, and the cord has visible damage, such as creases, bare areas, then the cord has become unusable and needs to be replaced. Repair can be done in several stages:
- unscrew the bolts;
- open the case of both heaters;
- determine the location of the connection of the power cord to the plate;
- unscrew the bolts holding the wire to the plate and remove the damaged cord;
- install a new wire on the existing fasteners, secure with clamping bolts;
- assemble the case.
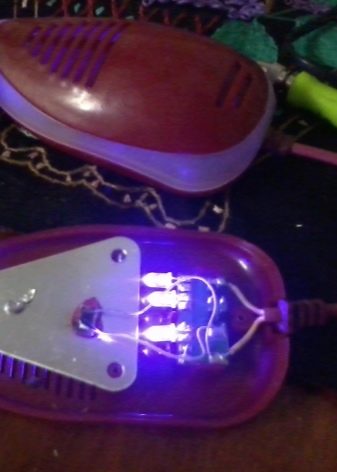
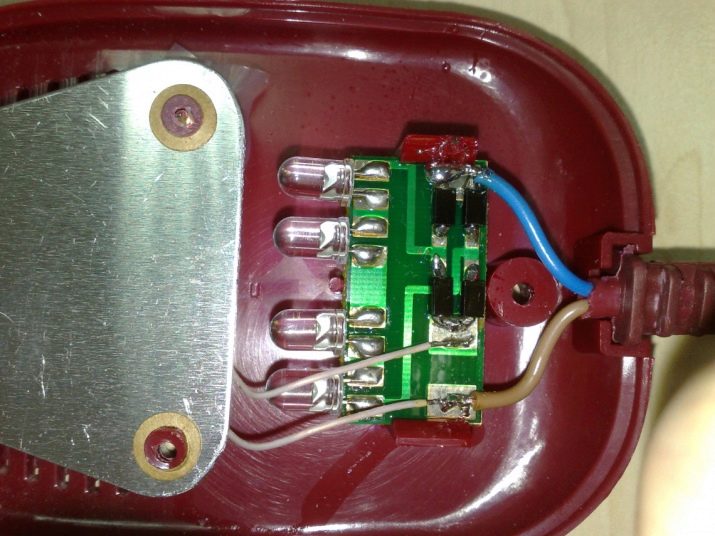
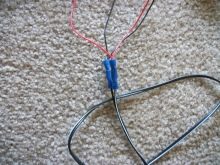
In the event that one or several backlight diodes burned out, then it will be impossible to do without a multimeter to check the serviceability of these elements. Repair work involves a series of steps.
- Disassemble the heater casing with idle backlight.
- Determine the location of the LEDs.
- By alternately connecting the multimeter probes to each LED, identify the faulty bulb. In the event that the light element is serviceable, the arrow of the device will show a value other than "1". All idle LEDs must be replaced with new ones.
- Using a soldering iron, disconnect the idle ones and install new LEDs, check the presence of alternating current with a multimeter.
- If all the LEDs work, proceed with assembling the housing and checking the operability of the device.
Recommendations
When using shoe dryers for their intended purpose, such things can last quite a long time.
The service life of appliances is greatly reduced if improperly used.
Therefore, in order to avoid damage to the dryer and subsequent repair, during use, you need to follow a few recommendations:
- avoid twisting, kinks, violation of the integrity of the insulating material of the electric cord;
- Do not use the device for drying washed shoes, since a high moisture content and its ingress into the case can lead to short circuits and malfunctions;
- avoid contact of the device with water, exposure to high or too low temperatures;
- use the dryer only at room temperature.
In addition, when choosing a new shoe dryer, you need to give preference to products of trusted manufacturers, after reviewing the availability of positive reviews about the product.
A visual video on how to quickly and correctly independently perform repair of drying for shoes, see below.


