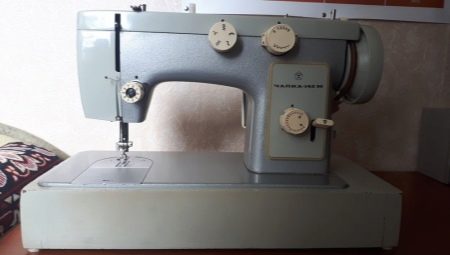
Sewing machine "The Seagull-142M" - the legendary model, produced during the Soviet era and enjoyed great popularity, today is experiencing a rebirth. It is enough to find out how its modern and classic versions differ in order to say with confidence that this technology today is fully consistent with its status as a leader in the mass market segment. Managing it is quite simple. The instruction manual for the equipment gives comprehensive recommendations and makes it easy to understand this issue.
A detailed guide to setting up and adjusting significantly simplifies the repair of the machine, if the breakdown is minor. It will help you understand how to thread the thread, set the presser foot, or eliminate the contraction of matter. Proper care of the selected equipment is also important. If during its operation all the rules were followed, serious problems with sewing can be avoided.
Characteristics
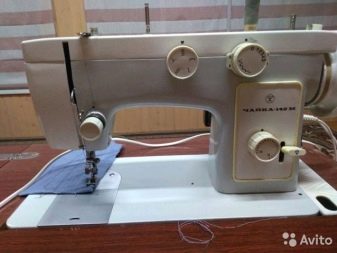
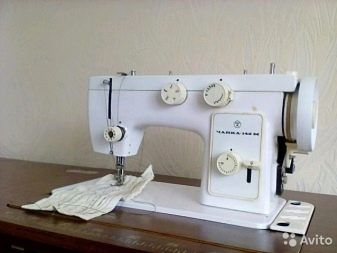
The classic sewing machine "The Seagull-142M" is one of the first models of Soviet sewing equipment, capable of performing many operations. It was produced in several versions:
- 142M-22 and its versions - in the presence of a table-cabinet, foot drive;
- 142M-33 - with electric drive, stand, suitcase;
- 142M-22-33 - combining the functionality of previous versions, with 2 types of drive mechanisms.
Depending on the drive, the machine runs on a foot pedal or electrical energy. The mass of the model 142M-33 is 16 kg, other modifications - 39 kg. The working frequency of the machine is up to 1000 rpm, there are 12 sewing operations, the maximum width and length of the stitch are 4 and 5 mm, respectively.The foot rises to a height of 6 mm or more. The set includes an upper thread tension regulator, thread cutter, and a switch for sewing with a zigzag stitch.
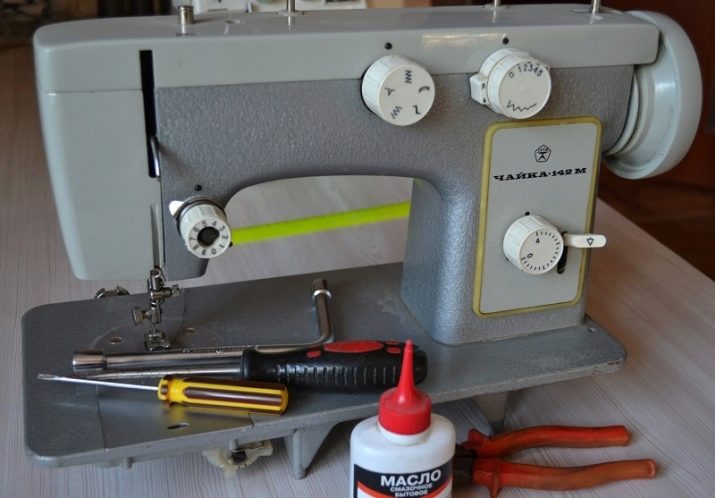
The classic foot and electric Chaika 142-M machine does not require complicated adjustment, but only periodic lubrication, since all the parts of the mechanism are metal.
The equipment is adapted to work with silk, wool, linen, cotton fabrics, when using a double needle, you can make decorative seams.
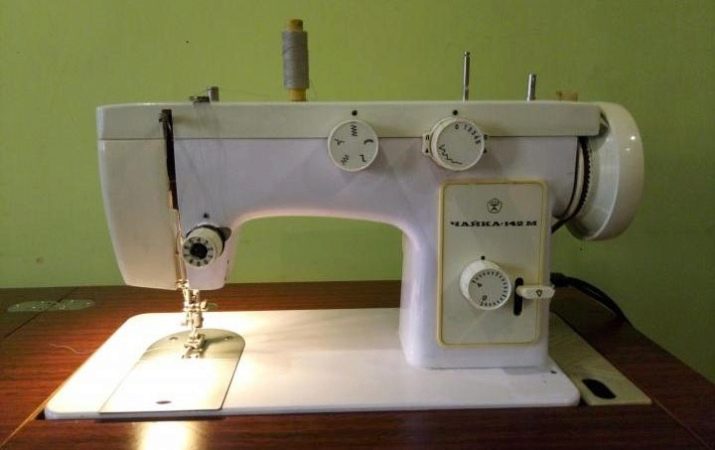
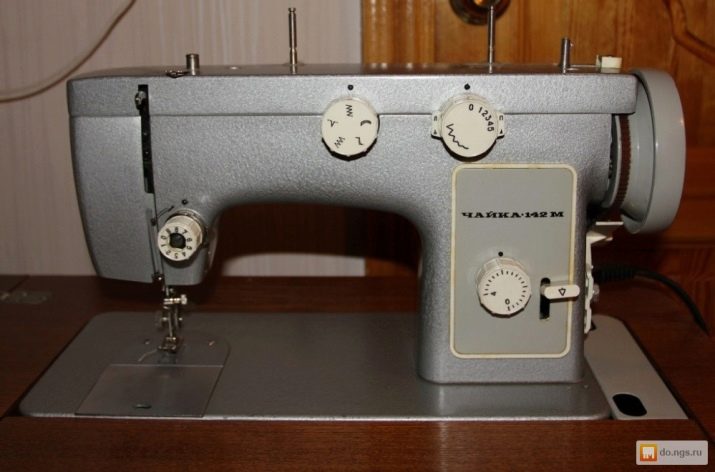
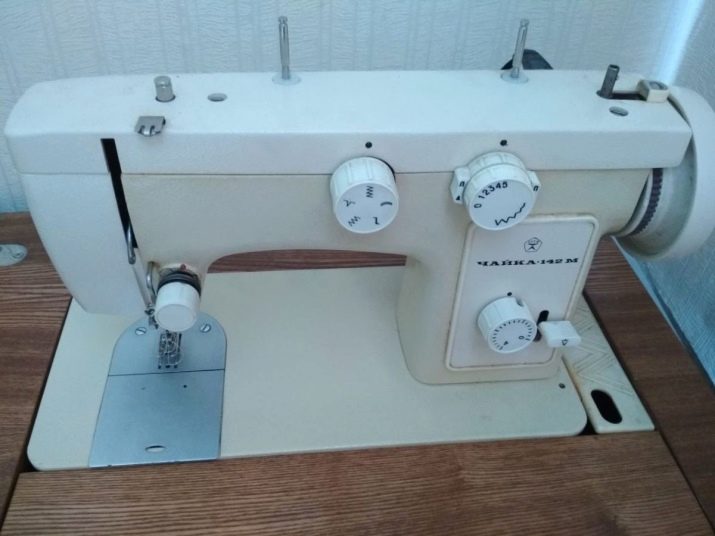
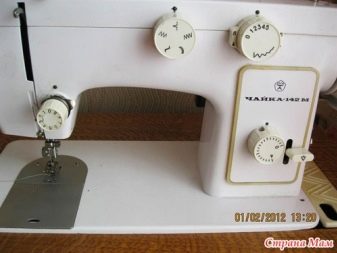
The modern version of the electromechanical sewing machine Chayka 142M is made in Vietnam. She is much lighter than her predecessor - only 5.7 kg. Among its stored options are a vertical shuttle, lever reverse gear shift, raising the presser foot with an extra margin for sewing heavy and thick fabrics. The indicators of the length, width of the stitch, the presence of a tension regulator of the upper thread remained the same.

The differences include horizontal location of the reel, increasing the number of available operations. Now there are 19 of them, in the presence of sewing out loops in a semi-automatic mode, the creation of overlock seams, knitted, elastic zigzag. The machine makes hidden and decorative stitches. The needle with a straight stitch can have a central position or move to the right.
Equipment
The delivery of a modern Chayka 142M sewing machine has a soft cover that protects it from dust during storage, a soft felt pad. Additionally, there is a device for ripping fabric, a rod for fixing the coil in an upright position, as well as its small and large holders.
For adjustment and adjustment, the kit includes a screwdriver-wrench, an oiler with lubricant. The manufacturer added accessories to the machine: a set of 3 needles, 4 bobbins made of plastic, darn platinum, a special guide for practicing quilling, a frame for creating loops in a semi-automatic mode. Among the available paws: universal, designed for sewing zippers, for sewing buttons.

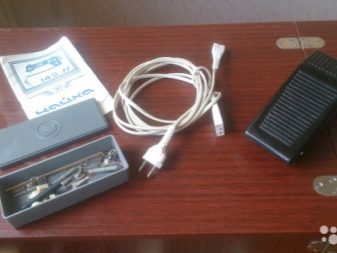
The Soviet-style model "Seagull-142M" also included a set of accessories, consisting of:
- boxes for accessories;
- lubricators for lubricating mechanisms;
- 2 screwdrivers of different sizes for setting up equipment;
- 5 single and 3 double-rod needles;
- darning plates;
- 4 bobbins;
- brushes for cleaning;
- spare lamp;
- opener and needle threader;
- 6 paws in addition to universal;
- accessory to create a blind seam.
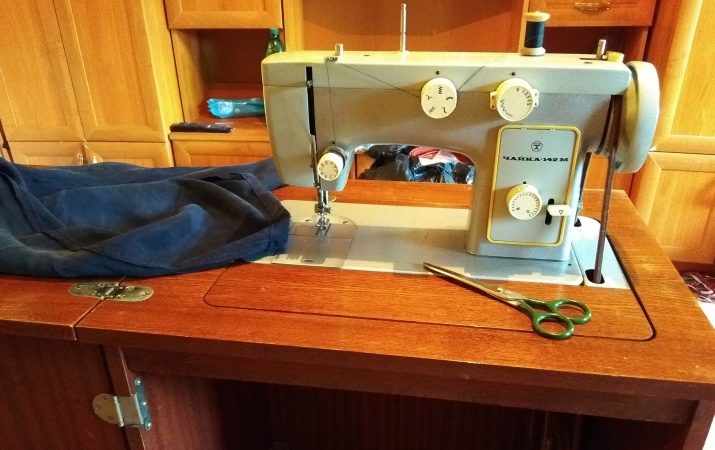
In addition, a suitcase-case or a table-cabinet came in the kit, depending on the modification of the machine. In general, we can say that the manufacturer today does not save on user convenience.
User's manual
To describe the operation and settings of sewing machines Chaika-142M and Chayka 142M in comparison, it is worth considering from the very beginning equivalent modifications with an electric drive. Foot options with a belt are not available today. Adjustment and adjustment of equipment always starts with lubrication. All work is carried out strictly when the drive is off.
Threading
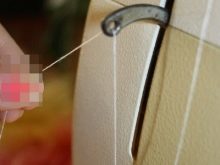
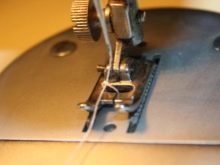
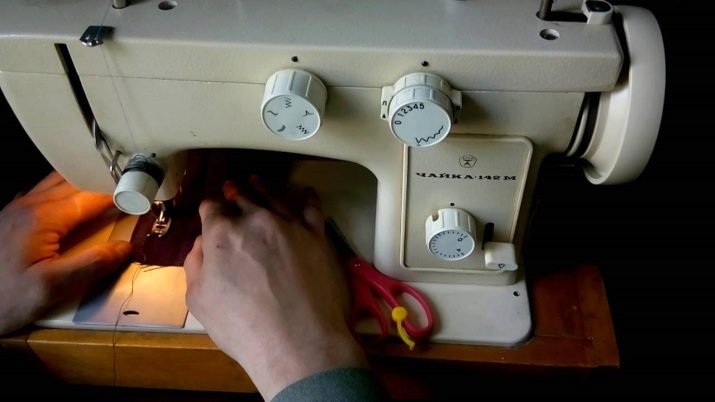
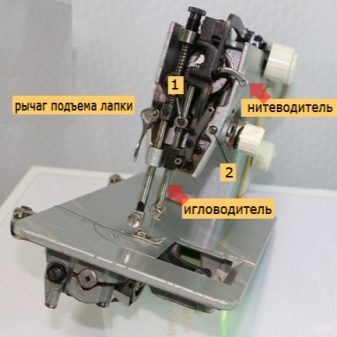
Before you start using the sewing machine "The Seagull-142M", you need to take care about proper threading. To do this, install the needle in a position in which the groove for the thread will be directed to the operator, and the sawn part of the bulb will be turned in the opposite direction. When immersed in the plate, there should be no touch. If it happens, it is necessary to carry out positioning using a needle bar - its screws are loosened, the position is selected strictly in the center.
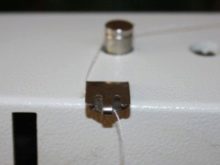
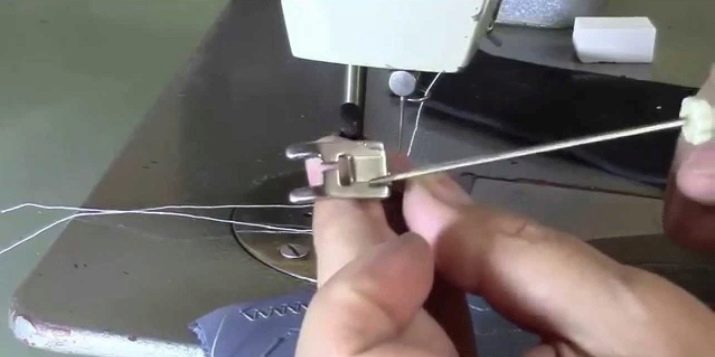
Next, you can go directly to threading. The lower one is on the bobbin and needs to be placed inside the bobbin case of the shuttle mechanism. They take it out of the car before refueling. The bobbin is placed inward so that it rotates clockwise. The free end of the thread with a length of 10-15 cm is passed through the slot, put under the spring and fastened in a special groove, checking freedom of rotation.
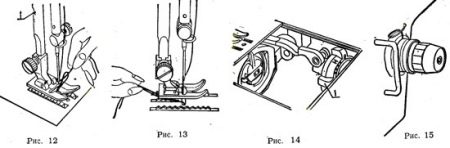
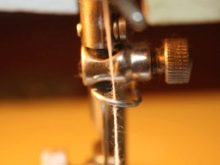
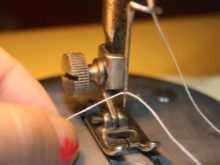
The upper tensioner also refills in a certain order, with the mandatory lifting of the needle and foot all the way up. After that, the rod for installing the coil, removed during storage, is pulled from above the housing from above and it is placed in its place. Thread tip:
- extends through the guide from above;
- held from right to left between the disk mechanism of the tension regulator;
- displayed in the eye in the lever;
- falls down through the spring;
- enters the thread guide located in the needle bar;
- threaded into the eye of the needle manually or with a needle threader.
In the new type of machines, part of the threading mechanism is hidden in the housing behind a special panel. The sequence of actions during refueling is depicted on the explanatory figures right there, they do not need to be found in the manual.
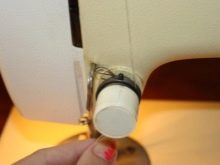
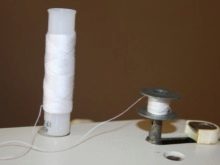
Winding thread
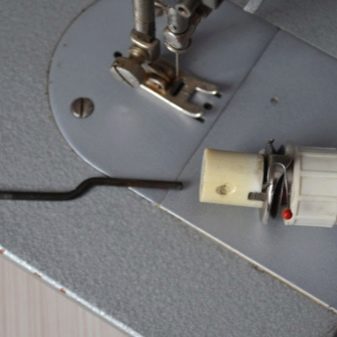
In old-style machines, the pin for installing the bobbin is located on top of the case, in the same place as the main coil. The thread is removed from the dressing, carried through a special tensioner, manually mounted on the spool in several revolutions, set it on the mount, and pushed all the way. The flywheel is moved to the idle position, after which a force from the drive is applied to the winder and winding is carried out. When the spool is full, it will stop automatically.
On a new model machine, the winding of the thread occurs in a similar way. The entire circuit is applied to the body in the form of tips.

Control
In order to start sewing, it is necessary to select the desired type of stitch on the left knob of the control panel of the Chaika-142M machine, and set the mark “0” on the right with the corresponding pointer on the central axis (corresponds to the position of the clock hands at “12”). The bottom rotary controller sets the length of the stitch - it depends on the thickness of the fabric, increases in proportion to its growth. For work with materials of low density, a position of 1.5-2 mm is sufficient.
To change the sewing direction (reverse), it is necessary to move the lever to the right of the stitch length regulator all the way down, make a bind and release. He himself will take a regular position. To increase or decrease the speed of the machine, a foot pedal is used.
Changing the force when you click on it will give the desired effect. The pedal only works when the instrument is connected to the network.
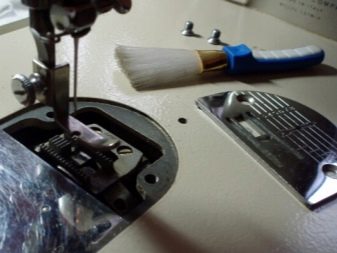
In the machine, the elevation of the teeth of the lower conveyor can be adjusted. To do this, a plate is removed from the platform, blocking access to the shuttle compartment. When a regulator is detected, it is placed in the desired position. Mark "B" is relevant for embroidery and darn operations (it is better to perform with a minimum zigzag step). The letter “H” is suitable for most materials, especially thin textiles are sewn in position “W”.
In the new model, the reverse is located on the panel closer to the needle bar hidden in the case. Regulators 2 and they are on top of each other. The upper one is responsible for the parameters of the stitch, the lower one is for choosing the type of stitch.
Care
In order for the sewing machine to demonstrate the necessary performance, it needs proper care. It’s worth starting with a visual inspection of the case. It is necessary to remove all visible impurities, dust from its surface. After this, you can begin to dismantle the removable elements. In the old version, it was possible to remove the top cover, in the new one it was sealed, and access to lubricate the mechanisms is limited.
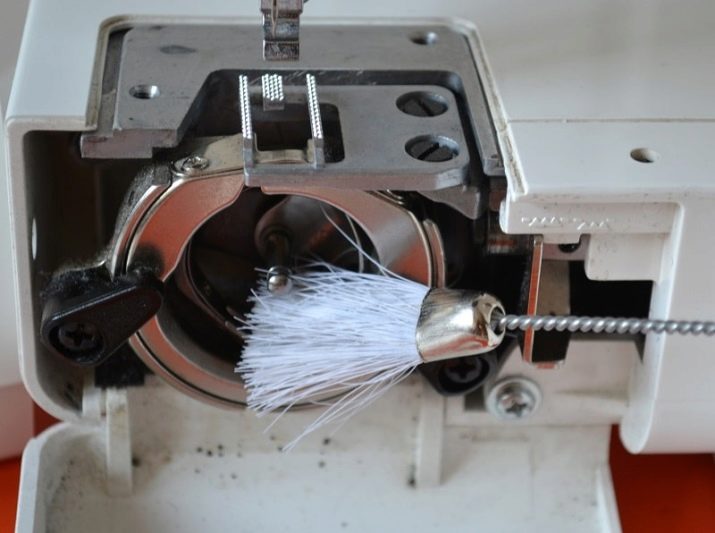
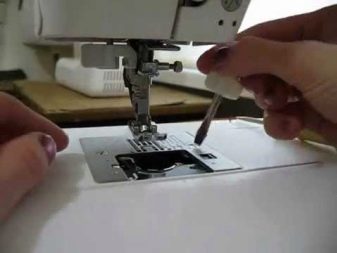
An obligatory moment in the process of leaving is the cleaning of the shuttle compartment of the tissues stuck in the mechanism of towing. These works are carried out with the needle raised and fixed in the upper position. Also, it and the foot can be completely dismantled. Having freed up access to the mechanism, it is necessary to lubricate all the rubbing parts with a grease fitting. Enough 2-3 drops per node.
Possible malfunctions and repairs
The main reasons for the breakdown of modern Chayka 142M machines usually come down to a violation of standard adjustments and settings. It is enough to return them to the factory values or correct until the fault is eliminated.For example, if the thread is not tensioned correctly, the bottom stitch always winds or the chain of upper stitches is defective.
In older models of machines, "The Seagull-142M" eventually fails or the timing belt of the electric drive goes astray. If this happened, the main and lower shaft are out of sync. The line in this case will have traces of omissions. For new cars, this problem also occurs, and to adjust the position of the belt, you have to dismantle the front panel of the case, since this part is hidden inside it.
Other common problems include a broken thread. Among its causes are the curvature and blunting of the needle or its incorrect position. The needle bar may also be biased or the shuttle clogged. But most often the reason lies in the incorrect tension of the thread.
And if in a modern machine it is regulated by special tuning units and only requires periodic removal of debris accumulated between the flat disks, then in the old-style models the adjustment is carried out manually.
First, a control line is needed to identify the problem. If the seam has pronounced defects, it is recommended:
- check the correct position of the spool;
- check the filling of the upper tensioner;
- inspect for mechanical interference;
- check the type of needle and thread.
Not all defects can be fixed on their own.. If the line remains uneven when resolving these problems, you should contact the service center for diagnostics. The reason may be a manufacturing defect or a breakdown of a mechanism part.
If it is the tension of the upper thread, it will be enough to loosen it by 0.5 steps. After this, a test seam is performed. Adjustment continues until the result is satisfactory. If it’s the bottom thread, use a screwdriver to loosen the shuttle screw counterclockwise.
For possible types of malfunctions of the sewing machine, see the next video.


