Despite the widespread development of the textile industry, home sewing machines retain their popularity. Among them, even old models that were produced back in the 1970s are in demand. But real knowledge about setting up and adjusting such a technique is difficult to find. It’s time to fill such a gap. We provide a description and operating instructions for the sewing machine "Seagull-2".
Features
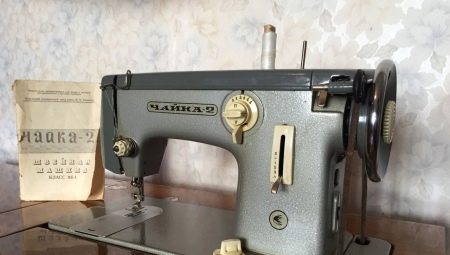
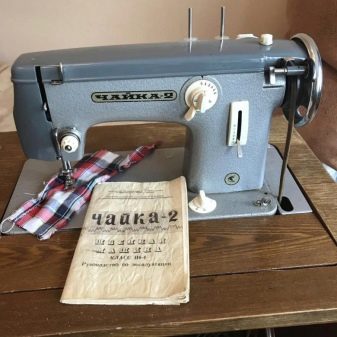
It is appropriate to start the conversation about the model of the foot sewing machine "The Seagull-2" by the fact that it is arranged in approximately the same way as the other models in the "The Seagull" series. Moreover, the internal structure of the once popular Podolsk series also has no noticeable differences. There is not much difference in the operating mode.
The only noticeable difference is the presence of additional variations of the “zigzag” line present in some modifications.
Internal organization
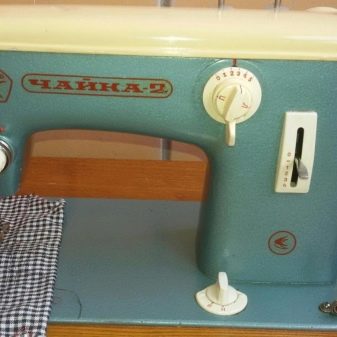
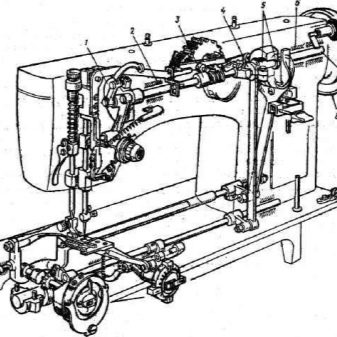
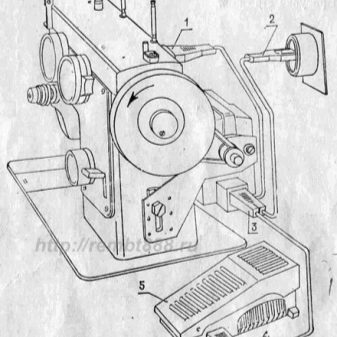
The Seagull-2 is equipped with a shuttle device, a line type determinant, a zigzag width adjuster, a spool pin, a coiler and a flywheel. One lever is responsible for shifting the needle, and another for pulling the threads. A needle plate is provided. Of the other parts, there are:
- platform;
- clamp detail;
- a pair of caps;
- lever raising the foot;
- thread tension controller;
- needle bar;
- tightness washers;
- needle shift lever;
- return feed lever;
- zigzag sticks, stitch controller, comb comb up, shut off copier case;
- picturesque design.
Application, tuning, repair
Sewing machines "The Seagull" and "Podolsk" can work with:
- cloth for sheets;
- chintz;
- satin fabrics;
- silk materials;
- materials for linen;
- batiste;
- elite varieties of silk;
- calico;
- woolen fabrics for suits;
- thickened pieces on the basis of wool (for a coat) and strong cloth.
According to the specific task, the following options can be used:
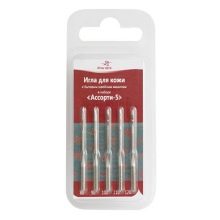
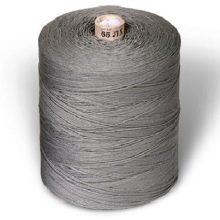
- needles 70, threads 65;
- needles 80, threads 65;
- needles 90, 100 or 110.

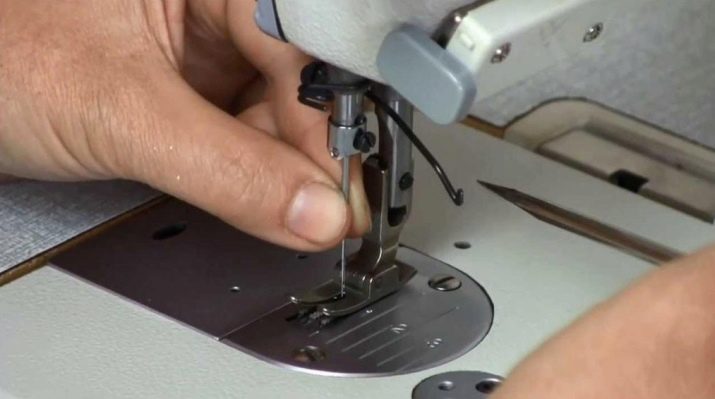
The instruction manual provides for the introduction of the needle into the needle holder, and then securing it to the stop with a screw. Only after this is the upper and lower thread tucked in. First work with the upper thread. Pull the spool pin out of the sleeve cover until it stops. Put the eye of the thread attractor in the upper position by rotating the flywheel.
Next, raise the clamping part. Put on the rod a thread winder. The upper thread is inserted into the aisles of the plate thread guide, exactly between the washers of the tension controller. Then it is pushed into the opening of the spring, attracting the thread, held under the thread hook, lead through the hole in the thread take-up lever into the wire thread guide. Then it remains to stretch the thread into the thread guide on the needle bar and place its tip in the eye in place of the operator.
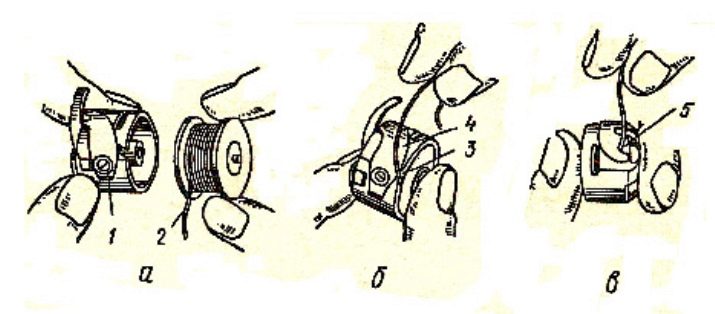
Bottom thread charging starts by removing the bobbin case and bobbin. This operation is performed by turning the element that places the needle at the highest point. Next, slide the plate and with two fingers grab the latch lever. Then pulling out the bobbin case will not be a problem.
The manual also describes the steps for winding the thread on the bobbin using a winder.
When this is done, insert the bobbin cap inside the hook. Care must be taken to ensure that the needle is at the highest point. If the cap is inserted correctly, the latch lever is spring-loaded. When the lid is opened, it is as if trying to return. If you are going to start sewing, you need to pull the lower thread onto the needle plate, and then, clinging to the upper thread, pull the thread in the hook onto the same plate.
Class 116-2 provides the ability to adjust the stitch. The power of the backlight is up to 15 watts. The weight in the factory case can reach 18.5 kg. The reach of the sleeve is from 0.17 m. True, this is already the model "The Seagull-3", which has become the successor to the previous model. In addition to some additions, it is no different.
Experts recommend finishing products with as little line spacing as possible. Then the picture will be clearer. Shift the line when you need to do complex manipulations. An experimental line helps to check the quality of the firmware. Working with the upper thread tension controller, they ensure that the threads are intertwined at the centers of the pieces to be connected.
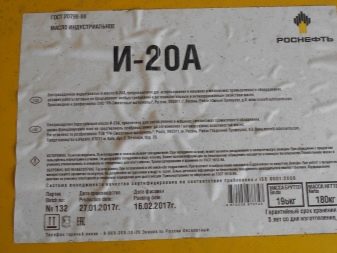
Sew on very thick or strong fabric at a slower pace than usual. Helping the flywheel is very useful (it will have to be scrolled manually). Thin fabrics, especially silk, are pulled slightly behind the foot. Then there will be less chance that the seam will be pulled together. To lubricate the sewing machine, only industrial lubricant oil I-20A is used, which corresponds to GOST 1975. If the machine sews very hard, or the thread is jammed, urgently need to clean the shuttle.
On how to learn to sew on the sewing machine "The Seagull-2", see further.


