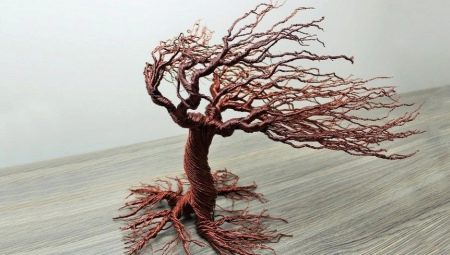
Elegant decor, an elegant present or a visualizer of desires - all this can be a tree made of wire. From the simplest and most affordable material, you can build a beautiful souvenir that combines decorative tasks and creative impulse. Even a beginner can handle it.
What is necessary for work?
It can be small or medium sized, outdoor or even suspended. Such trees are often made as wedding souvenirs, because the materials for the execution vary depending on the purpose of the craft.
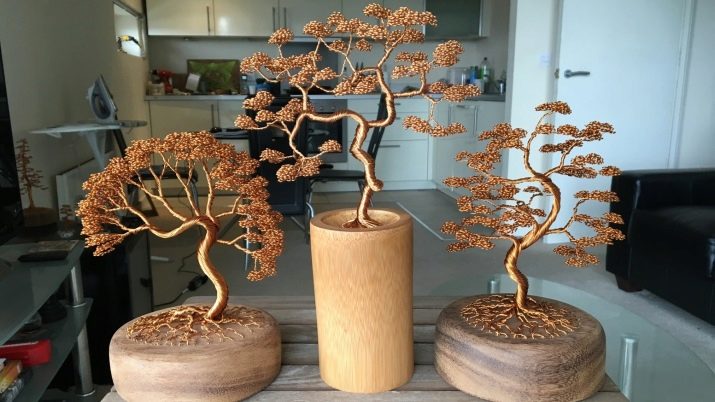
Interesting models are becoming bright treesbased on wire and the most common nail polish. A cosmetic product is becoming a popular material for making trees, as it is inexpensive, and there are a lot of color options.
What you need to work:
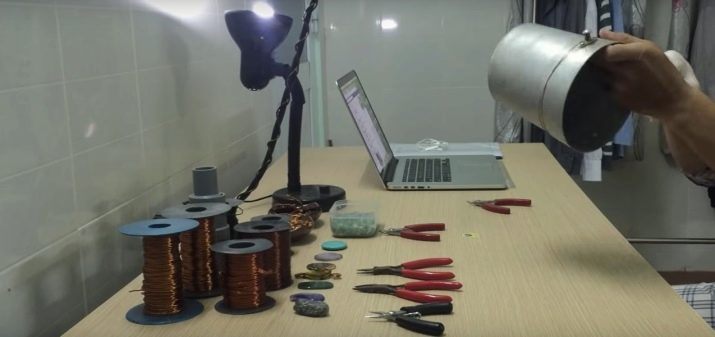
- thin and thick wire (you can make the trunk and branches of copper wire, it is easy to work with it);
- manicure varnish (shade - to the taste of the master);
- side cutters for biting wire;
- a straight thing of a cylindrical shape - for example, a felt-tip pen, a pen, maybe a make-up brush;
- food or household sponge;
- vase;
- plasticine;
- alabaster.
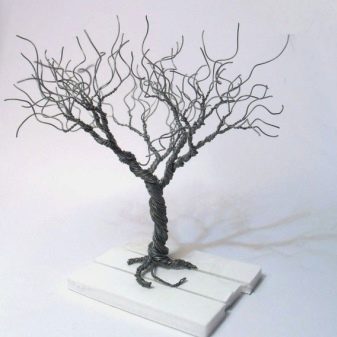
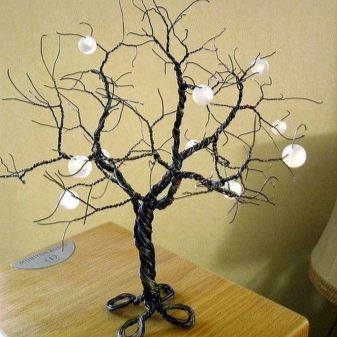
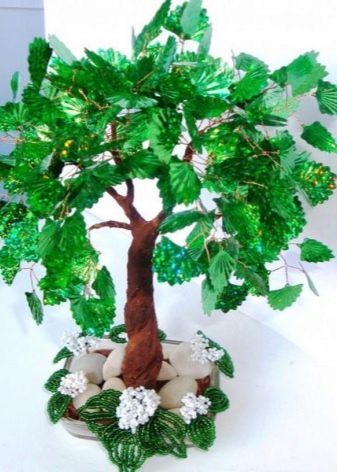
This description of the manufacture of wood resembles the classic process of creating a wire tree of beads and beads. There is also a vase, wire, but no plasticine - gypsum performs its function. And to hide his traces, the master makes a sprinkling of small sea stones.
In this master class, everyone can arrange their work in their own way. It is important to choose a suitable vase and make the bed at the tree as aesthetically pleasing as possible.
If you do not want to focus on the vase, it must be done in the colors of the place where the souvenir will be.So she will merge with them as much as possible, and it is a tree with varnished petals that will be in the spotlight.
Step-by-step manufacturing
You need to make sure that working surface completely ready for the creative process - the area of the working field is sufficient, all the tools are at hand, good lighting is present.
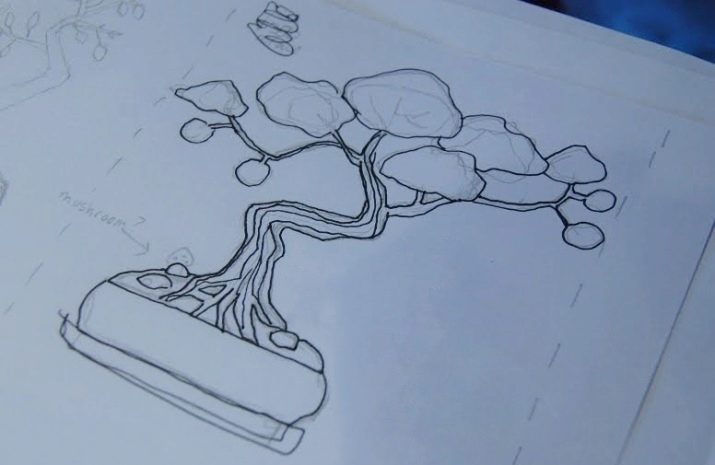
Some masters make a preliminary sketch, which are equal in work. But this is not a mandatory stage, you can trust creative intuition.
Consider the process of making a tree of copper wire with your own hands step by step.
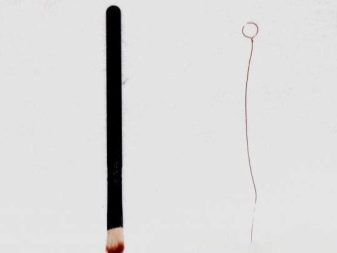
- The working tool will be a make-up brush (if it is not there, a pen and a pencil will also work). On the opposite end of the brush you need to wind the wire. At the very base of the brush, the wire should be squeezed with your fingers and scrolled at least 3 times. Get one circle, which will become a new leaf. Naturally, the circle is hollow.
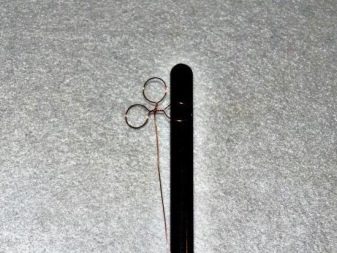
- In the same way, one more circle equal to the first should be twisted. And then another one, so that on one wire end 3 circles turn out right away.
- Now carefully - the circles are alternately superimposed on the brush, after which the master needs to gently pull the edge of the circle with his finger (or even with a fingernail). As a result, the leaf will take an extended form.
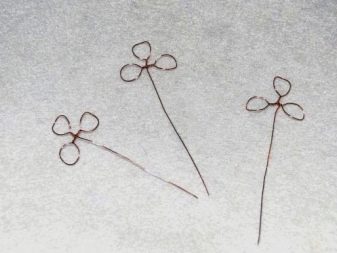
- With the remaining circles you need to do the same. As a result, the trefoil will crown the twig. A few calculations: if the diameter of the brush is 5 mm, and the stem foot of the trefoil is 5 cm, then approximately 14 cm of wire will be spent on one such piece (you need to take it with a small margin).
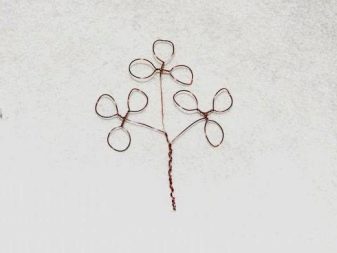
- Similarly, 2 more shamrocks are made. Only the first and third elements of the leg will be slightly longer, 7 cm instead of 5 cm. On the one whose leg is longer, you need to wind the remaining 2 elements. So, a part consisting of three twisted shamrocks is called the base.
And now more about how the varnish is used, and why the tree will come out colorful without beads and beads.
- It is necessary to draw more varnish on the brush and draw it along the wire from the edge to the middle - This refers to hollow leaves. It is very important to press the brush with the varnish so that voids do not form between it and the wire. If there is a void, the varnish will go further, and then it will peel off. It is also important to go through varnish from one edge to another at a time. This is the only way to make a thin varnish film, which forms a bright leaf. And such a procedure must be done with absolutely every leaflet.
- After drying the first layer of varnish on the sheet, you need to apply another layer. This is done for a more saturated color of the crown of the tree. In addition, it is so possible to play it safe from missed sites, against the general background they will be translucent. If the first coat of varnish dries in just a couple of minutes, then the second takes longer, about 20 minutes. And all the workshops assure you that you don’t need to rush, otherwise all the work will go down the drain. For beginners, this is a real test of strength: to wait and not move on to a new stage. But the main thing is that in this work the tree will have to be covered with a third layer of varnish.
- The third layer of varnish can be transparent if the leaves have stained well.. But if defects are clearly noticeable, you still need the same colored varnish. Some masters make the return stroke - first they paint over the leaves with two layers of colorless varnish (with each one drying well), and the third layer is confidently made with color.
- When all varnish layers are applied to future tree branches, they are recommended leave to dry completely overnight. Do not forget about the ventilation of the room, as you have to work with household chemicals.
- So, weave the basics, and then varnish will have a lot. There are no exact values, each master makes for himself, but usually 50-60 branches-leaves leave for one tree. The question of how to properly dry them gives rise to interesting finds and even know-how. But if you don’t have your own ideas, then the plastic substrate for the products will be an excellent drying. The wire well enters into it, and the shape of the substrate itself does not deform.Alternatively, you can use a sponge, but it is not always convenient.

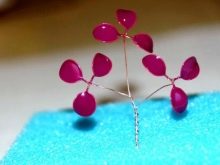
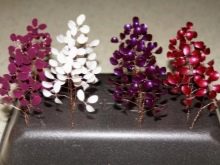
When everything is ready, and the branches are completely dry, you can begin assembling large branches.
- For this you need 70 cm thick wire. It needs to be folded in half, and then again in half. And to this coiled part 3 bases are attached alternately. The same action is repeated for two large branches. Next, you need to bend already 80 cm of the wire twice in half, having already wound 3 newly formed branches on a thick branch.
- The base of the tree is assembled from branches, which are obtained according to the model of paragraph 14. You do not need to make them fluffy, since in the future the branches will still have to be pressed. 3 pieces of thick wire need to stick to the trunk. Glue can also be used, but it is more convenient to do this with plasticine. This empty barrel should now be clogged with something (paper, newspaper), and top it with plasticine. On top of the barrel can be covered with alabaster - 1 kg of this material is usually enough. Work with him only with gloves. You need to practically fill the vase with alabasterleaving no more than 4 cm. The trunk is inserted into the vase, it remains to wait for it to dry - it will take about 7 minutes. It can be left white, but still the trunk is painted brown more often.
- And then - a difficult stage. Absolutely All branches need to be sealed with plasticine. It should be bright, so that later it was not difficult to paint it with brown paint. Not a single piece of wire should stick out. If the alabaster is still visible from the vase, it is painted green to give an imitation of grass.
- Work needs to be given time to dry. Yes, and the master usually needs such a rest after such a laborious undertaking. The very next day you can work on the fluffing of tree branches. Then you should examine all the sheets: it happens that the varnish is cracking, falling off. In this case, you need to tint the defective places.
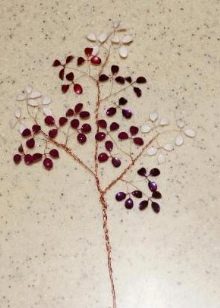
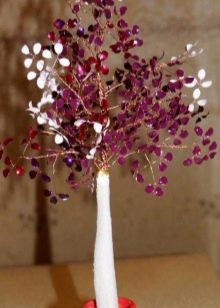
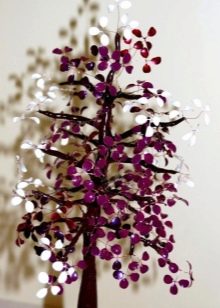
Any beginner can make a “lacquer” tree, but you need to tune in for a long job. Experienced craftsmen cope with the manufacture of a tree of watches for 6, without taking into account the drying time. And they spend about 6 bottles of varnish on a souvenir.
If the tree becomes a present, you can give it along with an envelope with money and say that it is a money tree to preserve the home budget.
And if you give him a family photo frame with him, a homemade tree can be positioned as a family tree.

Recommendations
There are many variations of what exactly a wire tree will adorn.
If you do not want standard solutions like beads and beads, sequins can become their replacement. With them, the tree will turn out no less bright and elegant.
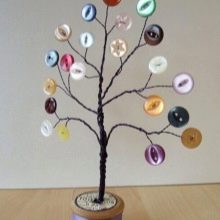
And if not them, so bright little buttons will become a chic crown for a makeshift tree. By the way, such a present will surely please the needlewoman - he is like a compliment to her work, and is appropriate, and thematically beats the profession of a person.
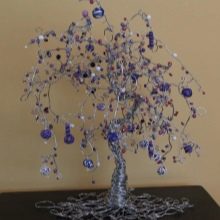
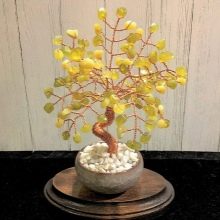
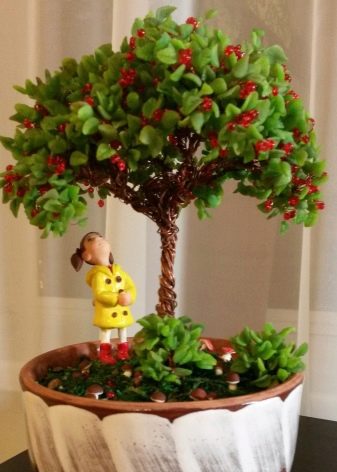
If the tree is intended for the nursery or in the classroom, you can make him leaves of foamiran. Bright leaves from rainbow foamiran look gorgeous: they are soft, pleasant to the touch and visually look flawlessly. But there can be many options, sometimes they are born right at work: shreds, colored paper clips, rhinestones will also be an interesting version of the crown of a wire tree.
In the next video, you will find a master class in making bonsai from wire.
