
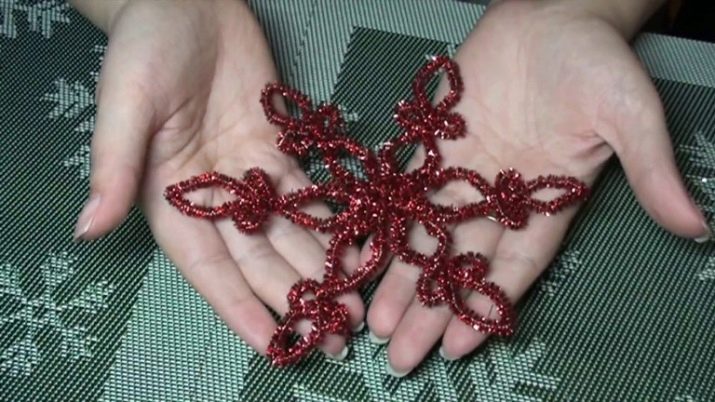
To create a festive mood in preparation for the New Year or another winter holiday, it is important to decorate the house accordingly so that everything sparkles and shines. Snowflakes created chenille wirewill decorate the Christmas tree and celebration room.
The chenille wire looks like a fluffy caterpillar. These are two wires twisted together and wrapped in a multi-colored fluffy thread. The wire is flexible, easy to bend - an ideal material for handmade work, suitable for children and adults.
What is necessary for work?
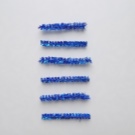
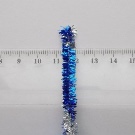
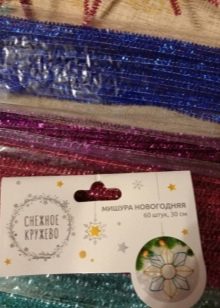
Pieces of wire 15-30 cm long are sold in sets of different colors. The length of the pile is 4–15 mm. The original, pleasant to the touch wire is popular in various types of needlework.
For the manufacture of snowflakes, a wire covered with shiny tinsel in bright colors is suitable. Crafts in the form of tinsel snowflakes are a traditional decoration of Christmas trees in kindergartens and schools. An additional value of these jewelry is that they are made by hand.
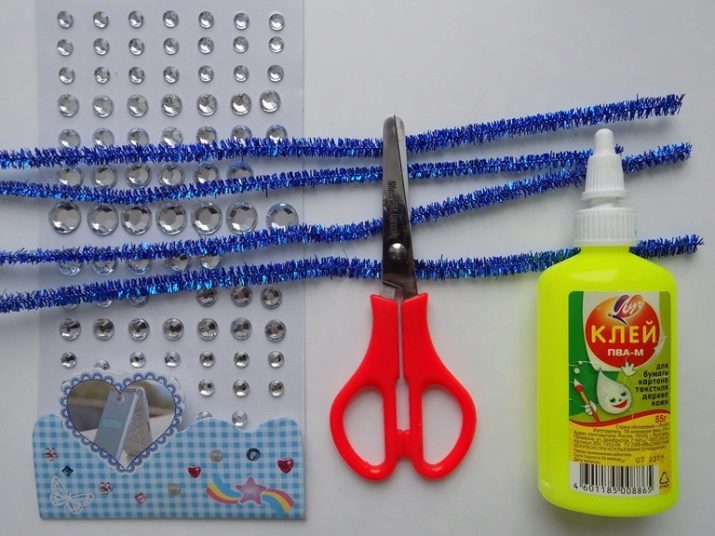
There are many options for making snowflakes from fluffy flexible tinsel. A set of tools for manufacturing depends on which option the needlewoman uses. But always come in handy:
- chenille wire - set;
- scissors;
- PVA glue or silicone;
- ruler;
- decorations for snowflakes: rhinestones, beads;
- lace or thread for eyelet.
In addition to chenille covered with tinsel, wire wrapped in colored synthetic thread is also suitable for making snowflakes.
To make it look more like a snowflake, you can hold it in a strong salt solution.
Pour hot water into a 0.5-liter jar and dissolve 18 teaspoons of table salt in it. Put a snowflake on a string in a jar.When the solution settles on the threads and dries, salt crystals similar to real frost will appear on the workpiece. To salt crystallized, you need to keep the snowflake in solution for 24 hours.
Step-by-step master class
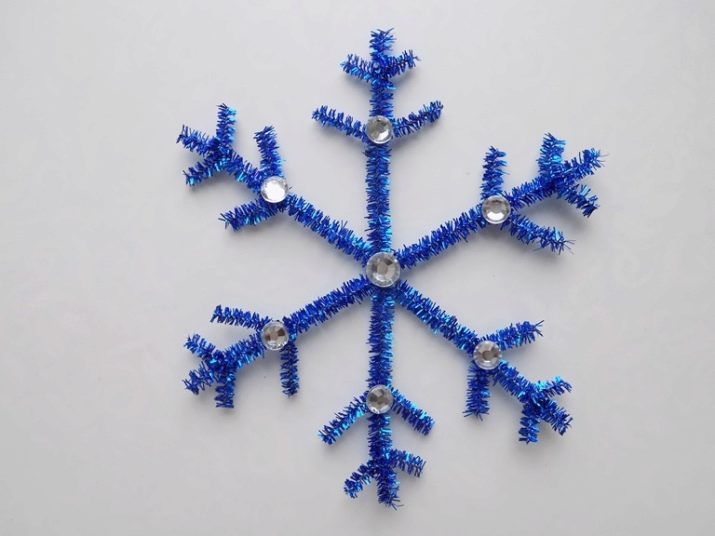
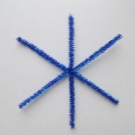
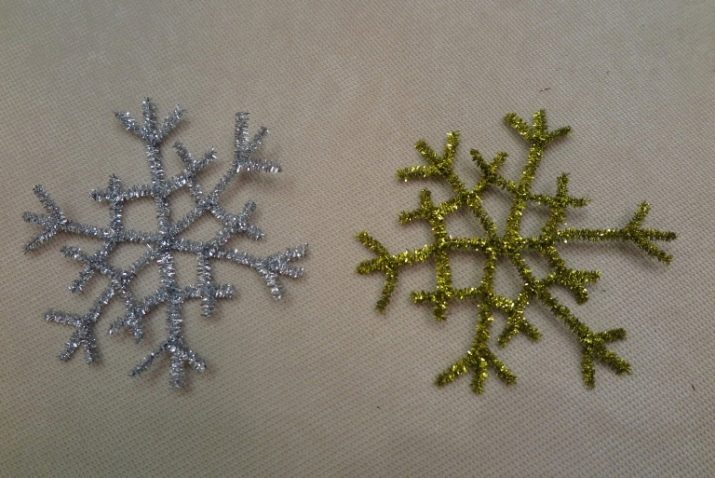
Snowflakes created from chenille wire are divided by level of difficulty. For young children in kindergarten sets of wire 15 cm long are suitable. First you need to choose a color. For snowflakes, silver, blue or white is suitable. To make the simplest version of a snowflake, you need:
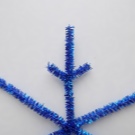
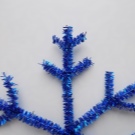
- take three wires and connect them in the center by twisting - you get a workpiece with six rays;
- to decorate the rays of snowflakes, prepare 12 segments of 3 cm;
- to fasten to each ray two additional details from the prepared short segments;
- stick rhinestones in the center of the snowflake and at the ends of the rays on both sides;
- sew or glue a loop from a lace or narrow tape in order to hang it on a Christmas tree.
When making snowflakes, it is convenient to use an adhesive thermal gun to fix rhinestones or beads. But for children, such an instrument is not suitable because of the risk of getting a burn.
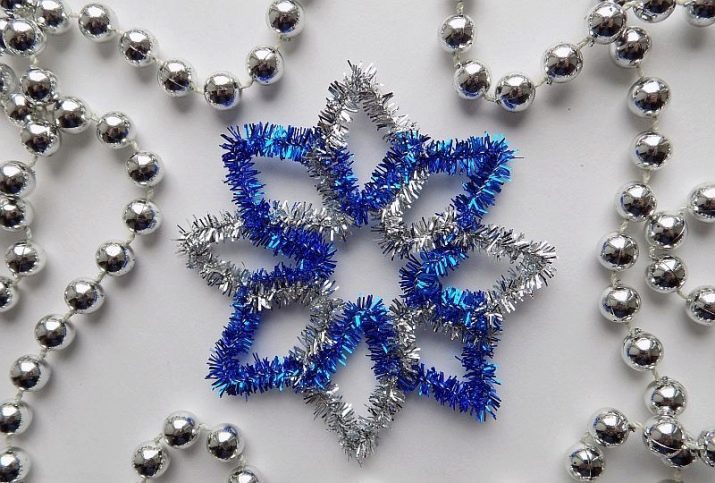
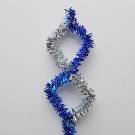
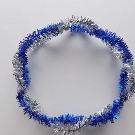
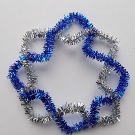
An interesting way to make a snowflake is to use a ruler no more than 3 cm wide as a working tool. To make the product more expressive, you need to take two wires of contrasting colors 30 cm long. The process consists of the following steps:
- twist the segments for the two upper tips;
- place the ruler as a template between the wires close to the upper twisted ends and twist the wire around the ruler alternately - you get 8 holes of 3 cm;
- connect the workpiece in the form of a circle, closing and twisting the upper and lower ends;
- spread 8 parts on a flat surface, giving them the intricate shape of the rays of a snowflake, while making sure that the color of the contrast wire is alternated;
- snap a loop and hang a snowflake.

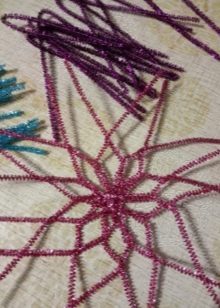
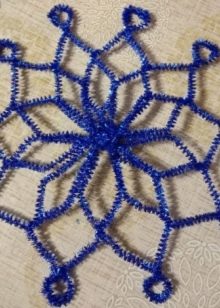
Spectacular large snowflakes are obtained from 10 wires 30 cm long. They are more complex in execution, but for lovers of manual labor, complexity is not an obstacle. So:
- take 10 procrastination in one or two colors;
- tightly knit in the center or put in the middle with each other and connect by twisting - you get 20 rays with a length of about 15 cm;
- 4 cm away from the center and twist the beams in pairs, you can connect the nearby wires, for complexity and beauty twist the wires that are from each other through one beam;
- the second row of holes is done the same way, but you need to deviate from the first 3 cm;
- on the flat surface, spread the elements of the first and second row so that the holes are the same size;
- sharp tips remain, they need to be bent with rings.
Any handmade snowflake will be brighter if it is decorated with rhinestones and beads. It is advisable to do this on both sides, so that everywhere she looks equally beautiful.
Recommendations
Actually, chenille wire is a creative material, and you can create a masterpiece with your own hands without repeating the products of other craftswomen.
To decorate the space between the rays of snowflakes, you can insert and fasten the rings of contrasting tinsel, connect the rays with a wire of a different color, screw a few additional elements onto the beam. Fantasy when creating snowflakes from chenille wire can be unlimited.
During operation, the wire bends easily, but also breaks easily. therefore It is not recommended to bend and unbend the wire in one place many times. Children are better off sticking rays, rather than bending them.
The ends of the wire after cutting become sharp, so it is traumatic for adults and children. The tips need to be bent so as not to get hurt, and decorated with beads or rhinestones.
To make the snowflake even and not resemble a basket in its shape, it is recommended to work on a flat surface, pressing it to the table.
Watch the video on how to make a snowflake from wire with your own hands.


