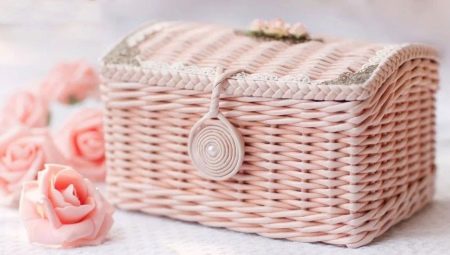
Weaving baskets, caskets, gift boxes from newspaper tubes is a popular type of needlework among creative craftswomen. This lesson is in line with the current environmental trend. When weaving crafts from newspaper tubes, paper is given a second life.
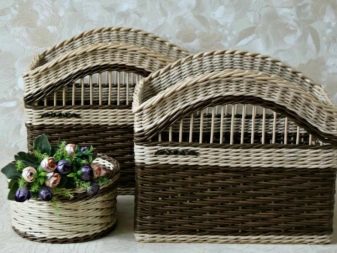
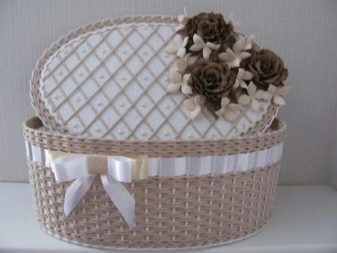
What is required?
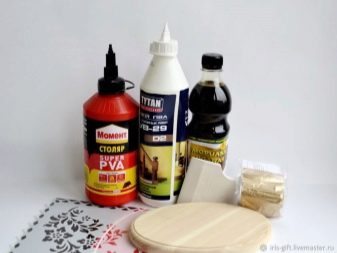
The advantage is that the creation of caskets from newspaper tubes requires little cost in comparison with other types of needlework. Raw materials for work are affordable and cheap. The following tools and materials should be prepared:
- many newspaper tubes;
- scissors or a knife for cutting paper;
- long wooden thin stick or knitting needle;
- PVA glue, "Moment" or silicone;
- color stain;
- paint for coloring paper;
- casket mold;
- blanks for the bottom and lid of cardboard, wood or plastic;
- varnish for finishing.
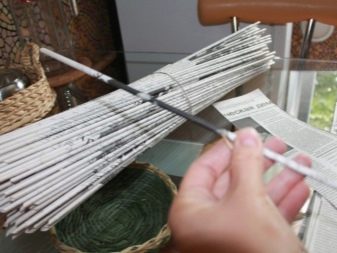
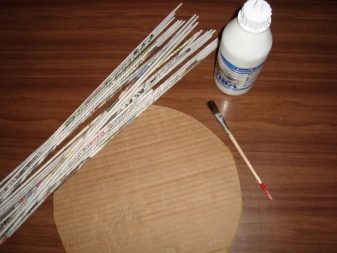
The first step in the work is the procurement of tubes. Depending on the size of the created casket, from the newspaper to prepare 200-400 tubes. To make a tube, cut a standard unfolded newspaper sheet across the font into 4 parts. You will get 4 strips with a width of about 10 cm. To twist the tubes, put a stick or knitting needle on the corner of a piece of paper under 30-45 °.
You need to twist, tightly pressing the paper to the stick, so that the tube does not turn out loose. Glue the corner, take out the stick. The tube is ready.
Color the workpiece in accordance with the selected box design. Some craftswomen weave a monophonic casket, using blanks of the same color. You can decorate the product with strips of tubes of contrasting color.A cheerful multi-colored box will turn out from unpainted tubes, twisted from strips of a colored newspaper. For staining, various methods are used.
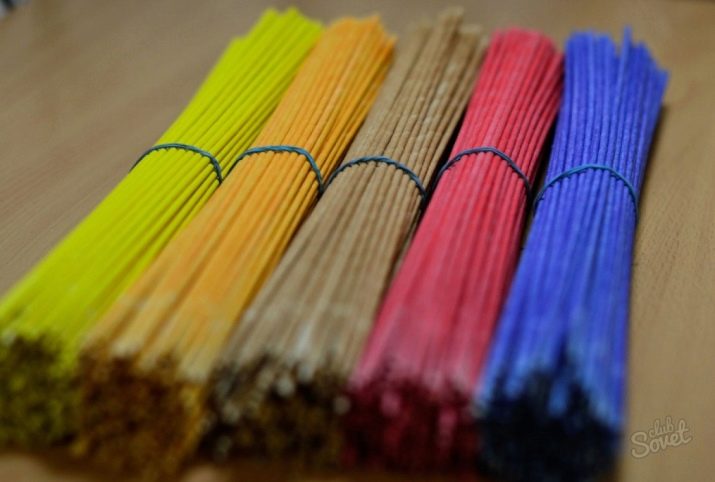
The following materials will be required:
- color stain;
- color from a hardware store;
- white wood impregnation;
- acrylic enamel, water-based primer;
- acrylic paint;
- wide brush.


Water-based products are used. When stained, the font on the tubes is not stained. Therefore, first you need to primer so that they turn white. Composition for processing tubes: 100 ml of water + 100 ml of acrylic primer + 2 tbsp. l acrylic varnish + 2 tbsp. l acrylic enamel. To process this mixture with a brush. It turns out perfect white color, the letters are completely painted over. If you need a different color, you can additionally cover the top with colored acrylic paint.
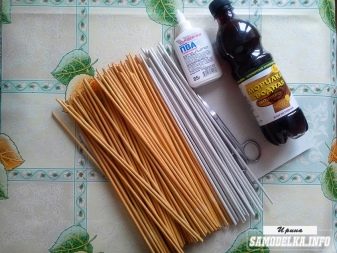
When stained with stain, the following mixture is prepared: the stain is diluted with water to the desired consistency and mixed with varnish. For 0.5 liter stain add 1 tablespoon of acrylic varnish.
This solution fixes the dye and gives elasticity to the tubes. Also, for processing workpieces, a color from a hardware store or white wood impregnation is used. After staining, the tubes can be dried with a hairdryer. But they must remain slightly moist, which is convenient when weaving.
How to weave?
Weaving a casket with your own hands from newspaper tubes is a fascinating activity, but it requires certain skills.
First you need to decide on the shape of the product from the newspaper, pick up an object of the desired shape for the template. If the box is round, then the round pan or teapot will serve as the shape.
He will stand in the center of the product during weaving and maintain shape. If a square or rectangular casket is woven, a box of the same shape is selected.
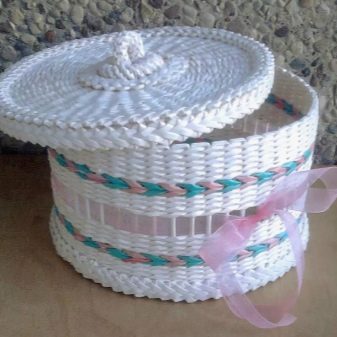
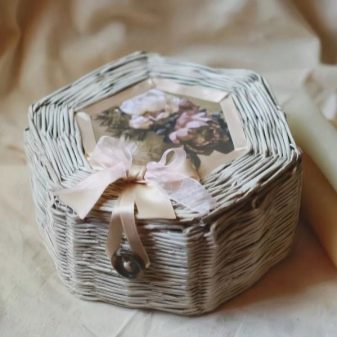
Crafts for beginners step by step
An important detail in weaving - the tubes for racks need to be dry, and the working tubes need to be moistened so that they become elastic. For beginners, a workshop on weaving caskets with and without a lid will be useful step by step.
- The bottom for the product can be woven. But it’s easier to make from hard cardboard, plastic or wood. In craft stores, finished bottoms with perforations are sold. The holes in the bottom are located at a distance of 1.5-2 cm.
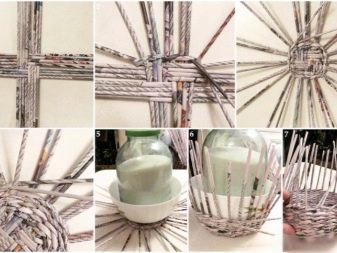
- Take the tube, bend it in half and insert the ends into the 2 holes of the bottom. In this way, all holes are filled. These tubes will be struts around which weaving is made.
- Fold the next tube in half and put on a rack at the bottom, folding with a cross. The rack will be gripped by a working tube.
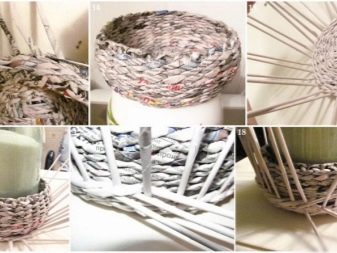
- To start weaving in the simplest “rope” way. The upper part of the working tube is wound behind the next rack on the inside, and the lower part covers the rack on the front side.
- When the tube ends, it is built up - the next tube with a sharp end is inserted into the previous one and lengthens the workpiece.
- The “rope” method usually knits the lower part of the casket, 4 rows. This will be the edging of the bottom. At this stage of weaving, a mold blank (pan, kettle, etc.) is inserted into the product to maintain the product.
- The middle part can be woven with a more complex pattern, using numerous patterns for weaving. These are patterns “chintz”, “vintage”, “cross”, chess pattern and many others.
- For the beauty of the product, the color of the tubes changes, then the box will turn out with a picture.
- If you add one more straw to the work and weave already three, starting them for every third rack, you get a different pattern.
- The final stage is the bending of the racks in the upper part of the product. Bend the racks out first. To do this, start each rack for the next and lower it down. Then bend them inward through the holes, fix there and cut off the excess. The trimmed ends of the racks or working tubes are glued inside with glue and fixed with a clothespin.
- Craftswomen use a crochet hook to pull the working tubes, if the weaving is tight and the racks are located close to each other.
Weave with cover
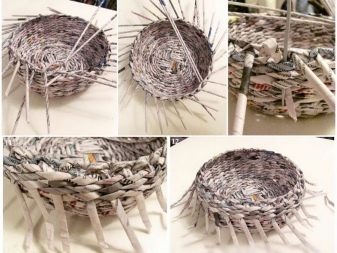
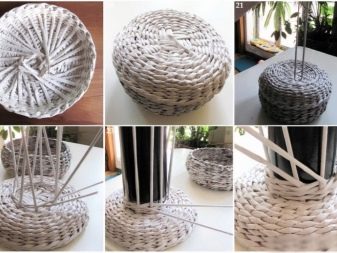
If the product with a cover, it must be done in the same way as the bottom. But the racks are first horizontal, without lifting them up. First, weave with a “rope” flat rows around the blank blank. When the desired diameter of the lid is reached, the working tubes are cut and glued. Then make a bend. This is the cover side. To do this, raise the racks - hook each to an adjacent rack and raise it. So all racks rise one by one. Connect the working tubes and weave the bend “rope”.
Covers with an internal side are convenient when the cover does not grab the product from above, but is fastened inside. To create a side, the cover is not weaved to the desired diameter, but the number of racks is doubled.
Turn the inside out towards you and bring up every other counter up. Add the cover of the remaining horizontal posts to the desired size and cut them. Weave the inner side of the horizontal posts by adding 2 working tubes. Weave 3-4 rows - and the side is ready. Trim and fasten the excess tubes, bend the side racks.
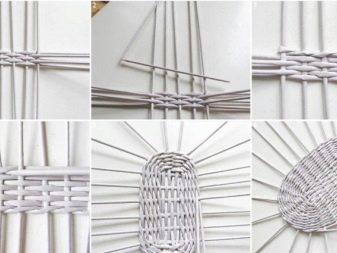
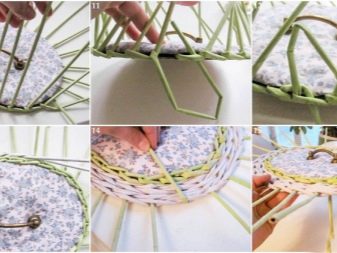
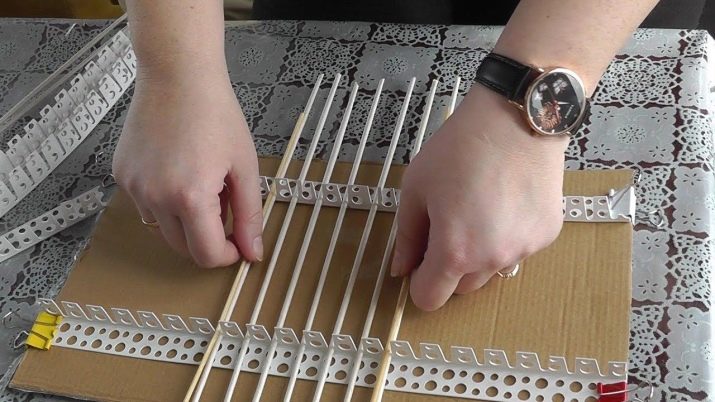
When the craft is ready, it is varnished for fortress. Decorate the cover using decoupage or scrapbooking technique. Decorate the bottom with an additional piece covered with fabric. Decoration of the box depends on the creative imagination of the craftswoman. The bottom of rectangular or square caskets is woven using a special weaving machine. The technique of “chintz” weaving with one working tube is suitable for this.
Beautiful examples
Wicker products not only decorate the interior, but also perform practical functions. Large baskets and boxes store laundry. Spice can be stored in small ones. It is convenient to store documents or jewelry in a casket-book.
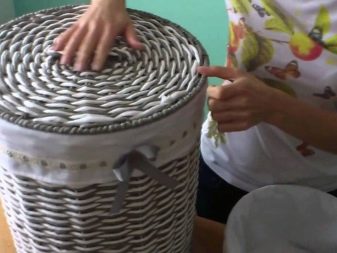
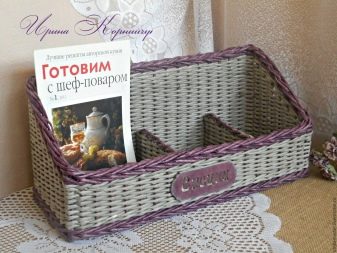
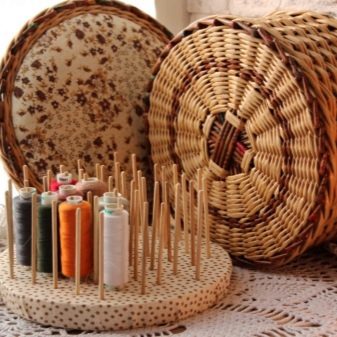
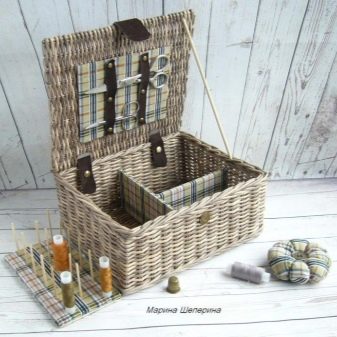
The quality and beauty of the crafts depends on the experience and skills of the craftswoman. Large wicker baskets are convenient for storing balls of yarn. For storage of sewing accessories, wicker caskets with an additional element inside are suitable. This is a flat blank with chopsticks on which spools of thread are strung.
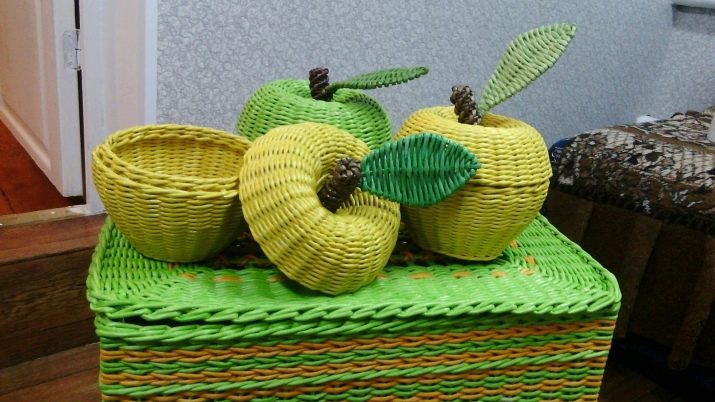
Good wickerwork in the form of original souvenirs of various shapes. For skillful hands it will not be difficult to weave a box in the form of an apple, a melon, a mushroom.
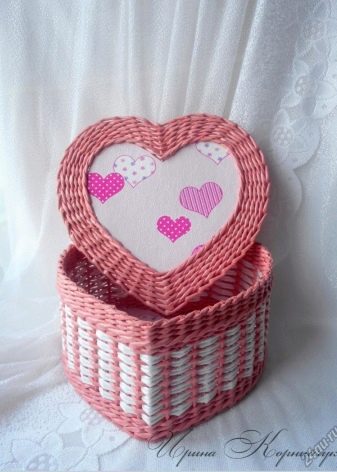
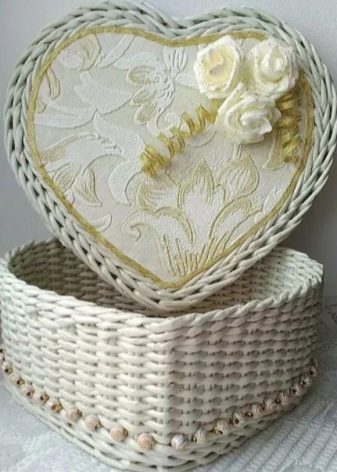
Heart-shaped caskets are popular. The bottom for this box is cut out in the shape of a heart from hard cardboard or plywood. Additionally, they make a decoration for him to close the ends of glued racks. Weave with any pattern up, observing the shape of the heart as much as possible. The cover for this box is made similarly to the bottom. Braid the workpiece in one of the ways. It is advisable to decorate a heart-shaped box with flowers, ribbons, beads and many others, which is enough for the craftswoman’s imagination.
How to weave a box with your own hands, see the video.
