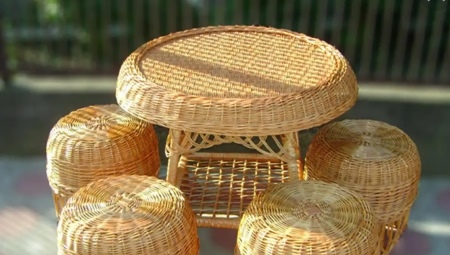
Weaving furniture from newspaper tubes is an excellent creative activity that allows you to make furnishings or decorative products for the home. The seeming fragility of this material is rather deceptive, with the right approach it becomes no more fragile than a vine or birch bark. Step-by-step master classes will help you figure out the manufacturing technique and find ideas for weaving furniture from a newspaper with your own hands, with which you can try yourself in this creative business.
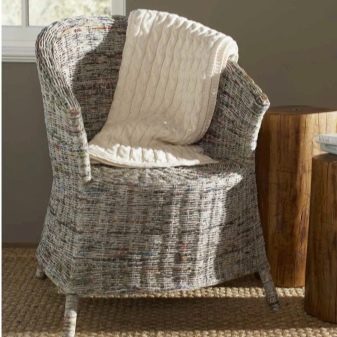
Preparation
Making furniture and decor items from a regular newspaper has become a real trend in Japan. It was here that art was born, requiring a certain patience and attention from the master. Weaving furniture from paper can be done using glossy or newspaper sheets, divided into strips with a width of 70 to 100 mm.
The resulting blanks are wound on knitting needles, skewers or ordinary pencils, making one of the ends a little thicker.
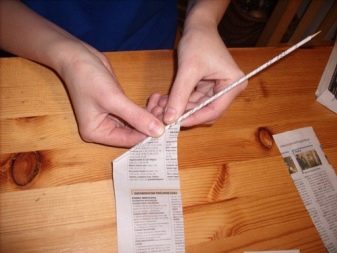
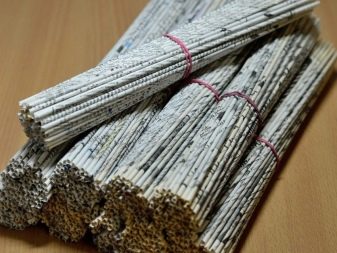
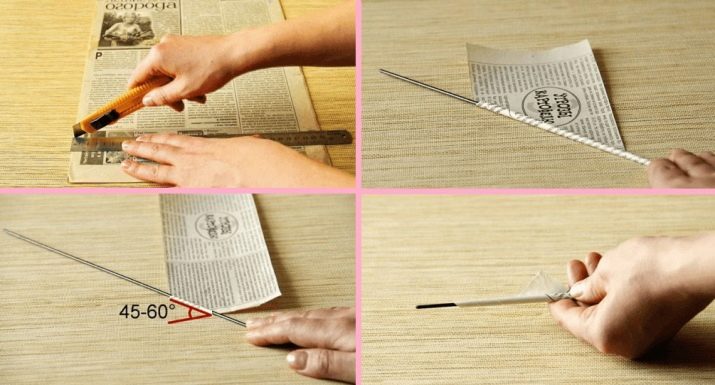
The process of preparing the material can be represented in the following form.
- The newspaper sheet is bent twice in the longitudinal direction, and then cut. It turns out 4 bands of the same size.
- Strips are aligned to the desired length.
- The blanks are applied at an angle of 20-30 degrees to the spoke or skewer and are screwed to the base diagonally to half.
- It is better to smear newspaper sheets with glue.
- Take out the base. This should be done carefully, having slightly dried the glue.
- It remains to screw the tube to the end, adding an adhesive to fix the layers of paper.
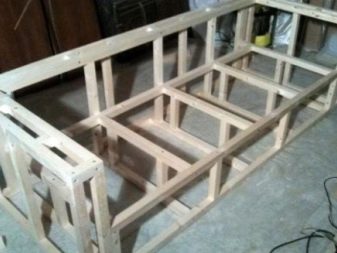
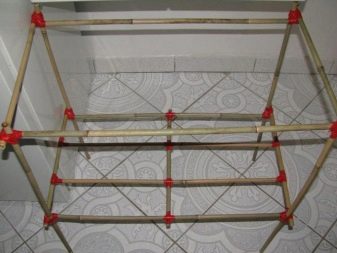
For the manufacture of furniture - chairs, armchairs, footrests - a rigid frame is required. It is made from furniture plywood or other wood-based materials (fiberboard, chipboard). To prepare the wood frame blanks, you will need saws, chisels, jigsaws, clamps. In addition, care must be taken to ensure that the master has a work desk with drawers for workpieces and a special board fixed to the countertop.
Hoops, patterns, frames of thick cardboard should be prepared in advance.
And you also have to stock up on the following auxiliary tools:
- scissors;
- with a simple pencil;
- a knife for cutting paper;
- PVA glue;
- duct tape;
- paints and varnishes (stain, varnish).
After completing the preparatory work, you can proceed to weaving furniture. Step-by-step instructions will help you understand the process.
Interesting options
Weaving furniture from newspaper tubes with your own hands is a rather fascinating activity. Using simple techniques, you can create original decor items and fully functional products, including furniture. There are detailed master classes that make it easy to understand the implementation of all the manipulations. If you act correctly, step by step and accurately following the recommendations of the master, then a variety of newspaper products are both beautiful and durable.
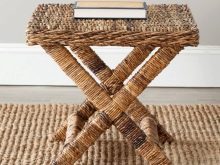
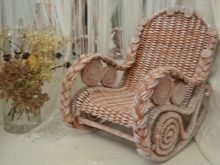
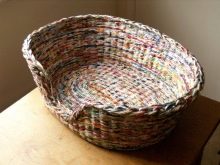
Consider what items can be woven from paper tubes, and also give the technique of their manufacture.
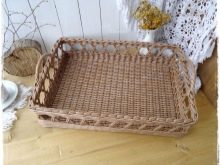
Paper tray
This is a fairly simple product, which can be attributed to the basic ones used in the educational process. To create such an item is quite within the power of a novice master.
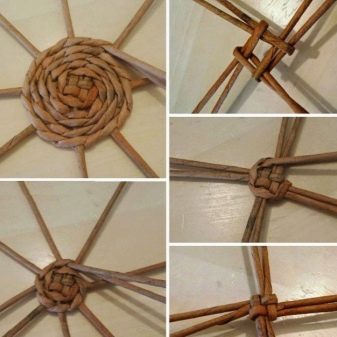
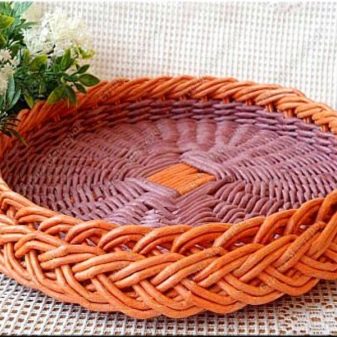
We give the procedure for its manufacture.
- 3 circles of the same diameter (25-35 cm) are made of thick cardboard.
- One of the prepared circles is covered with white acrylic dye, and then decorated using decoupage technique or painted at the request of the author.
- From the remaining circles one more is taken, it is drawn into equal sectors with the help of a protractor. The optimal angle is 10 degrees. From the center on the received points rays are drawn to the edges. Each beam is glued along the edge of the tube.
- On top of the resulting “sun” is applied the last - remaining untouched - cardboard circle and fixed with glue. This circle will form the bottom of the tray.
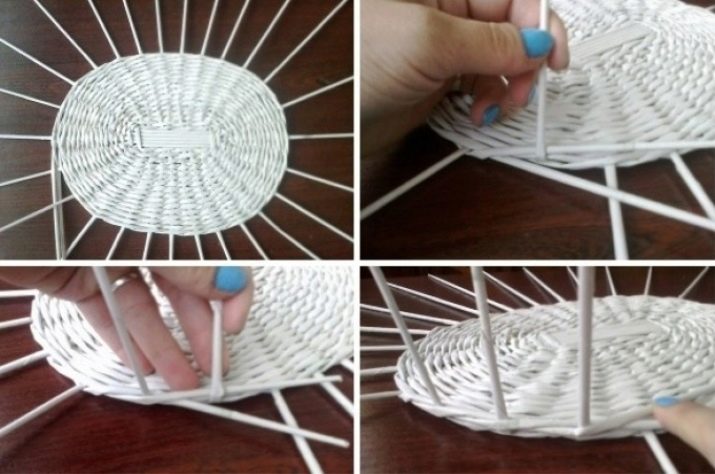
- Rays of warp are braided with paper tubes. The order is the simplest - “snake”: one step inside, two outside. Be sure to stick tight to the edge of the cardboard to securely close the ends.
- At the end of the first row, the base tubes rise. They should take upright position. If the first steps were taken correctly, the tubes will hold well and without an additional frame.
- Continue weaving until the desired side height is reached. After that, trim the ends, fix them on the product.
- Coat the tray with varnish in 2 layers. Then put inside the decorative bottom (the first circle, decorated under a decoupage), fix it with glue.
Following the instructions, you can easily cope with an unusual job and get a beautiful and functional household item.
Coffee table
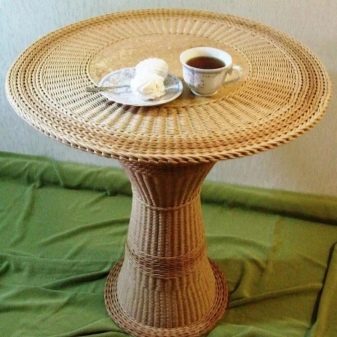
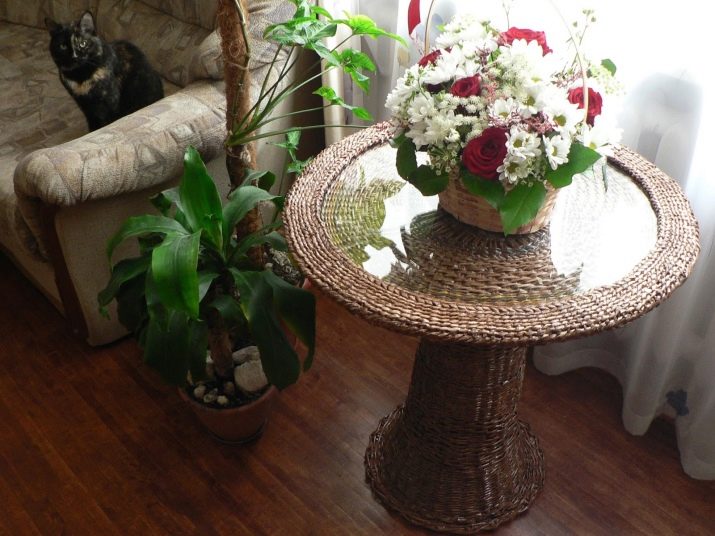
Having mastered the simplest products, you can try your hand at the manufacture of paper furniture. Easy to make a coffee table. It does not have too complicated details, and as a countertop, you can use a rounded glass blank, a wooden or plywood base of small thickness, vinyl plastic or sheet acrylic. In this case, the most common plastic basket for office waste is well suited as a form.
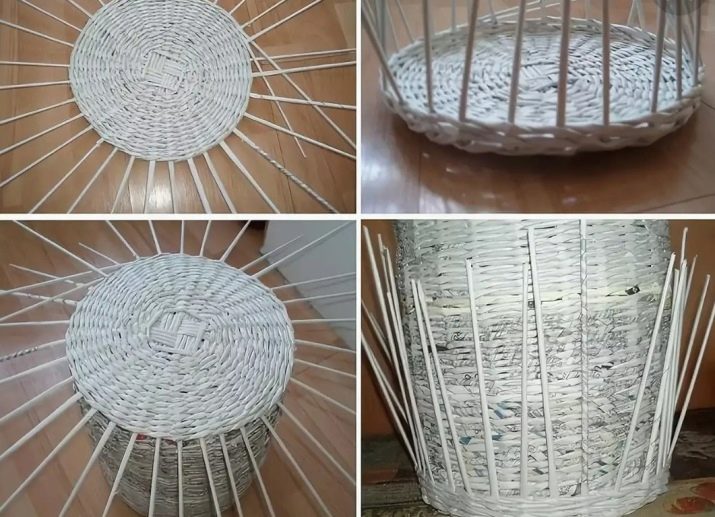
Step by step, the process will look as follows.
- A round blank is cut from a piece of cardboard. In diameter, it should be larger than the frame of the form (wastebasket). It is drawn in a circle at the edge, and then holes equal to the diameter of the tubes are made along this line.
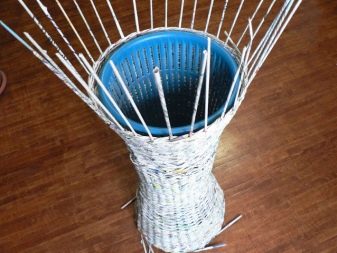
- The workpiece is laid on the floor or other surface, where it will be convenient to work, and in its center a dustbin is installed, which acts as a form. Around it, paper tubes are stuck into the holes made. This will fix them vertically.
- Then weaving begins - it should be subject to narrowing in the central part along the height of the form. The narrowing diameter will be approximately equal to the diameter of the bottom of the waste bin.
- After reaching the process of weaving the place of maximum narrowing, the bottom of the base of the coffee table is necessarily intertwined. To do this, several folded tubes are connected crosswise, then a “sun” is formed with an angle of about 8-10 degrees between the tubes. Braids in a standard pattern to the desired diameter.
- Donets is inserted into the structure. It will become a stiffener for the product. The protruding tubes are bent and subsequently woven into the overall structure.
- Vertical racks, if necessary, are extended by inserting newspaper tubes into each other. The cardboard is removed. At the bottom, the same frame is installed, but with the wide part up.
- Weaving continues to the top of the frame. Then the bin is removed, the tubes are bent to the center, an additional one is inserted next to each. 5 rows are woven inside the circle, 3 more outward (by additional ducts) for the sides of the countertop.
- Then all the tubes are brought out, cut under the edge and fixed with glue.

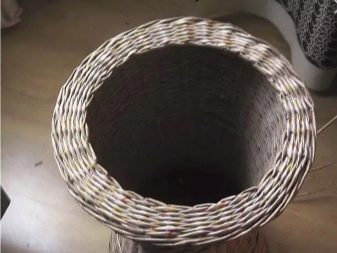
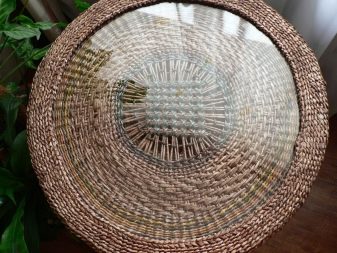
A cover is woven for each part to strengthen the structure. Then glass is applied to the top, which is braided along the sides. The design is assembled, varnished or painted.
Recommendations
Wicker furniture has its secrets. Experienced craftsmen have long found ways to simplify the time-consuming process and put them into practice. Among the useful ideas can be noted particularly useful.
- Folding blanks "accordion". When using thick paper, this will facilitate the formation of tubes.
- Connection technology. Using a screwdriver, you can wind a lot of tubes in a short period of time without putting too much effort into it.
- Diagonal winding. With a good density of the turn, it is not necessary to additionally connect the workpieces with glue along the entire length.
- Thickening on 1 side. Slightly expanding the edge, you can achieve a seamless connection of the tubes, just inserting them into each other. If you make them with an equal diameter along the entire length, fixing will be difficult.
- The choice of frame base depends on the size and shape of the product. For a vase, a plastic water bottle is suitable. You can also use plastic buckets, trays, dishes, summer summer chairs as a temporary form.
- Fastening. At the end of weaving, the “tails” of the paper tubes should be glued to the base.
- Drying. After weaving, it is worth leaving the product overnight, allowing the adhesive to seize.
Finish finish
To make paper tubes the most similar to a wooden vine, they are coated with varnish or spray paint. Acrylic based formulations are best used.
All these recommendations will help you master the weaving of furniture from paper or newspaper tubes much faster, make the process easier and faster.
Making a coffee table from newspaper tubes in a video.
