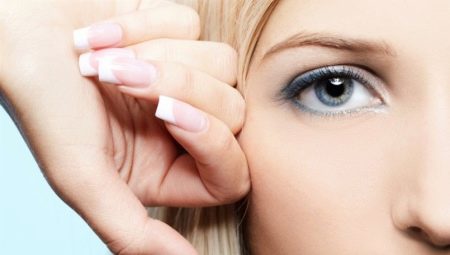
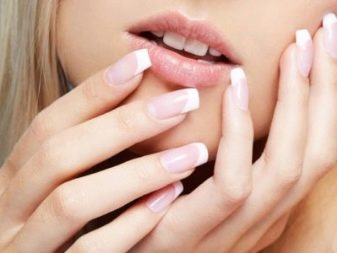
Well-groomed and beautiful hands are considered the "second face" of the girl, so that they always look beautiful, you need to do manicure. Recently, many representatives of the fair sex prefer to build up nails, because in this form their shape and originality of design are preserved for a long time. This procedure is uncomplicated, having simple skills and the desire to fulfill it quite realistically at home.
Features of the procedure
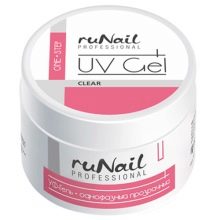
Nail extensions are a great solution for those girls who want to have a perfect manicure, spending a minimum of time on its design. Using various materials and techniques, you can independently make acrylic or gel extensions. Since these materials are characterized by varying degrees of hardening, the gel is recommended for beginners (it hardens more slowly and is easier to work with), and acrylic is recommended for girls with a certain experience in nail modeling (such a coating instantly turns into a solid polymer after application).
In addition, it is important to consider that acrylic can dry the plate, and the gel can have a detrimental effect on it. Despite the disadvantages, the latter type of material has a lot of advantages: it is odorless, durable and allows you to create an original design, so it is most often chosen for building.
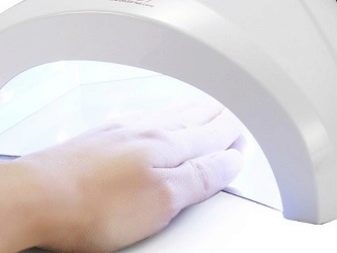
Gel building differs from acrylic in that it requires the presence of a UV lamp. This is due to the fact that the material is a viscous substance that can harden only under the influence of ultraviolet rays. For manicure, several types of gel are usually used: stained, camouflage and constructive. In addition, the gel can be applied in several ways. The three-phase technique involves the use of a base, constructor and fixing top; with two-phase use only the base and top. Single-phase is carried out by one substance, since it consists simultaneously of a base, a top, and a constructor.
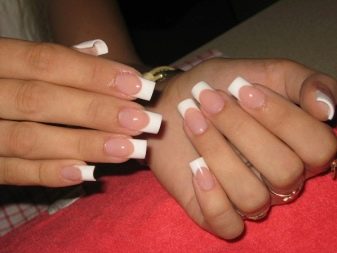
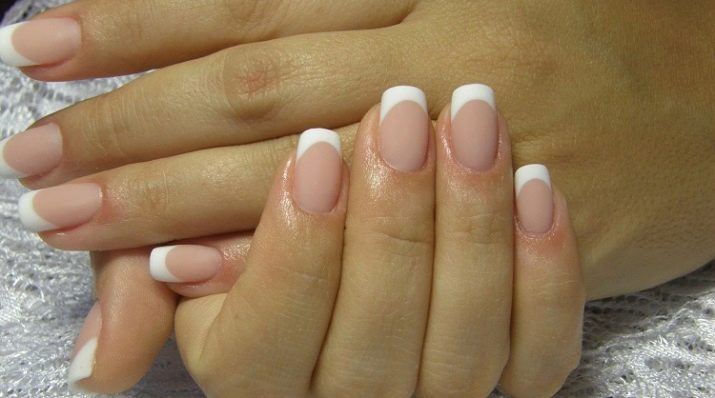
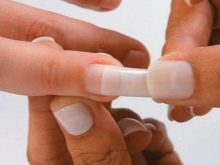
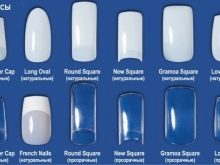
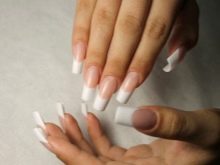
In addition, nails can be extended both on tips and on forms. Tips are a material made in the form of artificial plates, they are usually used when working with gel, since acrylic provides strength to the plates and without them. Tips are stiff and the higher their elasticity, the more natural the manicure looks. Forms are a template, they are substituted under the edge of the marigold for laying out acrylic or gel. Work with forms takes longer, takes on average up to 2 hours, since filling the material requires accuracy.
Despite the fact that coating forms is a complex procedure, it is still more popular. Construction by this technique allows you to give the nails a perfect look, hiding all their defects. The base and tips of the plates evenly strengthen, become strong and difficult to break. In addition, air under the extended part is completely eliminated, which protects the nail from exfoliation and fungus development. The lack of building tips is due to the fact that they limit the correction of the shape of the nail, the plate simply lengthens and looks wider.
Advantages and disadvantages
Before you start building your nails at home, you need to weigh all the pros and cons of this procedure. A manicure made in this way looks impressive and lasts a long time, but it can also cause damage to the nail plates. The benefits of building up.
- Ease of implementation. Everyone can grow nails independently. To do this, it is enough to have all the necessary material, tools and a little practice.
- The ability to hide the roughness of the plates. Thanks to acrylic or gel, it is possible to give the nails a well-groomed appearance and perfect shape. With proper extension, the plates are difficult to distinguish from natural ones.
- Strength. Artificial material reliably protects the surface of the plates from mechanical damage, providing manicure durability. In addition, marigolds are less susceptible to breaking and delamination.
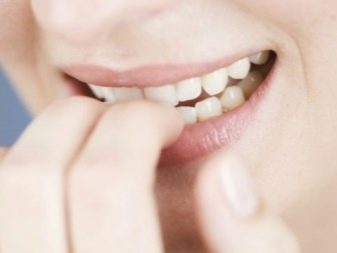
Also, building helps fight the bad habit of biting your nails and fingers. After the first wearing of such a manicure, the result will become noticeable immediately. This procedure is not without its drawbacks.
The main disadvantages of building.
- High price. Despite the fact that the procedure can be performed independently at home, saving on payment to the master, to work you need to have high-quality material and tools. To purchase them you have to pay a decent amount.
- Possible harm to the nails. Modern cosmetics for building are produced mainly from natural raw materials, but they limit the access of oxygen to the surface of the plates. This negatively affects the functioning of the horn cells.
- Inconvenience. Building nails on your own is difficult, especially when applying material to the leading arm. Compared to salon manicure, at home the procedure can take several hours longer.
- Regular correction. No matter how beautiful the manicure may turn out, in three weeks it will lose the effect of grooming and will require correction.
- Side effects. Some girls may show allergic reactions to acrylic or gel.In addition, with improper build-up, voids form under the plates, which become a place for the development of various infectious diseases.
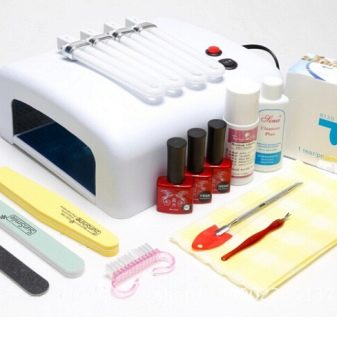
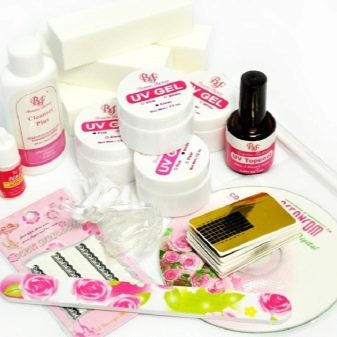
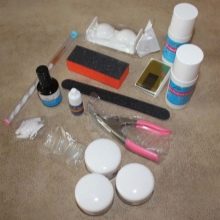
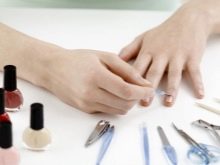
Necessary tools and materials
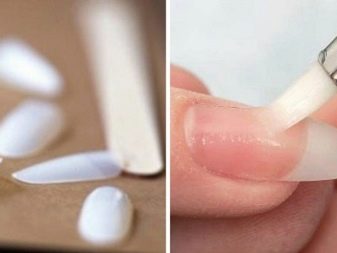
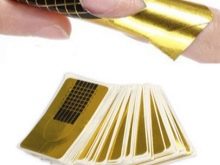
It is necessary to start building up not only with the choice of design, but also with the acquisition of tools and materials. To create the desired shape and length, you will need special shapes or tips. Stencils are considered the most convenient and popular in building, they can be both paper and teflon; for work at home, it is best to give preference to the latter.
Unlike paper ones, they are reusable, it is easy to design with acrylic or gel on them, but constant disinfection will be required. As for tips, it is recommended to use them on narrow plates, since after building false nails will give natural plates not only additional length, but also width.
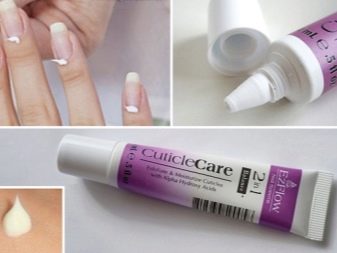
Depending on what material will be coated, you should buy a gel or acrylic. At the same time, the gel building technique provides for the presence of a UV lamp. You need to stock up and base, it is applied to the nails to strengthen their structure.
Additionally, the following auxiliary materials will also be needed:
- a primer;
- universal tool for removing the sticky layer;
- orange sticks;
- brushes for working with the composition;
- tweezers, nail files;
- polishing pad.
Preparation and Precautions
In order for the extended nails to please the well-groomed effect for a long time, it is necessary not only to use high-quality material, but also to prepare the plates well. You can not perform this procedure on nibbled nails, in the presence of cuticle inflammation, open wounds and cuts. There are contraindications to building and diseased plates that are affected by a fungus, have increased fragility and exfoliate. The procedure is not recommended during chemical exposure, when taking antibiotics. As for pregnancy, it is not the reason for rejection of extended marigolds; the only thing that during this period in women is a hormonal change in the body and the gel may not fit well on the too oily and wet surface of the plates.
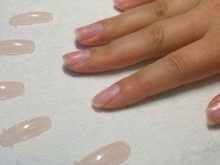
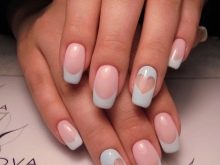
It is necessary to start the procedure with the choice of the shape of the nails. Recently, square, almonds and oval have been very popular. These are classic forms. Bright personalities can choose extraordinary forms: a stylet, a pipe and a bridget. The main thing is that the manicure matches the image and is comfortable to wear.
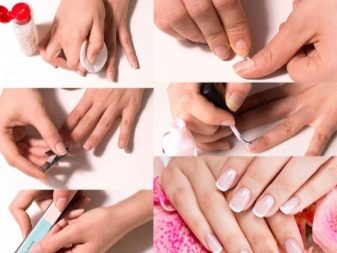
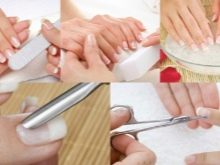
After everything has been decided with the style, proceed to the direct preparation of the plates.
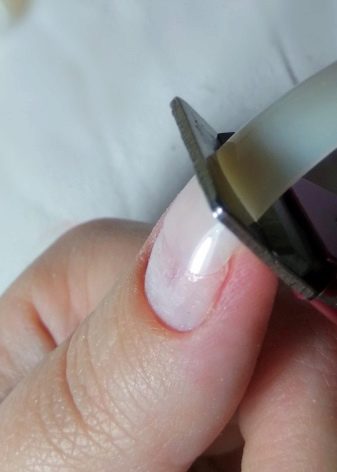
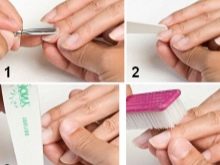
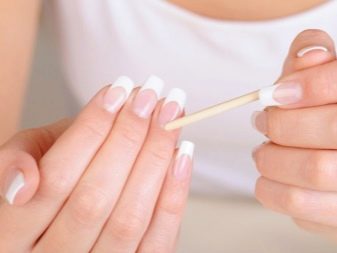
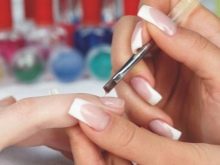
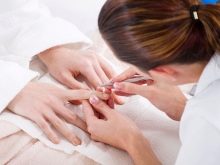
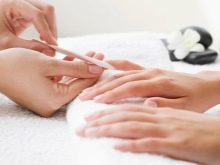
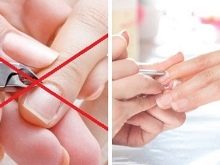
- The form is being corrected. The edges of the nails are neatly trimmed, trimmed and cleaned from the previous coating. In the event that the plates are folded, they are filed with a finely abrasive file. The movements should not be transverse, but longitudinal. In addition, attention is paid to the cuticle: it is softened and pushed to the center of the base with a pusher or orange sticks.
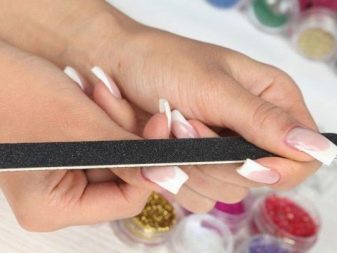
- Then the surface of the nails is degreased and the top layer is removedusing coarse buff. It is only necessary to remove the glossy layer, polishing is performed until a matte shade is obtained. This process requires accuracy, otherwise with a strong pressure on the tool, you can thin the plate too much and it will take a long time to restore it.
- Preparation is being completed by treating nails from grease and dust. After that, they are dried and you can begin to build directly.
Step-by-step instruction
Recently, building nails at home has become easy. To do this for yourself, you need to have all the necessary tools, as well as gel or acrylic. In this case, it is important to take into account the fact that regardless of which extension technology is selected, it must be carried out correctly. The easiest way to carry out the procedure at home is building up on tips.It is fast and does not require special skill.
To get beautiful nails in this way, you must follow the sequence and perform the following steps.
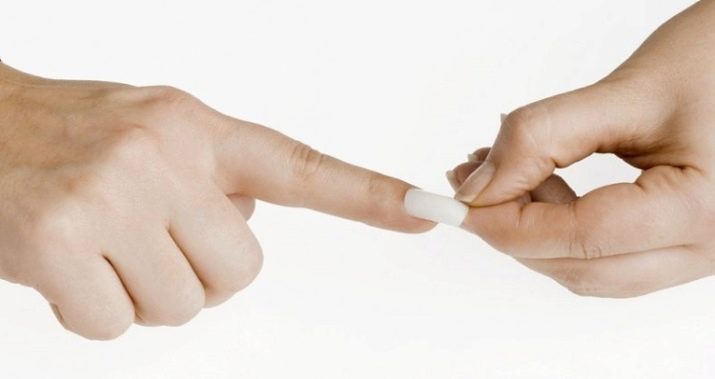
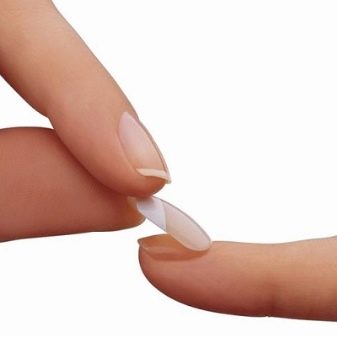
- First, a classic manicure is performed and the hands are treated with a special alcohol-based solution. This is usually done with an antiseptic or tonic. Then, according to size for each nail, tips are selected. A drop of glue is applied to their well and pressed to the plate for 15 seconds. If glue residue is formed, they should be removed immediately before drying.
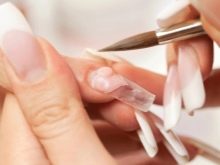
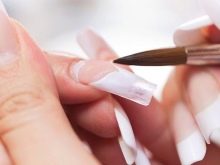
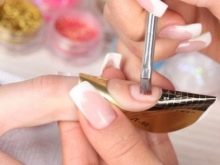
- Next, the fixed tips are processed: cut the length and give the selected shape using a buff. After covering with a primer and applying a gel, drying the surface under a UV lamp for several minutes. Then re-coat the nail with a second layer of gel and again dried in a lamp.
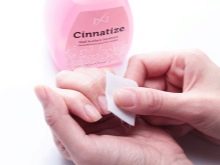
- The procedure ends with cleansing the skin of sticky fragments and lubricating the cuticle with nutritious oil.
The above method requires minimal execution time, but it does not suit the owners of wide plates, which after building become even more voluminous. In this case, the wizard recommends replacing the tips with forms. The process will look like this in stages.
- First of all, they perform ordinary manicure and degrease the plates. Then the base is applied, dried under a lamp for 3 minutes, stencils are fixed on the upper edges of the nails. If the extension is done in the lower way, then the forms are placed under the nail.
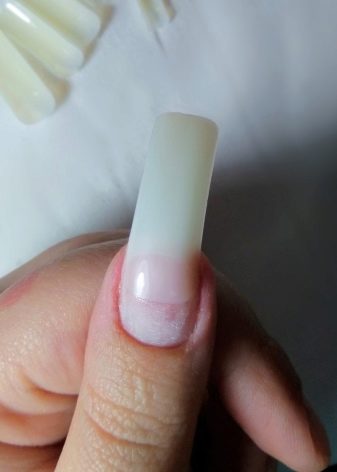
- Then a gel is applied from the free tip of the plate, evenly distributing it over the entire surface. Everything is dried in a lamp and the nails are covered with a second layer of gel. When using the lower forms, it is necessary to form an S-bend before re-applying the composition.
- At the end, the stencil is removed and the sticky layer is cleaned. The surface is gently polished, removing minor irregularities. Dust is cleaned from the nails and a topcoat is applied, which needs to be dried in a lamp for 2-3 minutes. Oil is rubbed into the cuticle and the manicure is ready.

How to remove extended nails?
Regardless of what material the nail extension was made, sooner or later it has to be removed. There can be many reasons for this, starting from allergic reactions and ending with the fact that the plates are given time to recover. When removing gel or acrylic, it is important to follow a number of rules, otherwise you can damage natural nails. This procedure is not complicated, but at home it can take several hours. For beginning masters, experts recommend that you follow the following instructions for removing artificial nails.
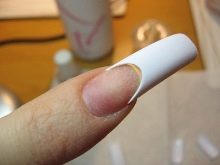
- The first step is to prepare the records. For gel and acrylic coatings, the preparation is the same. Using scissors or tweezers cut the free edge. This must be done carefully so as not to get injured by the sharp edges of the tips.
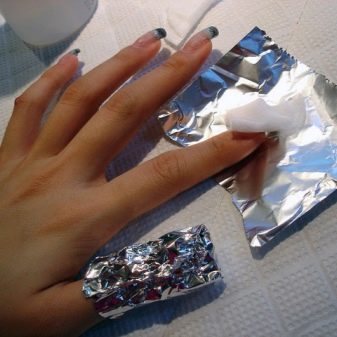
- At the second stage, the removal is distinguished by technology, for acrylic and gel it is different. If these are acrylic nails, then they are first softened. For this, 10 cotton swabs are preliminarily prepared and they are abundantly moistened with acetone. Tampons are applied to each plate and secured with foil, wrapping the edges of the fingers. After an hour, acrylic will acquire a jelly structure and must be immediately cleaned, otherwise it will harden again.
- To remove gel nails, you can use both ordinary nail files and a grinding machine. Since the latter device is expensive, plastic or wooden files with abrasive spraying are perfect for home use. It should be noted that glass and iron gel removal tools are not suitable. Using a nail file with an abrasiveness of 80 × 100, the nails are filed, performing horizontal rare movements. This should be done carefully so as not to cut off the natural plate.
- Throughout the work of removing the gel at hand, you need to have cotton swabs dipped in acetone. They should periodically wipe the surface of the nails.After the first cutting, proceed to the second, using a nail file with an abrasiveness of 150 × 180. It is much softer and allows you to completely clean out the remaining material.
- At the third, final stage, the plates are given an aesthetic appearance. They are lightly polished with a nail file with an abrasiveness of 180 × 240. Then the handles are lowered into a container with decoctions of herbs or sea salt. The cuticle is covered with nutritious oil and a moisturizer is applied to the hands.
Summing up, we can say that removing gel nails is much more difficultthan acrylic, as the procedure requires not only a lot of time, but also patience.
Regardless of the type of coating and the selected technology for its removal, you must follow all safety precautions. The slightest mistake or oversight can cause damage to natural marigolds, the restoration of which will then take a lot of time and effort.
Follow-up care
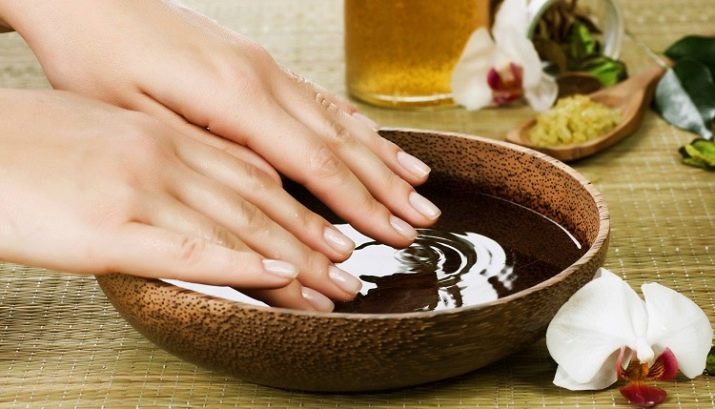
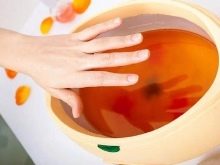
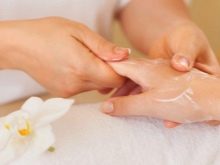
After removing the enlarged nails, no matter how neat it may be, you can notice that the condition of your own has worsened significantly. To protect the plates from subsequent brittleness and disease, they need to provide proper care. This procedure is performed both in beauty salons and at home. For damaged marigolds, it is recommended several times a week to make nutritious baths, with the addition of linseed and olive oil in the water. In addition, with the help of healing oil, you can additionally perform massage - this is the most effective and fastest way to restore the former state of nails.
To date, the cosmetic market is represented by various useful and vitamin preparations intended for nail care. They are sold in ampoules and can be rubbed directly into the nail plate. In addition, it is also important to review your diet, replenishing it with fruits and vegetables. You need to try to spend more time outdoors. A healthy lifestyle and proper nutrition will speed up the recovery process.
Since after removing the gel or acrylic, natural nails look unsightly and spoil the image of a girl, it is necessary to draw up a fresh manicure. It should be made without the use of varnishes and other harmful coatings, as this is due to the rules of subsequent care. As a rule, aesthetic manicure is performed on well-polished nails. They are corrected with a glass nail file, giving the desired shape and length. At the initial stage of plate restoration, a long manicure is not recommended, therefore they are shortened.
The right decision will be the design of a biological manicure. It is gentle and is done after regenerating baths prepared with the addition of a large amount of nutrients and oils. When the skin softens, you can gently cleanse the surface of the hands of the dead epidermis.
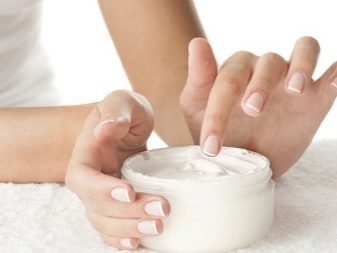
Particular attention should be paid to the care of the cuticle: it is softened with a special preparation for nutrition or restoration masks and serums are used. The above funds must be rubbed into the skin and damaged plates with massage movements.
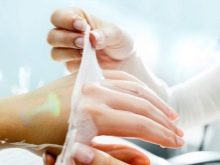
Paraffin baths made after nourishing procedures also help in the care. They provide fast and amazing results. Useful trace elements under the influence of high temperature of paraffin quickly penetrate into the cells. At the end of the procedure, a nourishing cream, which includes beneficial substances and vitamins, must be applied to the skin of the hands. If desired, the cream can be replaced with special regenerating oils.

After the biological manicure is completed, the nails can not be painted. Do not rush with the use of air conditioning. This is due to the fact that the plates are coated with an oil film of nutrients and any coloring agents will not stick to their surface.Summing up, we can say that the procedure for restoring nails after removing the gel or acrylic is complicated, so it is problematic to carry it out at home. It is better to trust specialists who will select the right program to strengthen damaged marigolds.
Masters Tips
Any interested girl can learn to build nails at home, most importantly, be patient and acquire the necessary tools and materials. For beginners, this procedure at first will seem difficult, but over time experience will appear and it will be possible to quickly create a beautiful manicure. To succeed in this matter, the following recommendations of experts are useful for beginners.

- You need to start the workflow with hand hygiene. Since the extended nail lasts on the finger for at least three weeks, neglect of disinfection and cleanliness can cause an infection and subsequently lead to disastrous results. Therefore, hands should be washed using special detergents and treated with disinfectants that protect against viruses and dermatological diseases. Good means for cleaning the skin and nails are considered kutasept, sterillium and bacillol. In addition, after building tools, you need to clean and wash them well, and during the work process always have clean napkins on hand.
- The key to a good manicure is a properly equipped workplace. It should not only be kept neat and clean, but also hidden all chemicals in special boxes. The table where it is planned to carry out building needs to be equipped with a bright lamp. Good lighting will help to timely notice defects and correct them at the initial stage.
- You can not use a nourishing hand cream on the day of nail extension. It forms a greasy layer on the surface of the plates, which impairs the adhesion of the gel. The material may not even fix at all.
- Before this procedure, it is important to carefully remove the cuticle. At the same time, it is strictly forbidden to trim it. Any damage to the skin is a contraindication to building.
- During critical days, taking antibiotics and during pregnancy, it is better to postpone the build-up. Hormonal changes in the body during this period will interfere with the adhesion of the gel or acrylic to the nail. This also applies to sick nails: they must first be cured, and then exposed to modeling tools.
- In the event that the procedure is performed for the first time, then the correction will have to be done twice a month. In the following months, it will be enough to conduct it once.
- When choosing between gel and acrylic, it is best to give preference to the first. The gel allows you to create a different design and looks natural on the nails.
In addition, the gel dries only under the influence of ultraviolet rays, so it is ideal for beginners who can slowly lay down the composition and adjust the shape.
See how to build gel nails in the next video.


