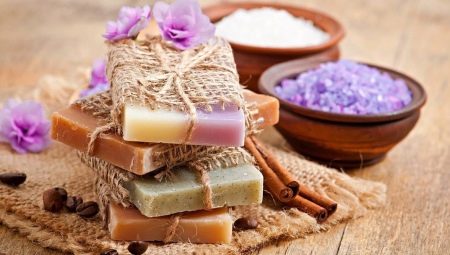
In a needlewoman and an enterprising housewife in everyday life, almost any thing is able to find worthy use, despite its age and condition. Even the remnants of soap in skilled hands, if desired, can turn into an excellent bath accessory, in quality and properties not inferior to expensive counterparts. Consider the recommendations of specialists who should be adopted, intending to prepare a piece of new soap from old residues.
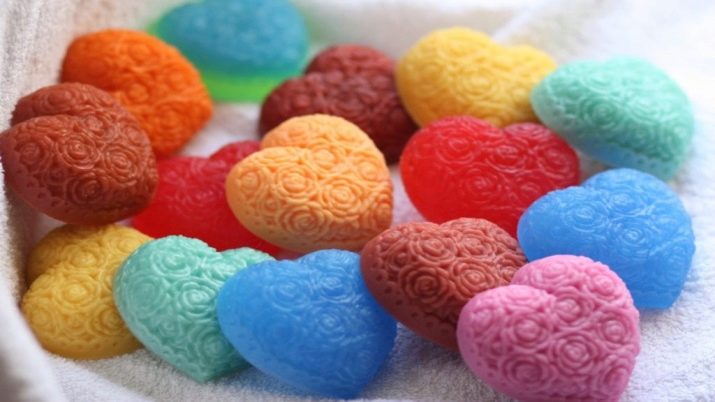
Which soap is better to use?
Making soap from old residues is most often the first step in the art of soap making. Those who like this procedure further turn this hobby into a serious hobby and even one of the ways of stable earnings.
Experienced needlewomen practically do not use old remnants and cheap auxiliary components in their work, but acquire professional soap making kits.
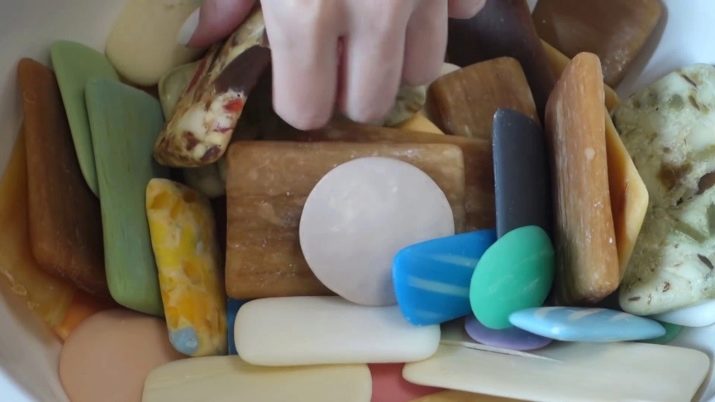
At the initial stage, fragments of the old unspent soap are quite suitable. According to knowledgeable needlewomen, the best source here will be remnants left over from a product intended for children. The children's soap does not contain unnecessary additives, coloring pigments and perfume fragrances, which provides beginners with a vast space for creativity.
If you use the remaining pieces of toilet colored and perfumed soap for work, it should be borne in mind that the result can be unpredictable.Mixing remnants of various shades and aromas often leads to the fact that the final product as a result is very different from expectations.
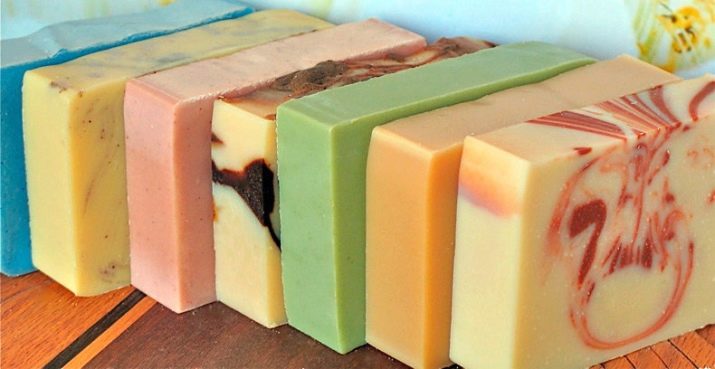
But also for the first experiments, soap residues with a neutral odor and a uniform color may be suitable. You can try to cook a whole piece of good bath soap and remnants that match each other in color.
Preparation
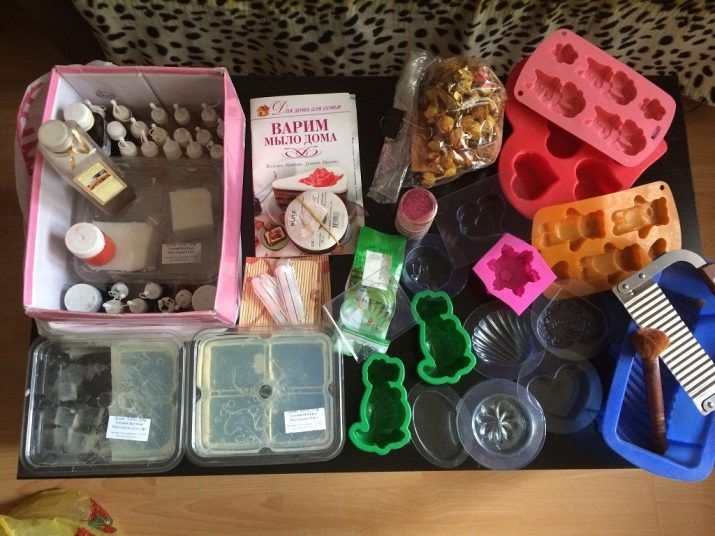
At the preparatory stage, it is necessary to stock up not only with a sufficient amount of old remnants, but also with a set of improvised tools and inventory. So, as auxiliary tools for a beginner soap-maker, usually serve:
- dishes for mixing remnants and their melting;
- set of molds for solidification;
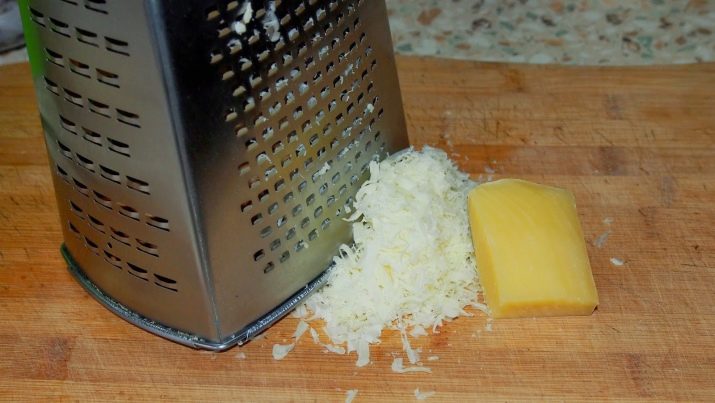
- grater;
- a stick or spoon for mixing soap;
- auxiliary ingredients.
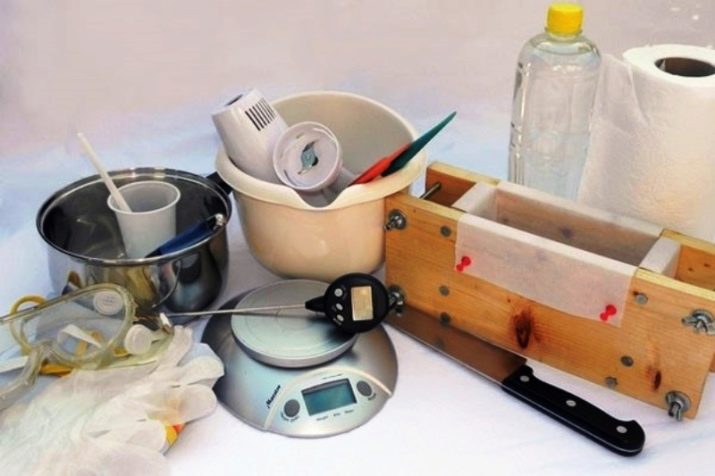
Cookware for the preparation of the mass of the workpiece may be plastic or glass. To melt the remnants, it is better to use an enameled pan or stainless steel bowl.
It is recommended to use children's sandbox kits made of durable plastic as molds for solidification. Soap that has solidified in silicone form for making muffins or tartlets will look no less original.
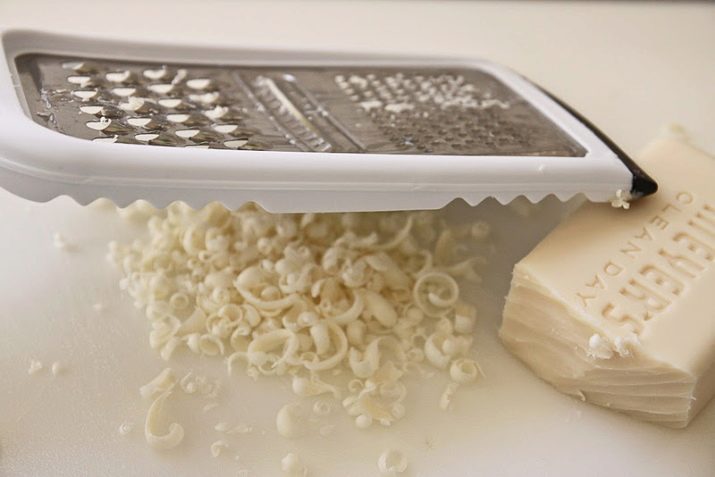
Grater is one of the main tools of the soap maker. However, in its absence, it is not forbidden to use a kitchen or carpentry hammer. In this case, remnants should be placed in a dense bag before grinding.
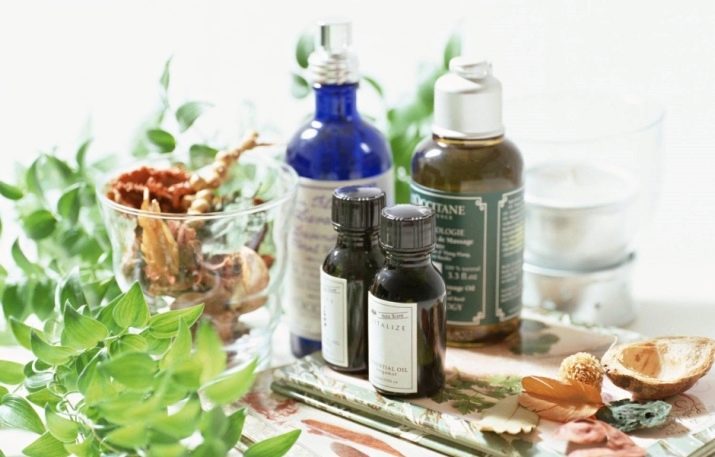
Many inexperienced soap makers, just beginning to master such an original hobby, willingly experiment with various auxiliary ingredients. Their list is very extensive and varied. This can be both base and essential aromatic oils, birch tar, milk, coffee grounds, cocoa, decoctions of fragrant herbs. However, experienced soap makers do not recommend getting involved in additional components. At first, it is enough to make a few mistakes in the calculations, so that later you lose forever your interest in soap making.
Safety regulations
Most recipes for the preparation of soap from residues provide for the heat treatment of the stock. Regardless of whether the soap mass will be prepared on gas, an electric burner or in a microwave oven, soap all safety requirements that require competent work with hot and hot objects should be observed.
Experienced needlewomen advise to use protective gloves, a kitchen apron and tacks, which will protect against accidental burns and injuries, at this stage without fail.
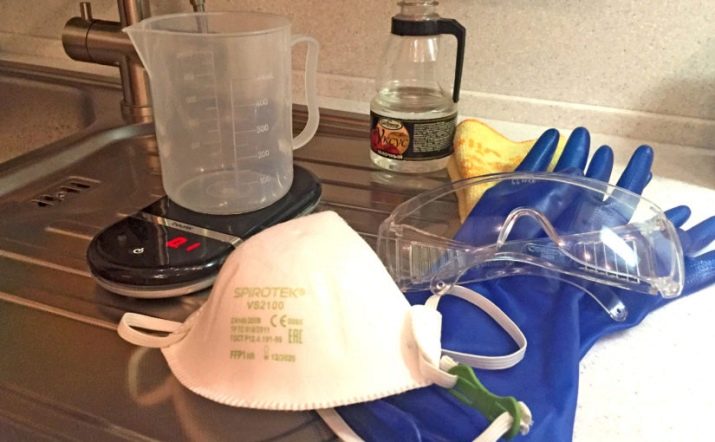
Increased caution should be observed when working with essential aromatic oils. Their concentration is so strong that it can cause a chemical burn. For this reason, working with essential oils is also recommended in protective gloves, preventing them from getting on the skin and mucous membranes.
It is strictly forbidden to experiment with essential aromatic oils for people suffering from allergies. Inhaling the aromas of such oils can not only provoke a spasm and an asthma attack, but also cause a severe allergic reaction.
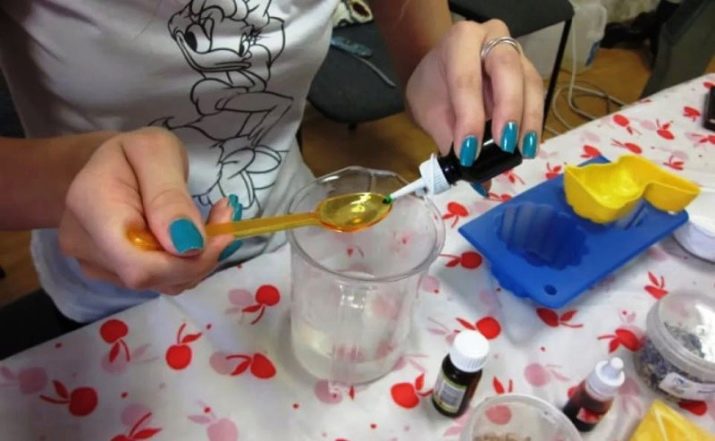
For the preparation of soap, it is better to use unnecessary old dishes, which are not used for storing food and cooking. In the future, the old kitchen equipment can be replaced by a professional set of forms and containers.
The subtleties of manufacturing
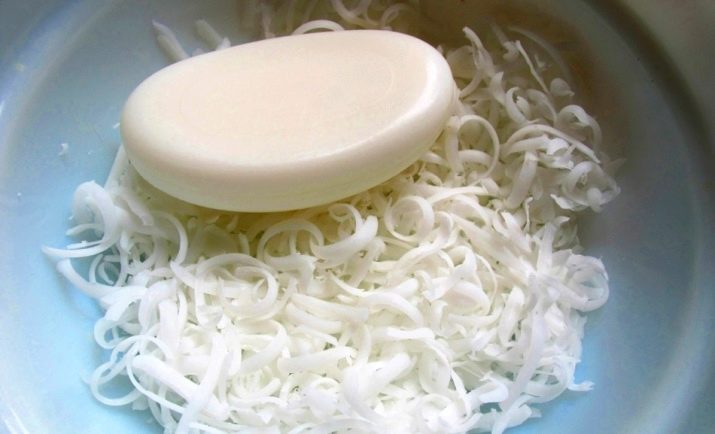
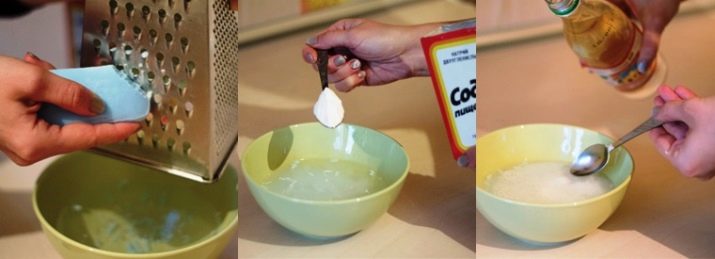
The technology for making soap from residues, even according to the simplest recipe, contains many specific subtleties. So, all prepared remnants must be grated before melting. In the absence of this tool, it is allowed to grind the remnants with a knife or hammer. The smaller the fragments, the more uniform the new bar of soap will be. In addition, small pieces of soap will dissolve faster, which will significantly speed up all work.
Previously, you should study the most simple and affordable recipes that contain detailed instructions, painted in stages. Below are the most popular methods for self-preparation of solid and liquid soaps from residues.
Liquid
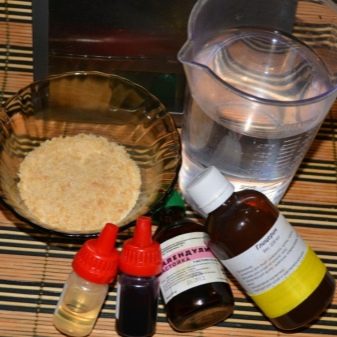
To prepare this product at home, you will need to prepare the following ingredients (per 200 grams of grated remnants of old soap):
- hot water - 150 grams;
- glycerin and lemon juice - 1 tablespoon each.
The acid of lemon juice in this recipe acts as a preservative that extends the shelf life of future soap, and also contributes to the formation of a thicker foam. Glycerin, in turn, makes the product more uniform and soft. And also glycerin, being part of the soap, helps soften the skin during water procedures.
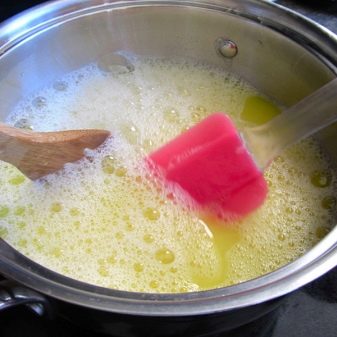
All ingredients must be mixed in a plastic container (it is most convenient to use a bottle with a dispenser). Then the soap solution should infuse for 2-3 days. During this time, the future soap follows shake and shake thoroughly for better dissolution of the main ingredients. When the mass becomes completely homogeneous, the soap can be used for its intended purpose.
Solid
The technology for preparing solid soap differs significantly from the above instructions. In most cases, recipes for the preparation of such a product include heating the main ingredients - remnants and water.
To melt the remains of the old soap on the stove, you need to grind them on a grater, pour hot water, mix and put on a small fire. For those who cook solid soap for the first time, experienced needlewomen recommend taking not too many ingredients. For the first time, 200 grams of soap chips and 200 milliliters of water will suffice.
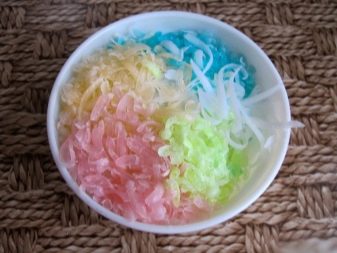
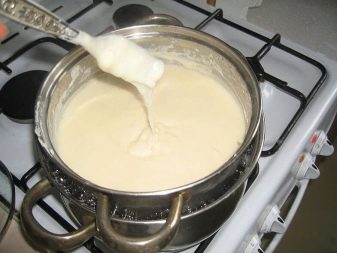
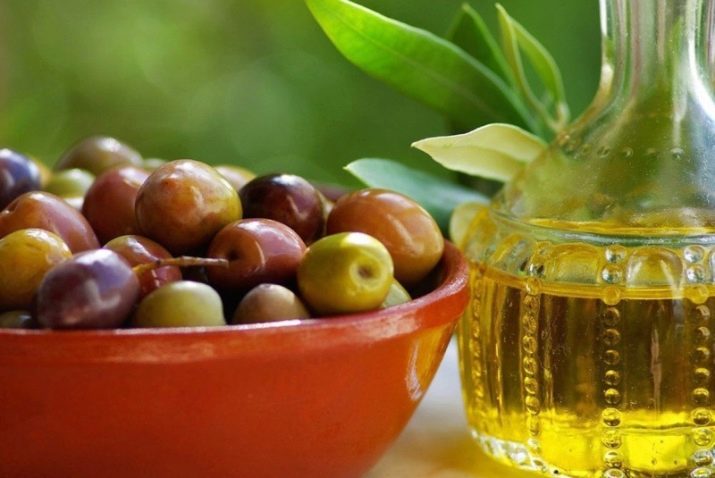
While the mass is heating, it is necessary stir constantly. As it warms up, the water will evaporate, and the soap chips will turn into a homogeneous substance. At the end of the work, it is allowed to add a few drops of essential oil to the resulting homogeneous mass. Once again, it is necessary to mix and place in forms oiled with olive or vegetable oil. After solidification, the soap will be ready for use.
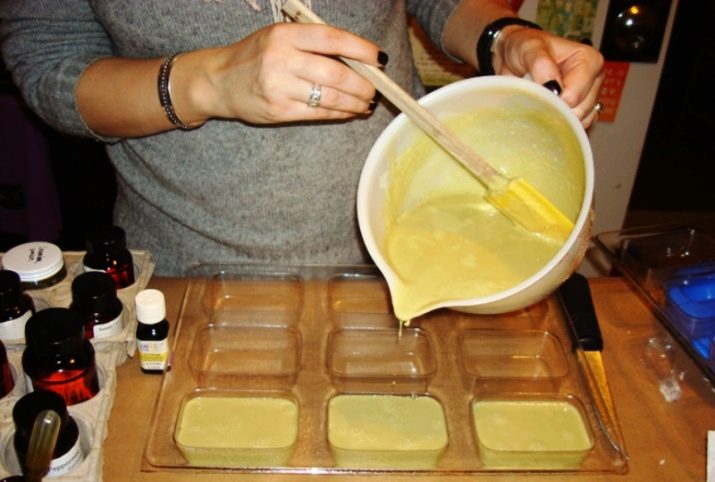
In the microwave
A microwave oven is a reliable assistant to many soap makers who prefer to save time on making soap at home. Here, as in the previous case, you will need to mix water and soap shavings, and then transfer everything to the dishes (glass or ceramic for microwave ovens).
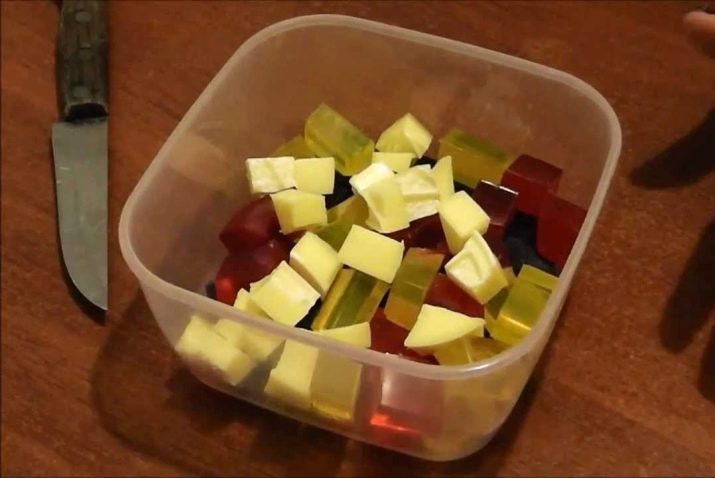
Then the microwave oven is transferred to the most powerful heating mode and set the duration in the range from 15 to 30 seconds. The more productive the unit, the shorter the heating time should be.
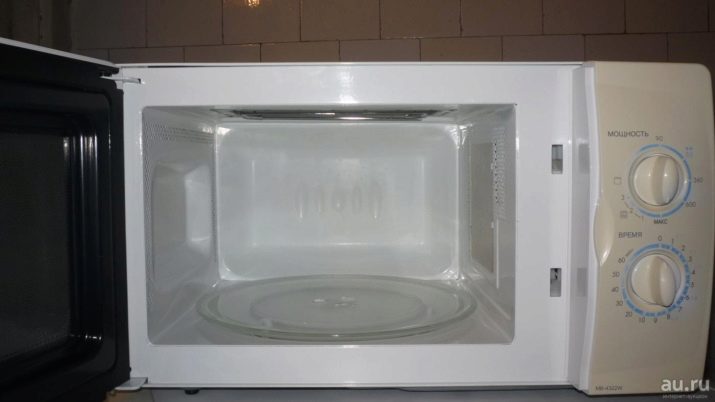
It is important to ensure that the mixture warms up well, but does not boil. When the oven turns off, the soapy mass is removed and thoroughly mixed to a homogeneous consistency.
The resulting mixture can be immediately laid out in forms or even experiment with it by adding certain components. You can add oils, ground coffee, honey or any other ingredients to the soap mass.
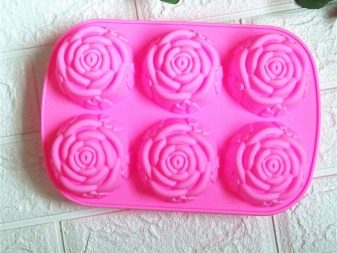
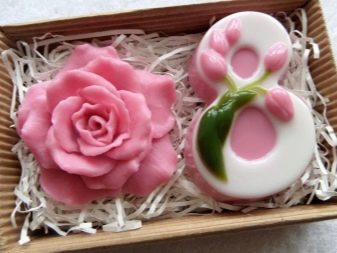
Unfolding the mass should be in a form oiled. Thanks to this, the finished whole bar of soap can be easily removed. To speed up the process of solidification of the mixture, the forms can be put in a cold place. This will significantly reduce the time for preparing soap, but not in the best way will affect its uniformity.
For this reason, it is better to resort to the help of cold in the manufacture of home soap in the most extreme cases.
In a water bath
Many soap makers in their favorite pastime prefer to use a water bath. This method allows to avoid burning and boiling of soapy mass, to prevent excessively rapid evaporation of moisture.Using a water bath ensures uniform heating of the soapy water solution, which is not always possible using open fire or a microwave oven.
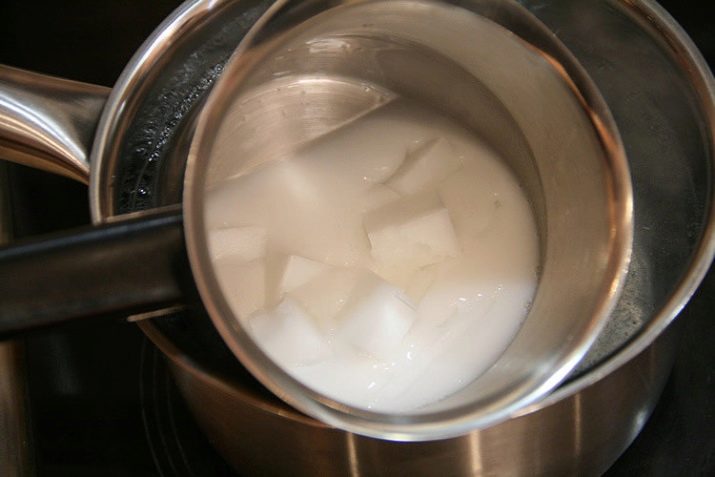
To make home-made high-quality soap from residues using a water bath, you need to prepare a mixture of the basic ingredients - soap shavings and water. Then you need to take two pots of different sizes, fill the larger one with water and send it to the fire.
When the water begins to boil, a smaller container should be installed in a large pan, filling it with soapy water in advance. As the water heats up, the soap chips will melt and moisture will evaporate in the tank from above. Mix in top pan required stir occasionally, not allowing it to boil.
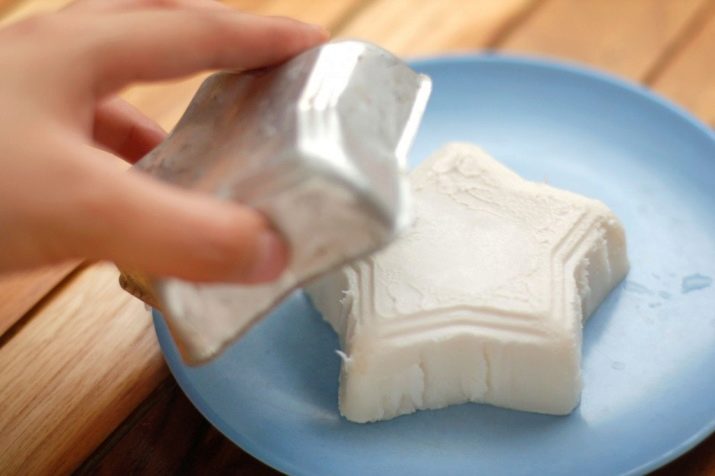
When the consistency of the soap mass becomes 90% uniform, the upper container is removed, its contents are mixed again and laid out in forms (or additional ingredients are added as desired). To freeze the soap blank in the molds should be in a dry place. It is impossible to exhibit forms in the open sun, since direct sunlight will adversely affect the appearance of future soap.
Auxiliary ingredients and their properties
In home soap making, a very large number of additional ingredients are used. It can be both improvised means (honey, milk, butter), and professional components purchased in specialized stores. The following are the most common aids used in making handmade soaps.
- Jojoba oil - A popular ingredient in home soap making, recognized for its moisturizing effect. If you add it to the composition of home soap, you get a product with a calming and softening effect.
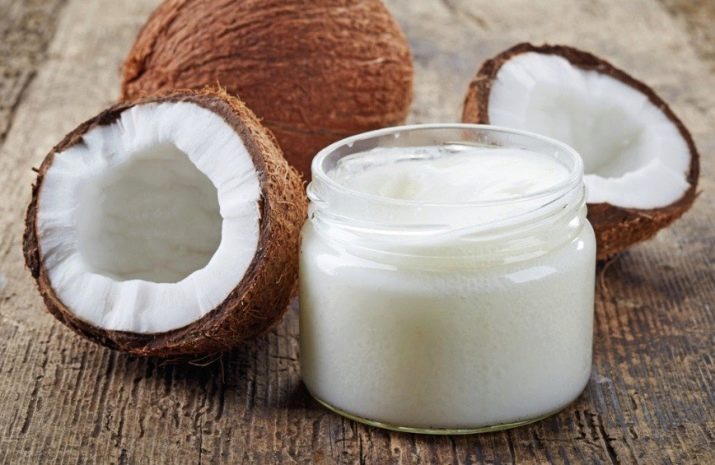
- Coconut oil - A frequent ingredient found in many skin care products. Soap with the addition of this component is characterized by good foaming, emollient and protective effect.
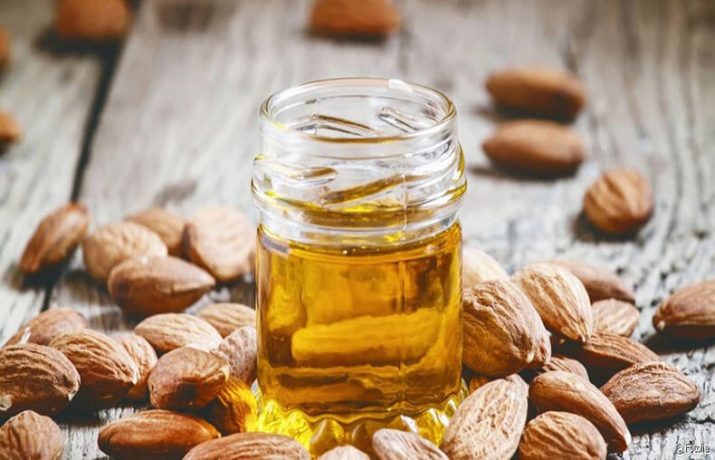
- Almond Oil (Sweet) - one of the original ingredients used in home soap making. By adding it to the composition of solid soap, you can get a product with a light and pleasant aroma, as well as good cleansing properties and airy foam.
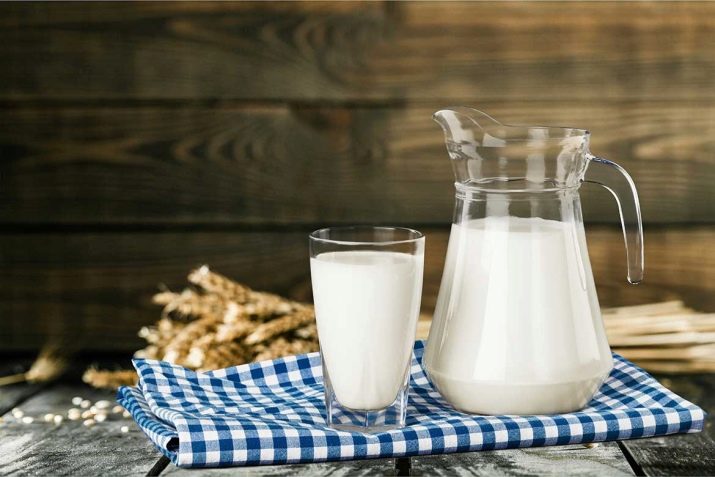
- Milk - a component that provides skin hydration and nourishment. Soap with the addition of raw or boiled goat or cow milk makes the skin softer and fresher. In soap making, the use of milk powder is also allowed.
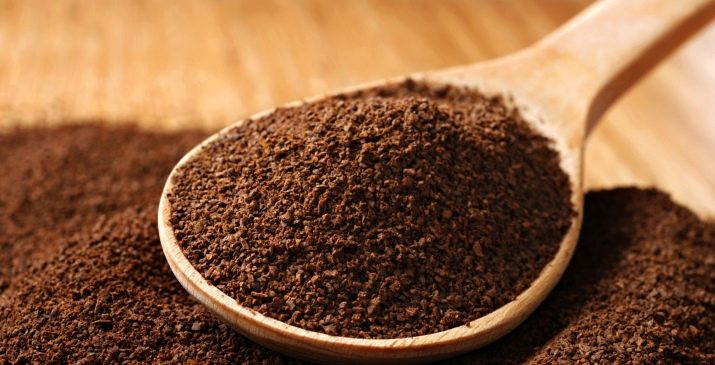
- Ground coffee (or thick black coffee) - ingredient used in home masks and peels. If you add this component to the composition of home soap, you can get a product with good cleansing and exfoliating properties. However, you can’t use this soap for a long time, because coffee grains will begin to irritate and injure the skin.
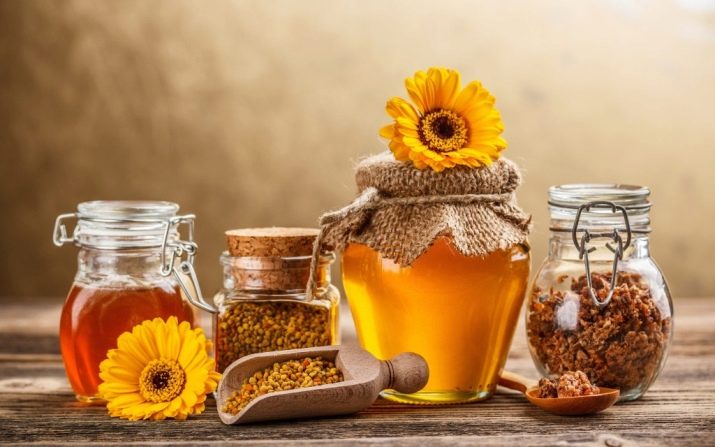
- Honey - a natural and healthy product that has a regenerating and softening effect. However, soapmakers use it with caution, given that it is capable of causing allergic reactions.
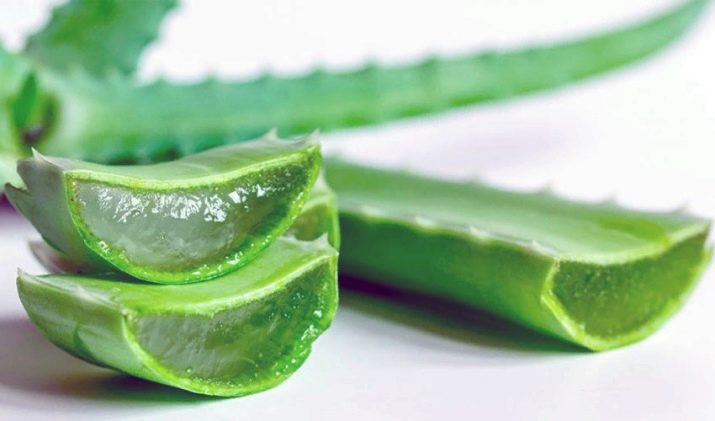
- Aloe juice - an excellent plant component, on the basis of which you can create soap with excellent regenerating properties. This ingredient is able to have a calming effect on irritated and inflamed skin, refreshing complexion.
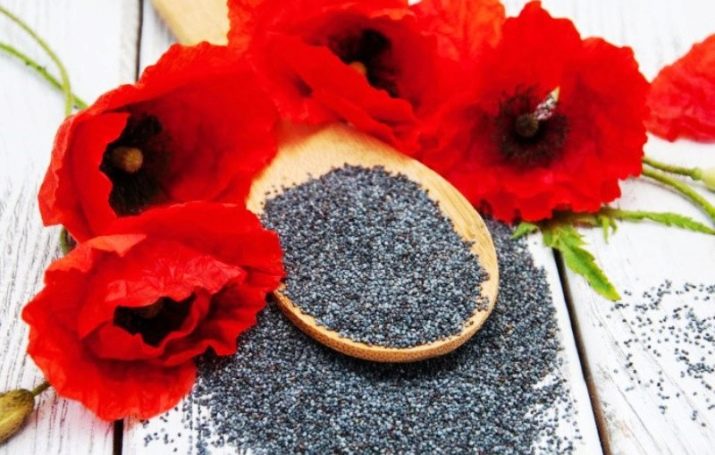
- Poppy - one of the excellent components that is used in soap making to give the final product a number of useful properties. The soap, which contains small poppy seeds, exfoliates the skin well and fairly gently, removes traces of dryness.
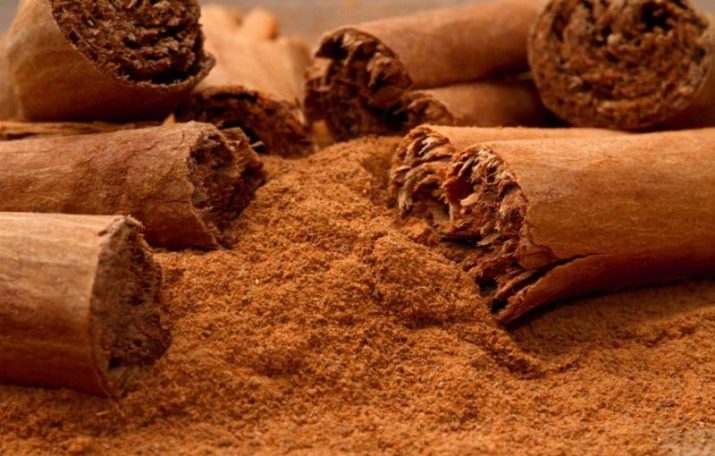
- Ground cinnamon - Another ingredient that not only provides a pleasant aroma to the soap, but also gives it good exfoliating properties. However, such soap, as well as soap with the addition of coffee, cannot be used for a long time. Prolonged use of such products can cause minor injuries and local skin damage.
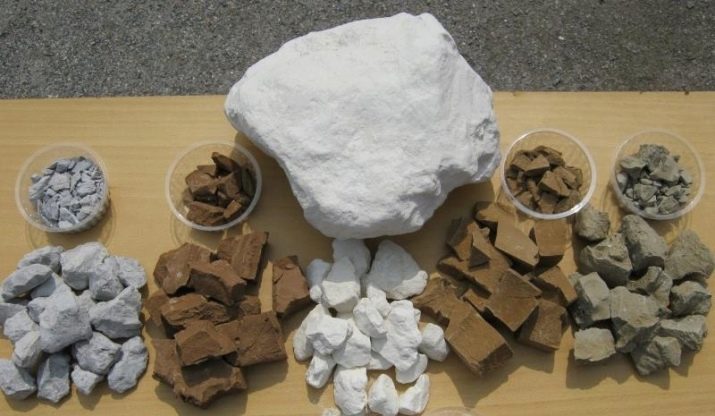
- Healing clay (red, white, blue) - natural ingredients used to prepare a variety of face and body skin care products. Adding natural clays to homemade soap gives the final product an interesting shade, and also enhances its antibacterial, soothing and drying properties. This soap is well suited for oily and prone to the formation of blackheads.
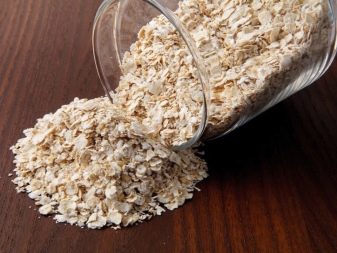
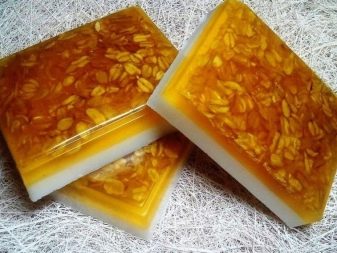
- Oatmeal or bran - a hypoallergenic ingredient that gives homemade soap the properties of a mild exfoliant. Such a soap has gentle cleansing and drying properties, it helps to restore a healthy complexion, a slight narrowing of the pores and the elimination of redness. Soap with the addition of oatmeal and bran cleans without causing irritation, so it is recommended for teenage, sensitive and delicate skin.
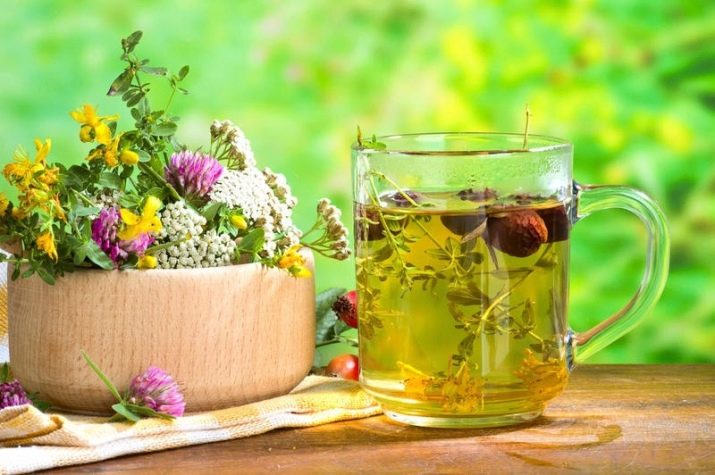
- Decoctions of medicinal herbs (chamomile, St. John's wort, calendula, thyme) - herbal ingredients that provide homemade soap anti-inflammatory, antibacterial and regenerative effect.
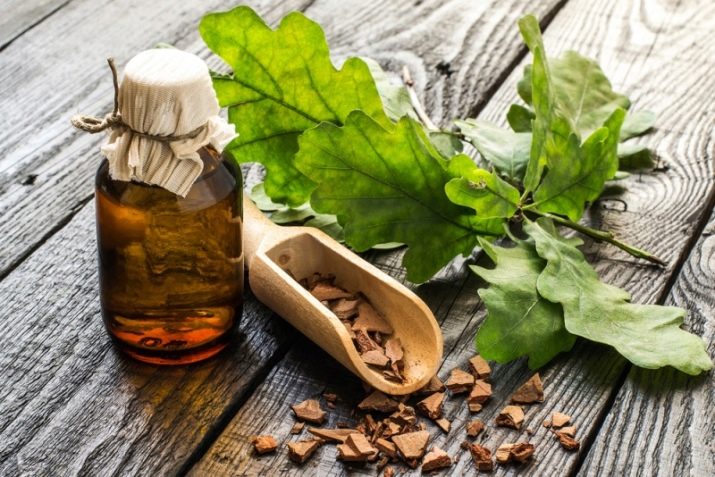
- Other herbal decoctions (oak bark, linden, birch leaves) - Another popular component, often featured in traditional medicine recipes and formulations of home skin care products. The complex of actions that soap with the addition of such components will possess is largely determined by the properties of the plant material itself. So, oak bark has an astringent effect, it slightly narrows the pores and soothes the skin. Lipa - restores complexion, rejuvenates. Birch leaves - relieve inflammation, cleanse and soothe the skin.
Useful Tips
It is difficult for novice soap workers to avoid mistakes by deciding independently at each stage. In order not to be disappointed in such an interesting hobby, you should use the recommendations of experienced people.
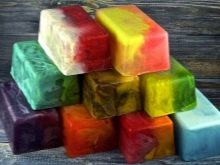
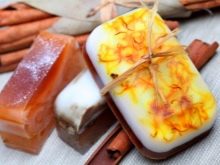
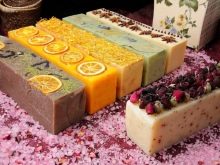
So, soap makers with experience do not recommend beginners to abuse experimentation with additives at first. A large number of auxiliary components (oils, coffee, decoctions of plants) can irrevocably spoil the final product without any result.
Another good tip you should take when preparing your ingredients is in using a fine grater. Crushing residual soap with a knife or hammer should be resorted to only in the most extreme cases.
It is almost impossible to achieve even and fine soap chips with these tools, and, consequently, the final product will be noticeably worse in quality.
If a novice soap maker needs to prepare a soap dishwashing detergent, then here he can take advantage of the recommendations of knowledgeable people. So, during the preparation of liquid soap, it is enough to add 1 tablespoon of mustard and soda (food or soda ash) to the solution to get an excellent detergent. This product copes well with pollution, and with fat, and even with old soot.
See how to make soap from debris with your own hands in the next video.
