Modern fashion trends sometimes give women pleasant surprises. Take at least such an important detail as the design of nails: among the usual techniques, new ones appear that make the female image delicate and refined. One of these types of design is the “veil” technique. What it is, how it is performed, which tones are better to use, and what you need to consider, we will consider in more detail below.
Features of the technique
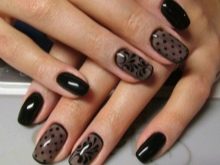
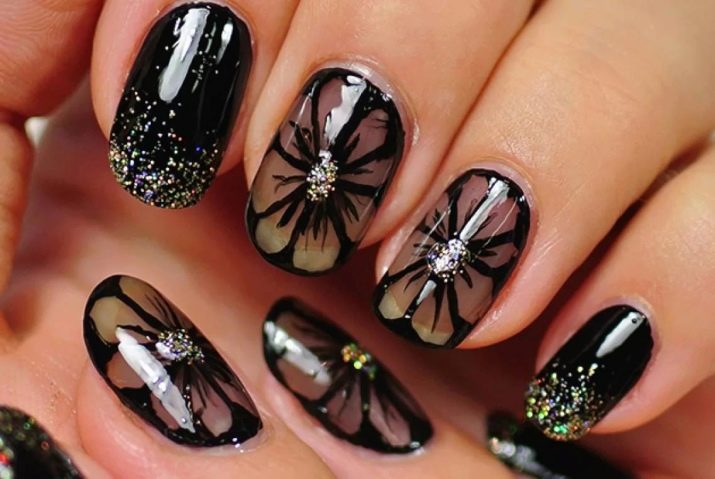
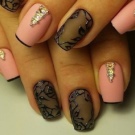
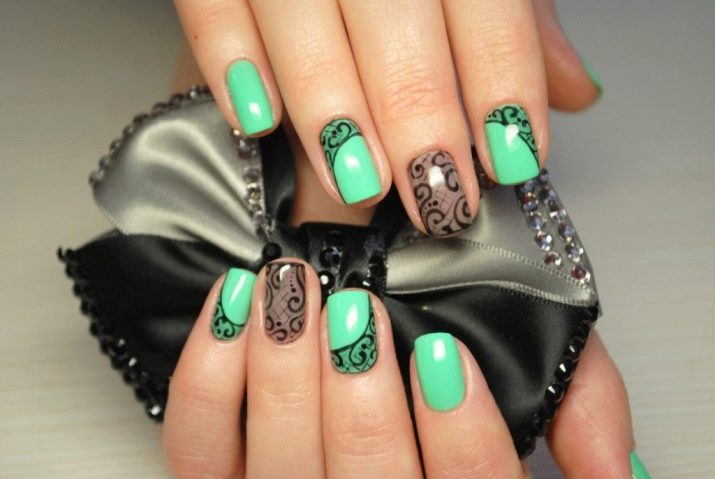
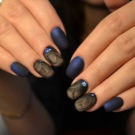
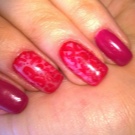
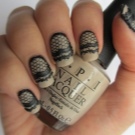
The manicure technique “veil” is based on a game of drawing and a translucent coating background. In fact, this is a delicate and almost weightless pattern applied to the translucent tone of the nail. Unlike the negative space technique, in this case the nail plate is completely painted here. This design of nails looks stylish and incredibly feminine.
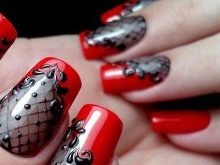
This design is notable for the fact that It is suitable for women of different age categories, and fans of different trends in clothing. It differs in design variability and can be combined with well-known manicure techniques. For example, it can be harmony with a French jacket, moon design, classic. Each such combination allows you to add a special mood and status to the veil design.
Not all types of varnish products are suitable for this technique. For example, it is useless to do it on a pearl or jelly varnish with translucent pigmentation. Varieties such as mirror or magnetic varnishes can only be used as a complement to the veil technique, staining nails with these pigments completely.
To make the design truly beautiful and expressive, you need to choose matte or glossy coatings for it.

Color schemes
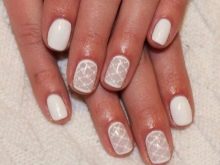
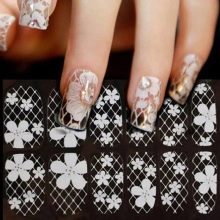
You can use the “veil” technique in different shades of the color palette. For example, its execution in white is especially tender. However, there are nuances: the varnish used must be pigmented, since the expressiveness of the veil design will depend on this. It is important to understand that neither tint nor pattern can be tinted, so you need to take care in advance to choose the right varnish.
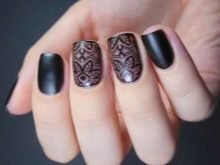
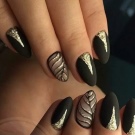
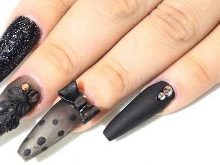
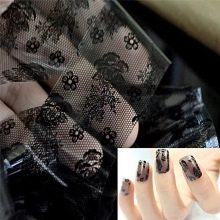
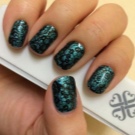
Not suitable for creating a nylon tone manicure under the skin. Against the background of a natural nail plate, they simply will be invisible. However, as contrasts, such pigments will be very helpful. A drawing, like the design as a whole, is better to create in dark colors. It will look great in black, as well as in dark purple, saturated blue, chocolate brown, coffee and bronze tones.
How to make?
There are two ways to perform the “veil” technique. In the first case, first create a picture, and then cover it with a layer of translucent varnish. The second technique provides for the initial coating of nails with a smoky base, and then decorating and fixing the picture. Common to the two options is the basic set, which includes:
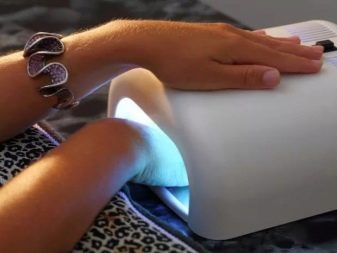
- drying ultraviolet or LED lamp;
- top (preferably with a frosted effect);
- base coverage;
- dehydrator (degreaser);
- acrylic gel paint;
- thin brush to create drawings;
- dots with different nozzles;
- foil to create a one-time palette.
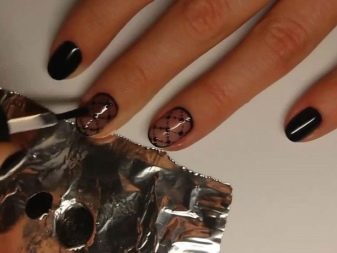
First, an improvised smoky layer is prepared. To do this, use a transparent top, foil and a few drops of the selected pigment. A small palette is made of foil, on which the future coating is stirred to a state of uniformity.
If there is not enough top in the bottle, you can perform mixing inside it. Such a varnish is unlikely to remain untouched in the future: as a rule, having tried it once, you will want to experiment again and again with veil technique. After the working material is ready, proceed to the main steps of the methodology.
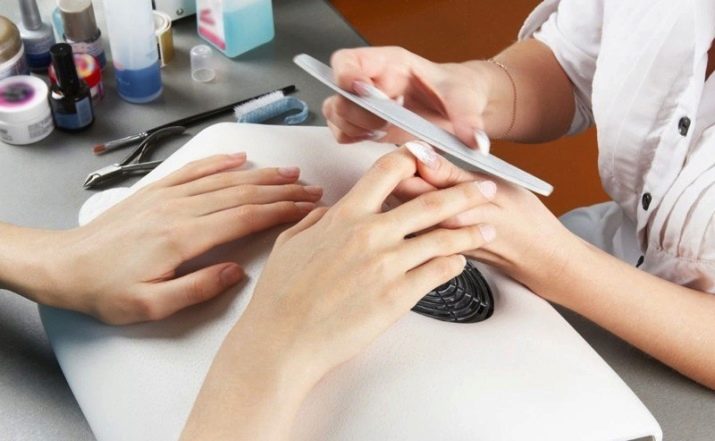
- The nails are soaked, after they are wiped dry, the cuticle and pterygium are removed.
- After shaping the upper edge of the nail plates remove the layer of gloss (to increase adhesion to the varnish and extend the durability of the manicure).
- Residual filings are removed using a dehydrator.
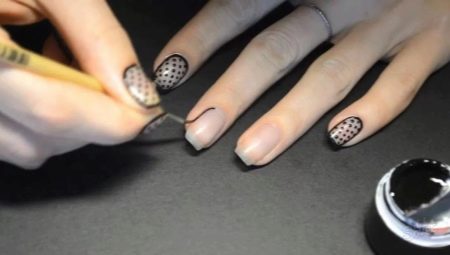
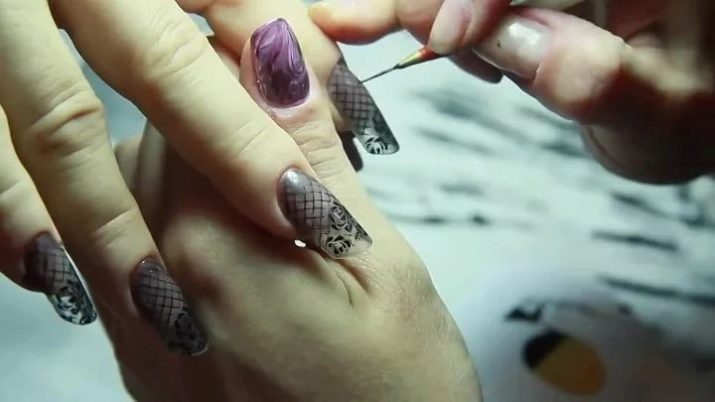
- The nail plate is outlined, trying to achieve the same thickness line.
- After the stroke on the nail, they put dots, draw a mesh, and complete the design at their discretion.
- When the drawing is ready, a layer of translucent coating is applied to the nail.
- The top is dried under a lamp for about one to two minutes. The exact time depends on the type of varnish used and the type of lamp itself.
When a picture is created on an already painted nail plate, one more layer of topcoat has to be applied on top of it to fix the manicure, and thereby extend its durability.
Alternative Design Ideas
Not every woman can draw beautifully, which may complicate the implementation of veil design. However, in this case, you can resort to some tricks. For example, today it will not be difficult to purchase stickers on a transparent basis, which can be glued to the smoky layer. At the same time, the design will look pretty pretty, and meet the basic principles of nylon technology, including translucency.
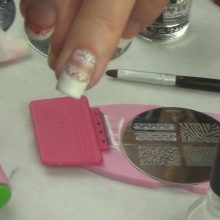
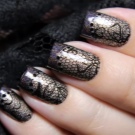
If you do not want to bother with stickers, you can replace the tedious drawing with a cunning invention - stamping. These are ready-made templates with a variety of engraving patterns. The patterns are transferred from them by means of a special roller, which allows you to make an image on a translucent coating basis in a matter of seconds. At the same time, the lines of such drawings are always smooth and clean, due to which the manicure looks professional.
Expert Advice
To make your veil manicure beautiful, stylish and effective, it is worth taking note of a few recommendations from the masters of nail salons.
- It is necessary to try to keep the background light, without an abundance of pigment.
- To apply the coating, like the picture, you need layers of minimal thickness. The more material, the shorter the life of the manicure.
- You can use single rhinestones to decorate the “veil”.
- The decoration of this technique with a coating in the classic technique using the rub will look beautiful.
- You can combine the “veil” with the classics, designing two techniques on the nails at the same time.
- After applying a translucent texture, you need to give it a little time to spread evenly.
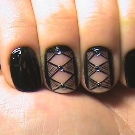
You can make nails in nylon technique in different ways. For example, it can be the design of the entire nail plate, a vertical insert on a contrasting background, a part of the nail separated by a diagonal, or even a wide “smile” of a jacket. As for the design in white, it would be better to look at the design of nails over the entire area. To make the manicure look expressive, it is worth choosing no more than four nails for the “nylon”, and paint the rest with white varnish, and cover with a velvet effect top.
Three fashionable design options for the manicure "Veil" you will see in the video below.


