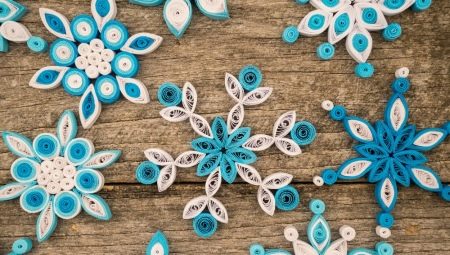
Quilling is a type of needlework, when different decorative compositions are composed of paper strips rolled into a roll.. Especially beautiful snowflakes are obtained in this technique, and it’s not difficult to learn how to make them - you just need to repeat step by step all the actions of experienced craftswomen. It’s best to take advantage of already invented schemes, but with very little imagination, you can create the perfect New Year decor. Let's get acquainted with the description of the method of making snowflakes.
Features
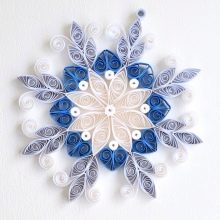
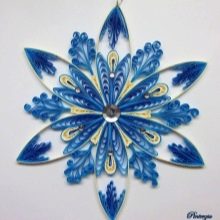
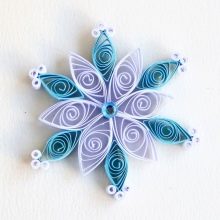
The snowflake, perhaps, is one of the most recognizable, delicate and beautiful symbols of the New Year and winter in general. Unfortunately, real snow cannot be brought home, so needlewomen around the world knit, weave, cut and glue snowflakes. The most beautiful products are obtained using quilling technique. This type of applied art appeared a very long time ago - about 500 years ago, for the first time European masters used technology. The technique involves twisting strips of paper and their further gluing - of these twisted strips are various ornate patterns.
Folded stripes can be formed as closed or as open forms, novice craftsmen and children create simple and uncomplicated crafts from them, and experienced needlewomen are able to create real masterpieces.
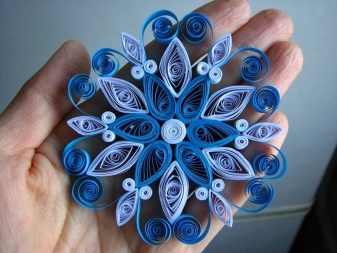
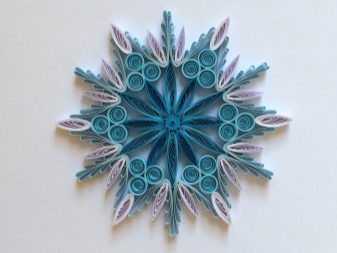
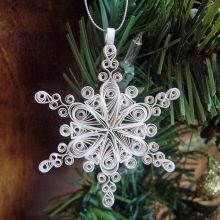
The distinguishing feature of quilling is that patterns in this technique are airy and lace. New Year’s snowflakes made in this style can always be hung on a Christmas tree or decorate a site near the desktop so that the crafts every day remind you of the approaching main holiday and fill your expectation with a sense of winter magic.Any production of snowflakes using quilling technique should begin with compilation working scheme - a picture of the decoration that you want to receive at the exit. Each composition consists of several basic elements, the most common are those.
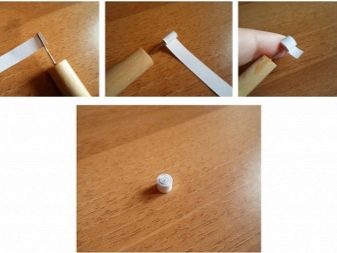
- Tight spiral - a strip of paper is wound on a toothpick / match, then removed and the end is glued so that the roll does not unwind.
- Free spiral - in this case, the edge of the paper is not glued, but untwisted, creating air space between the parallel layers.
- Oval - the end of the untwisted spiral is fixed with glue and gives the workpiece an oval shape.
- A drop - in this case, the free spiral with the thumb and forefinger is gently clamped from one edge.
- Eye - this form is created by analogy with a drop, but not one but two opposite ends are squeezed.
- Triangle - they twist the roller into a triangular shape by clamping it on one side and fluffing the base on the opposite side.
- Square - in this case, the spiral is opened so that it takes a square shape, a rhombus is made in a similar technique.
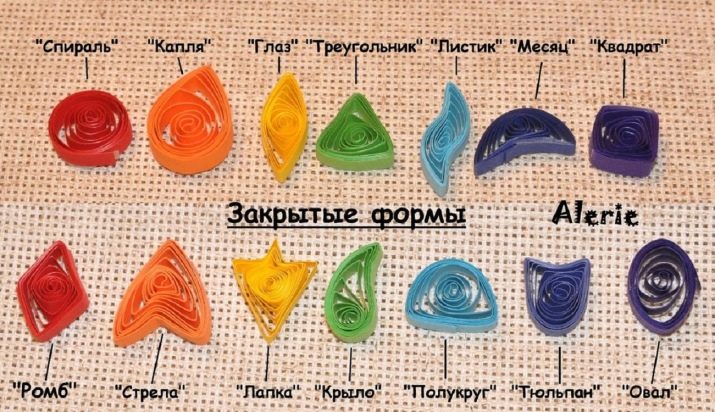
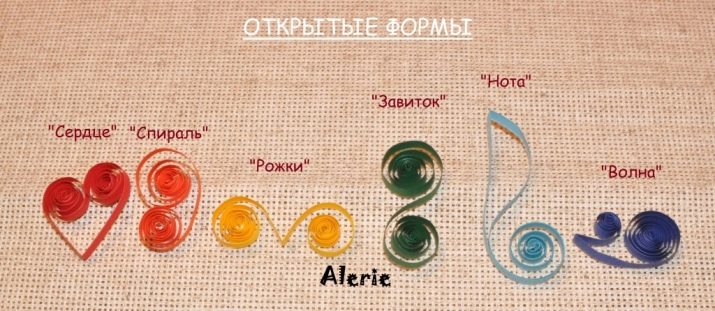
Open forms are very popular.
- Horns - in this case, the strip is folded exactly in half, and both free edges are turned outward.
- Heart - performed according to the same technique as the horns, only the free edges are twisted inward.
- Curl - here the fingers slightly indicate the middle of the strip, and the ends are wrapped in different directions.
- Twig - a strip of paper is divided in a ratio of about 1: 2, both edges are twisted in the same direction.
Using these forms, you can create snowflakes of various shapes and sizes - for this you just need to find an interesting pattern and glue all the elements in a given sequence.
Tools and materials
The quilling technique is also popular because for this creativity you do not need to make any expensive acquisitions. To make crafts, you need the simplest materials and tools that can be purchased at any store at affordable prices.
For work you will need the following.
- Paper - ideally, it should have a density in the range from 116 to 160 g / m2. For white snowflakes, ordinary office paper is suitable. And if you plan to make colored snowflakes, then it is better to purchase special paper for quilling - it is sold in any needlework store. It is not worth using the usual color, since when cutting in the place of the cut, it gives a white color.
- Scissors - It is best to use a tool with thin pointed tips.
- Glue - PVA or glue stick will be the best option, but if neither is at hand, then a regular clerical one will do.
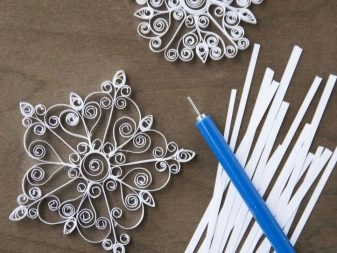
- Any tool for curling paper strips - it can be a toothpick, a wooden skewer or an awl.
- Tweezers - It is necessary for fixing small elements in the event that you can’t take them by hand.
- Ruler with round holes of different diameters - thanks to this tool, it is possible to form spirals of various degrees of density.
- The usual ruler.
- Plain pencil.
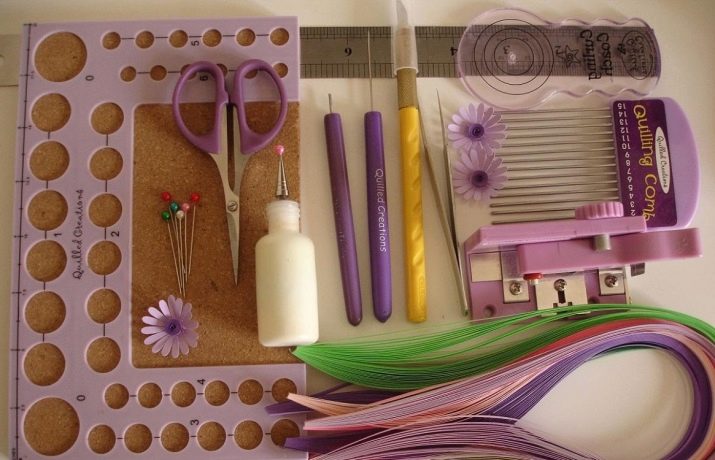
In stores you can find special sets for quilling, the paper in them is already pre-cut into thin strips, which can have a wide variety of shades, length and width parameters. In addition, the kit includes a special tool with a forked tip for gripping and holding the strip, as well as templates for creating spirals of various sizes.
Stage master classes
When creating a New Year’s decor using quilling technique You can make both small light and large volumetric snowflakes. They can be either simple - for beginners and children of the preparatory group of kindergarten, or complex - for craftswomen who already have experience in this direction.
Best to start with the simplest twisted patterns.Having mastered them, you can easily show imagination and create figures of varying degrees of complexity. Let us take a step-by-step look at one of the most popular paper strip snowflake spinning techniques. This is a fairly simple scheme that uses standard basic modules. You will need a blank in the form of:
- tight spiral;
- eyes;
- petal;
- heart
- horn.
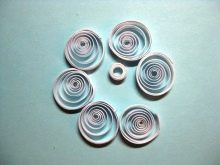
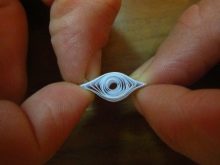
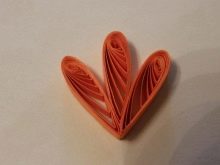
Each form must be completed in 6 copies.
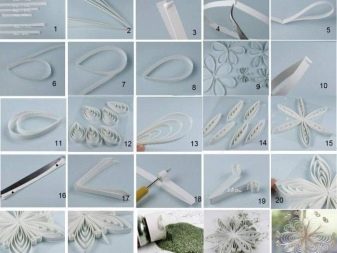
Guide to action includes the following stages of work.
- To get started, take a sheet of paper and draw strips about 5 mm thick on it, guided by the long side of the sheet. After that, cut with scissors - you should get about 40-42 stripes.
- Each strip must be wound on a match or a toothpick, after cutting its tip with a sharp knife and inserting the edge of the strip into this crevice.
- After the entire strip is twisted, the rod must be removed and the edges of the tape fixed so that the part does not unwind. You will get a tight tight spiral.
- Next, you need to wind the paper base back onto the working tool - a toothpick and put the twisted roll into the round hole of the ruler, it should spin up a bit. The edges are fixed with glue, and the resulting part is slightly squeezed with fingers from one end. You will get the shape of a petal.
- It is worth repeating all the same steps as for making a petal, but crush the roll already on both sides. This module is called the eye.
- Next, take the prepared strip of paper and bend it in half, twist the edges to the outside so as to form horns.
- Next, you need to do the same as in the previous paragraph, only in a spiral you need to wrap not in the outside, but inward. This figure is called the heart.
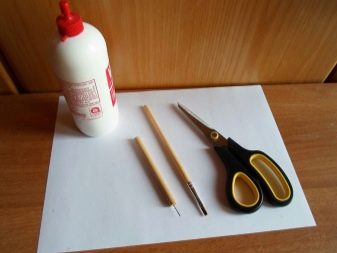
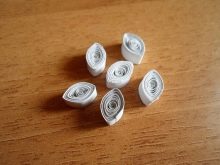
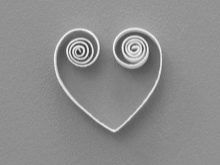
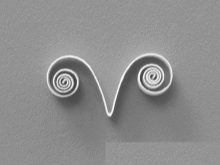
As a result of all the manipulations, you got 5 elements of 6 pieces of each shape. They need to be fixed in one shape, that is, to assemble the craft. To do this, you should first add up what you plan to get without sticking the paper together. When you understand that you like the result, you can already start gluing. As a rule, a snowflake is collected starting from the middle, that is, first the petals are fixed among themselves, then droplets, then horns, then hearts and finally tight spirals.
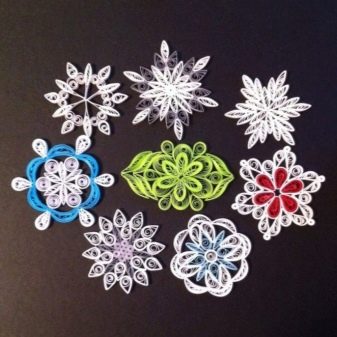
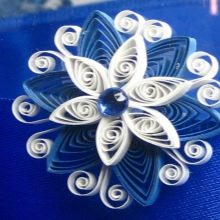
It is not necessary to make a snowflake in white, you can combine shades of blue, blue and silver colors. As in nature it is impossible to find two identical snowflakes, so in creativity it is completely optional to do all the crafts according to one pattern. Having shown your imagination, you can diversify the details, size, density of the modules, shade and make many other changes.
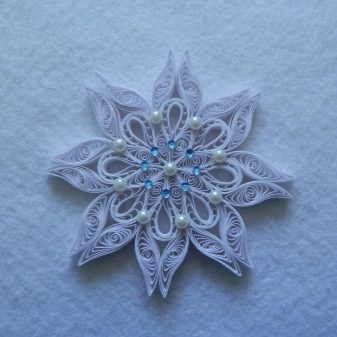
If desired, snowflakes can always be additionally decorated with beads, rhinestones and sprinkled with glitter.
In order to create a truly magical New Year's interior in the house and decorate it with quilling snowflakes, you need to make a lot of effort and spend a lot of time. To argue the work is worth Take advantage of the recommendations of experienced craftswomen. Here are some of them.
- It is best to start training with the creation of the simplest elements and only after that move on to more voluminous and complex ones.
- All the same parts must be created from paper strips of equal width and length.
- In order to create petals, spirals and eyes of the same size, during their promotion you should use the same hole on the ruler.
- If you are working with a double-sided strip, then the wrong side of it must be facing the rod.
- To facilitate winding, the tool, i.e. a toothpick or awl, should be rotated clockwise.
- When making snowflakes, you never need to rush, especially if you are just taking your first steps in quilling. Due to lack of skill, work may look careless. This type of applied art requires imagination, perseverance and patience.
Idea: snow curtains made of individual elements using the quilling technique look very impressive, they can decorate a window or doorway. To make such a decor you will need a silver rain and ready-made snowflakes, keep in mind, at their ends you need to place round elements with a through hole - through them you will pass the rain and fix it with a knot. After that, at the lower end of the snowflakes, a ribbon of rain of about 20 cm is tied and connected to the second snowflake, repeating the steps until the desired length is reached. Having made several of these ropes, you can fix them on the ledge and enjoy the beautiful view.
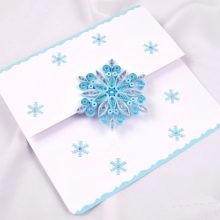
Simple snowflake quilling patterns can be used not only by beginners — they are widely used in children's art. Such openwork crafts can always be hung on a Christmas tree, under the ceiling or on the door. You can decorate a holiday greeting card with a snowflake using the quilling technique or include it in a large New Year composition.
In any performance, she will definitely delight the eye and create a magical mood.
Next, see the master class on how to make snowflakes using quilling technique.
