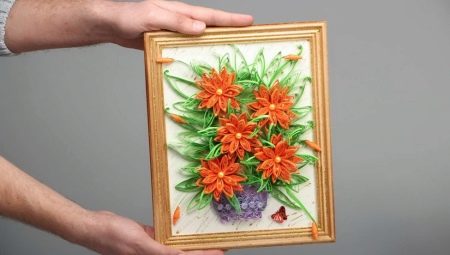
At present, spectacular floral arrangements made using the quilling technique are very popular. In this way, you can get a very beautiful and attractive product that can become an adornment of many interiors. Often, this particular technique is used to complement greeting cards, caskets, and other similar items. In today's article, we will take a closer look at the flowers made according to the quilling scheme.
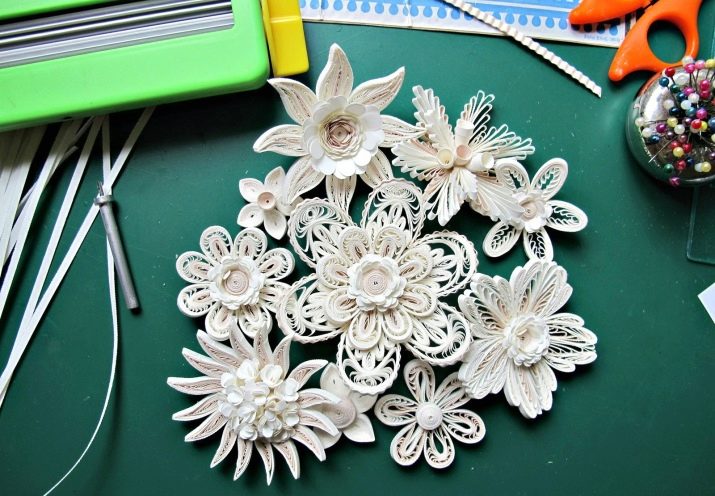
Basic manufacturing rules
Flowers made using the quilling technique can turn out to be very original, bright and lush, if the user made them correctly. To do this, you must clearly follow some simple rules that will ensure you get an excellent result. Get acquainted with them.
- It is necessary to take into account the fact that quilling itself is a creative process that requires maximum attention and thoroughness in the actions of the master. To make the compositions better, for a start it is better to get the necessary skills. Only after that the flowers will turn out to be quite attractive and correct, and it will not take too much time. You just need to be patient.
- The main requirement in the manufacture of decorative flowers is accuracy. No matter how bold and unusual the idea of the master may be, in any case it must be carried out carefully.
- The paper parts from which beautiful flowers are made will have very small sizes. The master must prepare enough free space in advance for all stages of work, otherwise you can simply lose many details.
- When gluing paper floral elements, it is imperative to ensure that all components are glued tightly to the end. Only then can they be attached directly to the prepared base.
- Do not apply too much PVA glue when working with paper flower arrangements. Even if there is not much of it, all the necessary details will be able to properly fasten without it.
- Try not to skimp on special tools that are useful for proper quilling. Only having such devices will you make the most accurate and attractive flowers, and the master will not spend too much time.
- No need to rush into such creative work. Quilling should give the master pleasure. In addition, if you act in a hurry, you can encounter a lot of errors, which in the end still have to be eliminated or even redo many details of the composition.
- To make spectacular colors according to the quilling scheme, you need to use high-quality paper. The material should not be too thin or damaged.
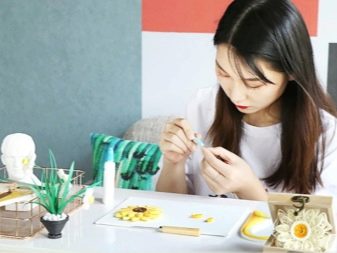
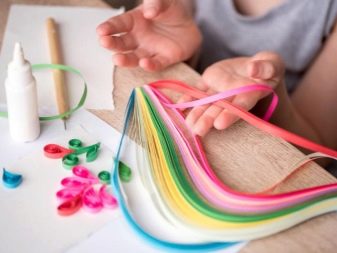
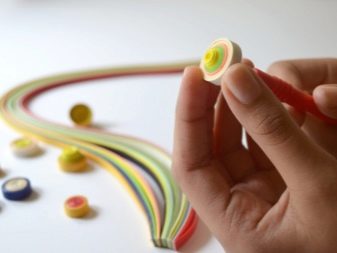
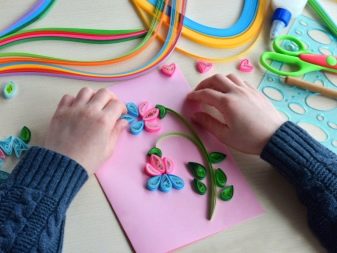
As you can see, there are not so many special requirements and rules in the manufacture of interesting flowers using quilling technique. Almost every user can handle such creative work. The main thing is to act carefully and thoughtfully - excessive haste here is definitely not useful.
Tools and materials
To create beautiful flowers or even whole bouquets using quilling technique, the master must prepare all the necessary materials and tools, without which the work will be impossible. We will analyze the points that will be needed.
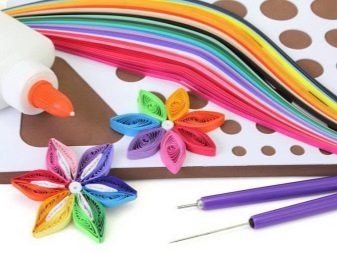
- Paper strips. Such parts can be made independently of high-quality colored paper, or you can buy it ready-made. The paper density should be between 120 g / m. sq.
- Special tool for preparing rolls.
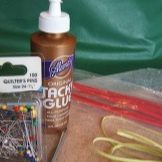
- Glue (suitable for PVA) or a quality glue gun.
- Screen ruler.
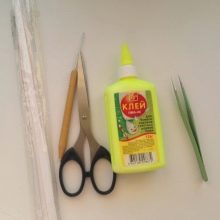
- Tweezers and scissors.
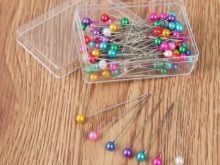
- Safety pins.
- Stationery knife.
- Ruler.
- The basis for gluing different parts of the flower arrangement.
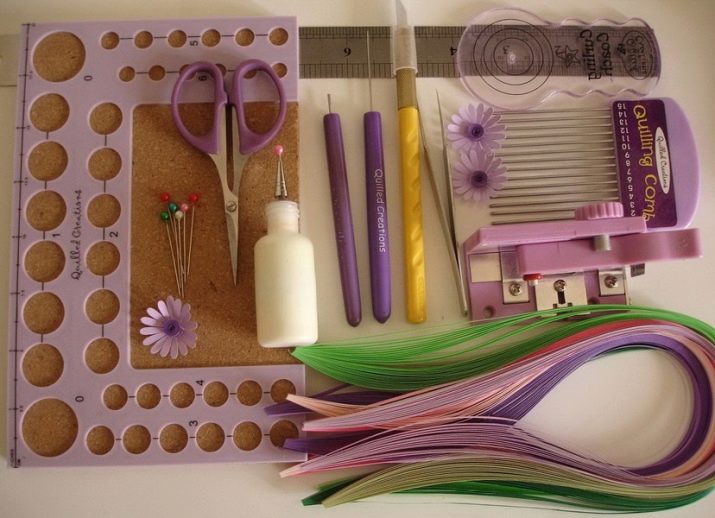
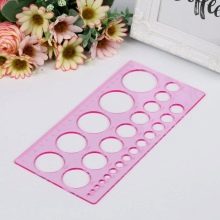
A screen ruler in this case will be necessary in order to be able to produce parts of the same size. When choosing tweezers and scissors, it is recommended to give preference to tools with pointed edges. They will be needed to prepare a neat and beautiful fringe, as well as the exact arrangement of flowers in a single composition.
Safety pins fasten different parts of the crafts along the way of gluing. Usually this is done to make the whole composition more reliable and accurate. It is better not to use a mat made of cork material as the base for the subsequent gluing of the remaining components, since paper components will not normally adhere to it.
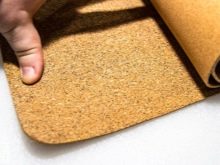
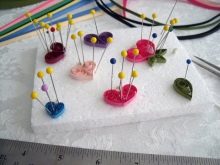
A replacement for this element can be a piece of foam of a suitable size, previously wrapped in cellophane.
Interesting ideas
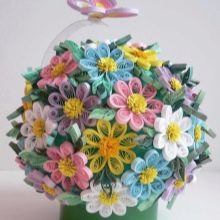
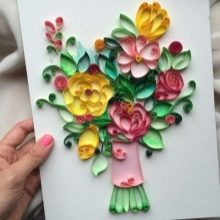
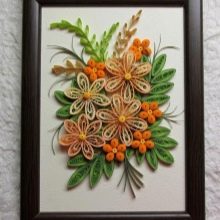
Volumetric crafts made using the quilling technique can be created even by novice users. The composition can be both complex and quite simple. Consider step-by-step diagrams of different methods of manufacturing such beauty.
Simple
The easiest way to do simple crafts with your own hands. This is an excellent base for beginning masters who still need to gain proper experience and adapt to such work. Let's take a step-by-step example of creating a small masterpiece.
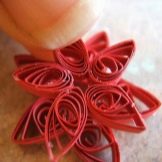
- First you need to prepare the petals. To do this, you need to take 2 strips with a width of 10 mm. Materials can have different shades. They are glued together. If 10 petals are present in the flower, then strips will be needed in the amount of 10 pieces.
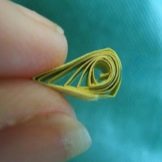
- Wrap each of the 2-color strips in twisted spirals with a diameter of 2 cm. Then tightly clamp them so that they can form a peculiar shape of the eye.
- In order for the petal to acquire an unusual shape, it will be necessary to twist its 1 end using a thin and sharp object (an awl or a toothpick is suitable). After that, the petal will be ready. In the same way it is necessary to do in relation to the remaining 19 petals.
- You can make several such flowers, and then decorate with their help a photo frame, postcard, or other base that the user selects.
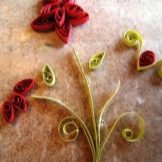
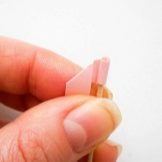
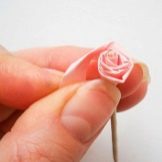
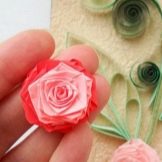
In the quilling technique, you can easily and quickly make not only various wildflowers, for example, cornflower, but also more elegant roses. Oddly enough, they are made almost the easiest. Consider the description of the creation of such a composition.
- Take a piece of the desired shade (white, pink, red). Draw spirals with 5 curls on it. Next, draw these elements along the drawn lines.
- Taking a special tool with a metal rod and a slot, you need to twist the cut spiral-shaped strip into a bud. The edges are better fastened with glue.
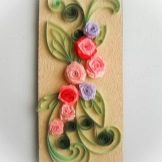
- Similarly, it is possible to make several buds, and then assemble them into an elegant composition (bouquet), make a panel of it, place it in a special pot or basket - the choice is the master.
Difficult
Many people find it difficult to make interesting flower arrangements and paintings consisting of volumetric elements. Compositions can be performed in almost any style and color. The main thing is to follow all the points of the plan. We will analyze the first master class on creating a beautiful picture with voluminous flowers.
- It will take 27 strips of light pink. Their width should be 2 mm, and their length should be 15 cm. Additionally, it will be necessary to prepare darker strips, the width of which will also be 2 mm.
- For 1 flower, you will need to form a kind of rolls of "drop" in the amount of 2 pieces. The diameter of 2 of them should be 5 mm, and another 3 pieces - 6 mm.
- Then all the components will need to be glued together.
- Wrap the blanks as carefully as possible with light pink stripes, glue the edges. You can wrap them 2 times for greater reliability.
- Glue the parts of the flowers to a solid and reliable base. Additionally, the composition should be decorated with leaflets, also made using the quilling technique. Various decorative elements, for example, beads, will also be useful.
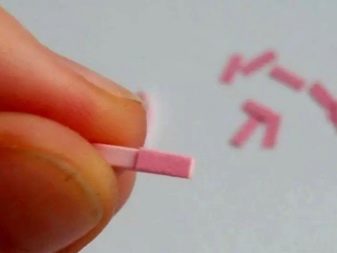
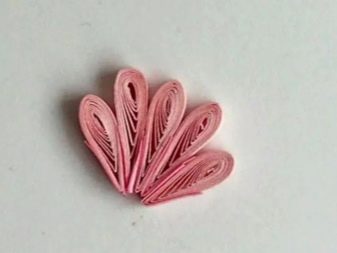
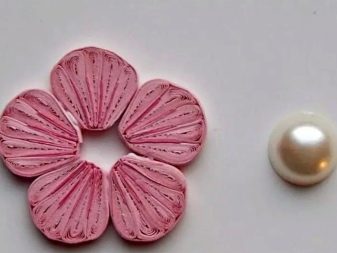
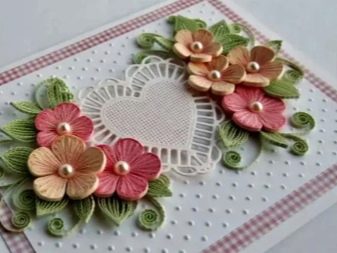
A volumetric orchid using the quilling technique can be very beautiful. Consider how to do it right.
- It is necessary to prepare 1 element for the eye and 2 parts in the shape of a crescent (it is advisable to take strips of white color). These components must be glued together. The result should be a small petal. There will be 2 such petals.
- Next, you need to prepare a larger petal. To do this, take another detail of the "eye", 4 "crescent". They must also be glued together. You should also prepare the “wave” part.
- From a tightly twisted small roll, you need to make a small cone.
- Before directly assembling the flower, gently tint the cone with a red ink pad.
- Next, assemble the structure. Glue the largest sheet to the inside of the cone. Glue 2 smaller petals on top. Then stick the “wave” elements, and in the center - a tinted cone.
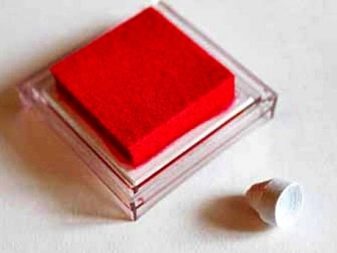
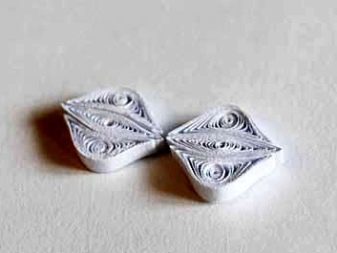
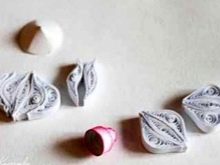
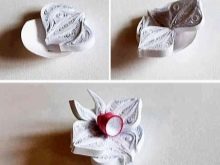
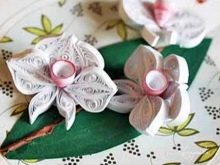
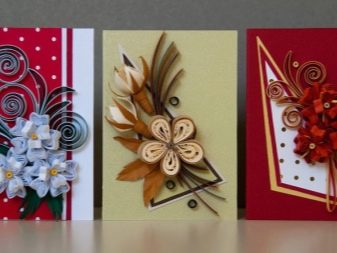
The resulting flowers can effectively decorate a card or other basis, which the master will pick up.
Recommendations
If you decide to make stylish flowers using the quilling technique with your own hands, it is worth arming yourself with some useful recommendations regarding this creative work.
- If you want to form more spectacular and catchy flowers that will attract more attention, it is advisable to use multi-colored strips of paper. At the same time, a combination of various curls and twisted elements will give the craft a truly amazing and original look.
- If during the course of work it suddenly turns out that the strips are of insufficient length, you should not be scared.In this case, you can connect the short part with another strip by dropping a little glue. The elements will need to be pressed so that they "catch" better and there is no noticeable transition.
- There is nothing wrong with getting involved in quilling for both a child and an adult. This lesson will contribute to the development of their own creative potential, fine motor skills. Such a hobby will definitely not bring harm.
- All paper parts from which you plan to make flowers must be cut out as accurately as possible and without rushing. Try not to cut off excess areas, do not accidentally tear paper. Similar defects will be immediately visible on the craft, even if you try to hide them.
- It is recommended that you place all the tools with which you will work next to yourself before starting the process. Then, if necessary, you do not have to find the right device, climbing the cabinets and drawers in the house (it takes a lot of time).
- Quilling flowers can be made not only to prepare a spectacular gift, but also to decorate your own home interior. For example, a large picture will look elegant and unusual at home, in which there is a lush flower arrangement of buds of harmonious colors. Such a decor will definitely make the interior unique, non-standard.
- If you yourself cannot prepare all the components for crafts, you cannot or do not have enough free time, you can buy a ready-made kit in the store. Typically, such kits are sold at outlets with materials for crafts and art. Here you can choose all the necessary components of any colors and shades.
- You should not begin to learn the art of quilling, immediately clutching at complex compositions. First, study in detail the instructions for the manufacture of simple options, "get your hand" on such products. Otherwise, in the future you risk losing any desire to do this in the future.
- Try not to buy paper that is too hard or too soft. It will be very difficult to work with such materials, and the flowers themselves risk becoming unattractive.
- It is recommended to use high-quality and quick-drying glue with a thick and dense consistency. It is most convenient to use options equipped with thin nozzles on the nose, thanks to which you can strictly dose the amount of adhesive applied.
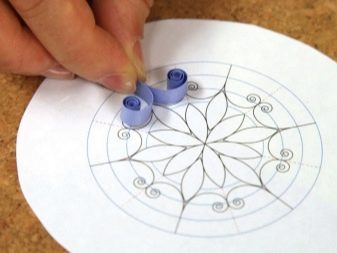
- It is not recommended to immediately start making flowers without having a plan of future work at hand. First, the master must prepare a detailed drawing, which will present an approximate diagram of the future crafts. Without this, the product may not be what the user intended it to be.
Beautiful work
Flowers made using the popular quilling technique can become a real decoration of the interior. With such accessories, the atmosphere is able to sparkle with new colors. In addition, such crafts turn out to be very interesting gifts or design elements. Let's consider some beautiful and high-quality works.
- A lush bouquet consisting of “fluffy” buds of white and pale pink shade will look bright if supplemented with large green leaves and smaller flowers in the background. All this beauty will be especially attractive if made in a voluminous snow-white vase with golden lines.
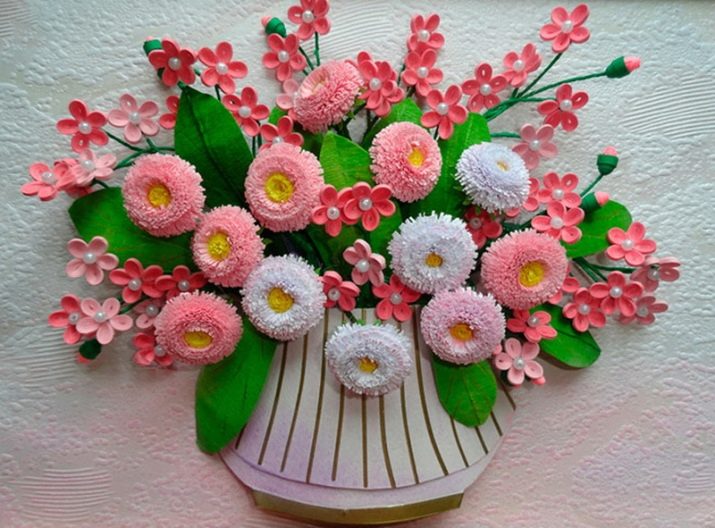
Original decor of this kind will be a good decoration of the wall in the house.
- Interior decoration can be a composition consisting of white, blue and yellow buds surrounded by dark green leaves. Finish the craft by using the image of a rounded vase with discreet patterns.
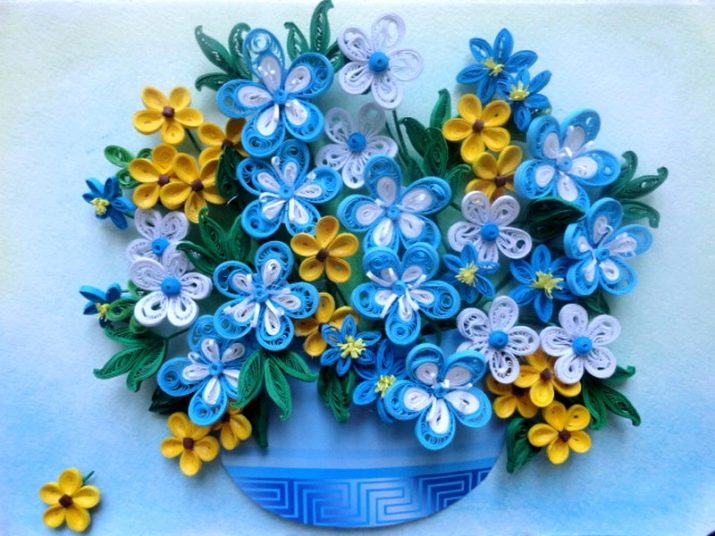
Such color combinations always look stylish and bright, but at the same time they do not irritate with excessive motley.
- In a high pastel shade vase, you can place neat quilling flowers in pink, beige, white colors.It is worth supplementing them with long "branches" with leaves of a light green and dark green hue.
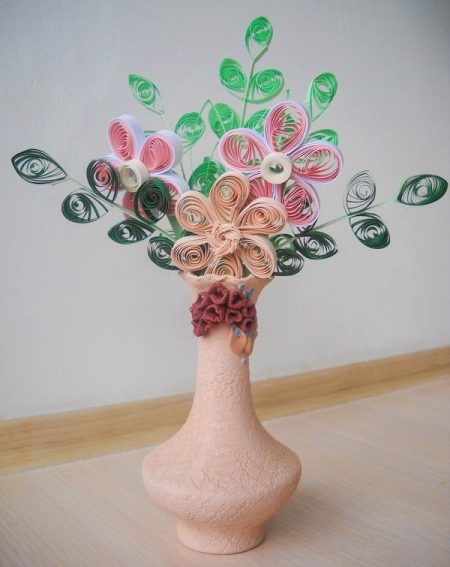
- As mentioned above, some of the easiest to manufacture roses demonstrate their love by many people. You can make a combination of several such flowers of scarlet and pale pink and attach homemade green stems to them. Such a delicate decoration can be placed in a neat glass vase with transparent walls.
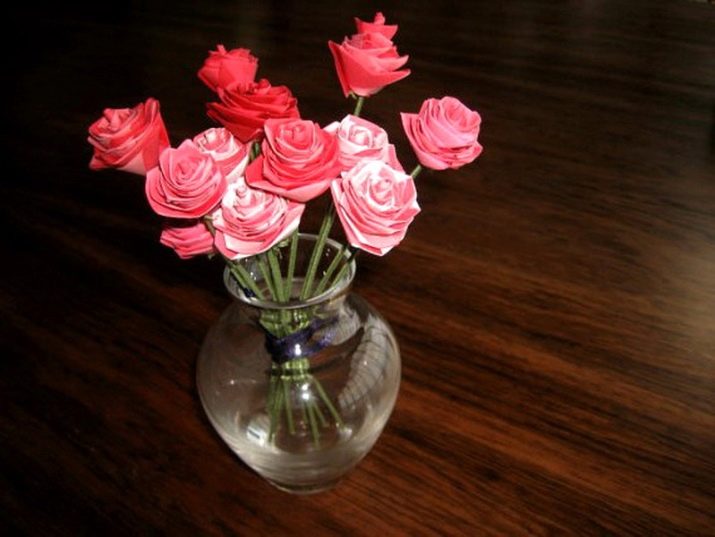
The resulting product will look great in a variety of environments and at different places in the house.
See how to make a flower using the quilling technique in the next video.
