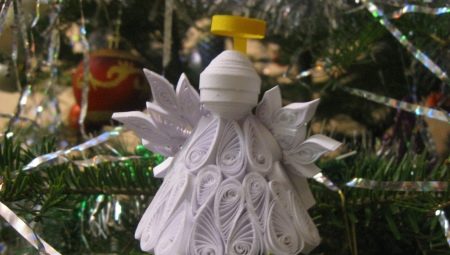
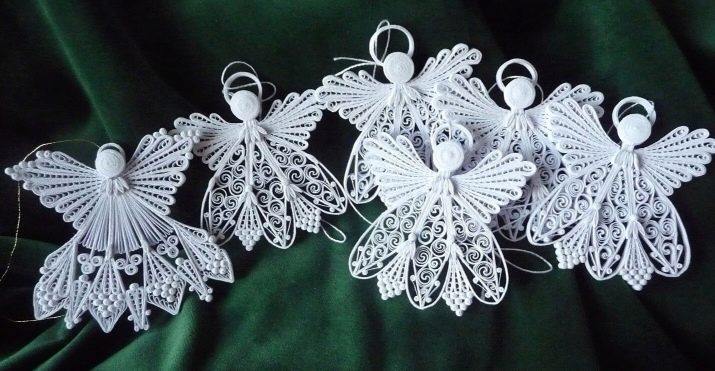
Quilling is a special technique for making various beautiful decorative compositions from twisted paper strips of all kinds of colors. The paper is twisted into small spirals. Today we will talk about how to make a small quilling angel, what materials will be needed for this.
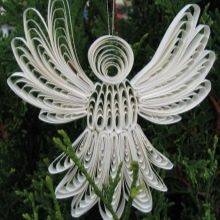
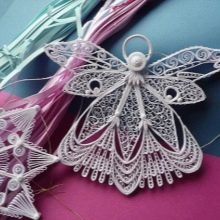
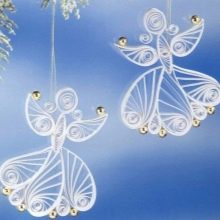
Features
Quilling is often called paper rolling. Using this technique, you can create both volumetric and flat figures or whole compositions consisting of several separate elements from paper.
Twisted paper spirals are given various shapes. They are interconnected in such a way that as a result a whole image is obtained. Quilling allows you to create decorative objects in different styles and in different colors.
Often, figures made using this technique are used as decorations for a Christmas tree, a decorative element for a house or apartment.
Also, whole quilling compositions can be used as an interesting handmade gift.
Tools and materials
Before starting work, you must prepare all the necessary tools and materials in advance.
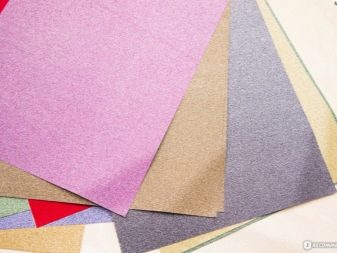
- Paper. You should select colored double-sided paper. It can be purchased at almost any office supply store.
- Colored cardboard. It will be needed in order to create the general background of the entire finished composition.
- Simple pencil. It will be needed in order to make small notes in the process.
- Scissors. You can take any stationery scissors.
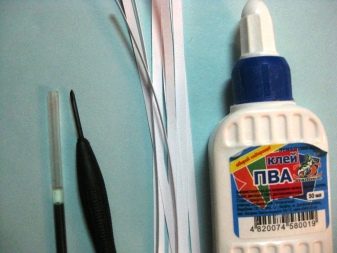
- Glue. It is better to get glue stick.At the same time, PVA is rarely used, since you have to glue small thin parts together, and such an adhesive mixture can be very noticeable on such miniature products after drying.
- Ribbons. They will be needed only if you want to make a small Christmas tree toy out of an angel, with a ribbon in this case a quilling angel will be hung on a tree.
- Knitting needles. They can be used to make spirals faster. Directly wound on them colored paper.

An angel made of golden or silver paper will look interesting.
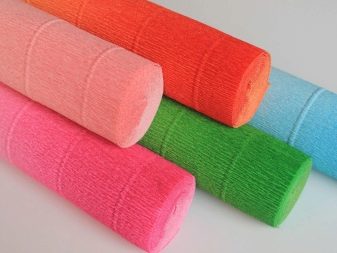
This basis is sometimes used to create individual elements of the composition (for hair, wings). Also, for some details, you can take a special corrugated paper having a wavy shape.
Execution technique
Today, there are a large number of different schemes, master classes and ways to make a small decorative angel using quilling technique. We'll consider the easiest option that even a beginner can do.
First you need to take a few sheets of colored double-sided paper of different colors. They are carefully cut with scissors into thin strips of the same size.
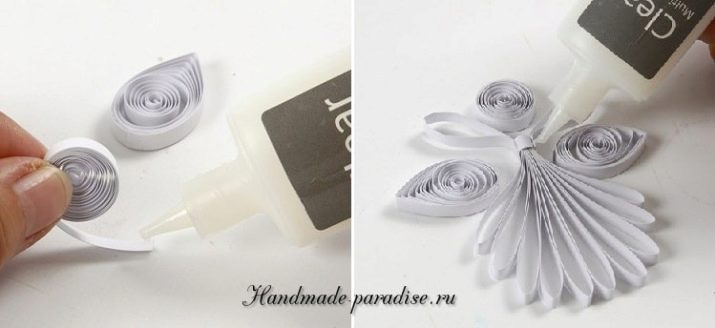
First you should make a skirt for the future angel. To do this, glue three paper strips together. The resulting workpiece is twisted and stacked so that a circle is obtained. In this case, the strips should not fit snugly against each other.
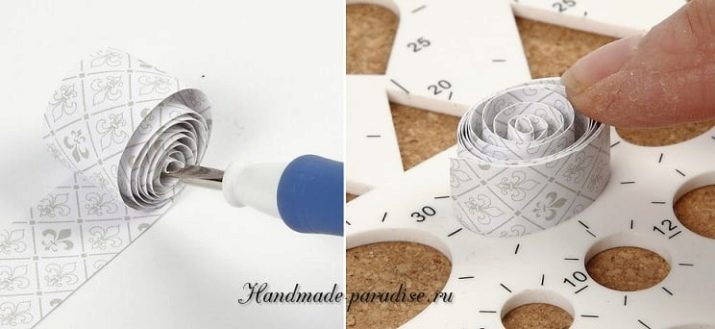
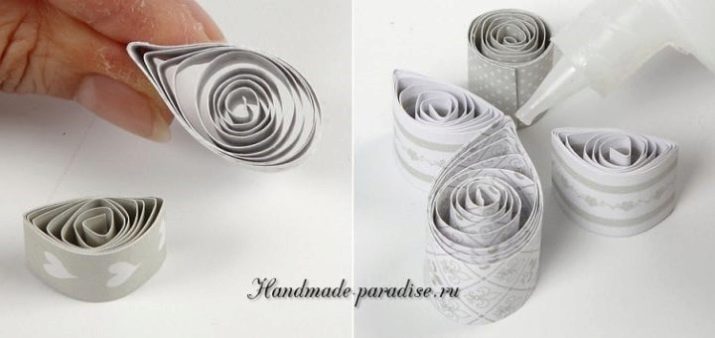
Then the tip of the twisted figure is fixed with glue stick. After that, you should give it the desired shape, for this, gently squeeze the paper on one side with your finger, gradually giving it a droplet shape. All you need to do three such blanks. The resulting elements should not be immediately glued together - they are put aside and begin to manufacture the body of the angel.
To make the body, you need to glue together two strips of paper and twist into a loose circle. Its diameter should not exceed 20 millimeters. The end of the paper is fixed with a glue mass.
The resulting circle begins to be slightly compressed immediately on both sides. If you want to make the body voluminous, then you should roll paper consisting of five strips into a small roll. After this, its middle should be gradually squeezed out so that a cone begins to form. To fix it, it is well smeared inside with an adhesive mass.
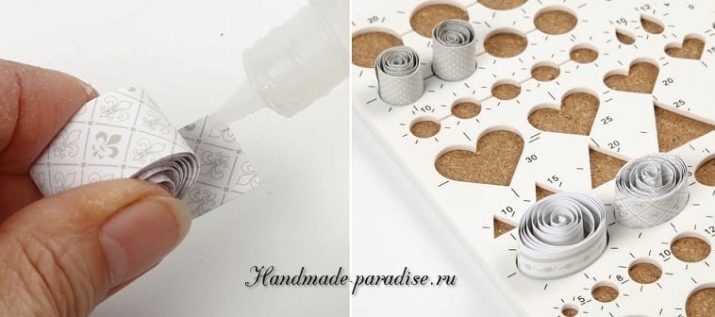
When the workpiece acquires the desired shape, it will be possible to glue it together and the finished elements of the skirt. All three parts of the skirt are attached to the body from below.
Later, you can begin to create wings for the future angel. To make them, you need to glue two strips of paper between each other and twist into a small circle. There should be two such blanks.
After that, they are slightly squeezed with a finger on one side and gently bent. The resulting openwork wings are glued to the sides of the body. If you want to get more voluminous and openwork wings, you can immediately make a lot of such blanks of different sizes. They are interconnected so that a whole composition of paper modules is obtained.
To make the head of an angel, you also need to glue together two strips of paper in advance. Later, a circle is formed from these glued strips; its diameter should not exceed 15 millimeters. The end of the workpiece is fixed with an adhesive mixture. To make the finished craft more beautiful and interesting, you can separately make hair.
To do this, you can take only 2/3 of one strip. It is twisted at once from two sides. This element can be immediately attached to the head of an angel. In the end, all the remaining individual blanks are interconnected.
Hair made from corrugated paper will look interesting.
Such paper can be purchased ready-made at any stationery store. It is cut into small thin pieces. Several of these elements are glued to the head of an angel.
The head is glued to the body. This should be done carefully, since the end of the body is quite narrow. If you want to use the finished toy as an interesting craft for Christmas, you can also attach a small satin ribbon to your head and hang it on a Christmas tree.
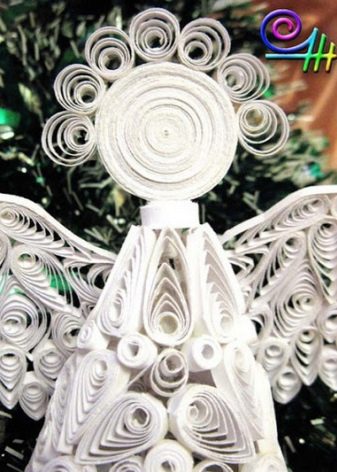
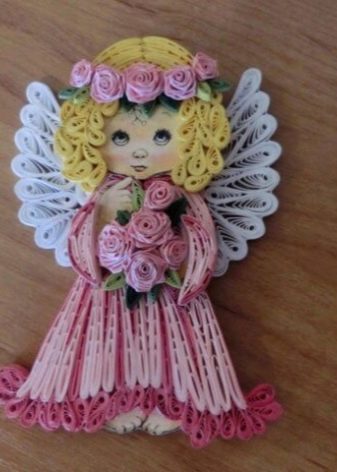
If you need a more beautiful and original quilling angel, you can create a craft with small hands and a dress.
To make pens, you will need to form two small spirals from two glued paper strips. To do this, it is better to use pink paper.
For this element, the length of the strips should be at least 20 millimeters. The diameter of the finished spiral will be about 10 millimeters.
Later, they begin to create dresses for the angel. To complete it, you need to make three free spirals, each of which will consist of eight fastened strips. It is better to use a base of blue or blue colors. If desired, you can take a different color.
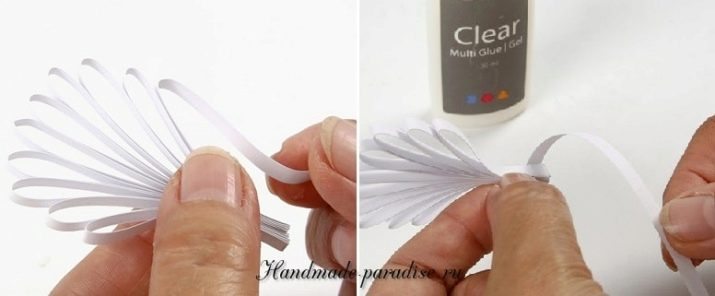
For a dress, it is better to use strips 20 millimeters long. The diameter of the twisted spirals should be about 10 millimeters. Also for this part, you need to make two separate modules, which will consist of only two strips fastened together.
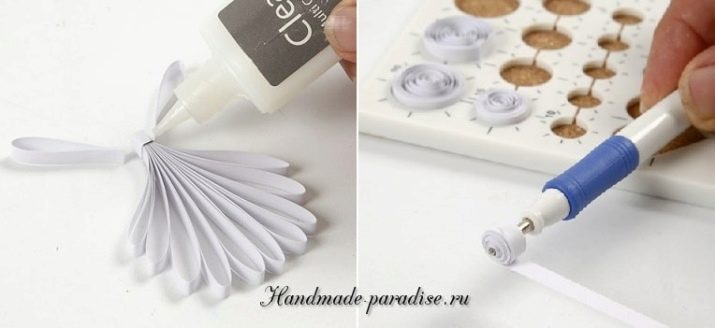
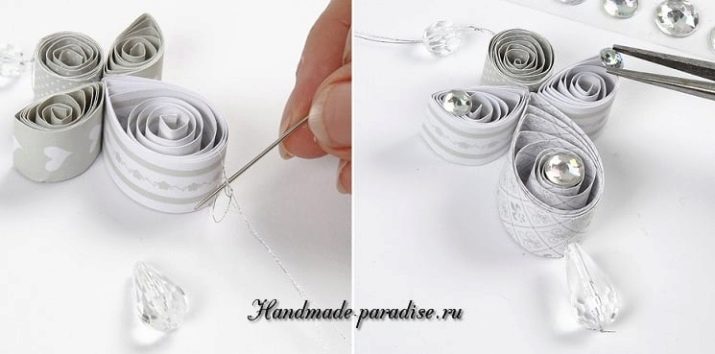
All received paper modules are gradually glued together with glue-pencil, forming a dress. At the end, it is attached to the body. After that, ready-made angel handles are attached to the body. If desired, a quilling angel can be further decorated. For this, small beads, colored beads, pearls or openwork lace are often used.
See how to make an angel in the style of quilling.
