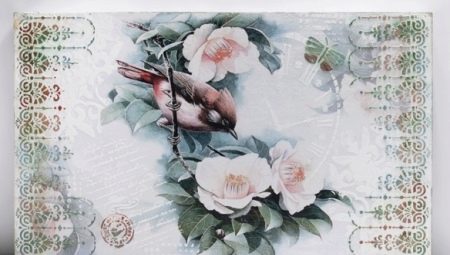
The kitchen is one of the most visited rooms in the house, and I want to enjoy not only food, but also the interior. Let's consider some ideas for decorating the kitchen space using decoupage technique. After all, it is so universal that with its help you can not only decorate objects, but also make paintings and panels.
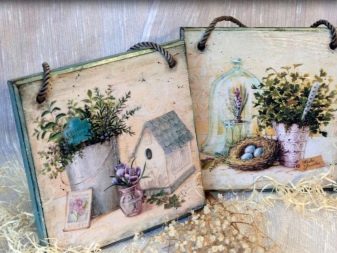
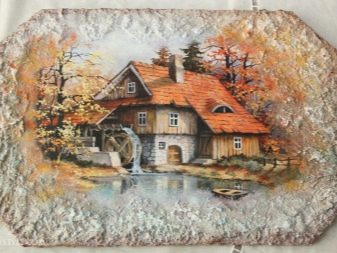
Manufacturing Features
This type of applied art has long been known and widespread. It is popular not only with us, but also abroad. The technique consists in gluing various patterns or fragments to interior items, followed by fixing the image. Almost any base is suitable for this, whether it is wood, plastic, glass, leather or cardboard. But specifically today we will talk about how to make a picture or a panel.
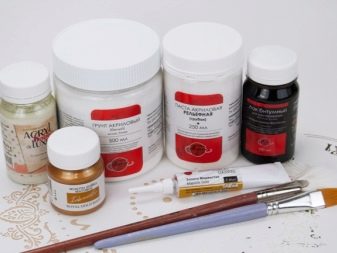
What you may need:
- basis for a picture, a panel;
- acrylic embossed paste;
- decoupage cards;
- acrylic primer;
- paints;
- brush;
- roller;
- scissors;
- PVA glue or special decoupage glue.
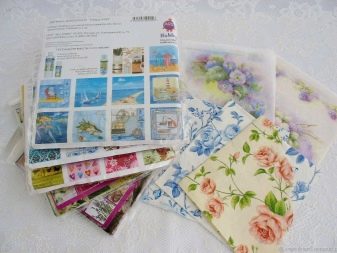
It is worth saying that panels and paintings can be made on any surface. As a basis, you can take ordinary plywood, pieces of fiberboard, thick cardboard, canvas on a stretcher and even unnecessary pieces of laminate cut to the desired size. Looks good as one picture, and diptych, triptych, polyptych. Moreover, the plot can be either different in all the pictures, or logically switch from one to another.
If you plan to use acrylic paste, then it is better to take canvas, laminate or plywood as the basis to avoid deformation.
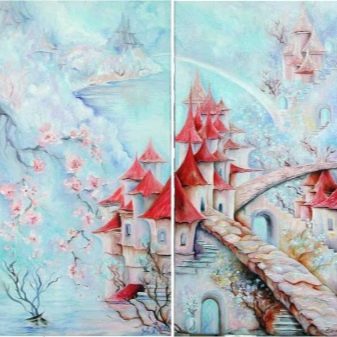

How to decorate a wall using decoupage technique?
Creative flight is unlimited, so there are a lot of design options. For example, you can use a combination of decoupage cards in the styles of Provence, vintage and various decorative objects, such as:
- keys;
- braid, lace;
- toppers (words from plywood);
- decorative tableware (miniatures);
- cutting down;
- fabric or paper flowers;
- dried plants;
- metal hearts and other objects;
- eggshell;
- various cereals, pasta;
- coffee beans.
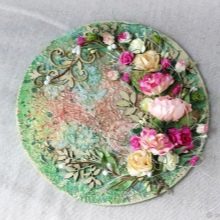
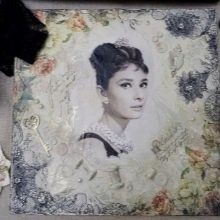
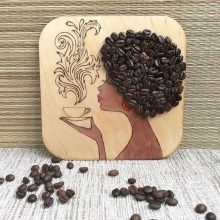
All this is available, everyone in the kitchen has half the list, everything else can be bought in specialized stores, and for every taste. With the help of coffee beans, cereals or pasta, you can not only decorate the panel, but also make a frame.
Stories complemented by colors look good. For the kitchen, miniature cutlery glued to the panel as decoration will be relevant. All this will add volume to the composition.

For the same purpose, you can use bulk acrylic paste or putty. It is good to use it both through a stencil to give a local pattern, and for the background. There are a lot of options. With the help of a palette knife, a different relief is attached.
If there is no palette knife, then you can use a construction trowel or spatula, as well as apply the paste with your hands, a fork, any object that will give the necessary texture, if only you would like it.
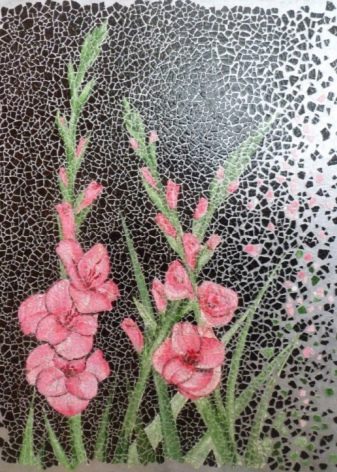
Egg shells are also popular for decoration. Using it, you can achieve the effect of volume and cracked surface without using craquelure varnish. Although it must be said that the shell gives a completely different crack than the varnish. Both look very beautiful, so the choice is yours.
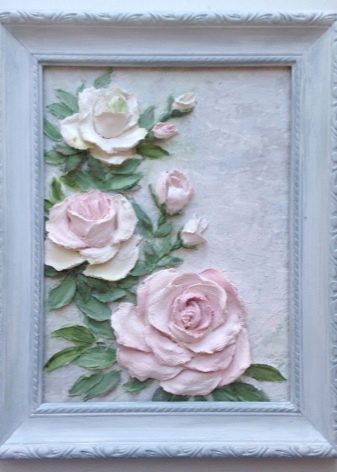
Step-by-step master class
Consider how to make a volumetric triptych with putty and eggshell, in more detail.
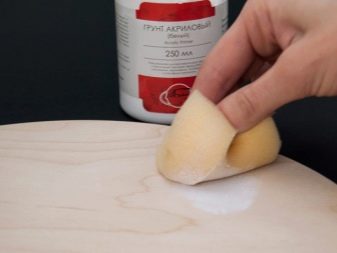
First of all, with a roller or brush, prime the surface on which you are going to make decoupage panels or paintings. A primer is necessary for uniform staining and better adhesion. The foam roller produces the most even layer. After that, abundantly smear the base with glue and begin to lay out the shell. Attach a piece and press down with a brush or finger so that it crackes into smaller pieces.
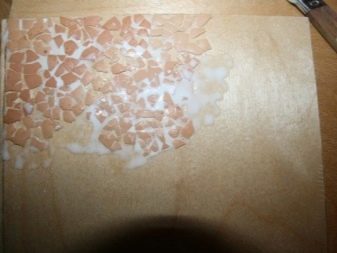
In this way, lay out the entire surface or individual designated areas. Allow to dry well. You can speed up the drying process with a hairdryer. Next, the shell is painted in the desired color. After that, a decoupage card is glued on top, or individual fragments are added to the composition. It turns out an interesting three-dimensional picture.
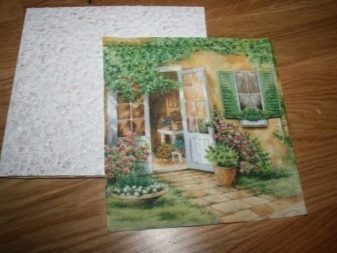
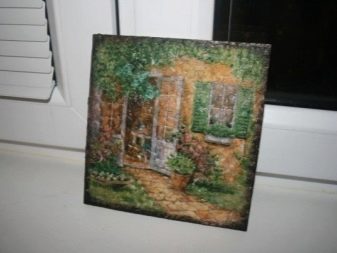
You can use the shell as a mosaic. To do this, apply a layer of putty on the base and lay out the mosaic, slightly pressing on the shell, after drying it will be a very durable surface. It is not difficult to paint the shell with food colors before use, or then, when the panel is ready, apply acrylic paints. Pieces of egg mosaic are best selected in advance for the drawing.
It is already better to use tweezers. The shell is a fragile material, so caution is needed.
When everything is ready, paint over the mosaic with paints and a thin brush, turning it into a conceived image. The process is not fast, but the effort is worth it. Draw contours if necessary.


At the end of the process, cover the entire image with one or two layers of varnish. In order for the image of the panel or picture to look finished, it must be placed in the frame. Framing for your creation can be ordered in a framing workshop, or you can make it yourself from a molding or ceiling plinth. For the same purpose, various slats and even mounting foam are used.
Now, watch a video on how to make a 3D panel "Home in the Garden" with your own hands.
